To stop foundation looking cakey, you have to fix the skin underneath rather than reach for more powder: the skin must be well hydrated, sunscreen and primer must be fully set before foundation goes on, the shade must match, the foundation must be built up in thin layers, and powder should only go where the skin gets oily. Most bases that turn cakey, pill or oxidise a few hours later were rushed at the prep stage or loaded with too much product. This lesson goes from the causes to the 8-step routine that working makeup artists in Vietnam use every day in salons, photo studios and at weddings.
By the end of this lesson, you will be able to:
- Look at a failed base and name the real cause: dehydration, an under-layer that was still wet, the wrong shade, or too much powder.
- Carry out the 8-step routine from cleansing to setting spray in about 35–40 minutes per face.
- Choose moisturiser, primer, foundation and powder for oily, dry and combination skin.
- Test foundation shades on the jawline in natural daylight and pick the right one out of 3 stripes.
- Keep brushes, sponges and products hygienic and run an allergy check before working on a client.
Learning makeup properly? A thin, long-wear base and concealing is step 3 of the roadmap — after hygiene and client skin safety, and skin, face and lighting analysis. See the 8-step makeup artist roadmap (in Vietnamese) to learn in the right order.
Why foundation goes cakey, pills and oxidises
"Cakey" is what artists call a base that looks dry, grey and textured, with powder settling into patches, especially on the sides of the nose, the corners of the mouth and under the eyes. It almost always comes from one of the four causes below, and each one leaves its own clues.
Dehydrated skin or dead skin cells
Skin that lacks water "drinks" the liquid part of the foundation and leaves only pigment clinging to dry flakes. The result is patchy foundation around the nose, chin and forehead, with visible flaking up close. Oily skin can be dehydrated too: shiny on the surface but tight underneath, so never skip moisturiser just because a client says "my skin is really oily".
Sunscreen or primer that has not set
When you blend foundation over sunscreen that is still wet, the layers mix and roll into tiny strands — this is called pilling. It shows up most when water-based products are combined with heavy silicone products. The fix is simple: wait about 2–5 minutes after each layer and only continue when a light touch with the back of a finger no longer feels slippery.
The wrong shade, or a foundation that oxidises
A foundation one shade too light makes the face look grey and separate from the neck; one too dark makes it look muddy. Many foundations also oxidise — turning darker and more orange 15–30 minutes after meeting skin oil and air. That is why clients complain that "it looked great at first, but after the photos my face went dark".
Too much foundation and powder
A thick base does not cover better; it just cracks when the client smiles and talks. Powdering the whole face, especially heavy powder on the cheeks and eye area which produce little oil, pulls out all the moisture and leaves grey patches. The rule of the trade: several thin layers beat one thick layer, and powder only goes where oil appears.
| Sign | Usual cause | Fix |
|---|---|---|
| Foundation clings to flakes on the nose and chin | Dry skin, not enough moisturiser | Moisturise well, wait 3–5 minutes, use a hydrating liquid foundation |
| Small strands roll up while blending | Wet sunscreen or primer; water-based and silicone products clashing | Let each layer set; press instead of dragging |
| Grey face that does not match the neck | Foundation lighter than the skin | Retest shades on the jawline, mix in a darker shade |
| Face goes darker and orange after 1–2 hours | Oxidation, oily skin | Choose half a shade lighter, control oil in the T-zone |
| Creasing in smile lines and under the eyes | Too much foundation and powder | Blend thinner, spot-conceal, very little powder under the eyes |
Before the base: tools, hygiene and allergy checks
A beautiful base starts with a clean workstation. Dirty brushes do not just make foundation streaky; they carry bacteria from one client to the next — the fastest way for a makeup artist to lose a reputation.
Minimum tools for the base
- Foundation sponges: a teardrop sponge or triangle wedges (Figure 1), dampened and squeezed out before use.
- A flat or dense round foundation brush, a small concealer brush and a soft powder brush (Figure 2).
- A metal or hard plastic mixing palette, a spatula, cotton pads and tissues.
- Alcohol spray for tools, brush cleanser and a separate bag for used brushes.
Cleaning brushes, sponges and products
Every client gets a clean sponge; a reusable teardrop sponge must be washed with brush cleanser or soap, rinsed well and air-dried right after the session. Foundation and concealer brushes are washed after every client; if you work on several clients in a row, bring several sets and use a quick-clean alcohol spray between them, then wash everything properly at the end of the day. Never take foundation or concealer straight from the bottle onto a client's face: pump it or scoop it with a spatula onto the palette and work from there. Use disposable applicators for lipstick, mascara and liquid liner. Check the period-after-opening symbol (an open jar with a number of months) and throw away anything that smells off or has separated.
Ask about history and patch test
Before the session, ask the client whether they are allergic to cosmetics, fragrance or latex, and whether they are using prescription skin treatments for acne or pigmentation, or have just had a peel or laser treatment. For new clients or anyone with a history of allergies, patch test a little product behind the ear or on the inner arm the day before (ideally 24–48 hours). For a latex-allergic client, do not use rubber sponges — switch to latex-free sponges or brushes.
Client skin safety: do not apply makeup over inflamed skin, pus-filled spots, open wounds, freshly peeled or lasered skin, or anything that looks infected (cold sores around the lips, red eyes) — suggest the client sees a dermatologist. If the client feels burning, itching or a rash during the session, stop, wipe the product off with clean water and apply nothing else. If the client's lips or face swell, or they have trouble breathing or feel faint, call emergency services immediately (115 in Vietnam). Alcohol tool spray is flammable: keep it away from heat and hot curling irons.
The 8-step routine for a thin, long-wear base
This is the standard sequence for almost every client; only the products change with skin type, as covered in the next section. Never skip the "wait" step — that is exactly what separates a smooth base from a cakey one.
- Cleanse: remove makeup gently, wash or wipe the face with a mild cleanser and pat dry with a tissue.
- Moisturise: hydrating toner and a thin layer of moisturiser for the skin type; pat it in, do not rub.
- Wait: 3–5 minutes. Use the time to brush the brows, study the face and set up your palette.
- Sunscreen (daytime) and primer: just enough product, oil-control primer on the T-zone and hydrating primer on the cheeks if needed; let it set for 2–5 minutes.
- Foundation in thin layers: take a pea-sized amount onto the palette, dot 5 points (forehead, nose, both cheeks, chin) and blend from the centre outwards with a damp sponge (light pressing) or a brush (small circles, then press). The second layer only goes where more coverage is needed.
- Conceal: dot product onto blemishes, dark spots and under-eye circles; press the edges into the foundation without dragging.
- Powder the T-zone only: a light veil on the forehead, bridge and sides of the nose, and chin; under the eyes only a very thin layer if the client tends to crease.
- Setting spray: spray from about 25–30 cm in an X and a T; let it dry naturally or press lightly with a clean sponge.
Damp sponge or brush: when to use which
A damp sponge gives a thin, natural, streak-free base, ideal for everyday makeup, graduation photos and dry skin. It must be soaked and squeezed out completely — a soggy sponge thins the foundation and leaves it patchy. A brush gives more coverage and is faster over large areas, which suits bridal and stage makeup; press over it with a sponge afterwards to remove streaks. Figure 1 shows a teardrop sponge: the round end presses the cheeks, the pointed end works the sides of the nose.
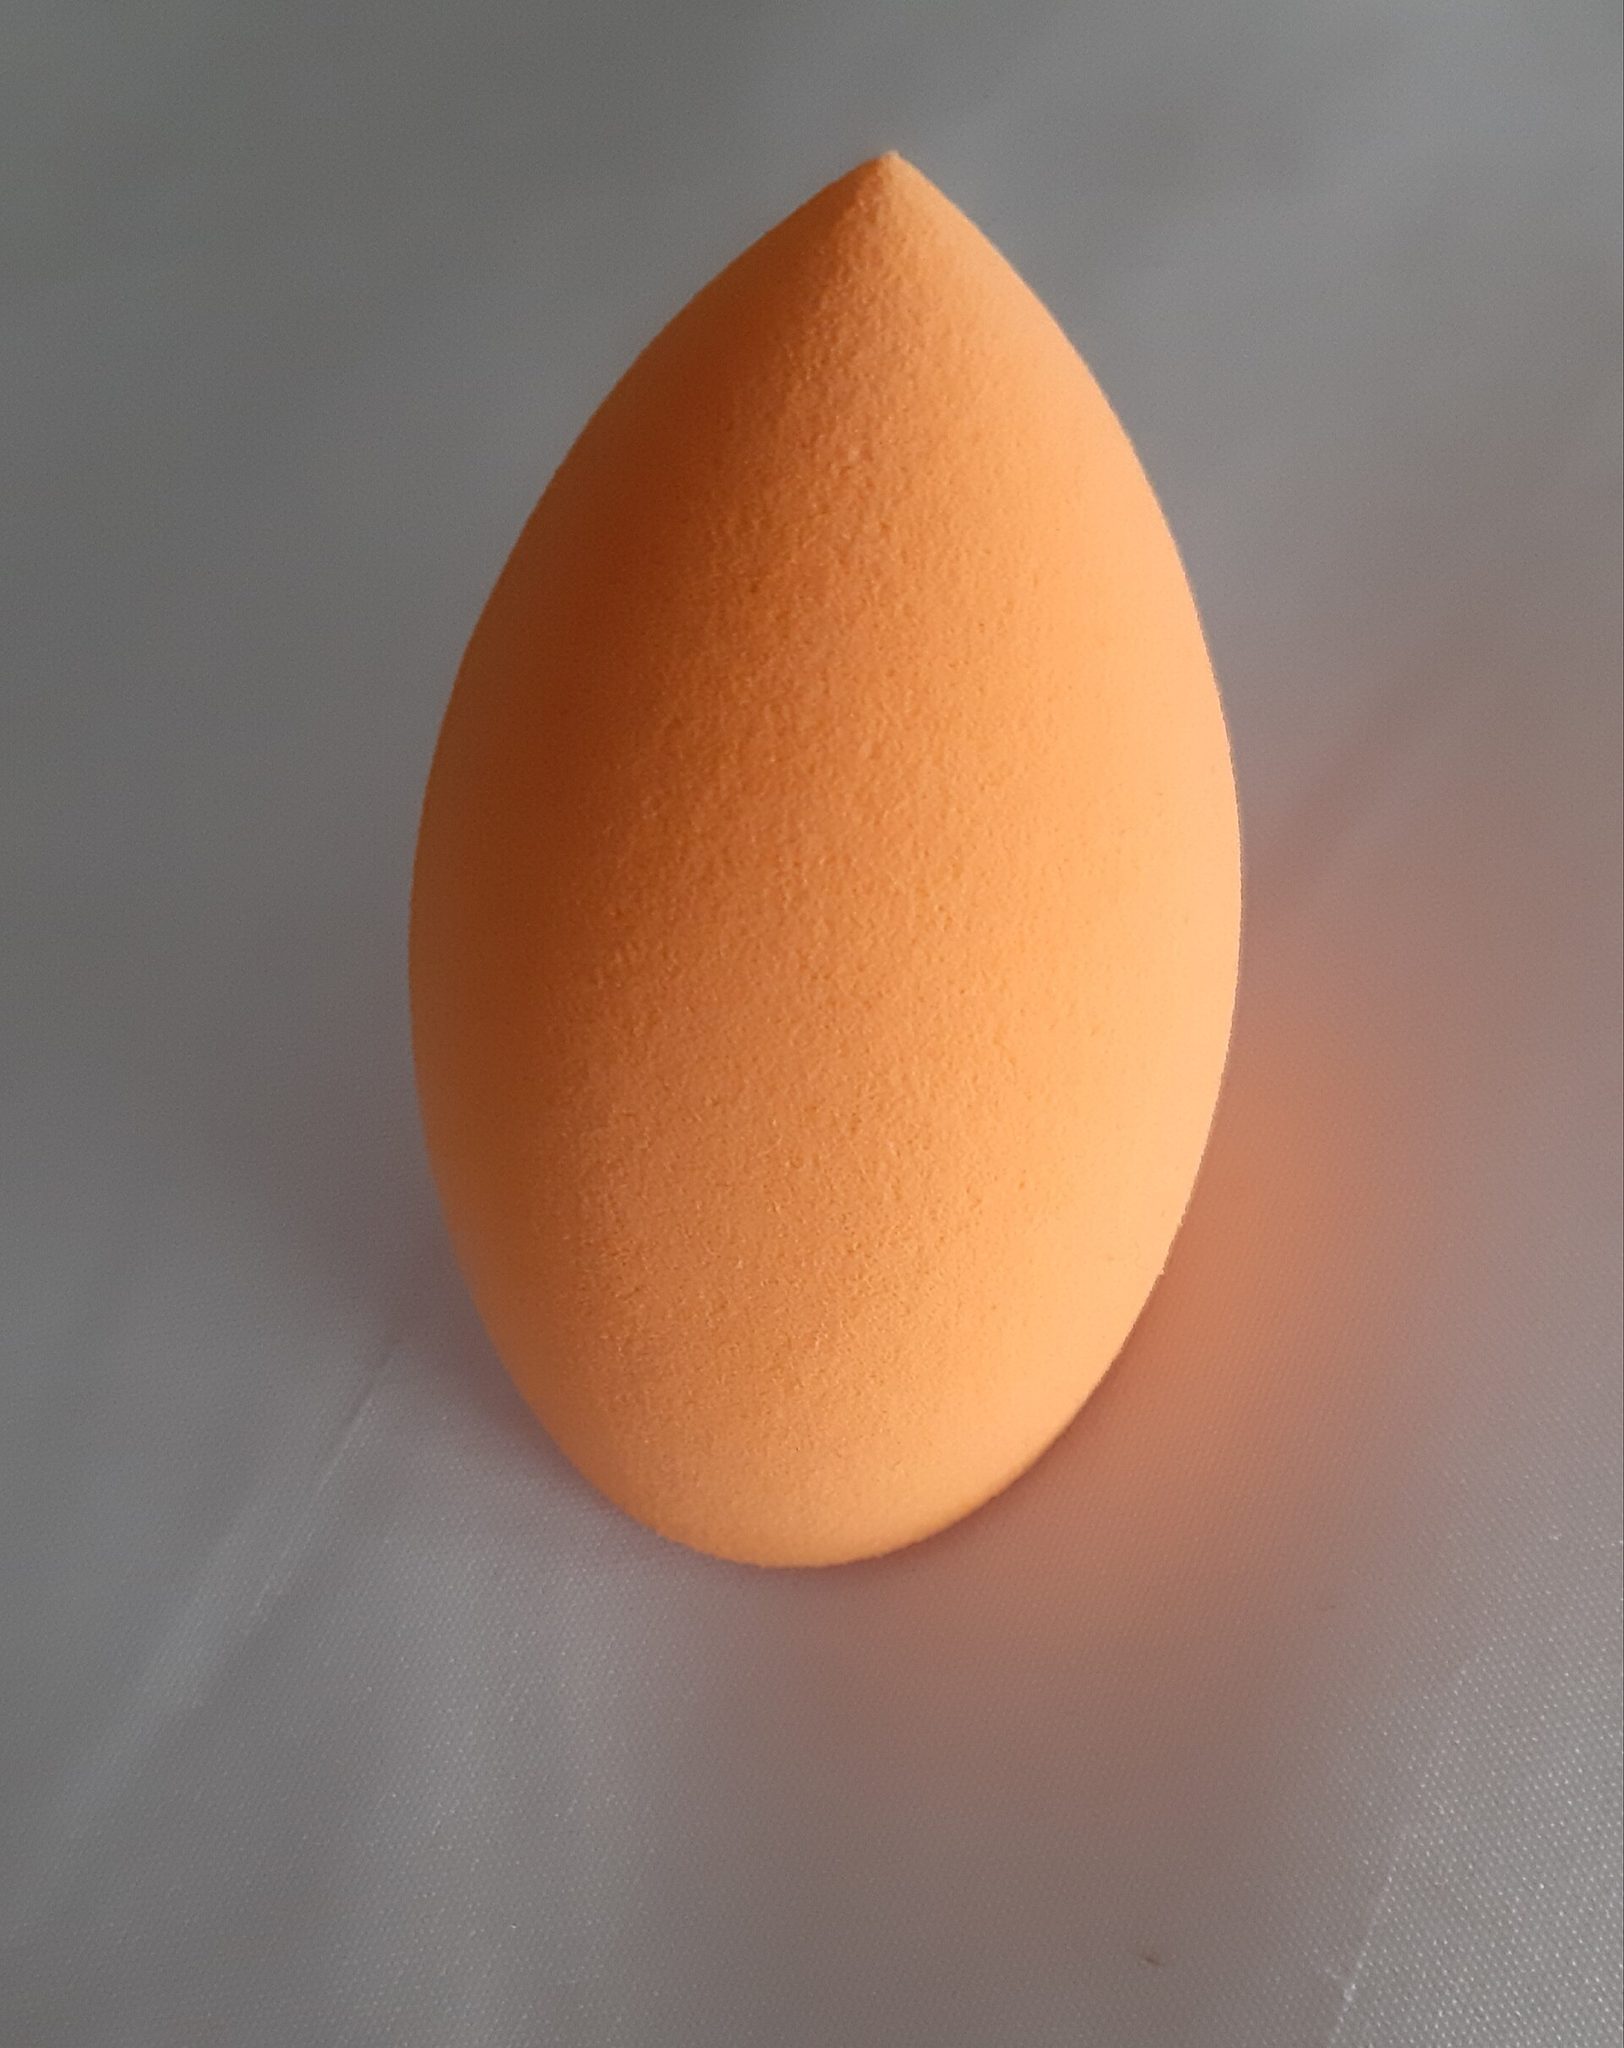
Photo: Mx Lucy / Wikimedia Commons, CC0
Press, do not drag
Dragging a sponge or brush across the skin pushes foundation into pores and makes the primer underneath roll up. Pressing — touching lightly and lifting, over and over — lays the pigment flat on the skin. On areas with fine facial hair, press in the direction the hair grows. The sides of the nose and the corners of the mouth collect foundation easily: work them only with what is left on the sponge, never with fresh product.
Conceal only where it is needed
Concealer is thicker than foundation, so it goes only where it is needed. For deep under-eye darkness, use a thin layer of peach corrector to neutralise it, then a thin layer in the foundation shade. For red spots, dot the blemish itself with a small brush and press the edges. Do not cover the whole under-eye area with a thick layer — it moves constantly and will crack within 1–2 hours.
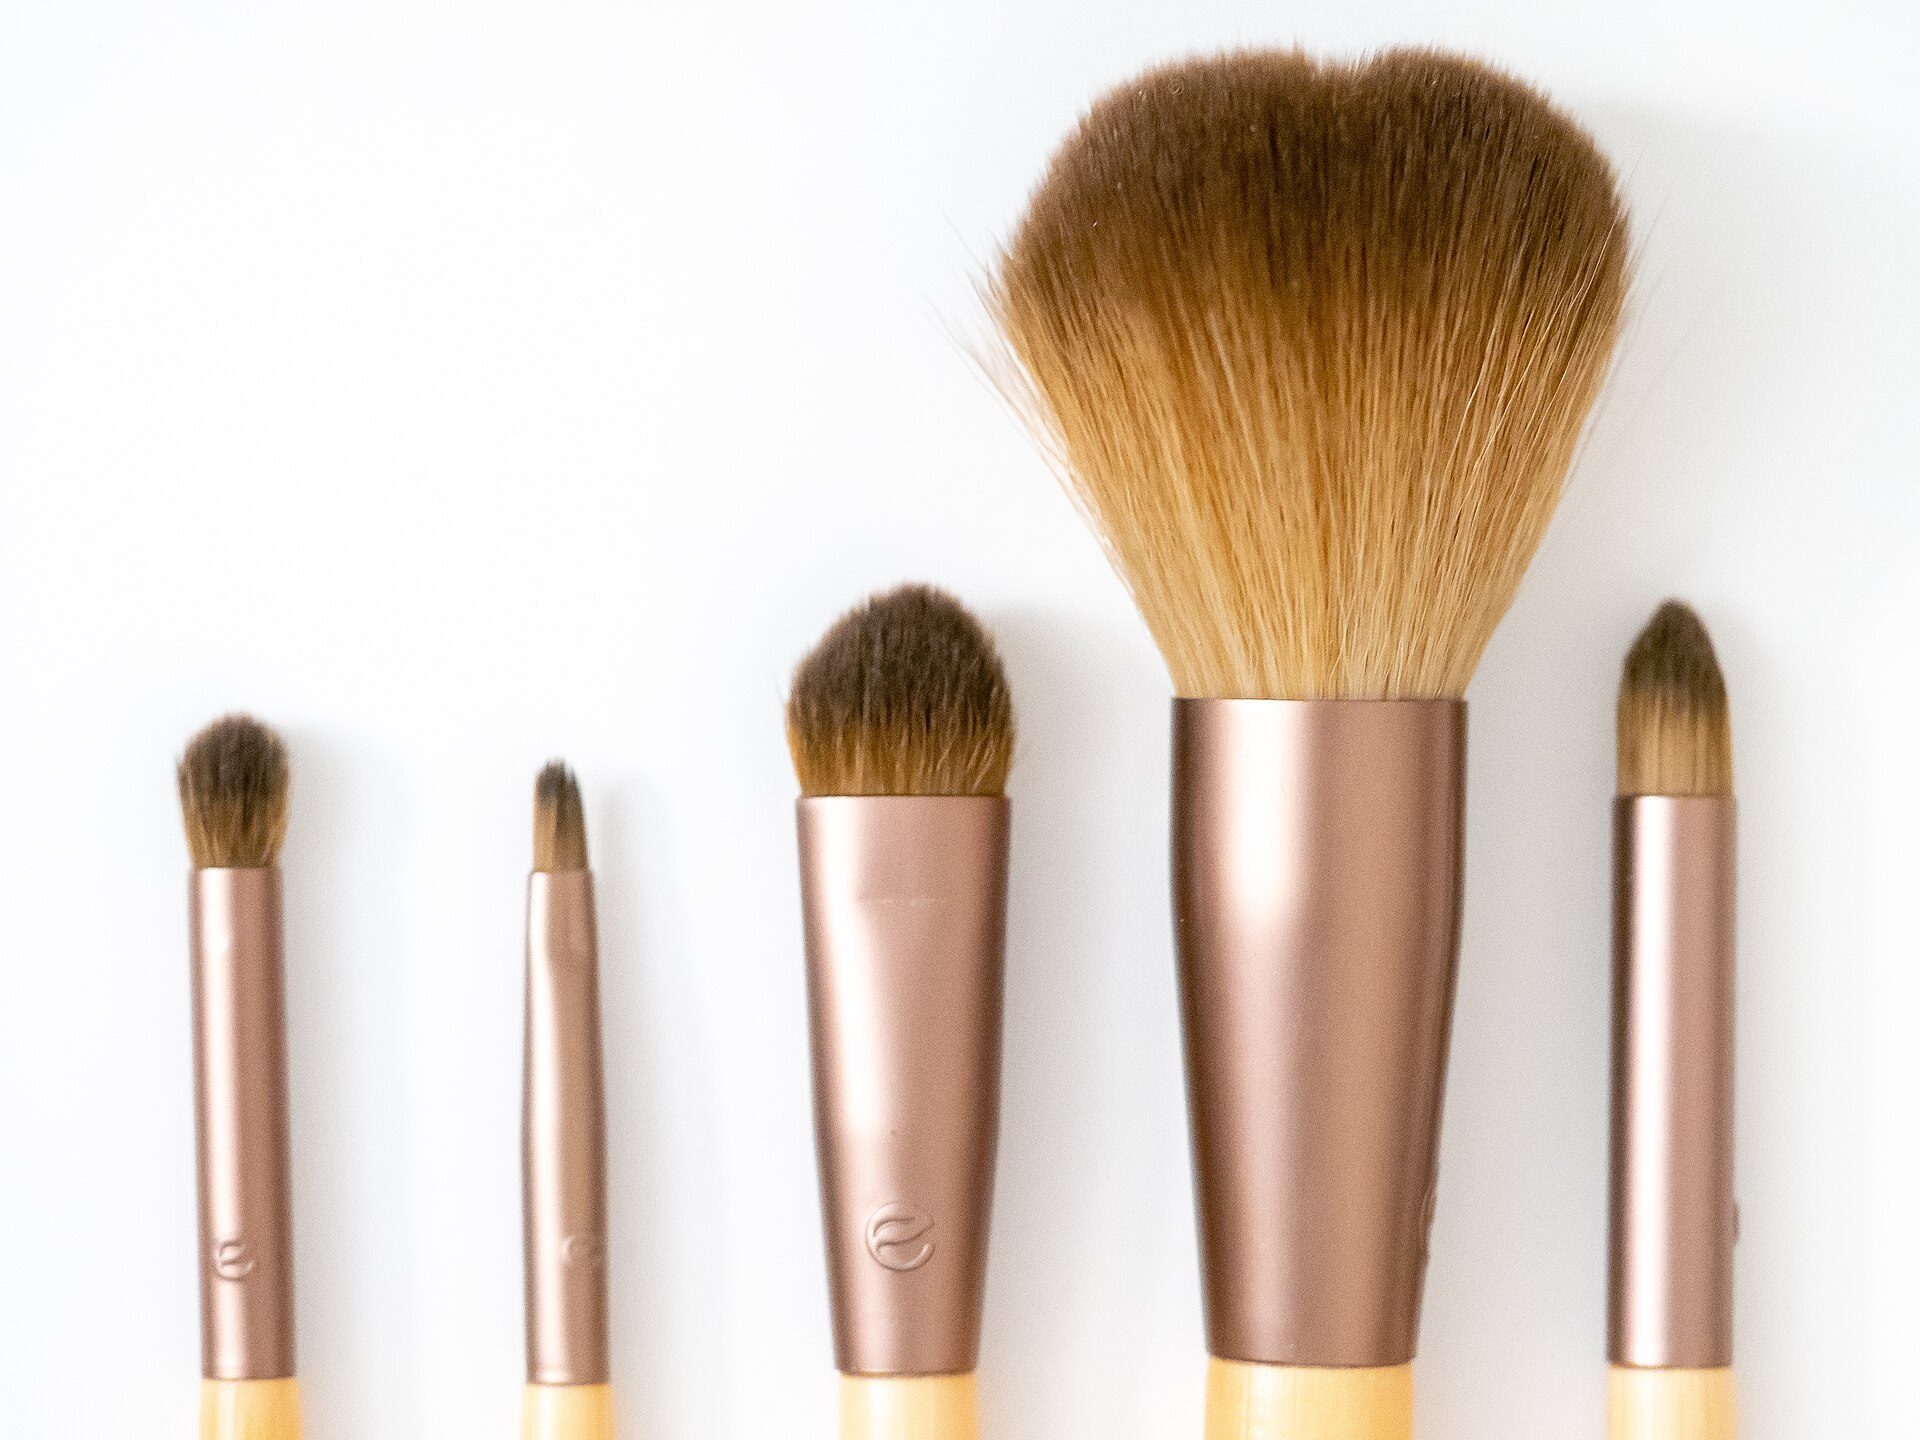
Photo: ajay_suresh / Wikimedia Commons, CC BY 2.0
Choosing products by skin type: oily, dry, combination
In step 2 of the roadmap you learned to classify skin; now you apply it to the base. The table is a general guide; in practice you must look at the skin again just before you start, because skin changes with the season, the menstrual cycle and late nights.
| Step | Oily skin | Dry skin | Combination skin |
|---|---|---|---|
| Moisturiser | Oil-free gel or light lotion | Richer cream, optionally a few drops of facial oil | Gel on the T-zone, cream on the cheeks |
| Primer | Oil-control, pore-blurring | Hydrating, lightly luminous | Oil-control on the T-zone, hydrating on the cheeks |
| Foundation | Soft matte or satin, long-wear | Liquid, hydrating, dewy or satin finish | Satin |
| Blending tool | Brush, then press with a sponge | Damp sponge | Damp sponge, brush where more coverage is needed |
| Powder | T-zone and chin, can touch up mid-day | Very little, sides of the nose only | T-zone |
| Typical problem | Oxidising, shiny after 2 hours | Cakey, clinging to flakes | Shiny T-zone, cakey cheeks |
Oily skin: control oil, but keep moisturising
Oily skin often makes foundation oxidise because oil mixes with the pigment. Moisturise lightly, wait long enough, and use oil-control primer only where oil appears. Pick a foundation about half a shade lighter to allow for darkening. Give the client blotting papers and tell them to press, not wipe, before touching up with powder.
Dry skin: hydration comes first
Dry skin needs thorough moisturising; if the booking allows, apply a hydrating sheet mask for 10 minutes. Avoid a full-face matte foundation. Use only a tiny amount of powder on the sides of the nose and lock the rest in with setting spray.
Combination and acne-prone skin
Treat combination skin zone by zone: the T-zone like oily skin, the cheeks like normal or dry skin. For skin with blemishes that are not inflamed or pus-filled, use products suitable for acne-prone skin if the client has them, disposable tools, and spot-conceal instead of covering thickly. Avoid inflamed, swollen, painful acne completely and advise the client to see a dermatologist.
Shade matching: test on the jawline in daylight
A wrong shade is the first thing a client notices in photos. Do not test on the back of the hand or the wrist — that skin is a different colour from the face. The jawline is where the face meets the neck; if the shade is right there, the face and neck look continuous.
The 3-stripe test
- Seat the client near a window in indirect daylight (no direct sun, no warm yellow bulbs).
- Pick the 3 closest shades and swipe 3 stripes along the jawline, each about 2–3 cm long.
- Blend the edges lightly. The stripe that "disappears" into the skin is the match; one that shows up pale is too light, one that shows up dark is too dark.
- Wait 10–15 minutes and look again to check for oxidation. If the matching stripe has darkened, go one step lighter or mix two shades.
Undertone: warm, cool, neutral
Besides depth, skin colour has an undertone: warm (yellow, peach), cool (pink) or neutral. Most Vietnamese clients have warm or neutral undertones; a foundation that is too pink makes the face look falsely flushed, and one that is too yellow makes it look dull. If no single shade matches, mix two on the palette.
The light the client will be seen in
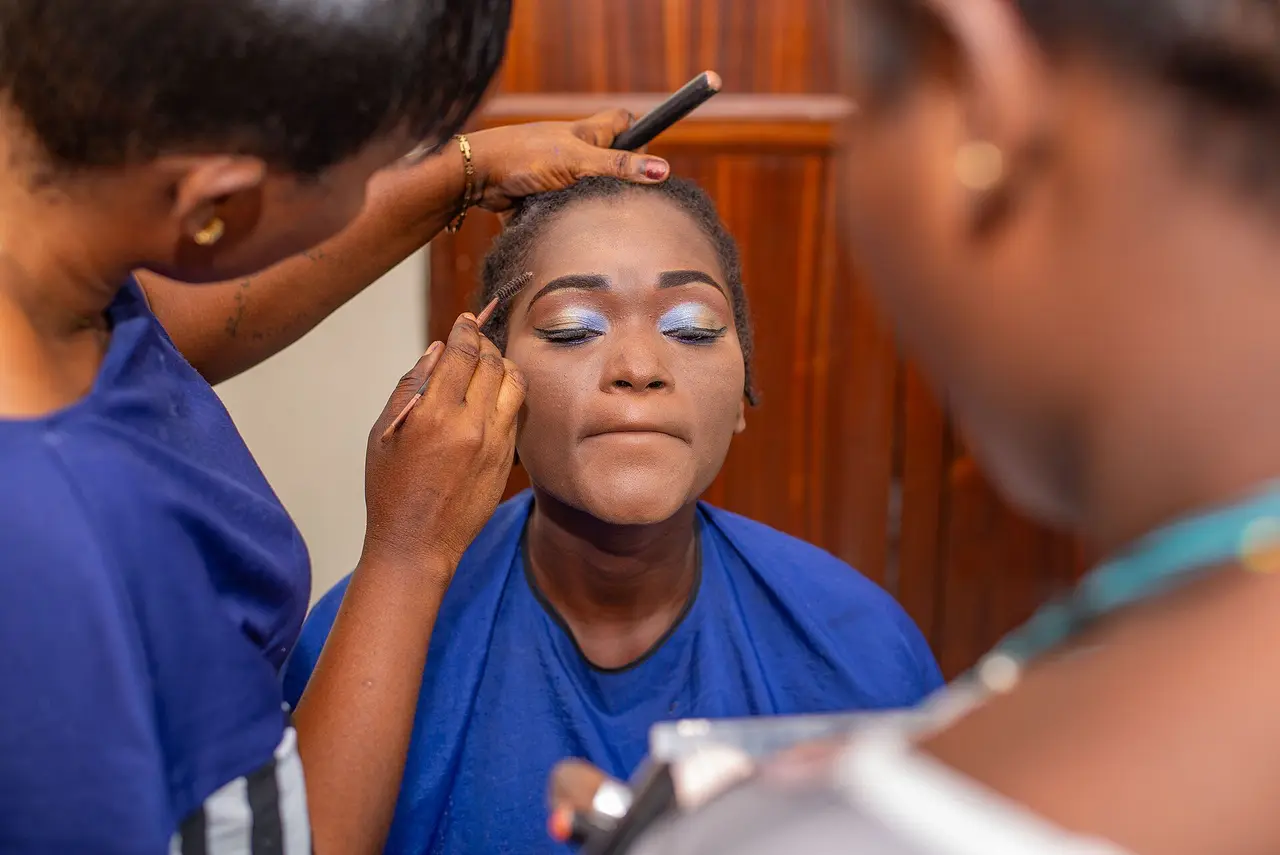
A shade chosen in daylight must be checked again under the lights where the client will be photographed or on stage. Camera flash exaggerates powders with strong light-scattering effects (a white cast under the eyes). Warm lighting at wedding receptions pushes foundation towards orange. When working an event, take a test photo on a phone with the flash on.
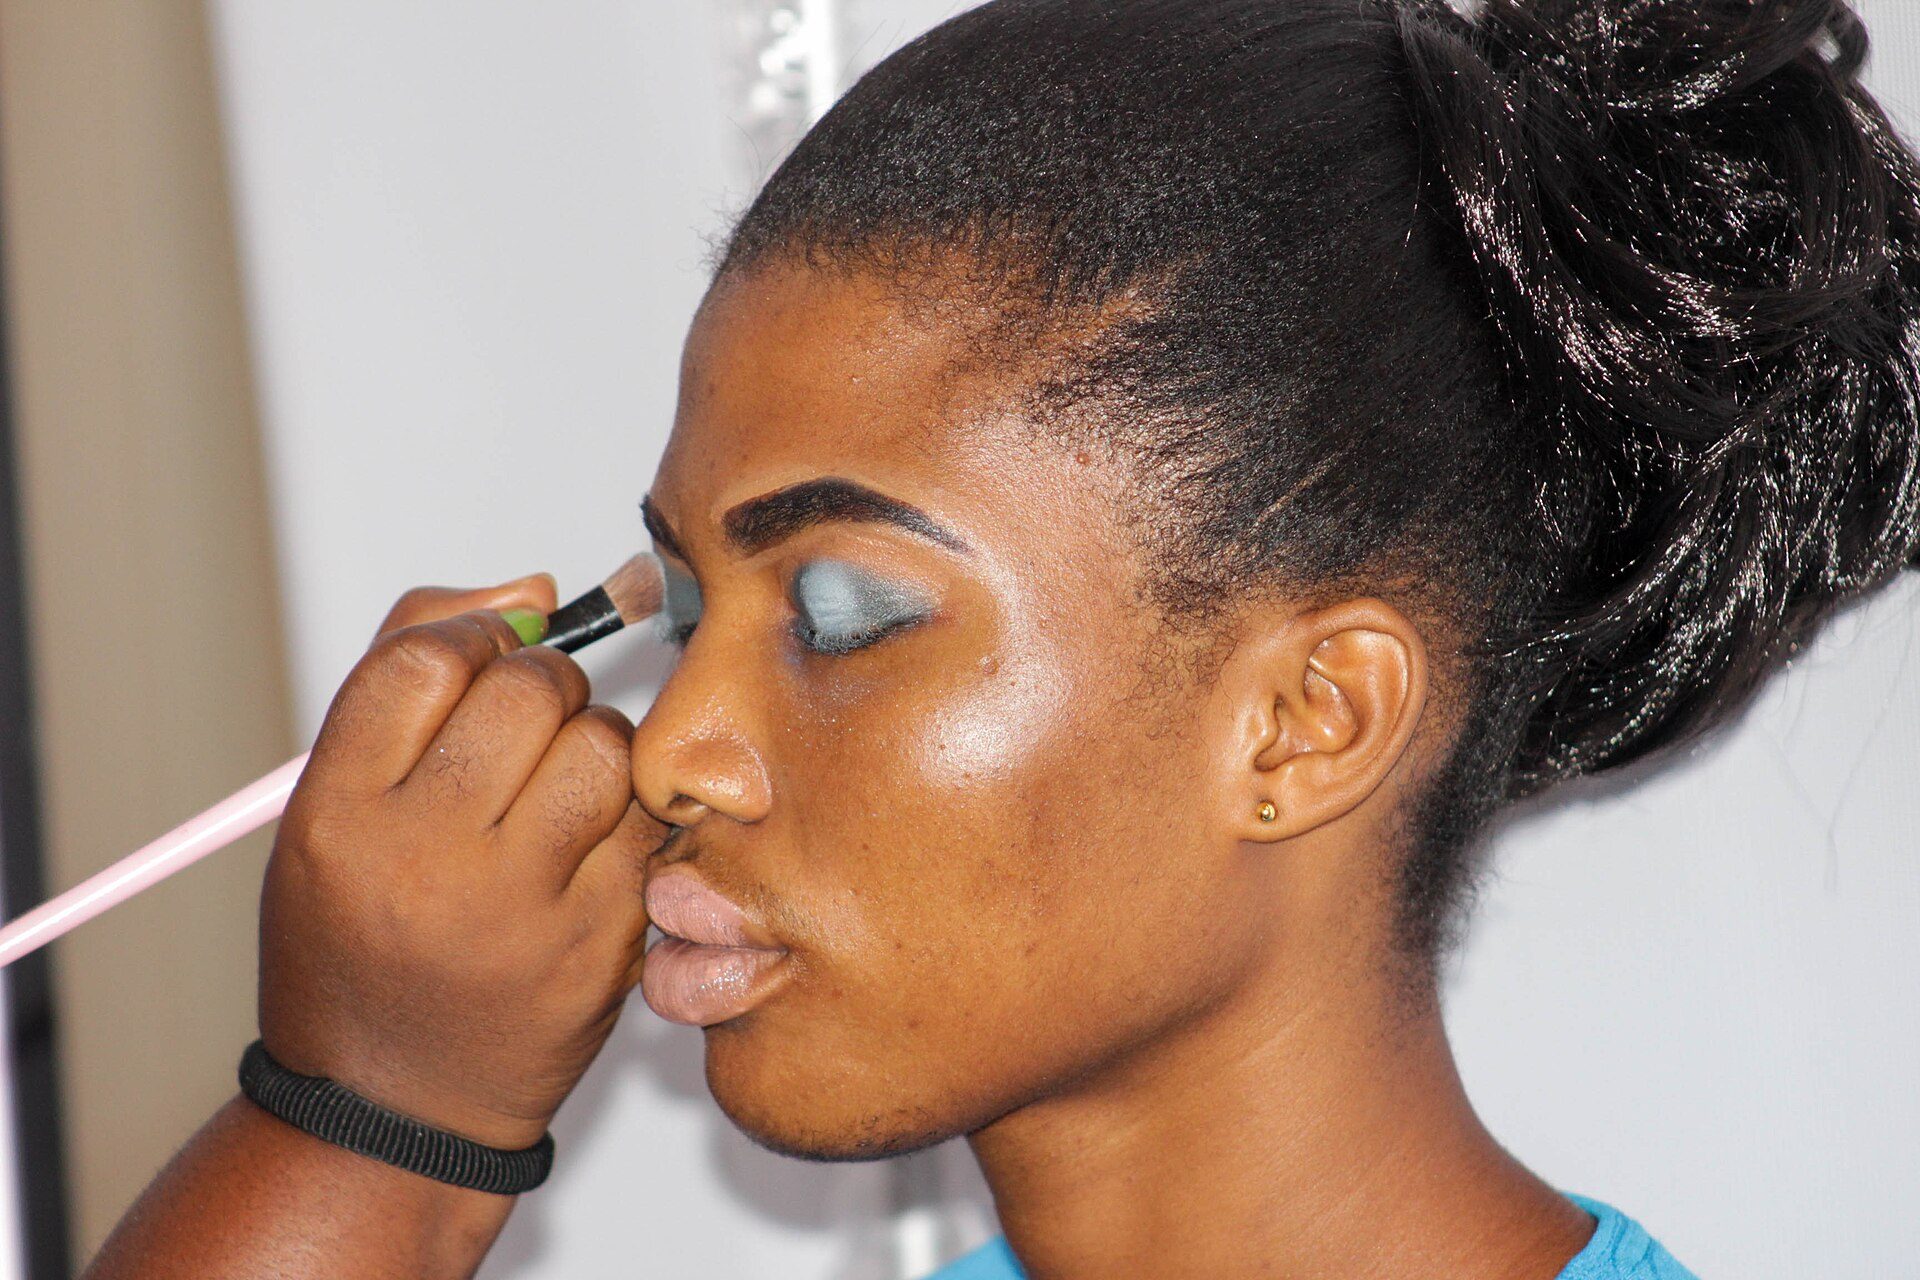
Photo: Fquasie / Wikimedia Commons, CC BY-SA 4.0
Worked example: a 28-year-old with combination skin, a 6-hour outdoor graduation shoot
Ms Ha, 28, a teacher, books makeup for a graduation photo shoot with her class, outdoors from 7 am until about 1 pm on a hot, sunny day. Her skin is combination, oily on the forehead and nose, with slightly dry, flaky cheeks, a few post-acne marks and under-eye circles. Last time she did her own makeup and by noon "my face was dark and cakey around the nose". The artist handles it like this.
Analysis and plan
- Cakey nose last time: too little moisturiser plus heavy powder over flaky skin.
- Dark face by noon: foundation oxidising as the skin got oily in the sun.
- Plan: moisturise by zone, oil-control primer on the T-zone, a satin foundation half a shade lighter, powder on the T-zone only, setting spray; give her blotting papers for touch-ups.
Time for each step
| Step | Time |
|---|---|
| Consultation, jawline shade test (oxidation check runs during the next steps) | 5 minutes |
| Cleanse | 3 minutes |
| Toner, moisturiser by zone | 3 minutes |
| Wait for absorption (brows, palette set-up) | 4 minutes |
| Sunscreen and primer, wait to set | 5 minutes |
| Foundation, 2 thin layers with a damp sponge | 8 minutes |
| Conceal acne marks and under-eye circles | 5 minutes |
| T-zone powder and setting spray | 4 minutes |
| Total for the base | 37 minutes |
Adding it up: 5 + 3 + 3 + 4 + 5 + 8 + 5 + 4 = 37 minutes. A full graduation look (adding contour, eyes, brows and lips) usually takes 60–75 minutes, so the base takes roughly half the time — which matches what experienced artists say: get the base right and everything after it goes faster.
Product cost of the base (for pricing your service)
| Item (amount used per client) | Reference cost |
|---|---|
| Toner, moisturiser | 3,000 VND |
| Sunscreen | 2,000 VND |
| Primer | 4,000 VND |
| Foundation | 8,000 VND |
| Concealer | 3,000 VND |
| Setting powder | 2,000 VND |
| Setting spray | 3,000 VND |
| Disposables (cotton, triangle sponge, applicators, blotting paper) | 5,000 VND |
| Total | 30,000 VND (about 1.2 USD) |
These are 2026 reference estimates for mid-range products in Vietnam; depending on the product line and region, the base can cost roughly 20,000–60,000 VND. A graduation makeup package in a large Vietnamese city typically costs about 250,000–600,000 VND depending on skill and location, so product cost is small; what is expensive is your time and your reputation. The result: when Ms Ha sent photos at 1 pm, her base still matched her neck and the T-zone was only slightly shiny after one blot.
Common mistakes and quick fixes mid-session
At a wedding or event you have no time to remove everything and start again. Here is how to fix each problem on the spot.
Cakey sides of the nose and chin
Sign: grey patches, visible flakes. Cause: dehydration, too much powder. Fix: mist a clean sponge with facial mist or setting spray and press the cakey area to melt the powder; if flakes remain, wipe just that area, apply a little moisturiser, wait 2 minutes and press back the foundation left on the sponge.
Pilling while blending
Sign: small strands rolling up under the sponge. Cause: the layer underneath was still wet, or you dragged too hard. Fix: stop blending, wait 2–3 minutes, lift the pilled bits with a clean sponge and press (do not drag) a very thin new layer. Note which product pair caused it so you do not combine them again.
Oxidising after 1–2 hours
Sign: the face is darker and more orange than the neck. Cause: oxidation and oil. Fix: blot, press a very thin layer of a lighter foundation over the centre of the face, then a light T-zone powder. Next time go half a shade lighter and wait the full 10–15 minutes when testing.
Creasing under the eyes and in smile lines
Sign: clear crease lines when the client smiles. Cause: thick foundation and concealer, too much powder under the eyes. Fix: tap with the ring finger to soften and flatten the product, then press with a clean, slightly damp sponge; do not add powder.
Frequently asked questions
Why does my foundation look cakey even after moisturising?
Usually because the moisturiser was not given time to absorb (less than 3 minutes), there was too much powder, or there were dead skin cells. Wait 3–5 minutes after moisturising, powder only the T-zone, and ask the client to exfoliate gently 1–2 days before the event (never right before makeup).
Should I apply foundation with a sponge or a brush?
A damp sponge gives a thin, natural finish that suits dry skin and everyday looks; a brush gives higher coverage faster, which suits bridal and stage makeup. Many artists use both: apply with a brush, then press with a sponge for a smooth finish.
What should I do when foundation oxidises?
Test on the jawline and wait 10–15 minutes before choosing; for oily skin choose about half a shade lighter, use oil-control primer on the T-zone and blot mid-day instead of piling on more powder.
Can I use the same foundation on several clients?
You can share a bottle as long as the product goes onto a palette via a pump or a clean spatula, and a brush or sponge that has touched a client's face never goes back into the bottle. Sponges and applicators are single-use or washed after every client.
Practice exercises and self-assessment
- Do a base on 3 models with 3 skin types: oily, dry and combination. Record the product used at each step and the waiting times.
- For each model, test 3 shade stripes on the jawline and photograph them immediately and after 15 minutes in window light.
- Photograph the base when finished, after 2 hours and after 4 hours (with and without flash); note which areas went cakey, shiny or darker.
- Wash and dry all brushes and sponges after the session; write a hygiene checklist for your workstation.
Self-assessment criteria
- Pass: the base matches the neck in a flash photo; after 4 hours there is no cakiness on the sides of the nose and no obvious creasing under the eyes.
- Pass: the base takes 35–45 minutes with every waiting step included; no product taken straight from the bottle; allergies asked about.
- Not yet: shade chosen on the back of the hand, powder over the whole face, one sponge used for several clients, or waiting steps skipped between layers.
Once your base is thin, long-wearing and the right shade, you are ready for the next step of the roadmap: Contour, highlight & blush — a good base is the "canvas" that lets shading and highlights sit beautifully without going patchy.
Want to become a makeup artist? See the 8-step makeup artist roadmap (in Vietnamese) — from tool hygiene and skin analysis to bridal makeup, a portfolio and taking bookings.