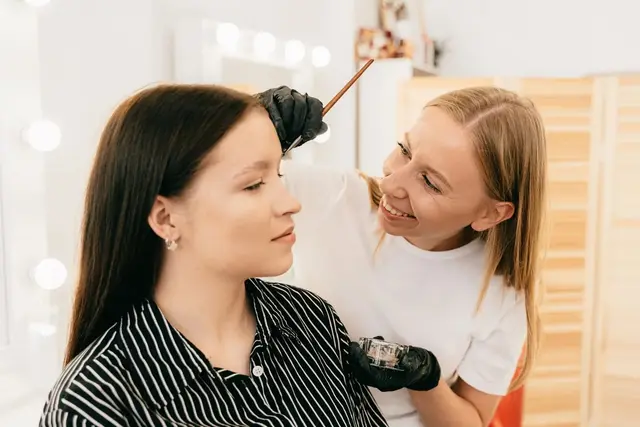
A client calls the spa and asks, "Do you do sugaring? My skin always goes red after waxing and I'd like to try something different." Sugaring is an old hair removal method that has become a popular service in spas and beauty salons. It uses a thick paste made mainly from sugar, water and lemon juice (or citric acid) instead of resin-based wax. The paste is worked into the skin by hand and flicked off, taking the hair with it.
It looks easy in videos, but sugaring is a hand skill that takes many hours of practice: the paste changes with the room temperature, your hands and the client's skin, and a poor flick breaks hairs instead of removing them. This guide takes trainee spa therapists through the whole service, from screening and choosing the paste to the hand technique, hygiene, aftercare and fixing common problems.
Scope of this guide. This article covers sugaring on arms (including the backs of the hands), legs and underarms with professional sugar paste in a spa or beauty salon. Facial and intimate-area sugaring need extra training and are not covered here. Sugar pastes differ between brands in consistency, warming method and working temperature, so all times and figures in this article are for reference only. The product instructions, your spa's written protocol and local rules always come first. Practise on training partners under supervision before working on paying clients. A spa therapist does not diagnose or treat skin conditions; when in doubt, postpone and refer the client to a doctor.
What sugaring is and how it differs from waxing
Both sugaring and waxing pull hairs out from the root, so the skin stays smooth for longer than shaving. The difference is in the product and the technique.
The product. Sugar paste is made mainly of sugar, water and an acid such as lemon juice or citric acid. Some brands add fragrance or colour, so read the label. Residue dissolves in water and wipes off easily.
The working temperature. Hand-technique sugar paste is usually used warm, roughly around body temperature or a little above (for reference; follow the brand). Many waxes, especially hard wax, are worked hotter. Lower temperature does not mean zero risk: paste that has been overheated in a warmer or microwave can still burn.
The direction. In the classic hand technique, paste is spread against the direction of hair growth and flicked off in the direction of hair growth. Soft (strip) wax is usually the other way round: applied with the growth and pulled off against it.
Reuse on the same client. One ball of paste is used again and again on the same client until it becomes too soft or full of hair, then it is thrown away. It is never used on another client and never goes back into the container.
Sugaring is often described as gentler than waxing, because the paste is said to stick mainly to hair and dead skin cells rather than live skin. Experiences vary: it is still hair removal from the root and can cause discomfort, redness, bumps and ingrown hairs. Never promise a client it will be painless.
Hand technique vs. spatula (strip) technique
There are two main ways to sugar:
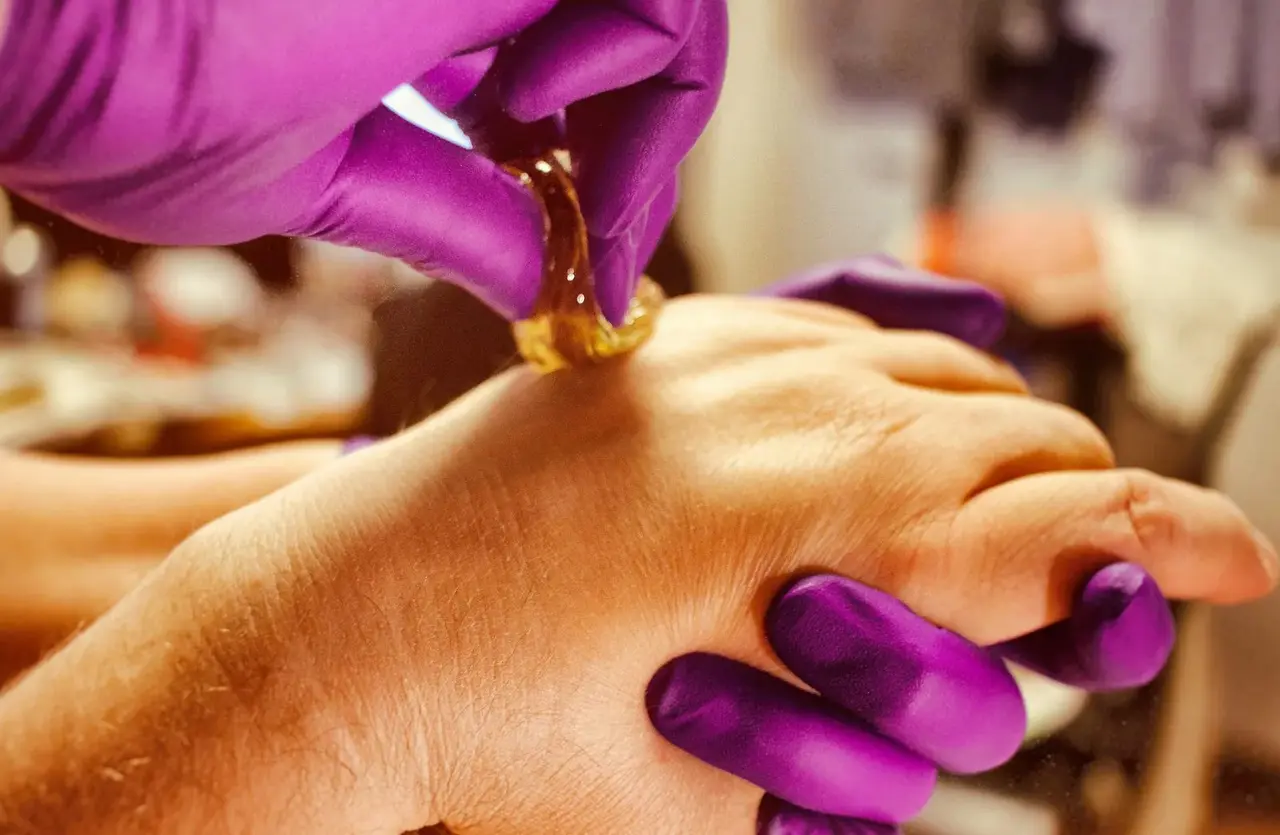
Hand technique (manual sugaring). A firm paste is moulded into a ball with gloved fingers, spread against the hair growth and flicked off with the growth. This is the focus of this guide (cover photo).
Spatula or strip technique. A softer sugar gel is spread with a spatula and removed with a fabric or paper strip, similar to soft wax. Directions depend on the product, so follow the brand's training.
Who should not be sugared today
Screen every client before every appointment, because medication and skin condition change. Use your spa's consultation form and ask the questions out loud.
Do not sugar the area, and postpone the service, if the client has:
Sunburn, a fresh tan from very recent heavy sun exposure, or skin that is red, hot or peeling.
Broken skin, cuts, grazes, open wounds, fresh scars or stitches in the area.
A rash, eczema or psoriasis flare-up, hives, or any skin infection (for example boils, impetigo, fungal infection) in the area.
Warts, moles, skin tags or raised lumps in the area. Work around them with a wide margin, or skip the patch.
Used topical retinoids (for example tretinoin or adapalene) or strong acid exfoliants on the area recently, or had a chemical peel, microdermabrasion or laser treatment there recently. These can make the skin fragile, and paste can lift skin as well as hair.
Taken or is taking oral isotretinoin, an acne medication. Many waxing and sugaring guidelines advise waiting several months after stopping (often quoted as 6 months or more; for reference). Ask the client to check with their doctor and follow your spa's protocol.
Had a reaction to sugaring, waxing or the paste ingredients before.
Check with a supervisor, and in some cases ask the client to get advice from their doctor, if the client:
Has diabetes, poor circulation or slow healing skin.
Takes blood-thinning medication (bruising risk).
Has varicose veins. Never sugar directly over prominent or painful veins.
Is pregnant. Skin may be more sensitive; many spas accept pregnant clients for limb sugaring with extra care, but follow your spa's policy.
Is undergoing cancer treatment or has a condition affecting the immune system.
Is under the age your spa sets for hair removal services without a parent or guardian.
If you are unsure, postpone and ask. A lost appointment is better than damaged skin.
Hair length
Hair needs to be long enough for the paste to grip. Many brands suggest a few millimetres, often about 3–5 mm (for reference). Trim very long hair before you start. If the client shaved two days ago, the hair is probably too short; rebook them.
Tools and products
Set up the trolley before the client lies down.
Professional sugar paste in the consistency you need (see the reference table below). Keep the container closed when not in use.
Paste warmer if the brand requires warming, or a temperature-controlled water bath. Avoid a microwave unless the brand gives clear microwave instructions; microwaves heat unevenly and can create very hot spots inside the paste.
Clean wooden or plastic spatulas for taking paste out of the container. One portion per spatula, no double-dipping.
Nitrile or other non-latex disposable gloves. Several pairs per client, because gloves can tear and get sticky.
Pre-sugaring cleanser recommended by the paste brand, or a gentle skin cleanser, plus clean disposable wipes or cotton.
Light dusting powder if the brand recommends one (often a talc-free or cornstarch-based powder), to absorb moisture and sweat.
Clean scissors or a trimmer, clean towels, couch roll, a lidded bin and a clean dish for your portion of paste.
Aftercare product recommended by your spa, such as a soothing gel or lotion without strong fragrance.
Paste is sold in grades often called soft, medium and firm (or hard); names and thickness differ between brands.
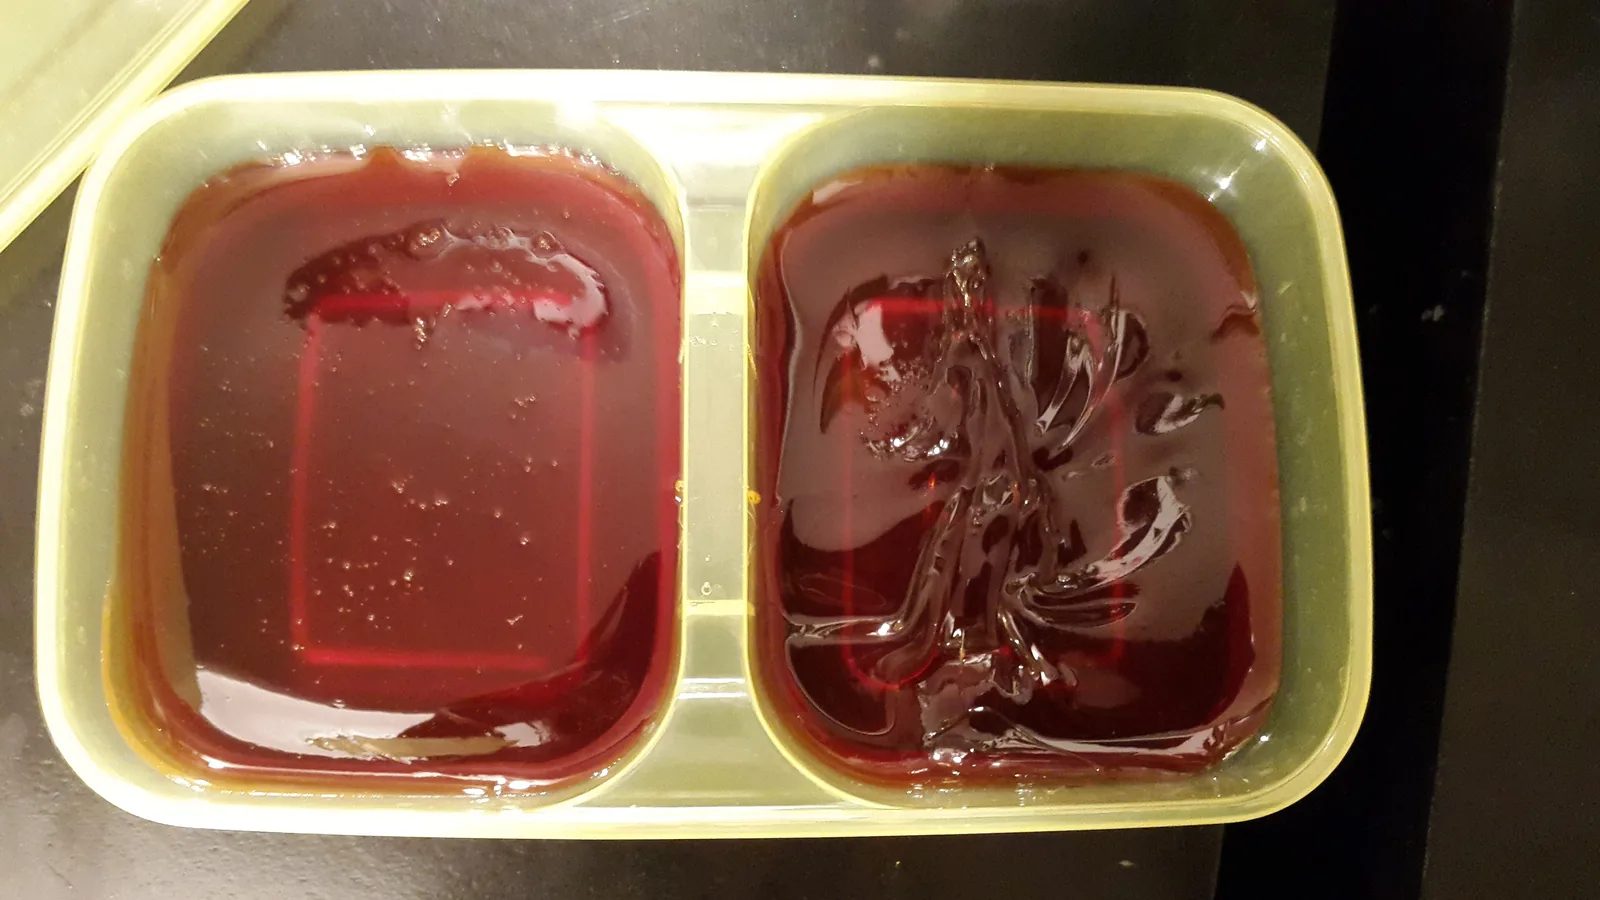
Figure 1. Amber-red sugar paste in a two-compartment plastic container with a lid. Professional pastes come in different consistencies; keep the container closed and take out only the portion you need with a clean spatula. (Photo: Emna Mizouni, Wikimedia Commons, CC BY-SA 4.0)
Choosing the paste consistency
The paste must be firm enough to hold its shape when you work it, but soft enough to spread into a thin layer and grip the hair. Four things change how it behaves:
Room temperature and humidity. In a hot, humid room, common in Vietnam, the paste softens faster and sticks to gloves and skin. A cooler room or a firmer paste helps.
Your hand temperature. Warm hands soften the paste quickly. Some therapists cool their hands under running water and dry them well before putting on new gloves.
The client's skin temperature. A client who has just arrived from the street may be warm and sweaty. Let them rest a few minutes in a cool room first.
Hair type and the area. Coarse, dense hair usually needs a paste that grips well; fine hair on large areas may be easier with a softer paste and the spatula technique.
Reference table: matching paste and technique to the area
This table is a general guide for reference only. Brands describe their grades differently, so always check the product instructions.
Area | Typical hair and skin | Paste and technique (general guide) | Key tips |
|---|---|---|---|
Lower legs | Medium hair, larger area, skin over the shin is thin | Medium paste, hand technique; or soft gel with spatula and strips | Work in small sections; stretch skin well over the shin bone |
Upper legs (thighs) | Often finer hair; hair direction changes around the knee and inner thigh | Medium or soft paste | Check hair direction section by section; support soft tissue with your other hand |
Arms | Fine to medium hair; hair grows in different directions on the forearm | Soft to medium paste | Small patches; the elbow area needs firm stretching |
Underarms | Coarse, dense hair growing in several directions; warm, sweaty skin | Firm paste, hand technique, small sections | Dry and powder the skin well; ask the client to raise the arm and hold the skin taut |
Back of hands and fingers | Fine hair, thin skin, bony surface | Soft to medium paste, very small patches (cover photo) | Stretch the skin between knuckles; use light pressure |
Preparing the client and the skin
Step 1: Consultation and records
Go through the consultation form, ask about medication, recent treatments and previous reactions, and check the skin in good light. Explain what is normal afterwards: some redness and small bumps for a short time.
Step 2: Wash hands and put on gloves
Wash your hands with soap and water, dry them well and put on new disposable gloves. Keep long hair tied back and remove rings and bracelets: they tear gloves and hold bacteria.
Step 3: Cleanse and dry the skin
Cleanse the area with the pre-sugaring cleanser to remove body lotion, deodorant, sunscreen and oils, then dry it completely. Paste will slide on damp or oily skin and refuse to grip the hair.
Step 4: Dust lightly with powder (if your brand uses it)
Apply a very light layer of the recommended powder and spread it evenly. Some therapists also dust their gloves lightly so the paste does not stick to their fingers (Figure 2). Avoid clouds of powder in the air and do not let the client breathe it in, especially near the face.
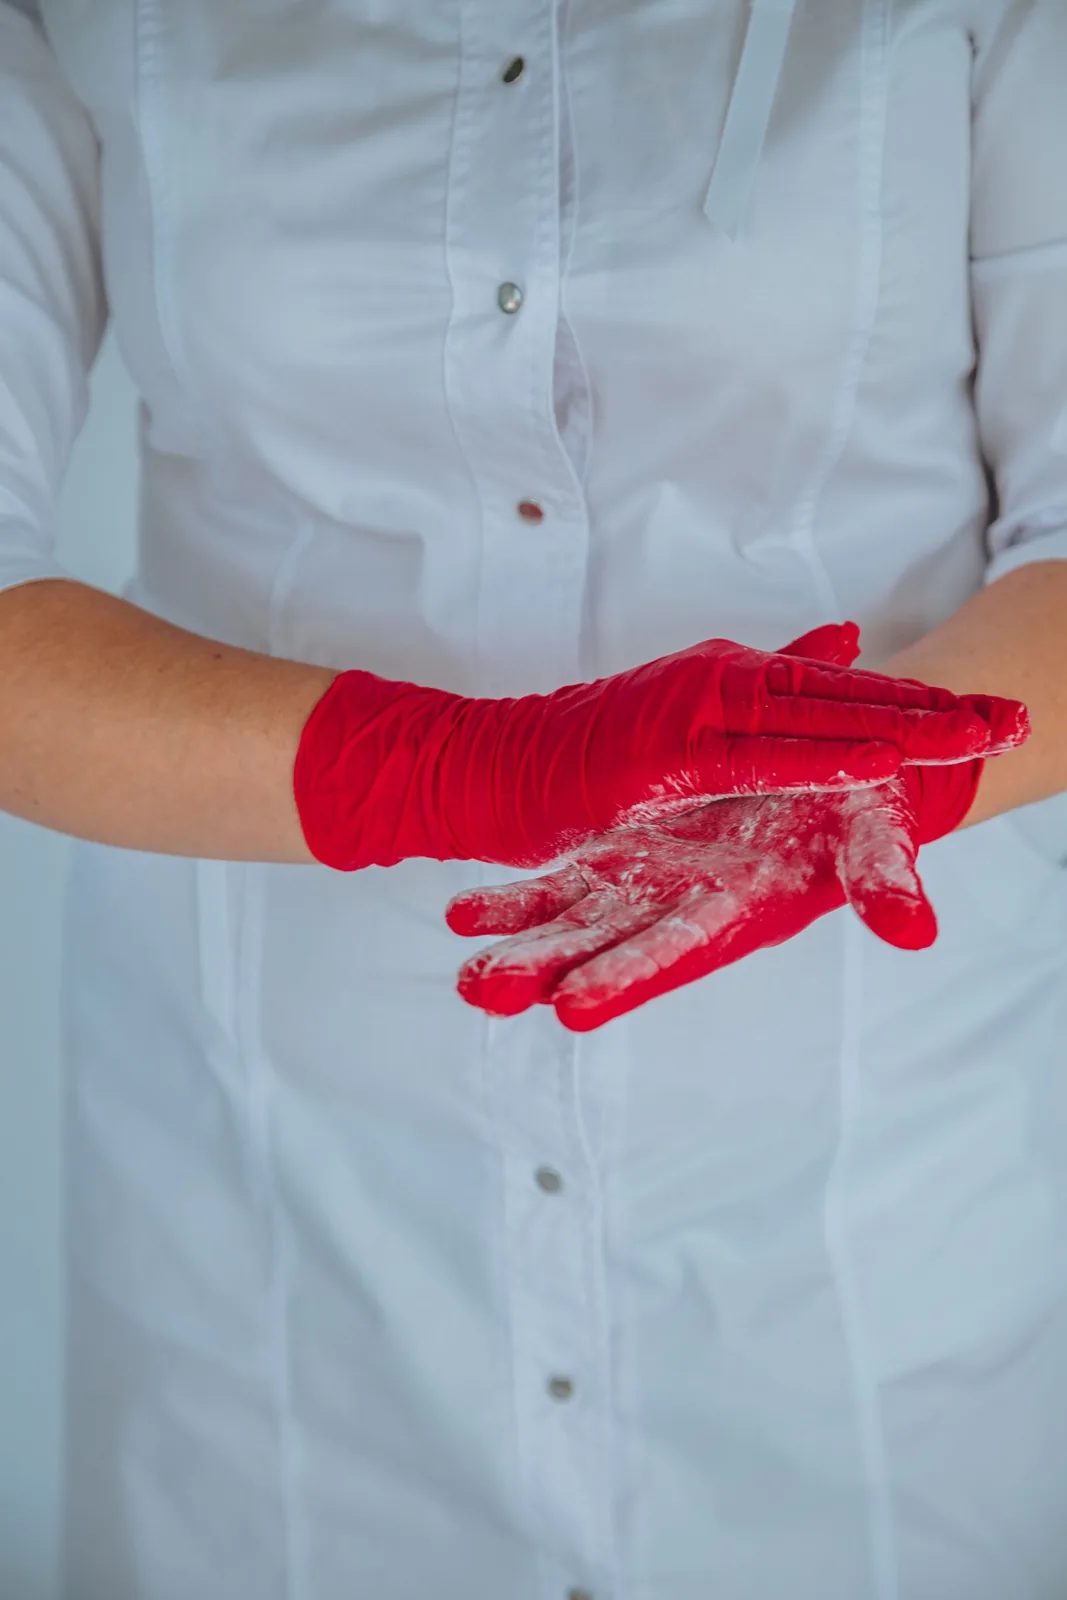
Figure 2. A therapist in a white tunic holds her hands in red disposable gloves dusted with white powder. A light layer of powder on dry gloves and skin helps stop the paste from sticking where it should not. (Photo: Marina Abrosimova, Pexels)
Step 5: Find the direction of hair growth
Look closely at the hair and brush it lightly with your gloved fingers to feel which way it lies. On legs it usually grows downward, but on the knee, back of the thigh, forearm and underarm it can change direction within a few centimetres. Divide the area into small sections where the hair grows the same way.
Step 6: Prepare and test the paste
Warm the paste following the brand's instructions, if needed. Stir it with a clean spatula so the temperature is even, then take out one portion with a clean spatula (Figure 3) and put it in a clean dish. Do not dip back into the container with that spatula.
Test the temperature with a small amount on the inside of your own wrist, then on a small patch of the client's skin, and ask how it feels. It should feel warm and comfortable, never hot. If in doubt, let it cool.
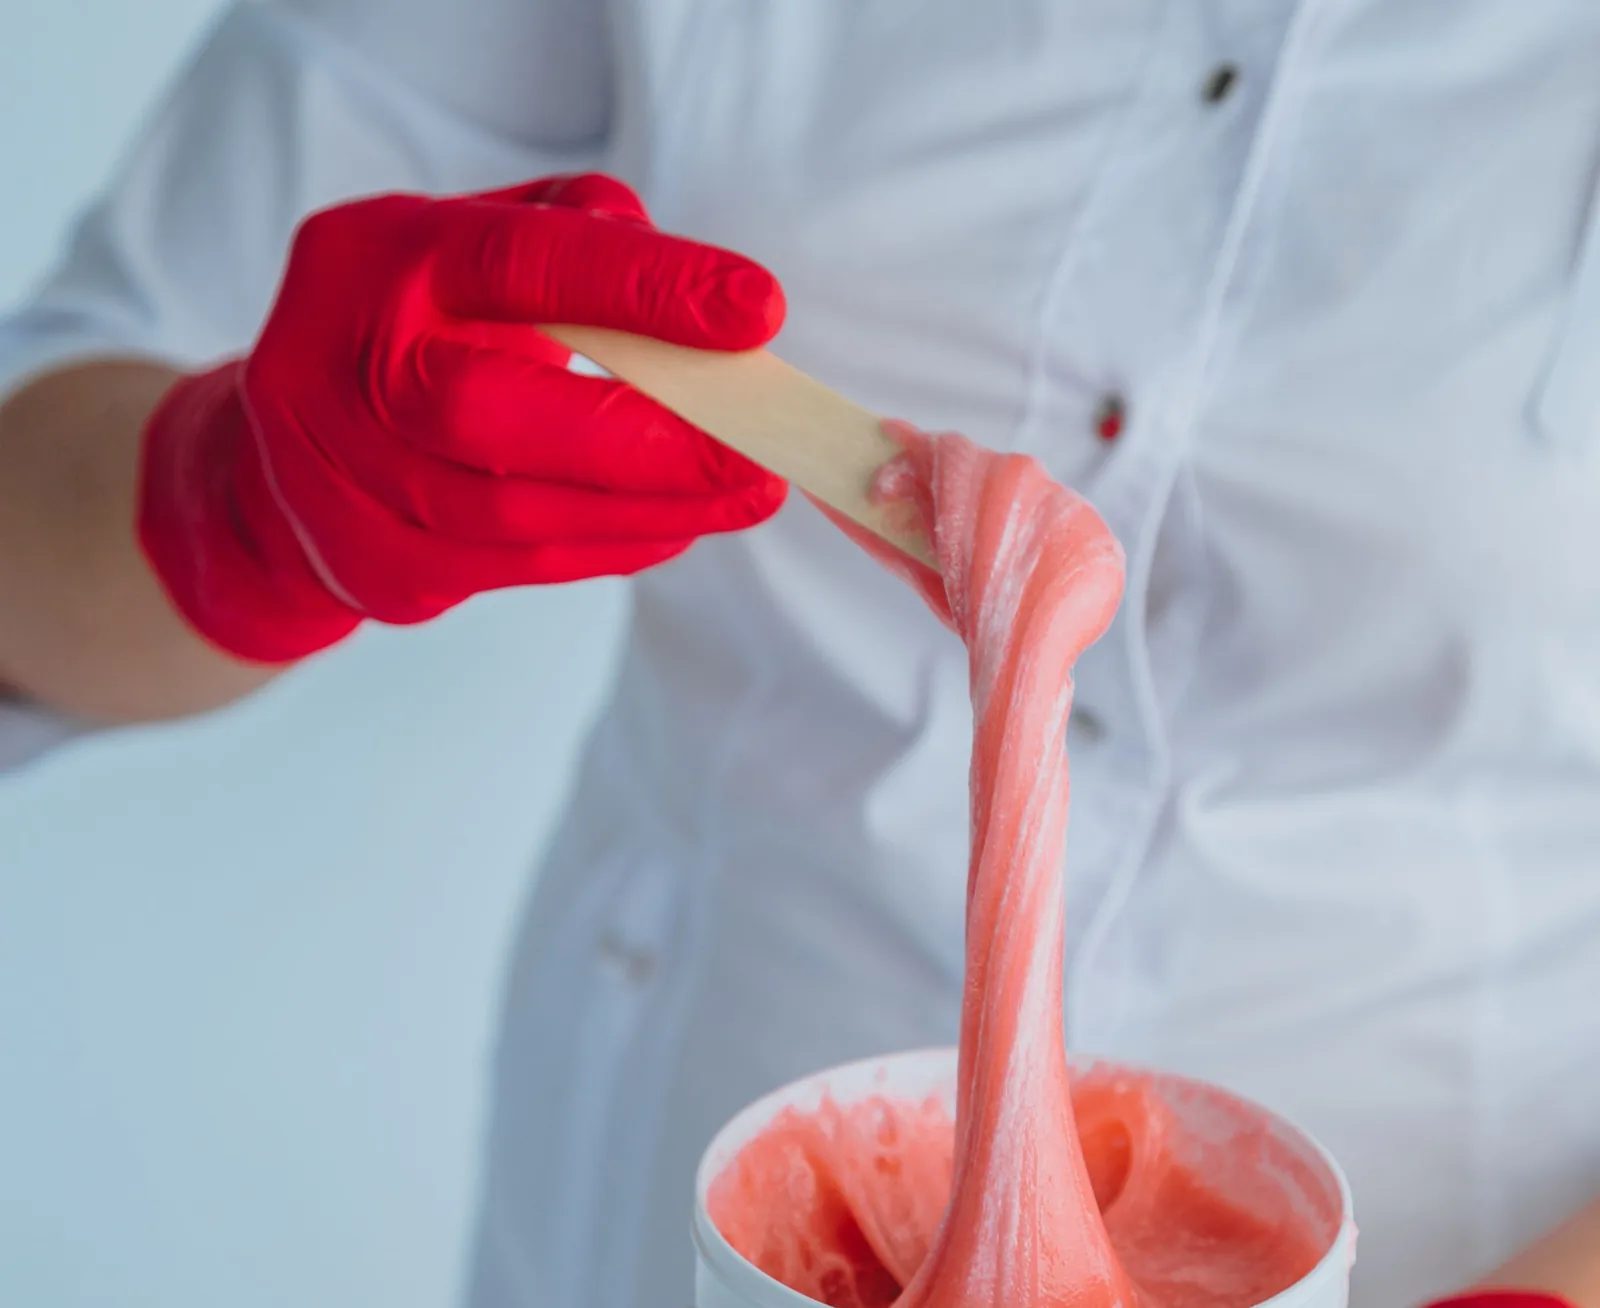
Figure 3. A gloved hand lifts a stretchy ribbon of pink sugar paste from a white container with a wooden spatula. Take one portion with a clean spatula, put it in a clean dish and never dip a used spatula back into the container. (Photo: Marina Abrosimova, Pexels)
How to sugar step by step (hand technique)
Step 7: Work the paste into a ball
Take a portion of paste about the size of a walnut or a little smaller (for reference; smaller for small areas) and work it between your gloved fingers until it is soft, smooth and slightly opaque. If it is stringy and sticks to your gloves, it is too warm or too soft; if it cracks and will not spread, it is too cold or too firm.
Step 8: Spread the paste against the hair growth
Hold the skin taut with your other hand. Using your thumb or the pads of your fingers, press and spread the paste in a thin layer against the direction of hair growth, in a small patch roughly the size of a few fingers (for reference). Go over the same patch two or three times in the same direction, pressing gently, so the paste works around the hairs and into the follicle openings. The paste should look smooth and even, not thick and lumpy.
Step 9: Flick off in the direction of hair growth
Keep the skin stretched with your support hand. With a quick, short movement, flick the edge of the paste off in the direction of hair growth, keeping your hand low and close to the skin, almost parallel to it. Do not pull upward or away from the skin: an upward pull is more likely to break hairs, cause discomfort and bruise thin skin.
Press your support hand or fingers briefly on the area afterwards; many clients find this reduces the sting.
Step 10: Reuse the same ball and move to the next section
Fold the paste back into a ball, work it again for a second, and repeat Steps 8–9 on the next patch. You can use the same ball on the same client until it becomes soft, cloudy and full of hair, or starts sticking to your gloves. Then put it in the bin and take a fresh portion from the container with a new clean spatula.
Limit how many times you remove paste from the same patch. If hairs remain after one or two attempts, it is usually better to leave them or remove them with clean tweezers than to keep working the same skin, especially if it is red. Follow your spa's protocol.
Step 11: Check the skin and remove residue
When the area is finished, check for missed hairs, redness or any spots where the skin looks shiny or raw (a sign the top layer of skin has been lifted). Wipe away any paste residue with a clean cloth and lukewarm water; sugar dissolves in water, so you do not need oil-based removers. Pat dry.
Step 12: Soothe and give aftercare advice
Apply a thin layer of the soothing product your spa uses. Show the client the result, explain the aftercare advice below and book the next appointment. Note in the client record which paste you used, how the skin reacted and anything to change next time.
Hygiene and cleaning between clients
No double-dipping. Use a clean spatula each time you take paste from the container. Used paste and used spatulas never go back into the container.
One client, one portion. The paste ball is used only on one client. Leftover paste from that client is thrown away.
Change gloves between clients, and during a service if they tear, become very sticky, or you touch something outside the treatment area (your phone, the door, the client's bag).
Clean up sugar quickly. Paste on surfaces attracts insects. Wipe with warm water first, then clean and disinfect with the product your spa approves, at the dilution and contact time on the label.
Fresh linen and couch roll for each client; used towels go straight into a lidded laundry basket.
Store the container closed, away from heat and sun. Do not use paste that is out of date or has changed colour, smell or texture.
Aftercare advice for the client
Give the client simple, clear advice, ideally written on a card. Typical advice (for reference; adapt to your spa's protocol):
For the first day or two, avoid hot baths, saunas and steam rooms, very hot showers, sunbathing and tanning beds, and heavy exercise that makes you sweat a lot.
Wear loose, clean clothes; avoid perfumed lotions, fragranced deodorant (after underarm sugaring) and self-tan on the area for the first day.
Do not scratch or pick at bumps.
After a few days, start gentle exfoliation and moisturise regularly to help prevent ingrown hairs.
Avoid shaving between appointments, so the hair is long enough to sugar next time.
Contact the spa if redness, swelling or spots get worse instead of better, or if anything looks infected, and see a doctor if needed.
How long the result lasts varies from person to person. Many clients book again after a few weeks (often about 3–5 weeks; for reference).
If something goes wrong
Paste feels too hot or the client says it burns. Stop immediately. Remove the paste with water and cool the area under cool running water (many first-aid guides say about 20 minutes; for reference, follow your first-aid training). Do not apply ice directly, butter, toothpaste or other home remedies. If the skin blisters or the burn is more than a small spot, refer the client for medical care. Record the incident and tell your supervisor.
Skin has been lifted (shiny, raw or weeping patch). Stop working on that area. Clean gently with cool water, do not apply more paste or strong products, cover with a clean non-stick dressing if needed and advise the client to keep it clean and seek medical advice if it does not heal or looks infected. Record it.
Signs of a severe allergic reaction (swelling of the face, lips or tongue, difficulty breathing, wheezing, dizziness or fainting). This is rare but serious. Call emergency services immediately (115 in Vietnam) and follow your first-aid training.
Reference table: common sugaring problems
Problem | Likely cause | What to do |
|---|---|---|
Paste sticks to gloves and skin, will not flick off cleanly | Paste too warm or too soft; room or hands too hot; skin damp or sweaty | Re-dry and lightly powder the skin; cool your hands and change gloves; use a fresh, firmer portion; cool the room |
Hairs are left behind | Hair too short; paste layer too thick; too few passes; flicking in the wrong direction | Check hair length and direction; spread thinner with two or three passes; flick low and with the growth |
Hairs break instead of coming out | Flicking upward or against the growth; skin not stretched | Keep the flick low and parallel to the skin, in the direction of growth; stretch the skin firmly |
Redness and small bumps right after | Normal response to hair removal for many clients | Soothe, give aftercare advice; it should settle over the following hours to a day or so |
Shiny, raw patch | Skin lifted, often because of retinoids, peels, repeated passes or sun-damaged skin | Stop on the area, give first aid as above, record it and review screening |
Bruise | Weak stretch, upward pull, thin skin or blood-thinning medication | Improve stretching technique; check screening questions next time |
Safety and hygiene checklist for every sugaring service
Before
Room cool enough for your paste; fresh couch roll and towels; lidded bin and laundry basket in place.
Paste in date, container closed, warmer clean and at the brand's setting.
Consultation form completed: medication, retinoids, isotretinoin, recent peels or laser, sunburn and previous reactions asked about.
Skin checked in good light; hair length checked; areas to avoid noted.
During
Hands washed, fresh gloves on, jewellery removed.
Skin cleansed, dried and lightly powdered if the brand uses powder.
Hair direction checked section by section.
Paste taken with a clean spatula; temperature tested on yourself and on the client.
Skin stretched for every flick; flick low and with the growth; repeated passes limited.
You stop if the skin looks shiny or raw, or the client says it burns.
After
Residue removed with water, soothing product applied, aftercare explained.
Used paste, spatulas and gloves in the bin; nothing returned to the container.
Surfaces cleaned and disinfected; linen changed.
Client record updated with paste used, skin reaction and notes.
Frequently Asked Questions
Is sugaring better than waxing?
Neither is better for everyone. Sugar paste usually has a short ingredient list, washes off with water and is worked at a lower temperature, which some clients prefer. Waxing can be faster on large areas. Both remove hair from the root and both can irritate the skin.
Can I make my own sugar paste for the spa?
It is safer to use a professional, labelled product in a spa. Home-made paste is cooked from sugar, water and lemon juice to a very high temperature; hot melted sugar sticks to skin and can cause serious burns while you are cooking it. Home batches also vary in consistency and have no ingredient label or expiry date to show the client. Follow your spa's policy.
Can sugaring remove very short hair?
Hair that is too short will be left behind or break. Many brands suggest about 3–5 mm (for reference). If the client shaved very recently, rebook them.
Can I reuse the same ball of paste?
Yes, on the same client during the same service, until it becomes too soft or full of hair. Then throw it away. Never use it on another client, and never put it back into the container.
Does sugaring stop ingrown hairs?
No hair removal method can promise that. Correct technique (flicking with the growth, not breaking hairs) and good aftercare, such as gentle exfoliation after a few days and regular moisturising, may help reduce them. Clients who get painful or infected ingrown hairs should see a doctor.
Practice Exercises
Read the label. Take the sugar paste your spa uses and write down: the grade (soft, medium, firm), the warming method and temperature, the storage instructions, the expiry date, and the full ingredient list. Explain to a colleague when you would choose a firmer or softer grade.
Hair direction map. On a training partner's lower leg and forearm, draw arrows with a washable skin pencil showing the direction of hair growth in each section. Compare with your trainer.
The low flick. On a training partner, under supervision, sugar a small patch on the lower leg. Ask your trainer to watch your hand angle: is the flick low and parallel to the skin, in the direction of growth? Check how many hairs broke.
Screening role-play. With a colleague playing the client, run the consultation for these three cases and decide whether to go ahead, postpone or ask for advice: (a) a client using a tretinoin cream on her legs; (b) a client who came back from the beach yesterday with red shins; (c) a client with varicose veins on the back of one calf.
Hygiene check. After a practice service, ask a colleague to inspect your station using the checklist above. Did any spatula go back into the container? Is any paste left on the couch or floor?
Good sugaring comes from honest screening, a paste that suits the room and the hair, and a low, confident flick. Practise those three until they feel natural, and your clients will come back.