The safest and most reliable way to view your security cameras on your phone today is the camera or recorder maker's own app, connected through the maker's P2P cloud service: you add the device by scanning its QR code or entering its serial number, set a strong password, then share viewing rights with each family member — with no ports opened on the router. The older method of dynamic DNS plus port forwarding still works, but it exposes the recorder to the whole internet, so use it only when there is a clear reason and you know how to protect it. This lesson walks through the routine a technician follows when handing a system over to a customer in Vietnam, without depending on any particular brand.
By the end of this lesson, you will be able to:
- Explain to a homeowner the difference between viewing through the maker's P2P cloud, dynamic DNS with port forwarding, and a VPN, and choose the right one for each home.
- Complete the 7-step routine: activate, set a strong password, update firmware, add the device to the app, share access, enable alerts, and test over 4G.
- Calculate the upload bandwidth and 4G data needed when the whole family is watching, and choose between the sub stream and the main stream.
- Use the "offline / can't view" fault table to find the cause within 10–15 minutes.
- Install and aim cameras with privacy in mind: never pointing into neighbours' homes or other people's private spaces.
Want to install cameras for homes and shops? NVR configuration and remote viewing is step 5 of the roadmap — after safety, choosing cameras, running PoE cable, and mounting and aiming. See the 8-step CCTV installer roadmap.
How remote camera viewing works
The recorder sits on the home's local network (LAN) behind the internet provider's router; a phone out on the street is on a different 4G network. The two ends have to "meet" across the internet in one of three ways.
Option 1: the maker's P2P cloud (recommended)
The recorder or camera opens a connection outwards to the maker's server and keeps it alive. The phone logs into the app and the server acts as a matchmaker, linking the phone to the device — directly if the networks allow it, or through a relay server if not. Because the connection starts from inside the home, nothing has to be opened on the router. Every device has a serial number (a unique ID) printed on its label and shown in its menu, usually with a QR code for quick scanning (Figure 2 shows the same gesture of scanning a QR code with a phone).
Option 2: dynamic DNS and port forwarding
Dynamic DNS attaches an easy name to the router's public IP address, which changes from time to time; the technician then "opens a port" (port forwarding) so requests from outside go straight to the recorder. It does not depend on the maker's servers, but the recorder is exposed to the internet: anyone who scans and finds the port can try to log in or exploit old firmware bugs. Many Vietnamese providers also use shared IP addresses (CGNAT), so port forwarding may not work at all.
Option 3: a VPN into the home network
A router with a VPN server lets the phone "join" the home network and view by local IP address. It is secure but hard for an ordinary homeowner to use; it suits offices and workshops with someone in charge of IT.
| Criterion | Maker's P2P cloud | Dynamic DNS + port forwarding | VPN |
|---|---|---|---|
| Ports opened on the router | None | Yes | Only the VPN port |
| Exposure to the internet | Low (outbound, behind an account) | High (recorder answers anyone) | Low |
| Difficulty for the homeowner | Easy, scan and go | Medium | Hard |
| Depends on the maker's servers | Yes | No | No |
| Works behind shared IP (CGNAT) | Yes | Usually not | Usually not |
| Recommended for | Homes, small shops | Only with a reason and proper protection | Offices, workshops with IT staff |
Security note: do not open ports carelessly, and above all never expose the recorder's web and service ports to the internet with the default password. An exposed recorder running old firmware is a familiar target for malware and peeping intruders. If a customer really needs port forwarding: change the default port numbers, open only the ports required, use a strong password, update the firmware and write it all down in the handover record.
Preparation before setting up the customer's app
Most "the customer called to say they can't view" jobs come from poor preparation: a flaky network on the recorder, the wrong clock, or an account registered in the technician's name.
Check the network and the recorder
- Connect the recorder to the router or switch with a network cable and give it an IP address (automatic, or a static address outside the router's DHCP range). The back of a PoE recorder has PoE ports for cameras and a separate LAN port for the router — do not mix them up (Figure 1).
- Check the "platform / cloud / P2P" status in the recorder's network menu: it must say "online".
- Set the time zone to GMT+7 (Vietnam) and turn on automatic time sync; a wrong clock makes playback searches miss and can cause login errors.
- Test the line's upload speed with a phone on the same Wi-Fi and note it down for the bandwidth calculation later.
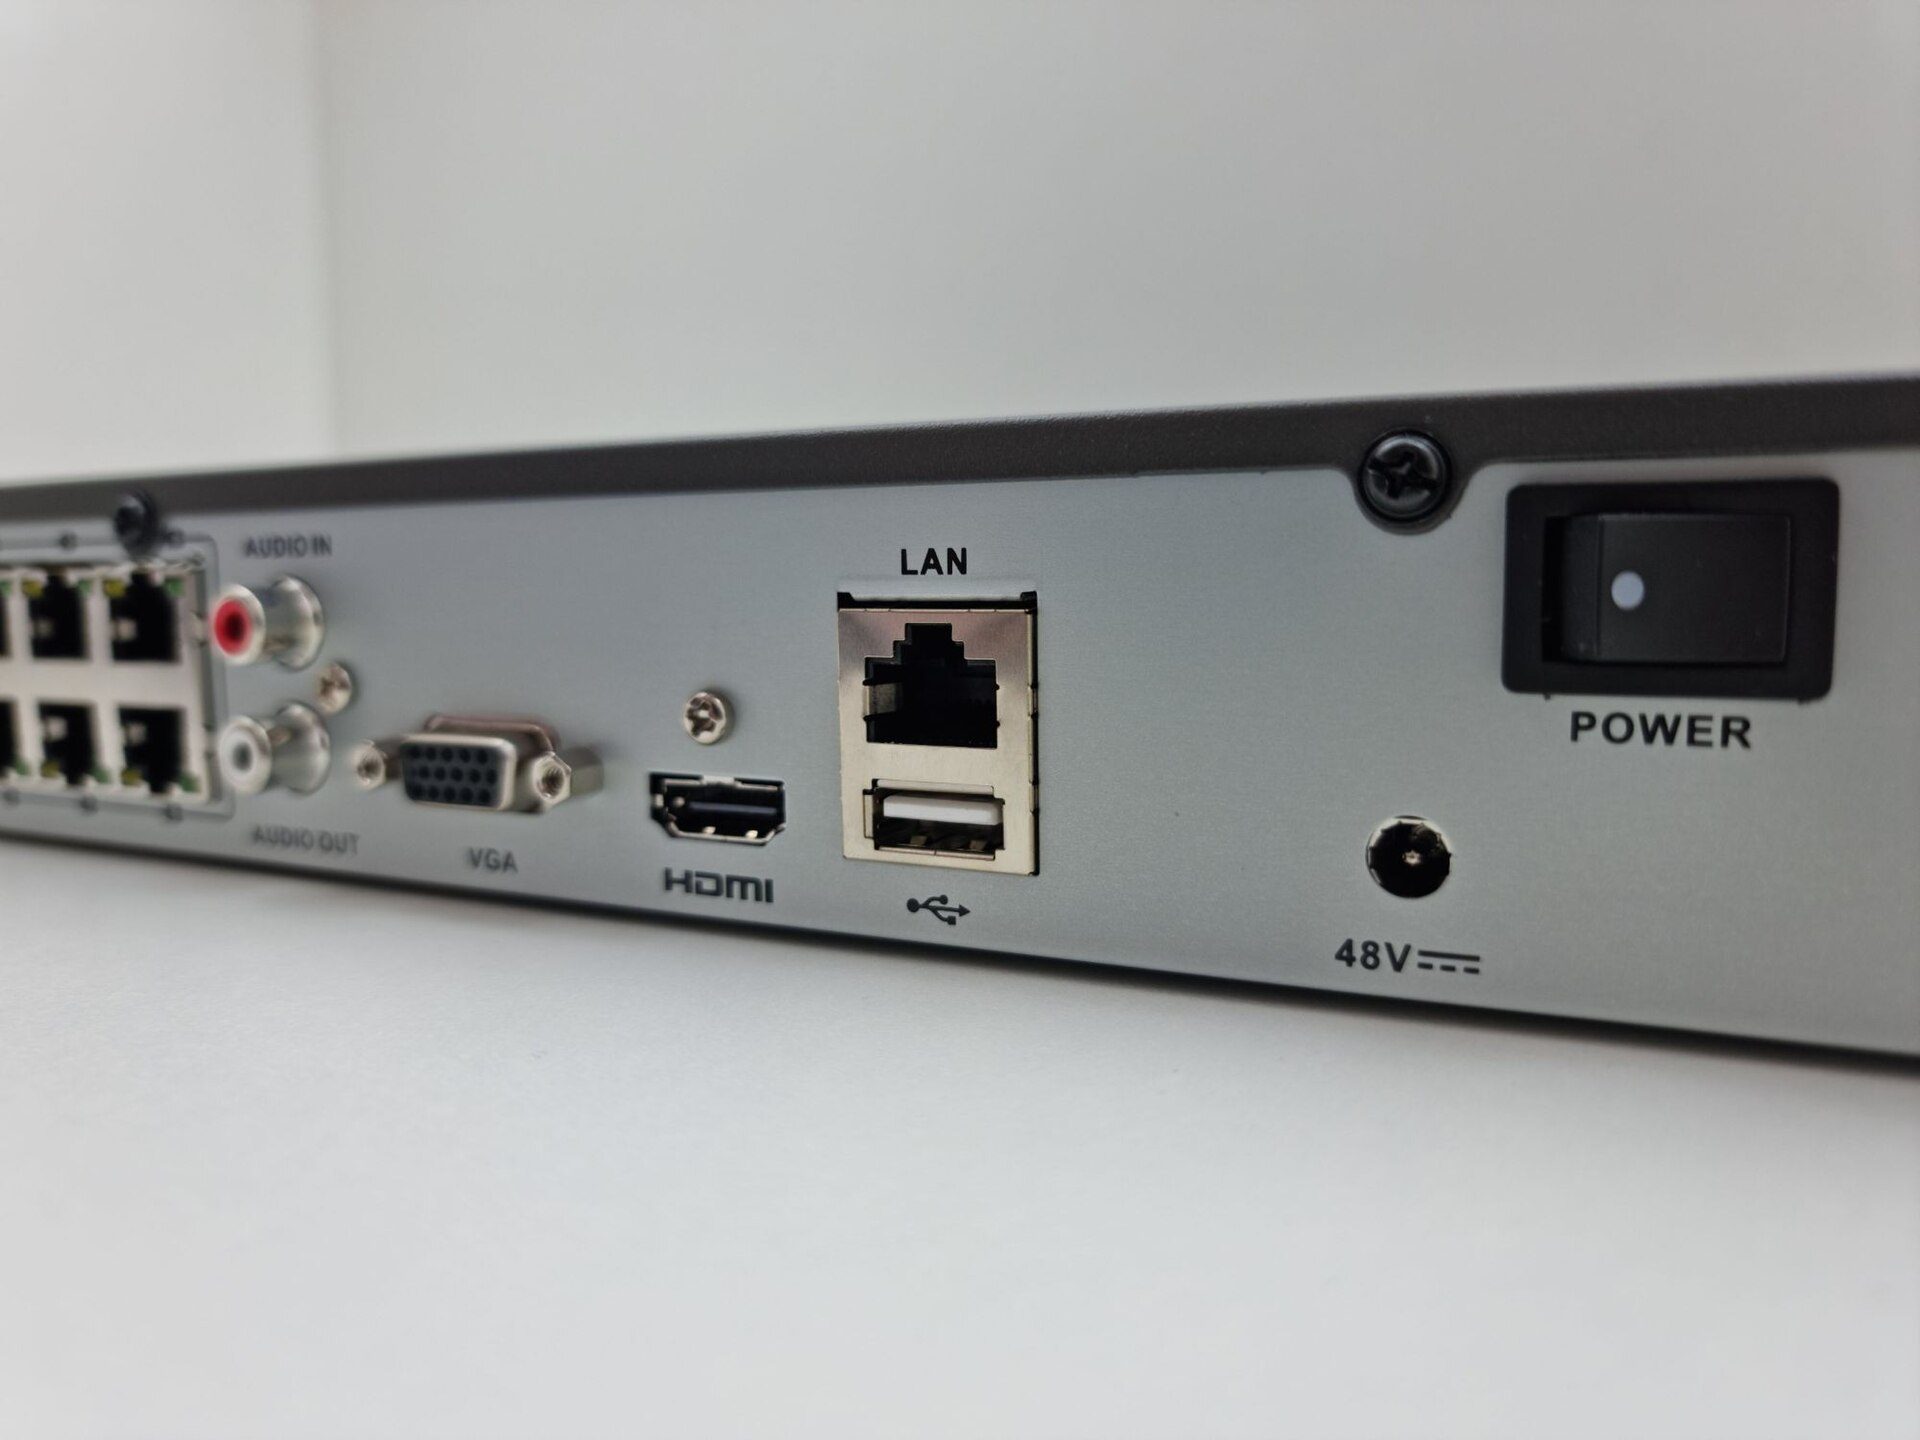
Photo: Smart Home Perfected / Wikimedia Commons, CC BY 2.0

Register the account to the right owner
The "device owner" account must be registered with the homeowner's phone number or email. Whoever owns the account that a device is bound to has full control: deleting, sharing and changing settings. If the technician signs up with their own number, the customer loses control when that technician leaves the job or changes number.
What to bring
A laptop with a network cable, your own phone on 4G to test viewing from outside, a printed handover sheet (serial numbers, recorder IP, owner account, people given access) and an envelope to seal the admin password.
The technician's 7-step routine for phone viewing
This order works for most brands; menu names differ but the meaning is the same.
- Activate the recorder and set a strong password. Recent recorders force you to set an admin password on first boot. Use at least 12 characters with upper case, lower case, numbers and symbols; never a birthday, phone number or "123456". Set the homeowner's recovery email or security questions at the same time.
- Update the firmware. Check the firmware version of the recorder and cameras against the maker's official website or the online update function in the menu. Use only official files for the exact model, and never cut the power during an update.
- Set the verification / video encryption code (many brands have this under the platform settings). It is separate from the admin password; the app asks for it the first time video is opened.
- Add the device to the maker's app. Install the app from the official app store, register with the homeowner's number or email, choose "add device" and scan the QR code on the recorder's label or on the menu screen (Figure 2). If scanning fails, type the serial number in by hand.
- Share access with each family member. Use the app's sharing function: one account per person, only the permissions they need (live view, playback, alerts), and only the cameras they need. Never hand out the owner account's password.
- Turn on motion or person alerts. Enable motion or person detection on the gate and yard cameras; draw detection zones that avoid shared paths and swaying trees; set a schedule (for example 22:00–06:00) so the family is not pinged all day.
- Test from an outside network. Turn off Wi-Fi on your 4G phone, open the app with a shared account, watch live and play back a clip. If it works, record it on the handover sheet.
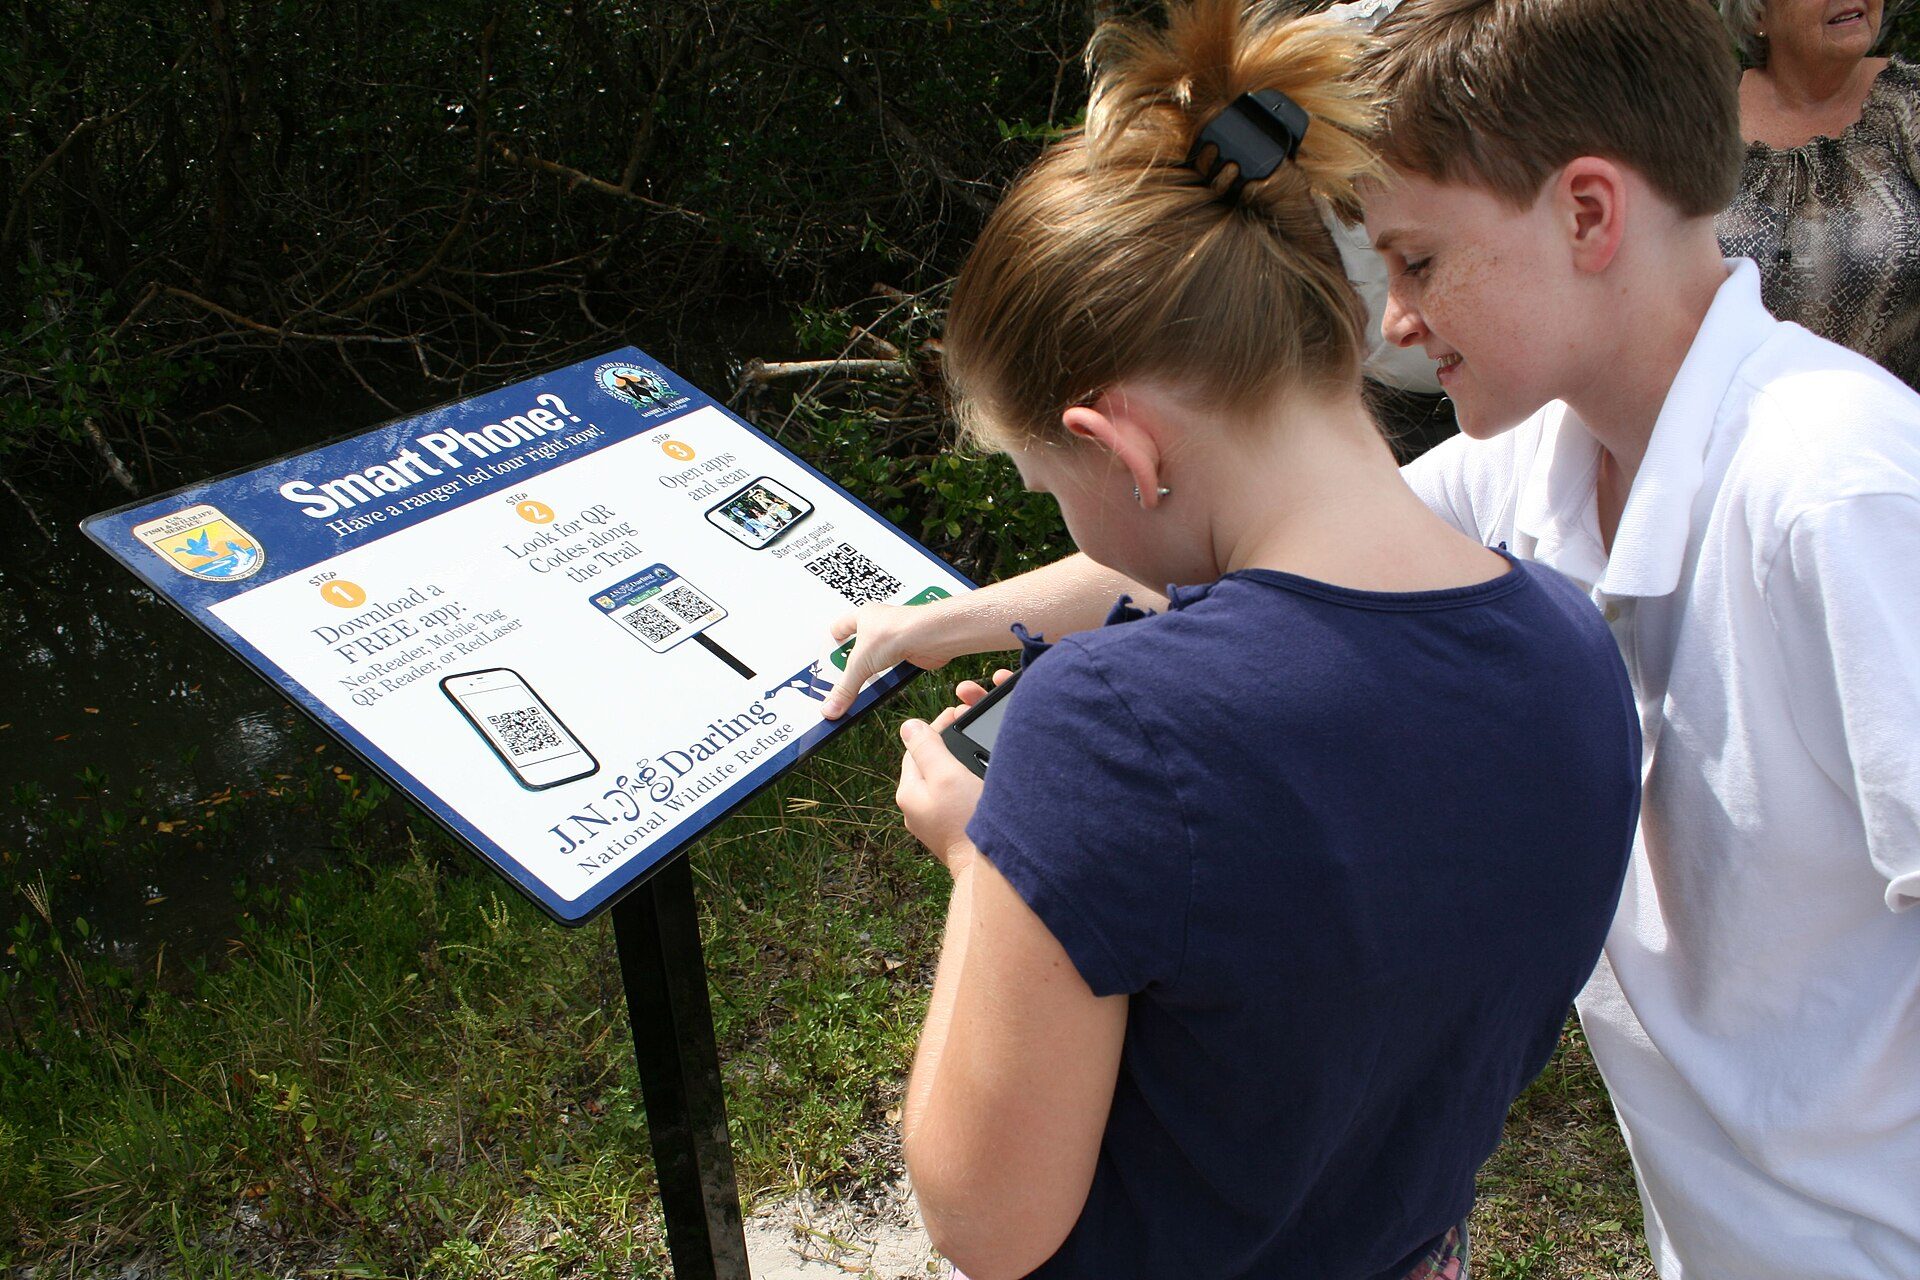
Photo: U.S. Fish and Wildlife Service Headquarters / Wikimedia Commons, Public domain

Main stream and sub stream: choose for smooth viewing
Each camera sends a main stream (sharp, used for recording) and a sub stream (light, used for multi-camera view). Set the app to show the sub stream by default and switch to "HD" only when one camera is enlarged. Viewing stays smooth even on weak 4G.
Handover and sealed passwords
Write the recorder's admin password on the sheet, put it in an envelope, seal it and have both sides sign across the seal. Show the homeowner how to change the app password after the technician leaves. On the sheet, state clearly that the system uses the maker's P2P service with no ports opened (or which ports were opened, and why).
Worked example: a two-storey townhouse, 4 cameras, 4 viewers
Mr Hung has a two-storey townhouse in Binh Duong with four 2MP IP cameras on a 4-channel NVR and a home fibre connection. He wants: himself and his wife to see all 4 cameras, his parents in the countryside to see only the gate camera, and his son, who studies far away, to receive gate alerts at night only. You are the technician doing the handover.
Step 1: calculate upload bandwidth
Reference settings in the recorder: sub stream 512 kbps per camera, main stream 4 Mbps (4,096 kbps) per camera. The heaviest case is 2 people watching all 4 cameras on the sub stream while 1 person enlarges one camera on the main stream:
- 2 people × 4 cameras × 512 kbps = 4,096 kbps ≈ 4 Mbps.
- 1 person × 1 camera on the main stream = 4 Mbps.
- Total upload needed: 4 + 4 = 8 Mbps.
Mr Hung's line measures about 40 Mbps upload, more than 4 times the need, so it is fine. If a home has under 10 Mbps upload, lower the sub-stream bitrate and advise viewing HD one camera at a time.
Step 2: calculate 4G data for the parents
The parents watch the gate camera on the sub stream for about 20 minutes a day: 512 kbps × 1,200 seconds = 614,400 kb; divide by 8 to convert bits to bytes: 614,400 ÷ 8 = 76,800 KB ≈ 75 MB per day. Over a 30-day month: 75 × 30 = 2,250 MB ≈ 2.2 GB. An ordinary 4G plan is enough, but tell them not to leave the app in HD mode for hours.
Step 3: access table and time taken
| User | Account | Cameras | Permissions |
|---|---|---|---|
| Mr Hung | Device owner | All 4 | Full control, settings |
| His wife | Shared | All 4 | Live view, playback, alerts |
| His parents | Shared | Gate camera | Live view only |
| His son | Shared | Gate camera | Live view + alerts 22:00–06:00 |
Actual time: activation and password 10 minutes; firmware update 15 minutes; adding the device to the app 10 minutes; sharing with 3 people 15 minutes; alert zones and schedule 10 minutes; 4G test and signed handover 10 minutes. Total: 10 + 15 + 10 + 15 + 10 + 10 = 70 minutes. Tell the customer to allow about 1 hour 15 minutes so you are not rushed.
A stand-alone remote-viewing setup (when the customer bought the equipment themselves) costs roughly 100,000–300,000 VND per visit as a 2026 reference (about 4–12 USD), depending on the region, number of cameras and travel distance; many installers include it in the package price for new systems.
"Offline / can't view" fault table
When a customer calls to say "I can't see the cameras", ask: is there a picture on the local monitor, does the app work on the home Wi-Fi, and what error does the app show? Then use the table.
| Symptom | Common cause | Check / fix |
|---|---|---|
| App shows the device "offline", the local monitor still has a picture | The recorder has lost internet: router rebooted, router replaced, LAN cable unplugged | Check the LAN port light and the cloud/P2P status in the menu; reseat the cable, restart the router |
| Offline after the provider swapped the router | The new router uses a different IP range; the recorder still has the old static IP | Switch the recorder to automatic IP or set a static IP in the new range; check DNS |
| One camera has no picture, the others are fine | Broken cable, waterlogged RJ45 plug, weak PoE power, frozen camera | Check the PoE port light, test the cable with a tester, restart that camera |
| Video plays but stutters or freezes | Weak upload, several people watching HD, weak 4G on the phone | Switch to the sub stream, lower its bitrate, check the line's upload |
| Wrong password or verification code | Someone changed the password/code, typing error, account temporarily locked after failed attempts | Wait for the lock to expire, check with the owner account; never reset the recorder without the owner's consent |
| Live view works, playback says no recordings | Hard drive failed or not formatted, recording schedule off, wrong system time | Check drive status, recording schedule and system time |
| A Wi-Fi camera often goes offline in the evening | Weak Wi-Fi at the mounting point, interference, overloaded router | Measure signal at the camera, add an access point, prefer 2.4 GHz for cameras |
| No motion alerts arrive | Phone blocks notifications, battery saver, detection schedule off | Allow notifications, let the app run in the background, check schedule and zones |
Quick narrowing-down order
- Is there a picture locally? No → a camera, cable, power or recorder fault (part of the troubleshooting step).
- Picture locally, but does the app work on the same Wi-Fi? No → an account, password or app problem.
- Works on the same Wi-Fi but not on 4G → the recorder's internet connection or the provider.
How is a Wi-Fi camera different from a recorder?
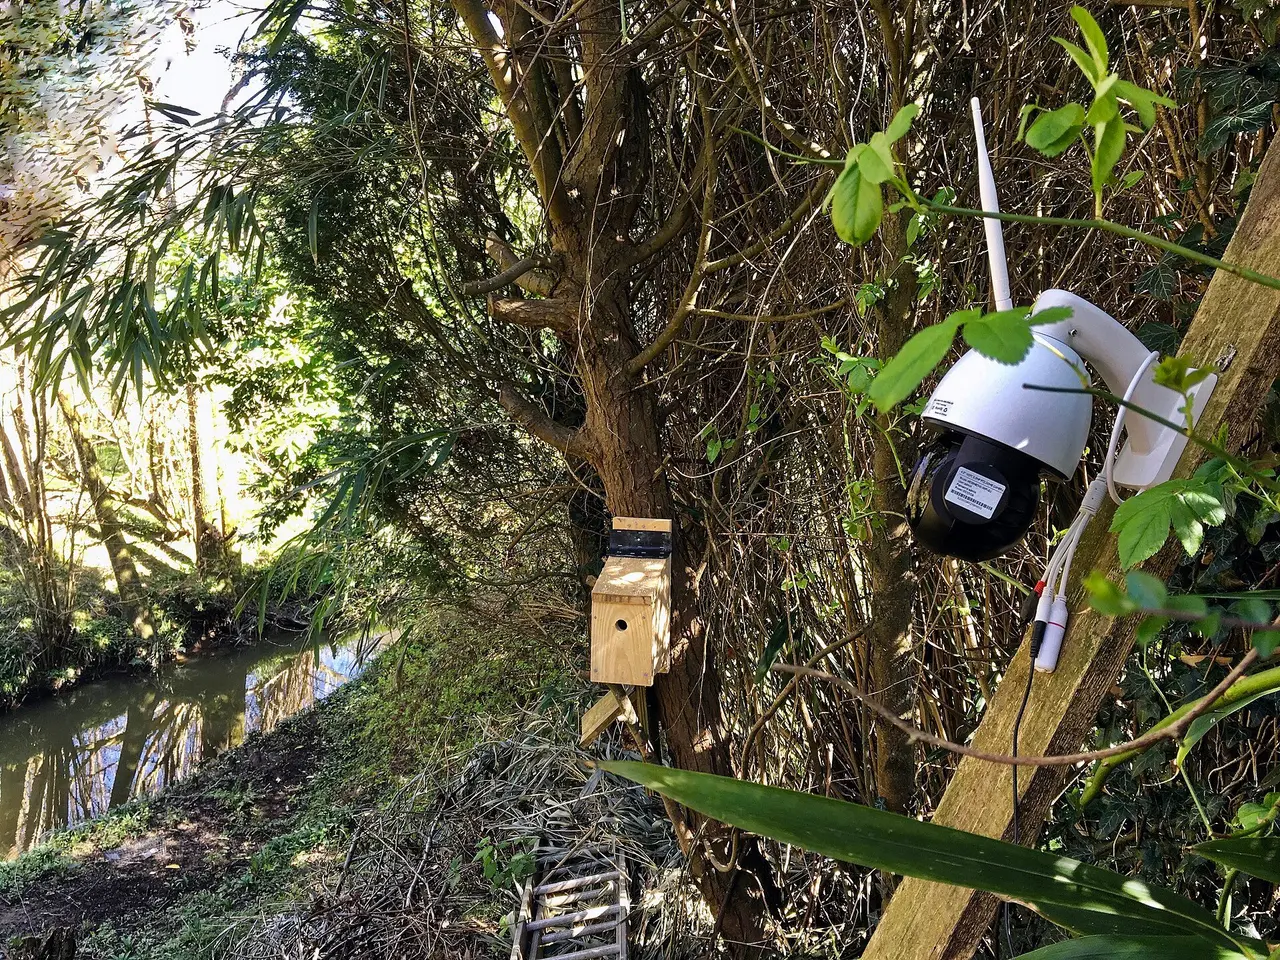
A Wi-Fi camera (like the one in Figure 3) connects straight to the maker's cloud and records to a memory card or a paid cloud plan. It is easy to set up but depends on the signal where it is mounted: measure the signal during the survey, and if it is weak, add an access point or switch to a wired camera.
Photo: Acabashi / Wikimedia Commons, CC BY-SA 4.0

Account security and privacy
One leaked account password means a stranger can watch a family's daily life. A good technician makes sure only the right people can see.
Security rules at handover
- No default passwords, and never the same password for the recorder, the app and the Wi-Fi.
- Turn on two-factor authentication for the owner account if the app supports it.
- One shared account per person; when a domestic helper leaves, revoke their access immediately.
- Every 6 months, check for firmware updates and review the list of people with access.
Privacy: film the right places, never the wrong ones
Film only within the customer's home or shop: gate, yard, walkways, the till. Never point cameras into neighbours' homes, the windows next door, toilets, changing rooms or anyone else's private space. If a view unavoidably spills over, use the recorder's privacy mask function to black out that area.
If the home has a domestic helper, advise the owner to tell them clearly where cameras are installed. Vietnamese law protects privacy and personal data, and the detailed rules can change; for shops, boarding houses and businesses, advise the owner to check the regulations currently in force and put up "CCTV in operation" signs.
Viewing on a phone in public
Remind the customer to use a screen lock, not to log into the app on shared devices, and to log out when changing phones (Figure 4): an unlocked phone that gets lost takes the home's cameras with it.

Photo: Dennis Cortés cortes / Wikimedia Commons, CC0

Safety when troubleshooting on site: many "offline" jobs mean climbing a ladder to check a camera or an outdoor connector. Set the ladder firmly with someone holding it, never climb in rain or thunderstorms, and use a safety harness on roofs or poles. Switch off the power before rewiring the 220 V supply of an adapter or the socket feeding the recorder or switch; never run camera cable in the same conduit as mains power cables.
Common mistakes new technicians make with remote viewing
Registering the app account with the technician's number
Symptom: the customer has to call the technician to add a viewer. Fix: always create the owner account with the customer's number or email; if it is already wrong, use the ownership transfer function or remove the device and add it again.
Opening ports "just in case"
Symptom: the recorder works fine over P2P, yet the router still has several ports forwarded. Cause: old habits. Fix: delete unused port-forwarding rules and turn off UPnP on the recorder if it is not needed.
Motion alerts "spamming" all day
Symptom: the customer switches alerts off entirely. Cause: a detection zone covering the whole frame. Fix: narrow zones, person detection and a schedule.
Not testing from an outside network
Symptom: it works at home but fails outside. Fix: step 7 is mandatory — test over 4G before signing the handover.
Frequently asked questions
Does viewing cameras on a phone cost money every month?
Live view and playback from the recorder's hard drive through the maker's P2P service are usually free. You only use 4G data when away from Wi-Fi. Cloud storage plans for Wi-Fi cameras are an optional paid service, priced by each maker.
How many people can watch one recorder at the same time?
It depends on the recorder's limit and the upload bandwidth. Most home systems handle 3–5 simultaneous viewers on the sub stream; do the calculation as in Mr Hung's example to be sure.
Should I open ports to view my cameras?
For homes and small shops, not when the maker's P2P service already works well. Port forwarding exposes the recorder to the internet; if you must use it, follow the security note at the start of the lesson.
What if I forget the recorder password?
Use the recovery email or security questions set during activation, or the maker's reset procedure (which usually requires the device owner to verify). Never use unofficial cracking tools, and always get the homeowner's consent before resetting.
Practice exercises and self-assessment
- On a real recorder or Wi-Fi camera, complete all 7 steps, creating an owner account and 2 shared accounts with different permissions.
- Measure your home upload speed and calculate the bandwidth for 3 people watching 4 cameras on the sub stream plus 1 camera on the main stream.
- Deliberately unplug the recorder's LAN cable, note what the app shows, then restore it using the fault table.
- Draw a detection zone and a privacy mask for a gate camera that looks across to the house next door.
Self-assessment criteria
- Pass: the owner account is in the homeowner's name; the password has at least 12 characters; firmware has been checked; viewing works over 4G from a shared account.
- Pass: bandwidth and data calculations use the right units (kbps, Mbps, MB, GB) and the totals add up.
- Not yet: a default password is left in place, ports are opened without need, the owner account password is shared, or a camera points into someone else's private space.
Once remote viewing runs smoothly, you are ready for the next step of the roadmap: Securing the system & troubleshooting — regular password changes, closing unused ports, and fixing lost video, failed drives and flicker from weak power. See the 8-step CCTV installer roadmap.