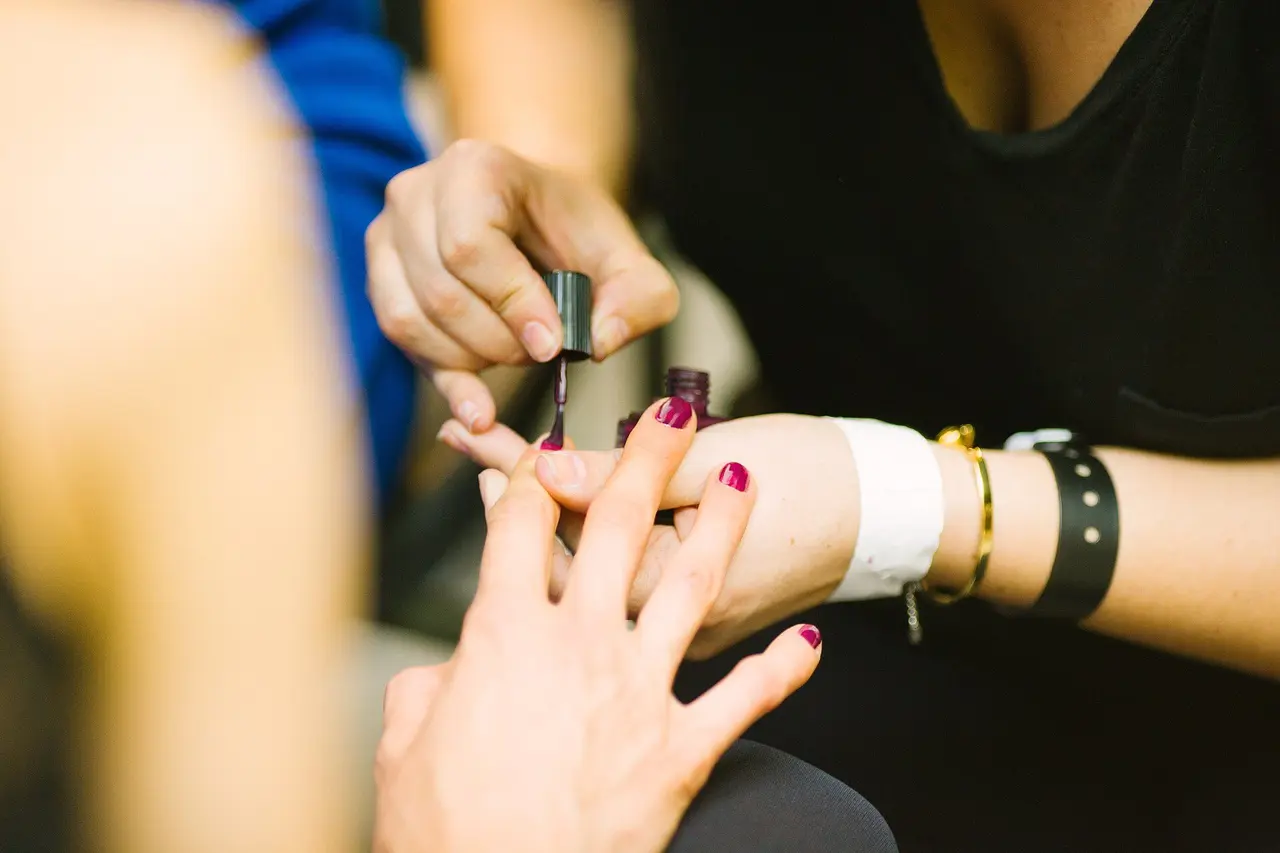
When gel polish lifts after a few days, the cause is almost always surface preparation, layer thickness or curing time — rarely the "cheap gel" that many new technicians blame. A client who comes back with three peeling fingertips costs you a free redo and some of your reputation, and if you keep blaming the polish, the same fault will repeat on the next client. This lesson shows you how to read where the gel has lifted to find the real cause, then rebuild a gel polish routine that lasts 2–3 weeks on an ordinary client.
By the end of this lesson, you will be able to:
- Look at where the gel lifts (near the cuticle, at the free edge, or as a whole sheet) and name the most likely of 9 common causes.
- Prepare the nail surface in 6 steps: push back the cuticle, remove dead skin from the nail plate, buff off the shine, dust, dehydrate, apply base coat.
- Apply base, colour and top coat at the right thinness, cap the free edge and cure each layer for the right time.
- Remove gel by soaking without thinning the client's natural nail.
- Set a sensible lifting guarantee and give clients 4 tips that keep their nails lasting.
Learning nails from scratch? Gel polish is step 4 of the NAMBIN nail technician roadmap, after hygiene and disinfection, nail anatomy, and cuticle work and shaping. See the 8-step nail technician roadmap to know which steps you need to master before taking gel polish clients.
How does gel polish stick to the nail?
To fix lifting, you need to understand what holds gel on the nail. Gel polish is a liquid resin that only hardens when exposed to ultraviolet (UV) light or an LED lamp of a suitable wavelength. This hardening is called curing, and it only happens fully when the gel layer is thin enough for the light to pass through.
Three things decide adhesion
First, a clean surface: no oil, no water, and no film of dead skin stuck to the nail plate. Second, a lightly roughened surface so the base coat can grip mechanically. Third, every layer cured completely and bonded to the layer below into one solid piece. If any one of these three fails, the gel will separate at the weakest point.
Why lifting usually starts at the free edge or the cuticle area
The natural nail is curved and flexes slightly every time the client types, opens a bottle or washes dishes. That bending force concentrates in two places: the free edge (the tip) and the area next to the skin at the base of the nail. If gel at the base touches the skin or sits on top of dead skin, that edge will be the first to lift. If the tip is not capped with gel, water seeps in and pushes the polish off from the front.
The lamp: power and wavelength must match the gel
Each gel brand specifies a curing time for a particular kind of lamp, typically about 30–60 seconds under an LED lamp and about 2 minutes under an older UV lamp. A weak lamp, ageing bulbs or a lamp that does not emit the wavelength the gel needs will leave the polish hard on the surface but still soft underneath. Figure 1 shows the box-style nail lamp most salons use.
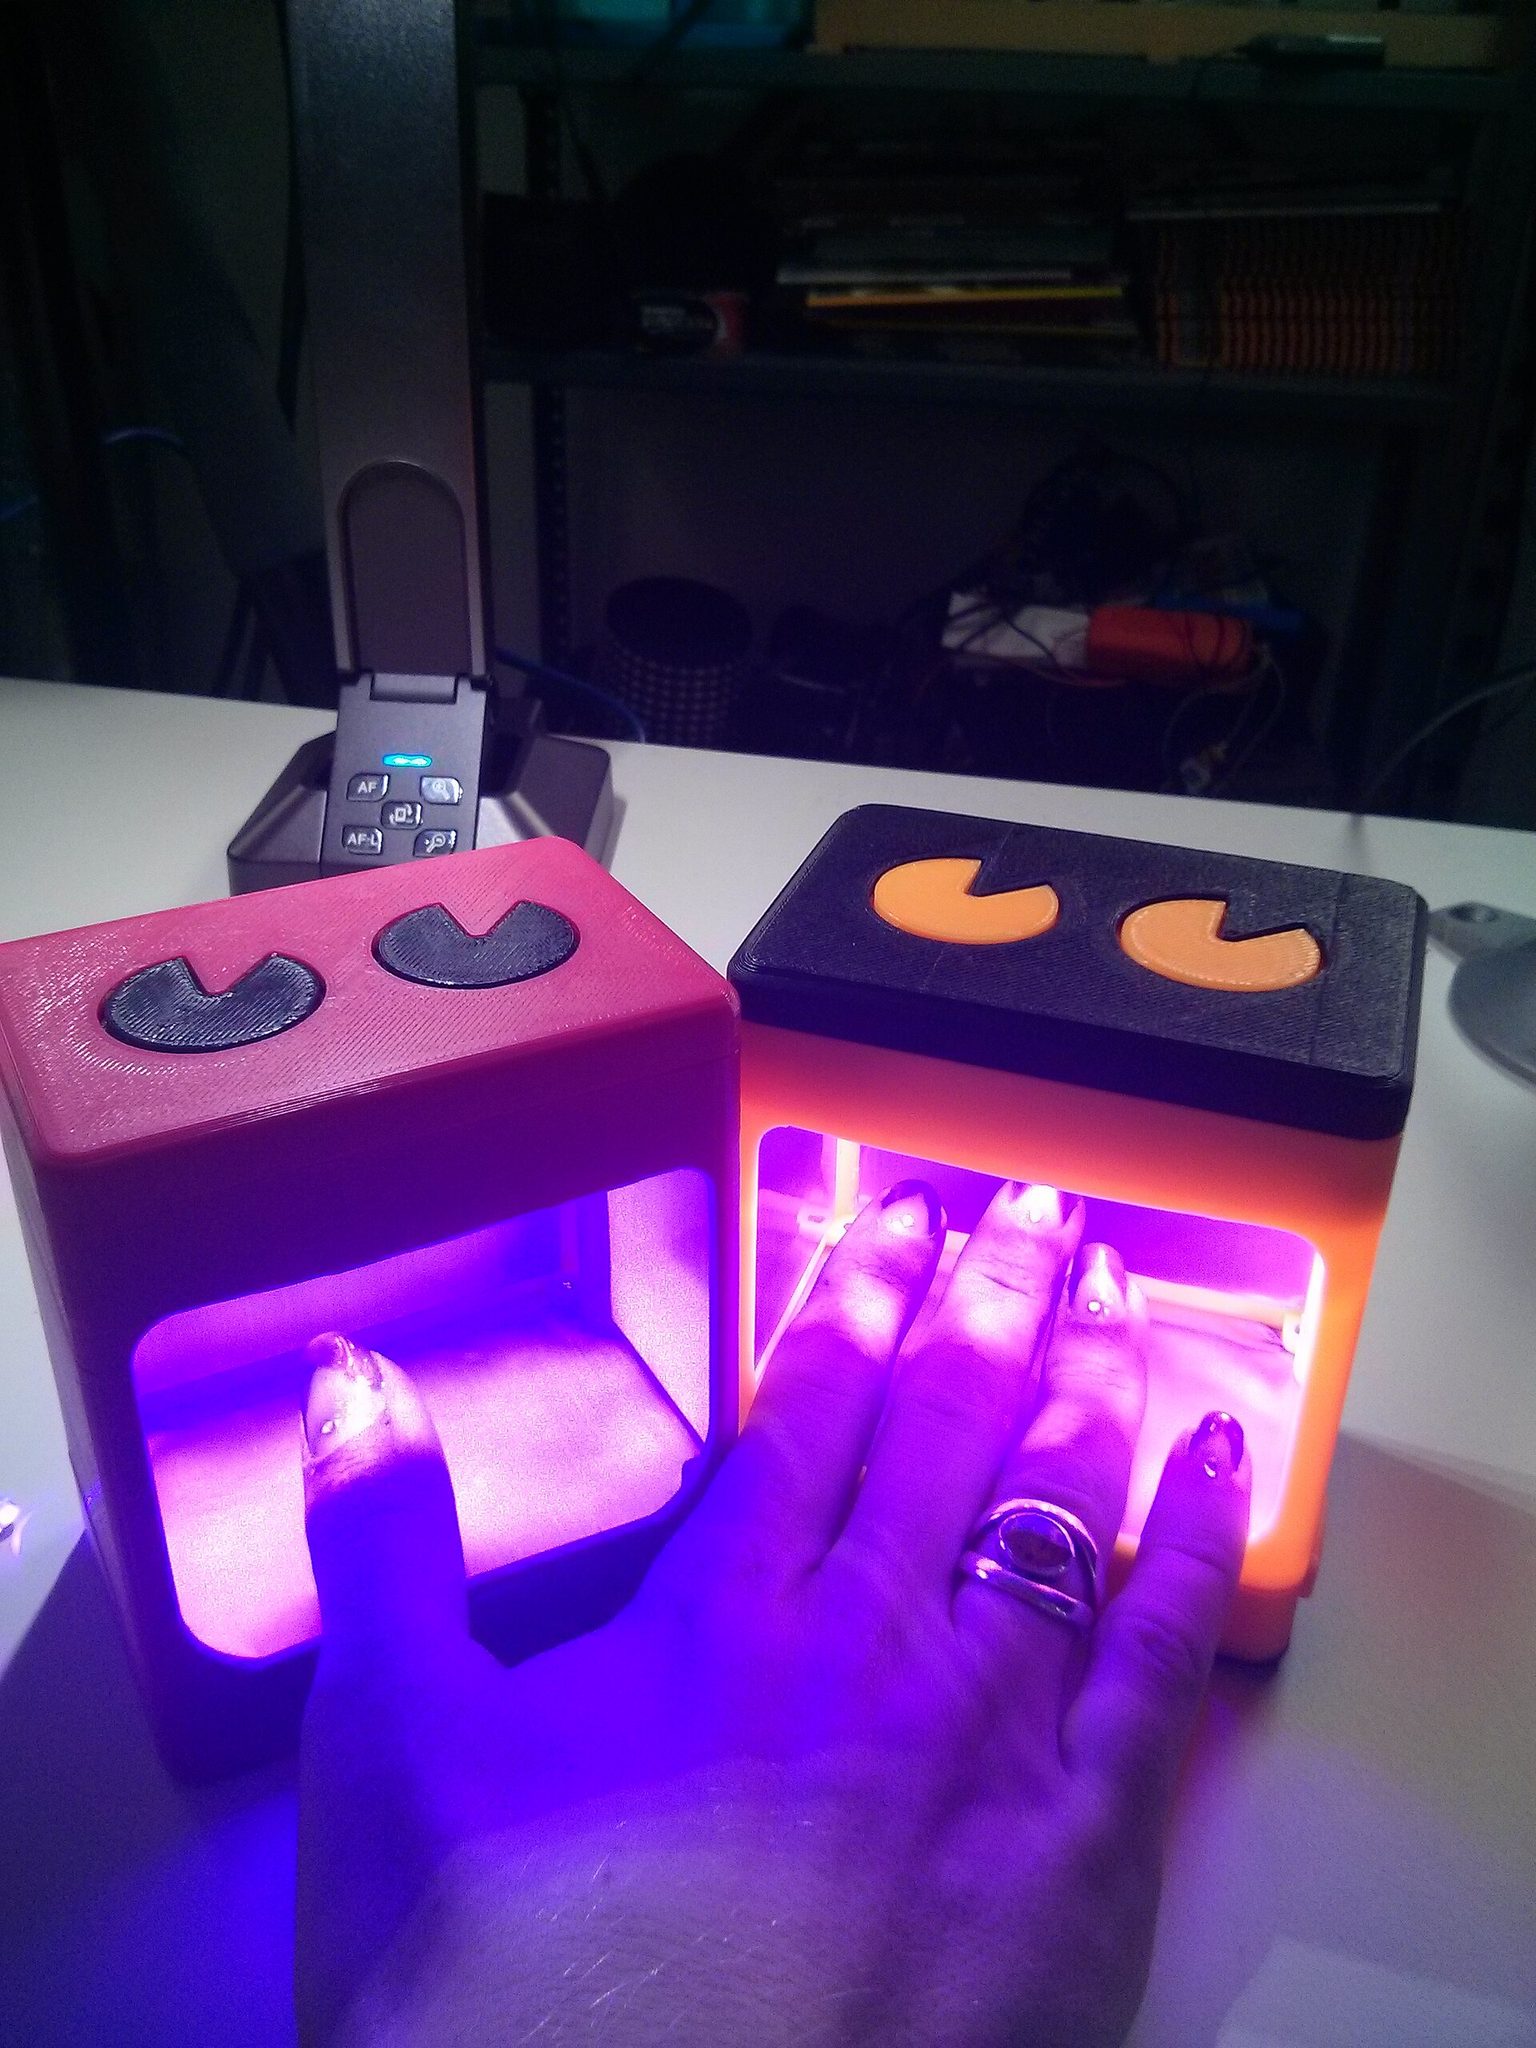
Photo: Becky Stern from Brooklyn, USA / Wikimedia Commons, CC BY-SA 2.0
9 reasons gel polish lifts
When a client comes back, do not remove the gel immediately. Look carefully at where the lifting started, whether it came off as a whole sheet or just one corner, and whether the lifted gel still has base coat attached. The position of the lift is the "fingerprint" of the mistake. The table below groups the 9 causes seen most often in salons.
| Cause | Typical sign | Fix |
|---|---|---|
| 1. Dead skin left on the nail plate | Lifting near the cuticle after 3–7 days, with a clear lifted edge | Push back the cuticle and remove the thin skin on the plate before buffing |
| 2. Gel touching the skin or sidewalls | A small ridge lifting at the base or sides, catching hair | Leave a gap of about 0.5–1 mm, wipe away any flooding before curing |
| 3. Oil or water left on the nail | Whole sheet lifting, gel peeling off in one piece | Dry the nail, wipe with nail dehydrator, do not soak the hands right before polishing |
| 4. No buffing, or over-buffing | Gel slides off easily, or the nail is thin and burns under the lamp | Lightly buff the whole surface with a fine buffer, do not file deep |
| 5. Layers too thick | Wrinkled surface, soft underneath, lifting after a few days | Apply several thin coats, curing each one separately |
| 6. Under-curing, weak lamp | Gel tacky and soft, with a smell; client's skin itches | Cure for the time the brand specifies; check and replace lamps regularly |
| 7. Free edge not capped | Lifting and chipping from the tip | Brush base, colour and top over the edge of the tip |
| 8. Mixing products from different systems | Lifting between layers, colour separating from base | Use base, colour and top from one system, or products tested together |
| 9. Client habits and nail type | Lifting on one or two most-used fingers; soft or oily nails | Advise wearing gloves, use a base for weak nails, warn against picking |
Surface preparation mistakes (causes 1–4)
This group accounts for most lifting among new technicians. The thin, transparent skin stuck to the nail plate near the cuticle (often called "dead skin on the nail") is very hard to see with the naked eye. Gel painted over it is like sticky tape stuck on dust: it looks fine on day one and peels a few days later. Oil from the client's hands, hand cream, or water after a hand soak create the same kind of barrier.
Application mistakes (causes 5–8)
New technicians often paint thick coats to "get the colour on quickly", but a thick layer blocks the light so the part touching the nail never fully cures. Touching the skin comes from rushing and from a brush loaded with too much polish. Capping the edge takes a few seconds but is often forgotten on the thumb, the finger that takes the most knocks. Mixing one brand's base with another brand's top coat does not always fail, but when it does, the fault is very hard to trace.
Client-related reasons (cause 9)
People who work a lot with water (food sellers, parents of small children, gardeners), people who pick their nails, and people with soft or oily nails will find it harder to keep gel on. This is not a reason to blame the client, but information that helps you choose a suitable base, cut the nails shorter and give the right advice. Write it on the client card so you do better next time.
Tools and supplies for long-lasting gel polish
You do not need expensive equipment, but you do need the right items, all of them. When one is missing, new technicians tend to improvise with something else, and that is where mistakes begin. Below is the minimum kit for a gel polish station.
Nail preparation tools
- A sterilised metal cuticle pusher and cuticle nippers (only cut loose skin that has already lifted; never cut living skin).
- A paper file of about 180 grit for shaping and a fine buffer block for removing shine — one file and one buffer per client.
- A dust brush, lint-free wipes, and a nail cleanser and dehydrator.
The buffer block (Figure 2) is only for dulling the nail's natural shine, not for thinning it. Correct buffing leaves the nail evenly matt, like frosted glass, while its thickness hardly changes.
Photo: Wolfmankurd / Wikimedia Commons, Public domain
Polish supplies
The essential trio is base coat (the layer that bonds to the nail), colour, and top coat (the protective, glossy layer). Use one product system for all three layers, especially while you are new and have no experience of testing compatibility. For oily nails or clients who often lift, you can add a nail dehydrator and an acid-free primer before the base coat, following the manufacturer's instructions. Figure 3 is an example of the gel polish commonly seen in salons.
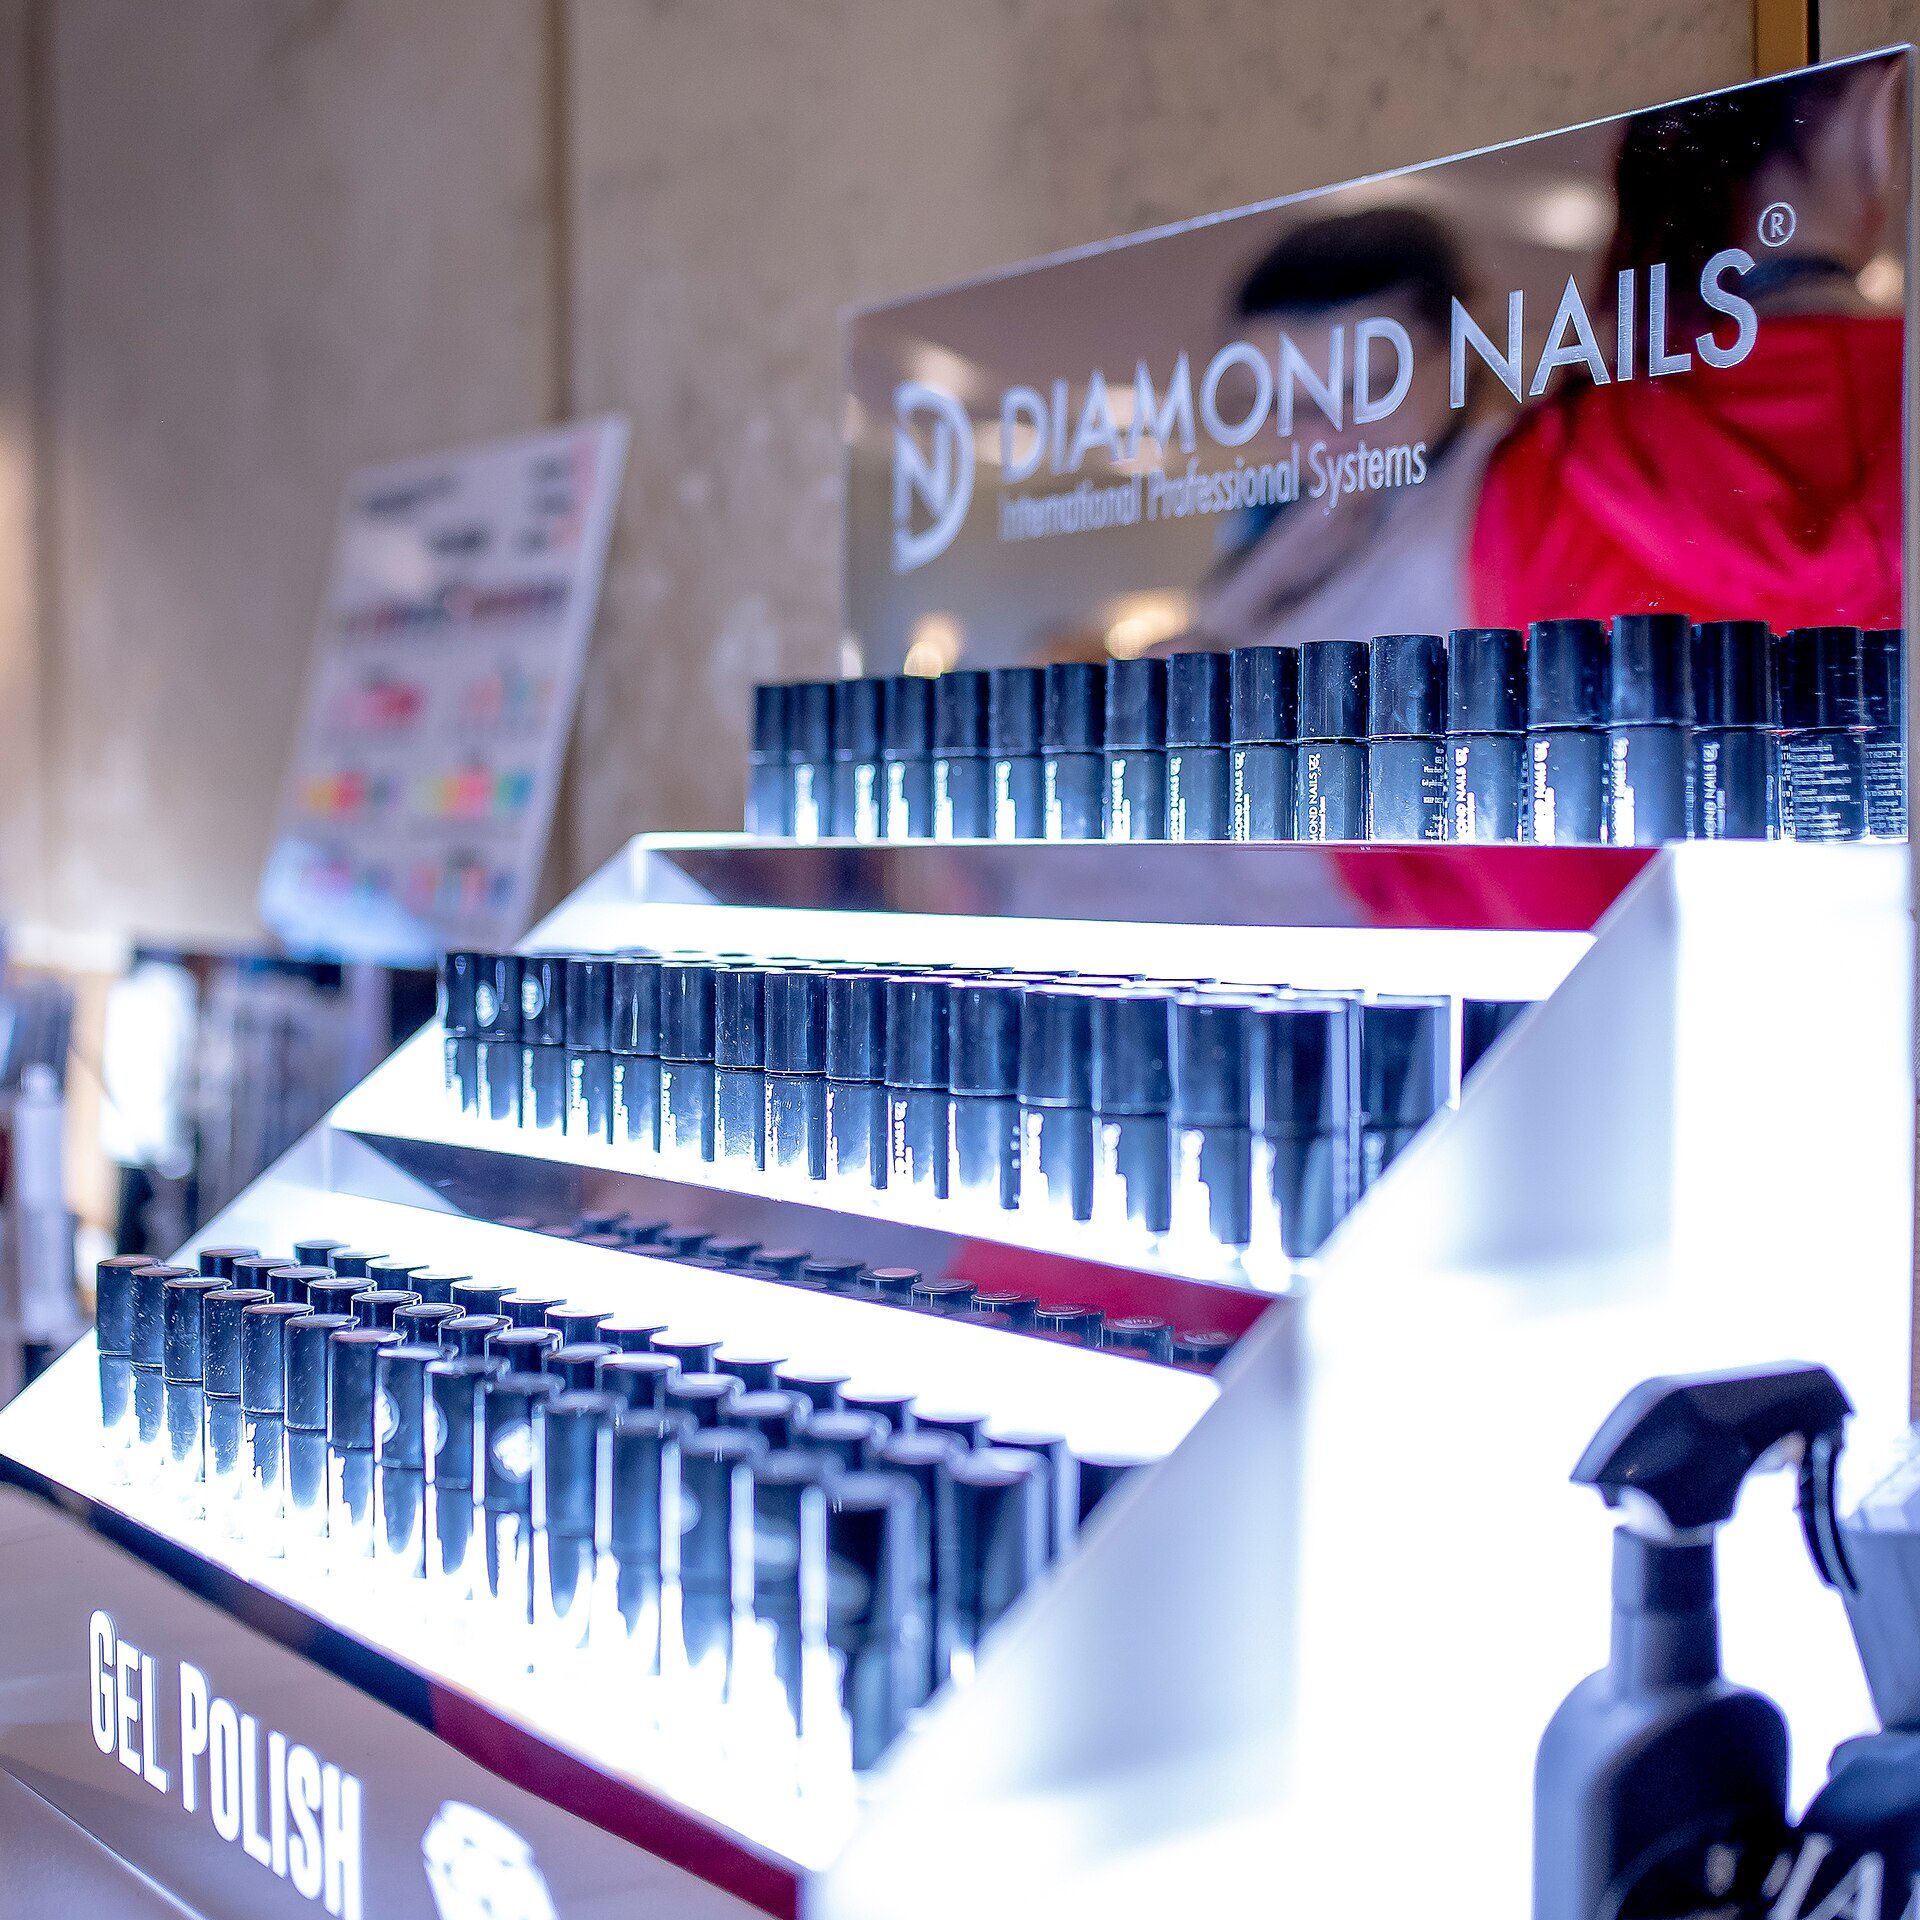
Photo: Piroscacsaba / Wikimedia Commons, CC0
The lamp and how to check it
Write down the date you bought the lamp and check it regularly. Signs of a weak lamp: a gel that used to cure in 60 seconds is now still tacky and soft; an LED has gone out; clients complain of unusual burning in one area. Wipe dust and gel residue from inside the lamp every day, because dust also reduces the light reaching the nail.
The 2–3 week gel polish routine, step by step
The routine below applies to healthy natural nails with no nail conditions. Every step has a reason; skipping one to save a few minutes usually costs you a free redo.
Part 1: surface preparation (about 15 minutes)
- Wash and sanitise both your hands and the client's. Ask whether the client has a gel allergy, any wounds or sore nails.
- Shape the nails while they are dry, filing in one direction so the tip layers do not split.
- Gently push the cuticle back, remove all the thin skin stuck to the nail plate, and only cut loose skin that has already lifted.
- Buff the entire surface with a fine buffer, paying attention to the area next to the cuticle and both sidewalls.
- Brush off the dust and wipe the nails with cleanser; after this step, do not let the client touch their face or hair.
- For oily nails or clients who have lifted before: use dehydrator and primer as directed by the manufacturer.
Part 2: apply and cure each layer
- Base: a thin layer, worked gently into the surface, leaving a gap of about 0.5–1 mm from the skin and capping the free edge. Cure for the time the brand specifies.
- Colour, coat 1: very thin; it is fine if it looks streaky. Cap the edge. Cure.
- Colour, coat 2: thin and even. Cap the edge. Cure.
- Top: cover all the colour, cap the edge, do not touch the skin. Cure for the full time.
- If the top coat leaves a sticky layer, wipe it with a lint-free pad and gel cleanser; with a no-wipe top coat, skip this step.
An important tip: polish and cure the four fingers first, then cure the thumb separately. With the whole hand in the lamp, the thumb usually sits at an angle and receives less light, which is why it lifts most often. Wipe any gel that floods onto the skin with a small wooden stick before curing — do not cure it and try to pick it off afterwards.
Part 3: check and brief the client
Look at each nail from the side: the polish should run continuously from base to tip, with no raised ridges and no gaps at the sidewalls. Feel the free edge lightly to make sure it is capped. Apply cuticle oil around the nails once you have finished (never before polishing). Finally, give the client the four tips in the "Client advice" section below.
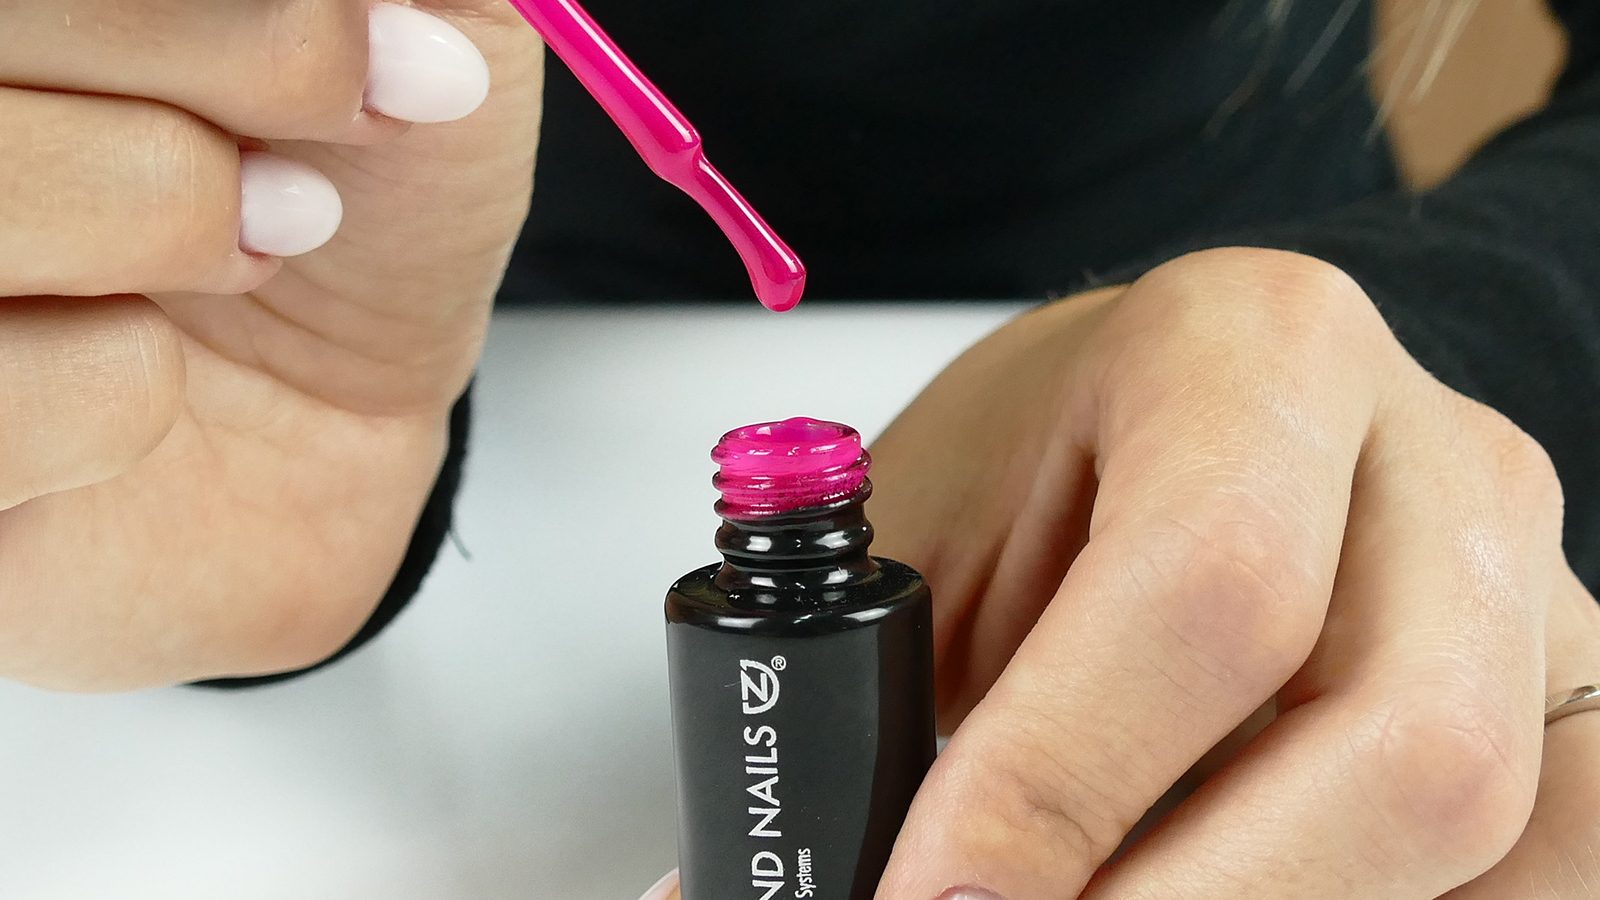
Photo: Piroscacsaba / Wikimedia Commons, CC0
Swatching as in Figure 4 shows you that every colour covers differently: dark shades usually look even after 2 thin coats, while pale or jelly shades may need 3. Note the number of coats each bottle needs instead of painting one thick coat "to save time".
Worked example: a client lifts on 3 fingers after 5 days
Ms Thao, 28, an accountant, had gel polish at your station and comes back after 5 days: the right thumb is lifting from the tip, and the left index and middle fingers each have a small lifted ridge at the base. The other nails are intact. All figures below are illustrative, reference 2026 (100,000 VND is roughly 4 US dollars).
Step 1: read the lifting
- Thumb lifting from the tip: a sign the edge was not capped or the thumb sat at an angle in the lamp (causes 6 and 7).
- Two fingers with a clear lifted ridge at the base: a sign the gel sat on dead skin or touched the skin (causes 1 and 2).
- Ask more questions: Ms Thao does little housework and her nails are not soft, so cause 9 is unlikely.
Step 2: redo the set and time it
You remove the gel from all 10 nails for a consistent result, then reapply following the routine, curing 60 seconds under an LED lamp each time, with two cures per hand per layer (four fingers, then the thumb).
- Gel removal by soaking: 15 minutes.
- Six-step surface preparation: 15 minutes.
- Applying 4 layers (base, colour 1, colour 2, top), about 5 minutes per layer for 10 nails: 4 × 5 = 20 minutes.
- Curing: 4 layers × 2 hands × 2 cures × 1 minute = 16 minutes.
- Wiping, checking, cuticle oil: 5 minutes.
- Total: 15 + 15 + 20 + 16 + 5 = 71 minutes. An experienced technician who paints one hand while the other is curing can cut this down considerably.
Step 3: the cost of one guarantee redo
Suppose a plain gel manicure at your salon costs 150,000 VND and the supplies for one application cost about 25,000 VND. Redoing it for free, you lose 25,000 VND of supplies and 71 minutes in which you could have served another client. With 3 such redos a week, you lose 3 × 25,000 = 75,000 VND in supplies and 3 × 71 = 213 minutes — more than 3.5 working hours. That is why fixing the real cause matters more than buying expensive polish.
Step 4: the result
This time you remove the dead skin from the plate thoroughly, leave a gap at the skin, cap the edge on all 10 nails and cure the thumbs separately. After 3 weeks, Ms Thao returns for removal and a new set; the nails have only grown out, with no lifting. On her client card you note: "thumbs take knocks — cap edges carefully, cure separately".
Removing gel properly so the nail does not get thinner
Many "weak nails that keep lifting" are really nails thinned by earlier removals. Picking or peeling gel off by hand, or drilling straight down to the natural nail, pulls away layers of nail cells. Proper removal takes a few extra minutes but keeps the nail healthy for the next set.
The soak-off method (the most common)
- File through the top coat so the remover can soak in.
- Place cotton soaked in gel remover (usually acetone-based) on the nail, then wrap it in foil or use soak-off clips.
- Soak for about 10–15 minutes depending on the gel.
- Use a wooden stick or a round-ended metal pusher to gently push off the softened gel; wherever it still clings, soak longer — do not pry.
- Lightly buff again, wash the hands, and apply cuticle oil if the client is not having a new set straight away.
When to use an e-file
An electric nail file speeds up removing colour and top coat, but only use one once you have been trained and have practised thoroughly, leaving a thin layer of base and soaking off the rest. New technicians who drill straight down to the natural nail can easily cause burning and grooves in the nail plate.
Chemical and lamp safety warning: acetone and many gel removers are highly flammable — keep them away from flames, stoves and cigarettes, close the cap immediately after use and work in a ventilated area. Uncured gel on the skin can cause contact allergy (itching, redness and blistering around the nail), and once a person is sensitised they may react to many other gels too; so always wipe away flooding before curing, and do not let gel touch your own skin either. If a client has itching, redness or swelling around the nails after a previous set, stop and advise them to see a dermatologist. Never look directly into the lamp while it is on.
Lifting guarantees and client advice for long-lasting nails
A clear guarantee policy reassures clients and helps you track your own skill. If redos increase, it is a sign something in your routine is wrong.
A reference guarantee policy
Many salons offer a free fix for lifting within about 3–7 days on plain gel polish, provided the nail has not broken and has not been picked. State the policy clearly on your price list or in the appointment confirmation message. For every redo, record: which finger, where it lifted, after how many days, and what you think the cause was. After a month, your notebook will show which mistake you make most often.
Client advice: 4 tips
- Wear gloves when washing dishes, doing laundry or using cleaning products.
- Do not use the nails to open cans, peel labels or prise open boxes.
- Do not peel the gel off yourself if an edge lifts; come back to the salon to have it fixed.
- Apply cuticle oil around the nails every evening so the nails and skin do not dry and crack.
Reference gel polish prices in 2026
Plain gel polish at an everyday salon costs about 80,000–200,000 VND, and in shopping malls or upmarket areas about 150,000–350,000 VND; removal is usually charged an extra 20,000–50,000 VND if the client is not having a new set. These are reference ranges for 2026 that vary by area and product, not any particular salon's price list.
Common mistakes new technicians make with gel polish
Painting thick to get colour on quickly
Symptom: the surface wrinkles like orange peel after curing and feels soft when pressed. Cause: the layer is too thick for light to reach the bottom. Fix: remove and redo; from now on paint thin coats, and add a third coat for pale colours instead of painting thick.
Pushing gel right up to the skin to make nails look longer
Symptom: it looks great on the day, but three days later the client complains of catching hair and a ridge at the base. Cause: gel touched the skin, and as the skin grows it pushes the gel up. Fix: always leave a small gap, use a lightly loaded brush near the skin and wipe flooding immediately before curing.
Applying cuticle oil before polishing
Symptom: whole sheets lifting on several fingers. Cause: oil used to soften the cuticle was not cleaned off. Fix: only use cuticle oil after polishing; if you used it during cuticle work, wash it off and wipe with dehydrator before the base coat.
Blaming the polish
Symptom: constantly switching brands and still lifting. Cause: never recording where the lifting happens, so you never see that the fault is in technique. Fix: stick with one gel system for at least a few months and keep a guarantee log as described above.
Frequently asked questions
How long should gel polish normally last?
With healthy nails and a correct routine, gel polish usually stays looking good for about 2–3 weeks. After that, growth exposes the base of the nail and increases the risk of breakage, so it should be removed and redone even if it has not lifted.
Can I glue down a lifted corner of gel polish?
It is not a good idea. Water and dirt have already got underneath; gluing over it only hides the problem and can trap moisture against the nail. Go back to the salon so the lifted part can be filed away, cleaned and fixed properly.
Should I use primer on every client?
It is not essential. Primer helps with oily nails or clients who have lifted a lot, but it does not replace surface preparation. Use the right type and the right amount as the manufacturer directs, and keep it off the skin.
Why does the client feel burning under the lamp?
Usually because the gel layer is too thick or the nail has been filed too thin. When a client says it is hot, let them take the hand out for a few seconds and then continue curing; next time apply thinner coats and buff more gently.
Why does the thumb always lift first?
The thumb takes the most knocks and often sits at an angle in the lamp. Cap the edge carefully and cure the thumb separately, with the nail lying flat and facing the light source.
Practice exercises and self-assessment
- Apply plain gel polish to all 10 nails of a friend or relative following the routine exactly, timing each part (preparation, painting, curing, finishing).
- Photograph each nail right after the set, after 7 days and after 14 days, from the same angle.
- Record every lift: which finger, where, after how many days; compare it with the table of 9 causes.
- Practise soak-off removal and check the nail afterwards for white patches or grooves.
Self-assessment criteria
- Pass: 10 out of 10 nails with no lifting after 14 days; no gel touching the skin; a new set done in no more than about 75 minutes.
- Pass: after removal, the nail plate has no drill grooves, no burning, and the client does not feel the nail is thinner.
- Not yet: a nail lifts within 7 days and you cannot identify the cause, or you have to pry the gel off during removal.
Once your gel polish is solid, the next step in the roadmap is Acrylic, hard gel and nail tips — where all the surface preparation and curing skills from this lesson are used again, and adhesion matters even more. You can find related lessons, such as disinfecting nail tools and how long it takes to learn nails, in the 8-step nail technician roadmap.