Gel nail extensions done properly last about 3–4 weeks; if they lift within a few days, the cause is almost always the wrong tip size, a natural nail that was not cleaned well enough, or too little gel and curing. Gel extensions with soft gel tips mean bonding a ready-made, full-cover tip made of soft gel onto the natural nail with gel and a lamp, instead of with glue. This lesson walks you through a long-lasting routine from sizing to removal, plus the 8 reasons tips lift and how to avoid each one.
By the end of this lesson, you will be able to:
- Choose the right tip size for all 10 fingers, with no pressure on the sidewalls and no gaps at the sides.
- Prepare the natural nail in 5 steps: push back the cuticle, remove dead skin, buff lightly, remove oil, apply primer or base according to the product system.
- Bond tips with gel, flash cure to hold each tip, then fully cure and finish with colour and a capped top coat.
- Recognise the 8 causes of lifting and fix the right step when a client returns under guarantee.
- Remove extensions by soaking, without prying, and price the service sensibly.
Learning nails from scratch? Tips and extensions are step 5 of the nail technician roadmap, after you have mastered gel polish. See the 8-step nail technician roadmap to know which skills to practise before taking extension clients.
What are gel extensions, and how do they differ from hard gel and glue-on tips?
Many clients, and many new technicians, call every kind of artificial nail "extensions". In fact there are three different techniques, with different materials, working times and durability. Knowing the difference helps you advise clients and price correctly.
Gel extensions (soft gel tips)
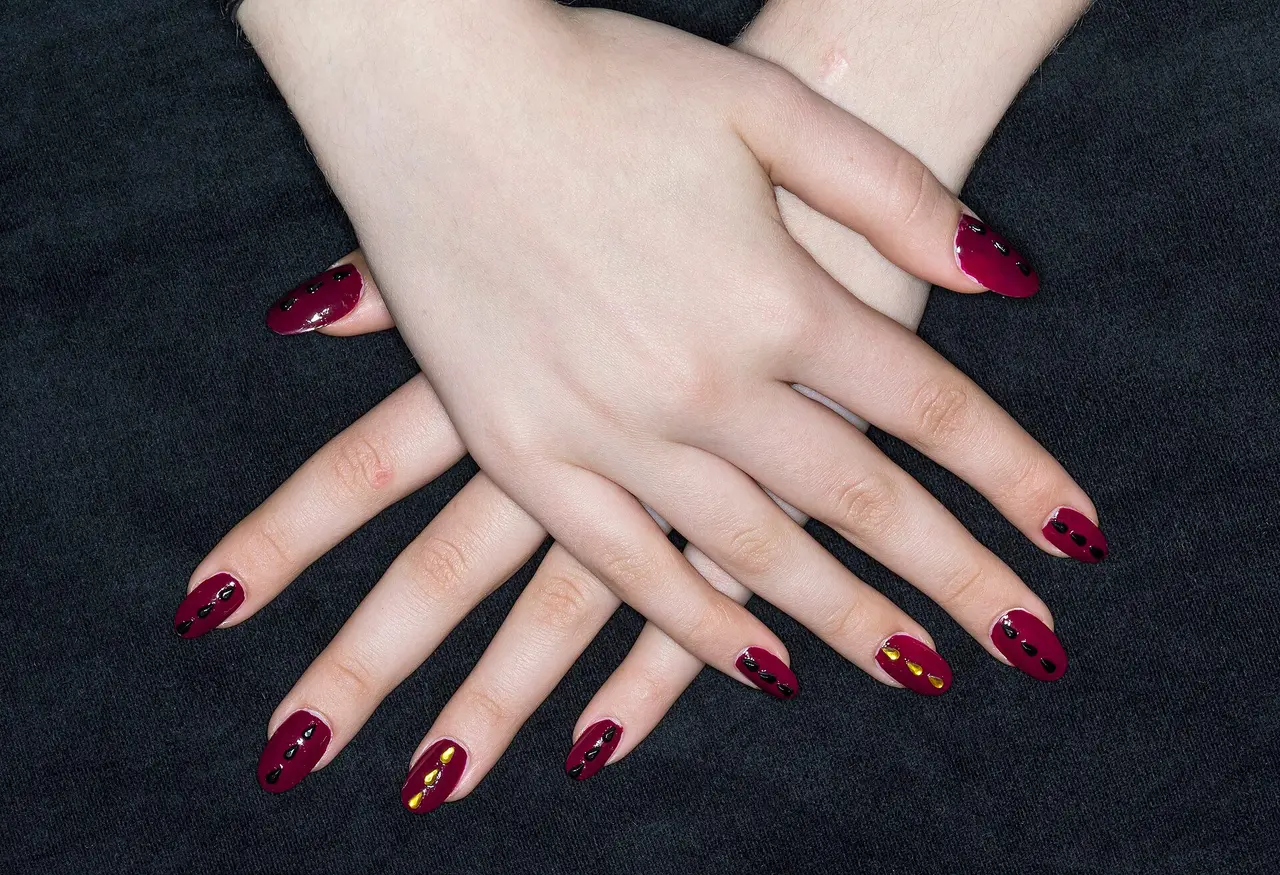
These are pre-made tips of soft gel, available in every shape (square, oval, almond, coffin) and many sizes. The technician bonds the tip to the natural nail with a thin layer of dedicated tip adhesive gel, then cures it under a lamp. Because both the tip and the adhesive are gel, the two layers fuse into one piece, so they hold better and can be soaked off. Figure 1 shows the kind of finished set clients usually ask for.
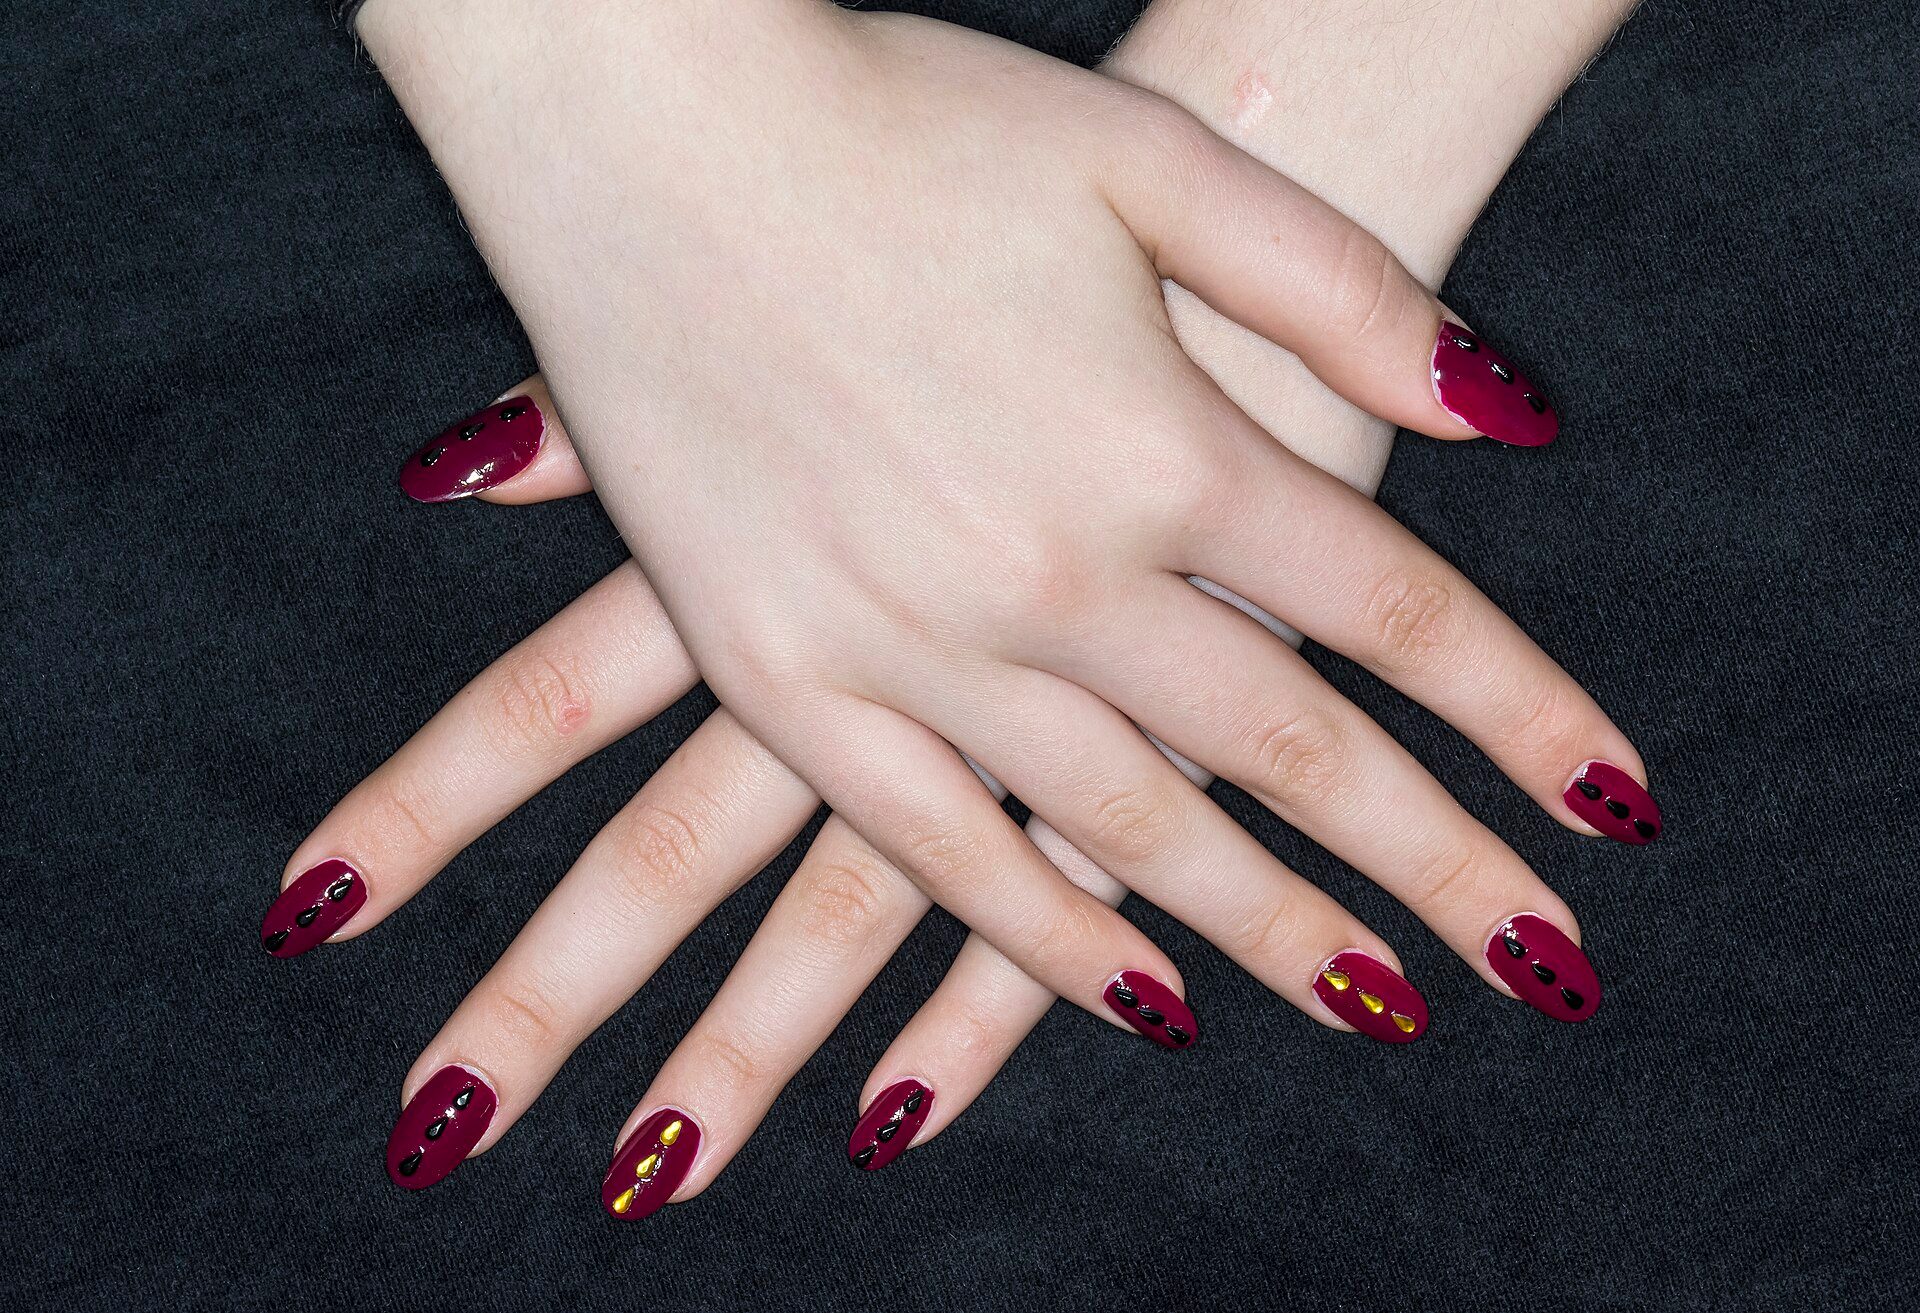
Photo: Jacek Halicki / Wikimedia Commons, CC BY-SA 4.0
Glue-on tips
This is the older method: plastic tips (ABS tips or ready-made press-on nails) are stuck on with cyanoacrylate nail glue, a fast-drying adhesive (see Figure 6 at the end of the safety section). It is quick and cheap, but the glue is brittle and tends to pop off with hot water or knocks, usually lasting only about 1–2 weeks. Glue fumes can also sting the eyes at a poorly ventilated table.
Hard gel (builder gel)
Hard gel means building the nail structure yourself with a thick gel, on a paper form or over a tip, then filing it into shape. A built nail is strong, lets you control the curve and the stress point (the apex), and can be refilled as the nail grows. In return, it needs better filing skills and takes longer. The table below summarises the differences for client consultations.
| Criterion | Gel extensions | Glue-on tips | Hard gel |
|---|---|---|---|
| Bonding material | Tip adhesive gel, lamp cured | Nail glue | Thick gel built directly |
| Typical wear | About 3–4 weeks | About 1–2 weeks | About 3–4 weeks, can be refilled |
| Working time (10 nails, with colour) | 60–90 minutes | 30–45 minutes | 90–150 minutes |
| Removal | Soak in gel remover | Soak in glue remover | File down, then soak or e-file |
| Difficulty for beginners | Medium | Easy | Hard |
Sizing tips and preparing the natural nail
These two stages decide about half of how long the set will last. A tip in the wrong size will lift however carefully you bond it; a natural nail with oil left on it will not hold the adhesive gel. Do not save time here.
Sizing: a snug fit from sidewall to sidewall
Each box of tips has numbered sizes, usually from 0 (the largest, for thumbs) to about 9–11 (the smallest, for little fingers). Hold a tip against the natural nail: the base of the tip should cover the whole nail plate from the left sidewall to the right one, without sitting on the skin. If you are torn between two sizes, choose the larger one and file the sides of the tip base slightly for a snug fit. A tip narrower than the nail leaves the sidewalls exposed, water gets in, and it lifts from the sides. Figure 2 shows a multi-size tip box like those used in salons.
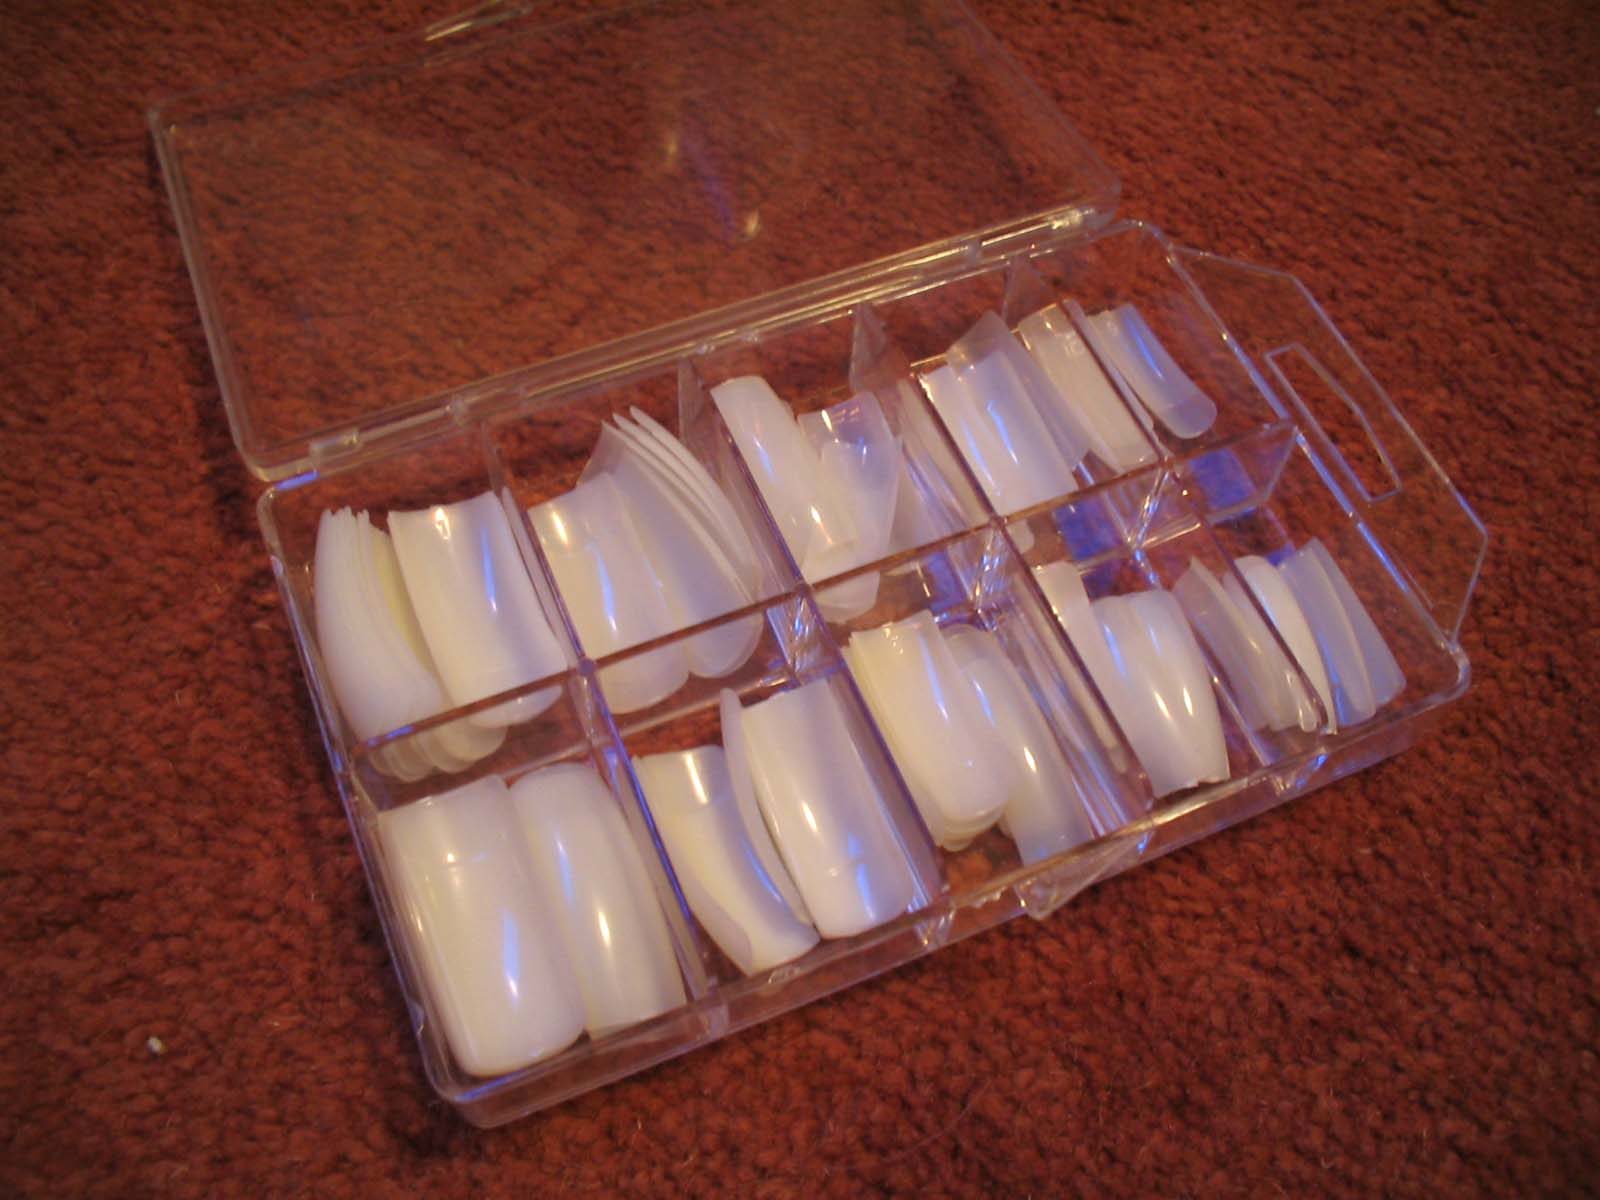
Photo: M.Minderhoud / Wikimedia Commons, CC BY-SA 3.0
Preparing the natural nail in 5 steps
- Push back the cuticle: gently push the skin around the nail back and only trim skin that has already lifted.
- Remove dead skin from the plate: the thin, transparent skin stuck near the base of the nail must be fully removed, or the tip will lift at the base after a few days.
- Buff lightly: remove the shine from the whole surface with a fine buffer without thinning the nail.
- Remove oil: brush off dust and wipe with nail cleanser or dehydrator; from here on the client must not touch their face or hair.
- Primer or base: dab on acid-free primer or a thin base coat from the same product system, curing if the manufacturer requires it.
This preparation is the same as surface prep for gel polish. If you are not yet confident with it, reread the lesson on gel polish lifting: 9 causes before practising extensions.
Preparing the inside of the tip
Many soft gel tips come pre-etched on the inside; if yours are not, lightly buff the inside of the tip base with a fine buffer. Then dust it off and apply primer or a bonding layer as the manufacturer directs. Skip this step and the adhesive gel will grip the natural nail but not the tip, and the whole tip will pop off.
Applying gel extensions step by step
The routine below is for healthy natural nails, a client who wants medium length and a plain colour. Use the curing times given by the maker of your gel; the figures here are common values for LED lamps.
Tools and supplies to prepare
- A set of soft gel tips in all sizes, dedicated tip adhesive gel (brush bottle or pot), primer, base, colour and top coat.
- An LED/UV lamp, plus a small handheld lamp if you have one for flash curing each finger.
- A paper file of about 180 grit, a fine buffer, a dust brush, lint-free wipes and nail cleanser — one file and buffer per client.
- A disinfected cuticle pusher and nippers; for the disinfection routine see the lesson on disinfecting nail tools.
Bonding the tip and curing
- Brush a thin layer of adhesive gel on the natural nail (keeping off the skin) and a thin layer inside the base of the tip.
- Place the base of the tip close to the skin (leaving a gap of about 0.5 mm), hold it at roughly 45 degrees, then lower it gradually to push air bubbles towards the free edge.
- Press gently and evenly in the middle of the tip; wipe any adhesive that squeezes out at the sides straight away with a small wooden stick.
- Flash cure for about 5–10 seconds to hold the tip in place, then move on to the next finger.
- When one hand is done, put the whole hand in the lamp and fully cure for about 60 seconds, curing the thumb separately so it faces the light squarely.
Look at each finger from the side after bonding: there must be no white air bubbles under the tip and no bump at its base. If you see a bubble, remove that tip immediately and bond it again, because water will collect in the gap.
Finishing the shape, colour and top coat
File the free edge to the length and shape agreed with the client, and lightly file both sidewalls so the tip blends into the natural nail. Figure 3 and Figure 4 show the difference between a freshly applied tip and one that has been shaped. Then lightly buff the tip surface, dust it, and apply two thin coats of colour and a top coat as in the gel polish routine, capping the free edge with both colour and top.
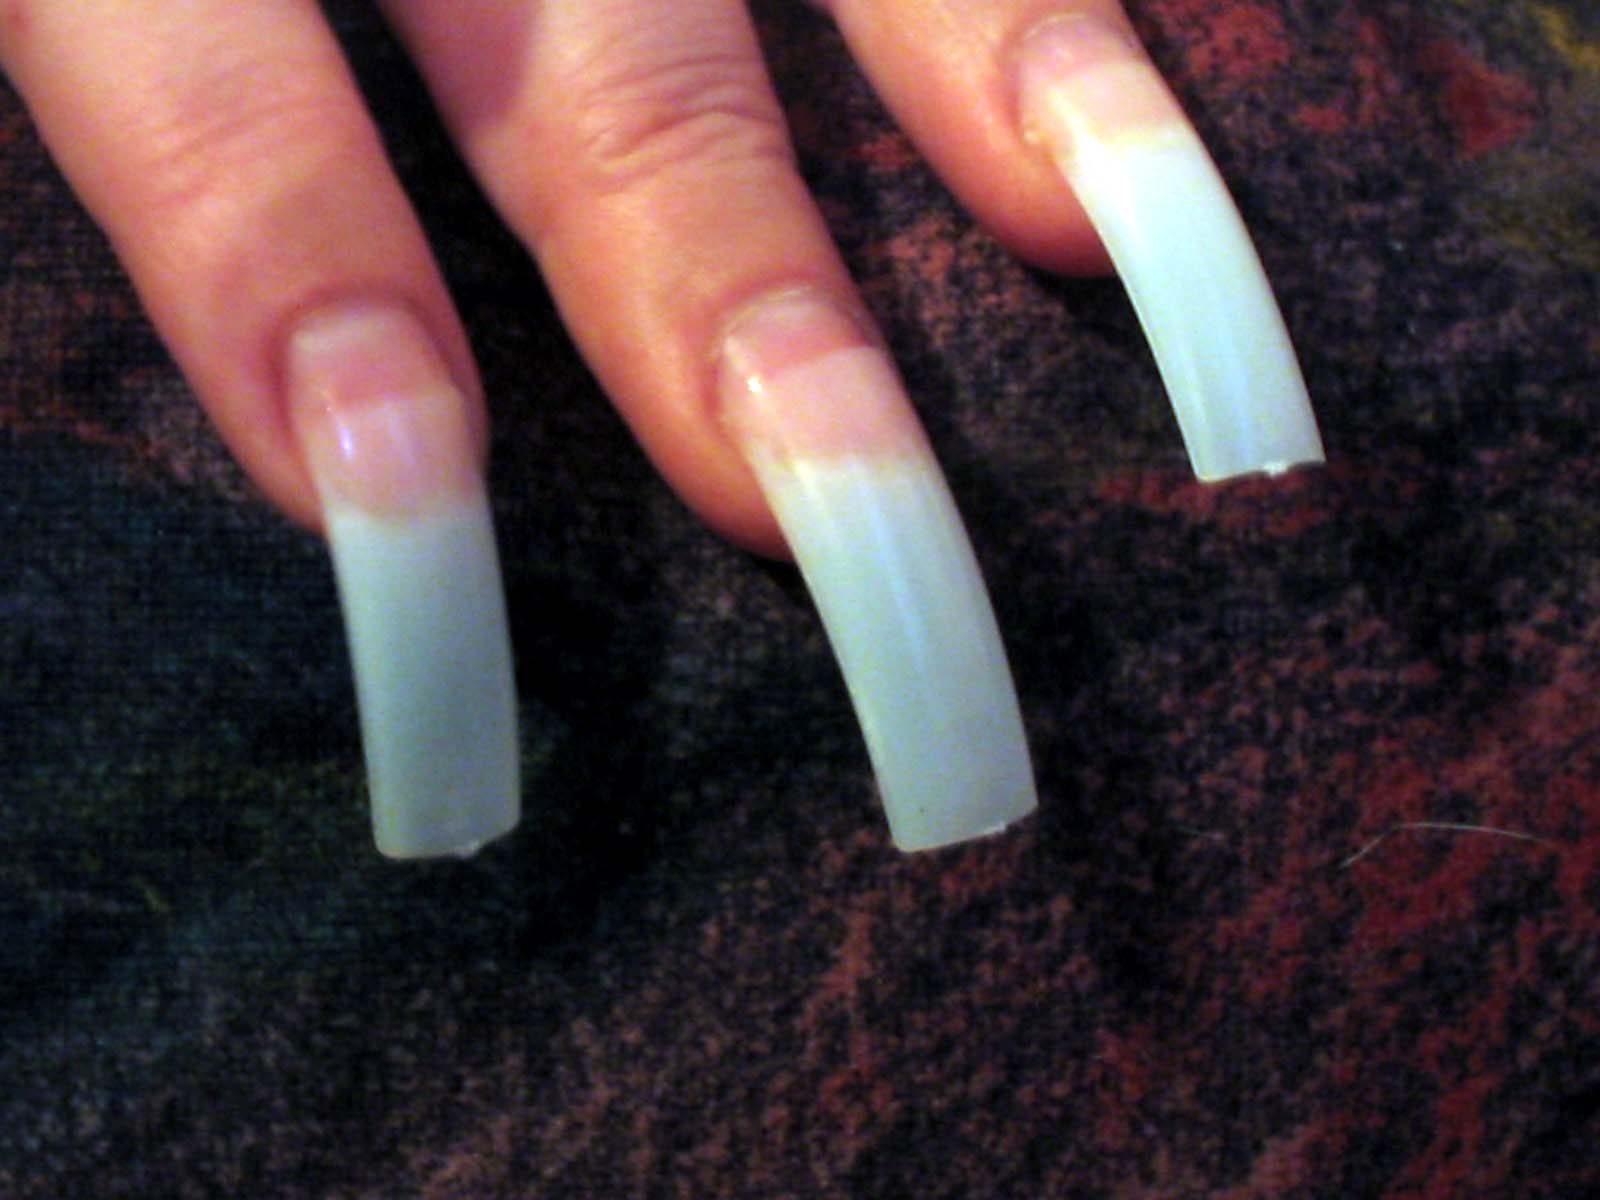
Photo: M.Minderhoud / Wikimedia Commons, CC BY-SA 3.0
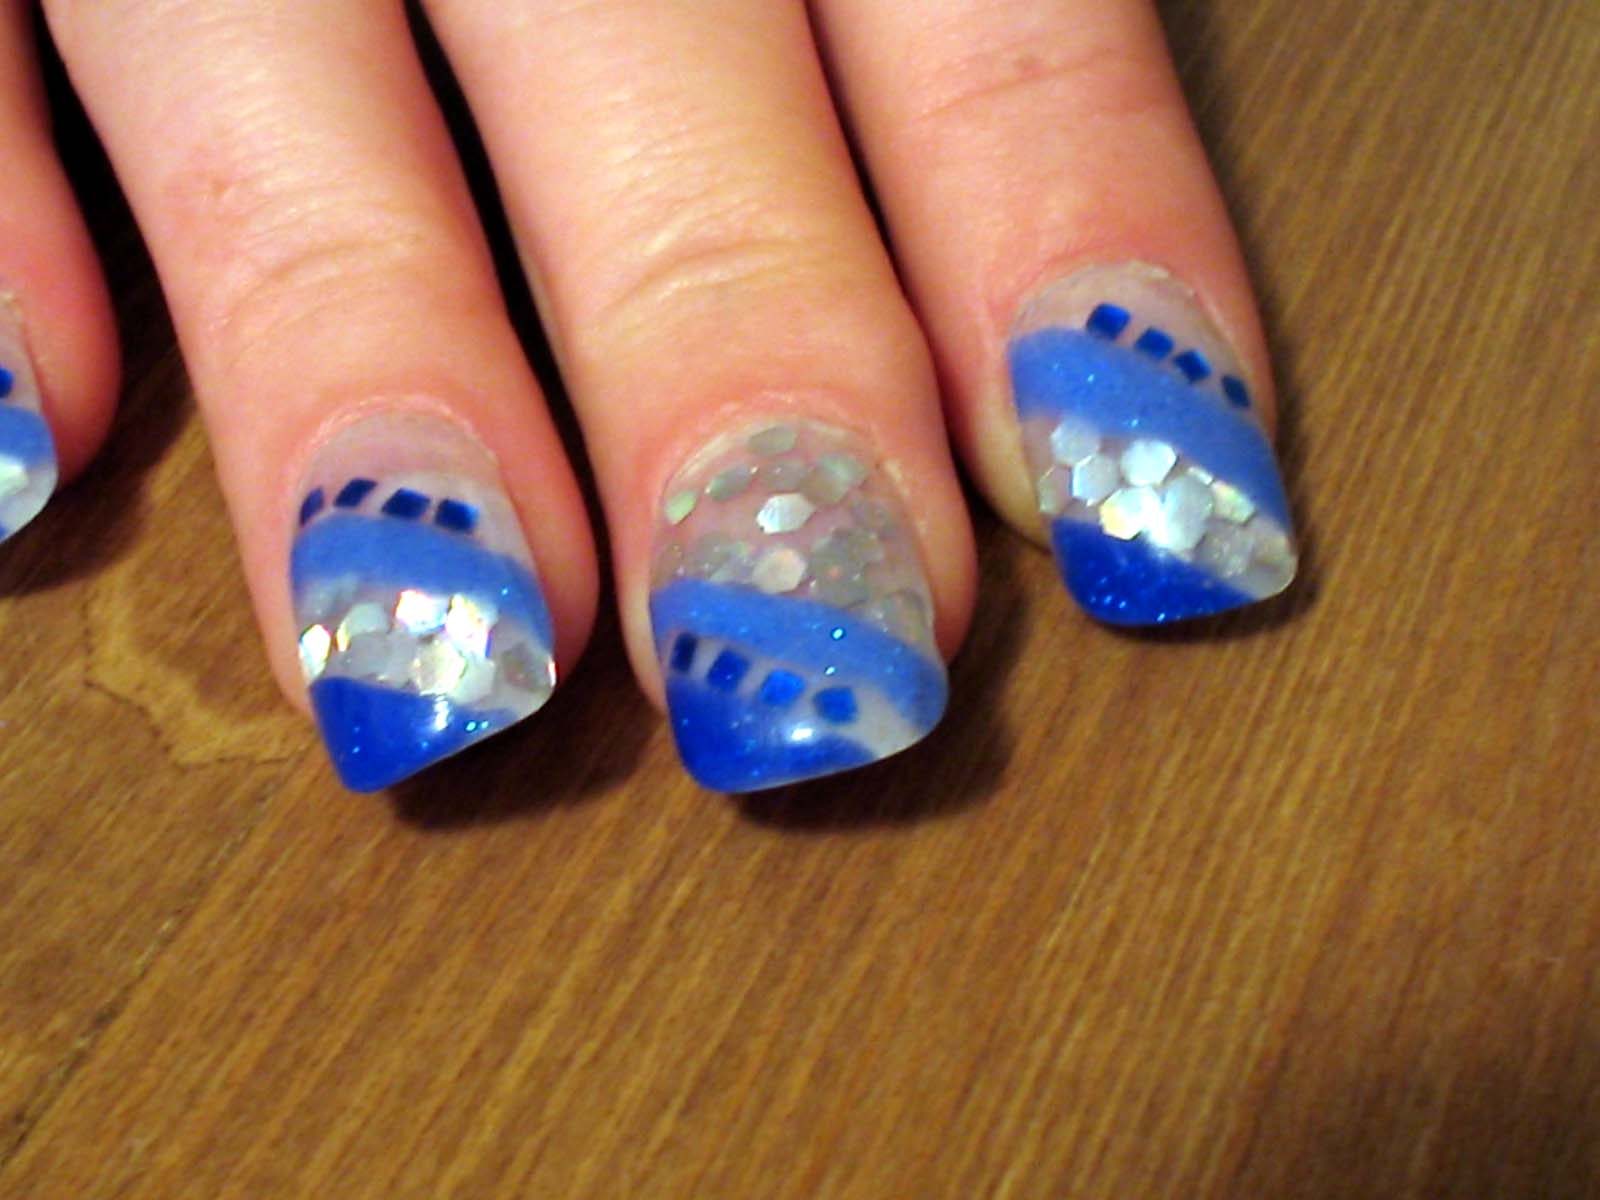
Photo: M.Minderhoud / Wikimedia Commons, CC BY-SA 3.0
When curing, lay the hand flat in the centre of the lamp as in Figure 5. The adhesive layer under a tip is thicker than a normal gel coat, so the client may feel some heat; let them take the hand out for a few seconds and then continue — never make a client endure the burning.
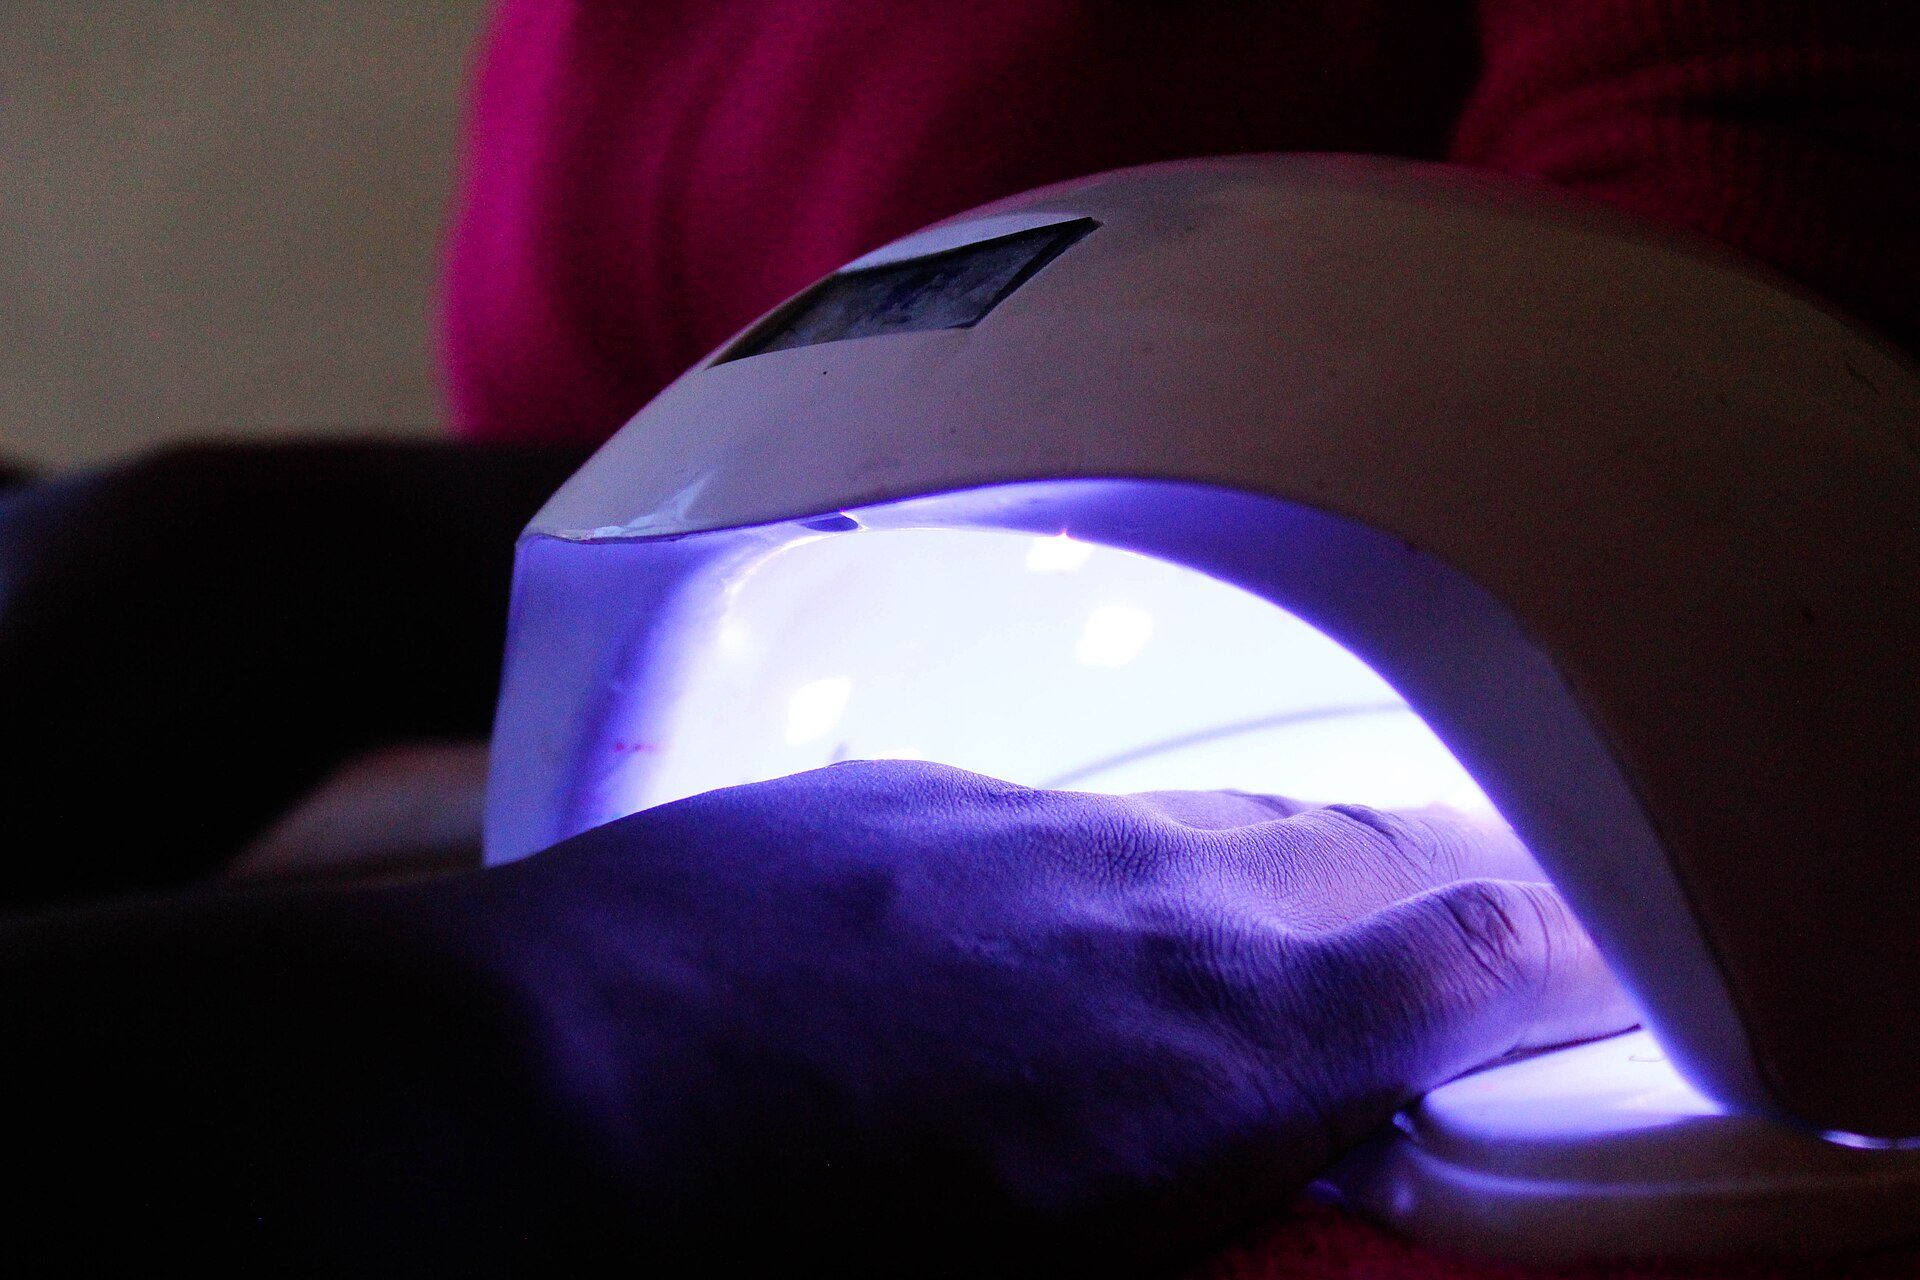
Photo: Kolobetsoo / Wikimedia Commons, CC BY-SA 4.0
Worked example: extensions for a 24-year-old office worker
Ms Vy, 24, works in an office and types a lot. She wants medium almond nails in a nude shade. Her natural nails are healthy, with no fungus, but slightly oily. All figures below are illustrative, reference 2026, and vary by region (100,000 VND is roughly 4 US dollars).
Step 1: consultation and sizing
You ask about any history of gel allergy and check there is no inflammation around the nails. Because Ms Vy types a lot, you recommend medium length (about 5–8 mm of tip beyond the fingertip) rather than long, to reduce leverage on the tip base. You size all 10 fingers; for her right index finger you are torn between two sizes, so you choose the larger and file the sides of the tip base.
Step 2: timing the service
- Consultation and sizing for 10 fingers: 10 minutes.
- Five-step natural nail prep (plus dehydrator for oily nails): 15 minutes.
- Test-fitting, filing tip bases and preparing the inside of the tips: 10 minutes.
- Bonding 10 tips, flash curing each one and fully curing both hands: 15 minutes.
- Shaping, two coats of colour and a top coat, curing each coat: 20 minutes.
- Checking, wiping, cuticle oil and client advice: 5 minutes.
- Total: 10 + 15 + 10 + 15 + 20 + 5 = 75 minutes.
Step 3: supply cost and pricing
| Item | Reference cost |
|---|---|
| 10 soft gel tips | 8,000 VND |
| Adhesive gel, primer, base | 7,000 VND |
| Colour and top coat | 15,000 VND |
| Single-use file and buffer | 10,000 VND |
| Wipes and cleanser | 5,000 VND |
| Total supplies | 45,000 VND |
Check: 8,000 + 7,000 + 15,000 + 10,000 + 5,000 = 45,000 VND. If you charge 250,000 VND, what remains after supplies is 250,000 − 45,000 = 205,000 VND for 75 minutes, before rent, electricity and labour. Fixing one lifted nail under guarantee costs only a few thousand VND in supplies, but redoing the whole set costs the full 45,000 VND and more than an hour of work.
Step 4: the result and the client card
After 4 weeks Ms Vy comes back for removal; growth has exposed the base of her nails, but no nail has lifted. On her card you note: "oily nails — dehydrate thoroughly; types a lot — keep medium length". Next time you will be faster because you already know her size for each finger.
8 reasons gel extensions lift and how to avoid them
When a client comes back with a lifted extension, do not remove it straight away. Check whether the whole tip popped off or only the base has lifted, and whether gel is still stuck to the underside of the tip. These signs tell you whether the fault lies with the natural nail, the tip, or your bonding technique.
| Cause | Sign | Prevention |
|---|---|---|
| 1. Wrong size | Gaps or pressure at the sidewalls, lifting from the sides | Tip covers sidewall to sidewall; if unsure, take the larger size and file |
| 2. Dead skin left on the nail | Gap at the tip base after 3–7 days | Remove the thin skin near the base before buffing |
| 3. Oil or water on the nail | Whole tip pops off, natural nail is smooth and shiny | Cleanse and dehydrate; never apply cuticle oil before bonding |
| 4. Inside of the tip not prepared | Tip pops off, adhesive still stuck to the natural nail | Lightly buff and prime the inside of the tip as directed |
| 5. Too little adhesive, air bubbles | White spots under the tip, trapped water, bad smell | Use enough gel and lower the tip from 45 degrees to push out air |
| 6. No flash cure, or under-curing | Tip shifted, adhesive still soft, early lifting | Flash cure each finger, then fully cure for the full time |
| 7. Tip too long for the client's habits | Breaks or pops off on the most-used fingers | Recommend a length that suits the client's job |
| 8. Edge not capped, client picks | Colour chips from the tip, extension gradually lifts | Cap colour and top; advise gloves and no picking |
Preparation mistakes (causes 1–4)
New technicians often rush sizing and cleansing. A tip narrower than the nail plate still looks fine on day one, but the exposed sidewalls let water and soap in every time the client washes her hands. Oil on the nail is invisible, so for clients with oily nails always add a dehydrator.
Bonding mistakes (causes 5–6)
Air bubbles are the most troublesome fault: the gap under the tip holds moisture and can discolour the natural nail and cause a smell. Lower the tip from base to edge, press evenly, and check from the side before fully curing. If you flash cure while the tip is still crooked, it sets in the wrong position, so only cure once it is straight.
Consultation mistakes (causes 7–8)
The longer the nail, the greater the leverage on the tip base when the client types, opens bottles or washes dishes. People who do a lot of housework, cook or look after small children should keep short to medium nails. This is not about blaming the client but about choosing a style that fits her daily life.
Removing extensions properly, without prying
Prying or yanking a tip off tears away the surface layers of the natural nail, leaving white patches and a thin, sore nail. Many clients who say "my nails got weak after extensions" were actually damaged by poor removal. Proper removal takes about 20–30 minutes but keeps the nail healthy for the next set.
The soak-off routine
- Clip the tips shorter and file through the top coat and some of the colour so the remover can soak in.
- Place cotton soaked in gel remover (usually acetone-based) on each nail, then wrap in foil or use soak-off clips.
- Soak for about 15–20 minutes; soft gel tips gradually soften and crumble.
- Gently push off the softened material with a round-ended pusher; wherever it still clings, soak another 5 minutes — do not pry.
- Lightly buff, wash the hands, and apply cuticle oil if the client is not having a new set straight away.
Tell clients not to remove them at home
When one nail lifts, clients often peel the whole tip off. Be clear: if a nail lifts, come back to the salon, and you will file away the lifted part, clean it and rebond that nail. Many salons fix lifting free of charge within about 3–7 days, as long as the tip has not broken from a knock.
Reference prices and times for 2026
| Service | Reference price | Time |
|---|---|---|
| Gel extensions, clear (no colour) | 120,000–250,000 VND | 45–60 minutes |
| Gel extensions + gel colour | 180,000–350,000 VND | 60–90 minutes |
| Extensions + nail art or gems | 300,000–600,000 VND and up | 90–150 minutes |
| Removal only (no new set) | 30,000–60,000 VND | 20–30 minutes |
These are reference ranges for 2026 that vary by region, tip type and level of art; they are not any particular salon's price list.
Safety: ventilation, gel allergy and when to refuse
Extensions involve long contact with uncured gel, primer and acetone-based remover, so safety for both you and the client has to be a habit.
Safety warning: work at a ventilated table and close the caps of gel, primer and acetone right after use; acetone is highly flammable, so keep it away from flames, stoves and cigarettes. Uncured gel on the skin can cause contact allergy (itching, redness and blistering around the nail), and once a person is sensitised they easily react to many other gels — always wipe away any flooding before curing, and do not let gel touch your own skin. Do not apply extensions over nails showing signs of fungus (yellow or green discolouration, thickening, crumbling), inflammation, redness or wounds: a fully covering artificial nail traps moisture and makes the condition worse; advise the client to see a dermatologist.
Ventilation and protection
Open a window or use an extractor fan near the table, and wear a mask when filing so you do not breathe in dust. Wipe the table and the inside of the lamp every day so gel and dust do not build up.
Allergy signs that mean stop
If a client reports itching or burning that lasts after curing, or the skin around the nails became red or blistered after a previous set: stop the service, remove the nails gently and advise her to see a doctor. Note it on the client card so you never continue with that product for her.
Read the nail before taking the client
Nails that are thin and soft after repeated bad removals should rest with a strengthening polish, and you can rebook the client in a few weeks. Nails that are discoloured, separating from the nail bed or smelly must not be done, even if the client insists.
Frequently asked questions
How long do gel extensions last?
Gel extensions applied with a correct routine usually last about 3–4 weeks; glue-on tips about 1–2 weeks. After 4 weeks the natural nail has grown, the base is exposed and leverage increases, so remove and redo the set even if nothing has lifted.
What is the difference between gel extensions and hard gel?
Gel extensions use ready-made tips bonded to the natural nail, which is fast and gives an even shape. Hard gel builds the nail structure yourself with thick gel; it is stronger, lets you control the shape and can be refilled, but takes longer and needs better filing skills (see the comparison table at the start of this lesson).
One extension has lifted — what should the client do?
Do not peel it off and do not glue over it. Come back to the salon so the technician can remove that nail alone, clean and prep it, bond a new tip and paint it to match the others.
What is the most durable way to apply false nails?
Choose the right size, clean the natural nail of oil and dead skin, bond with gel without air bubbles, flash cure and then fully cure for the right time, cap the edge with top coat, and keep a length that suits the client's job. Add the advice to wear gloves when washing dishes.
Do extensions damage the natural nail?
Applied correctly and removed by soaking, they do very little harm. Weak nails usually come from over-buffing, prying tips off during removal, or doing set after set without letting already thin nails rest.
Practice exercises and self-assessment
- Size and apply gel extensions on all 10 fingers of a friend or relative, timing each part as in the 75-minute example.
- Photograph each finger from the side right after bonding to check for air bubbles and the tip base.
- Check after 7, 14 and 21 days; record which nail lifted and where, and compare it with the table of 8 causes.
- Remove the whole set by soaking, and check the natural nails for white patches or grooves.
Self-assessment criteria
- Pass: 10 out of 10 tips the right size, no sidewall gaps, no air bubbles; no nail lifts before 21 days; total time no more than about 90 minutes.
- Pass: after removal the natural nails show no white patches from prying, and the client feels no burning.
- Not yet: a tip lifts within 7 days and you cannot identify the cause, gel touched the skin during curing, or you had to pry tips off during removal.
To see where extensions fit into training time and income for this trade, read how long it takes to learn nails.
Next step: once your extensions are solid, move on to Nail art, ombre, chrome and gems — where a well-applied set becomes the base for the designs clients book most. See the 8-step nail technician roadmap.