Disinfecting nail tools properly means four consecutive steps: cleaning with soap, soaking in disinfectant for the correct time, heat-sterilising metal implements, and storing them sealed until they are used on the next client. Just wiping with alcohol or putting tools in a "UV cabinet" is not enough, and that is why many clients end up with infections around the nail after a manicure. This is the first step of the nail technician roadmap: you will learn what to buy, how to carry out each step, and how to protect yourself from the chemicals in a salon.
By the end of this lesson, you will be able to:
- Tell the difference between cleaning, disinfection and sterilisation, and know which level each tool needs.
- Carry out the 4-step routine for nippers, cuticle pushers, scissors and the foot spa basin between clients.
- Draw up a starter kit list with reference costs for 2026 and calculate how many sets of nippers you need.
- Recognise 5 nail and skin conditions where you must refuse the service and advise the client to see a doctor.
- Handle acetone, disinfectants and nail dust safely for your own health.
Just starting to learn nails? This is step 1 of NAMBIN's 8-step roadmap — the step that well-run salons check first when they take on an apprentice. See the 8-step nail technician roadmap to know what comes next.
Why is disinfection a nail technician's first skill?
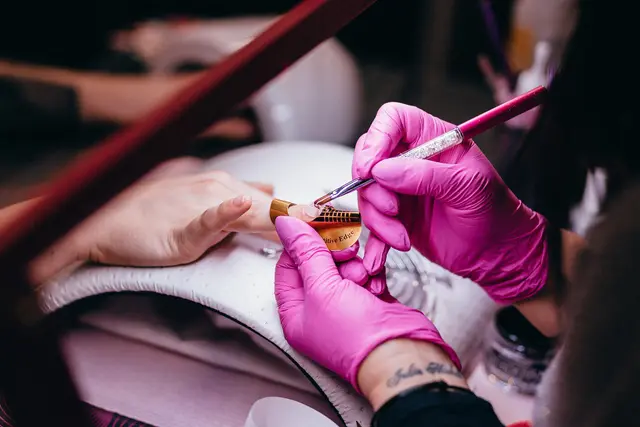
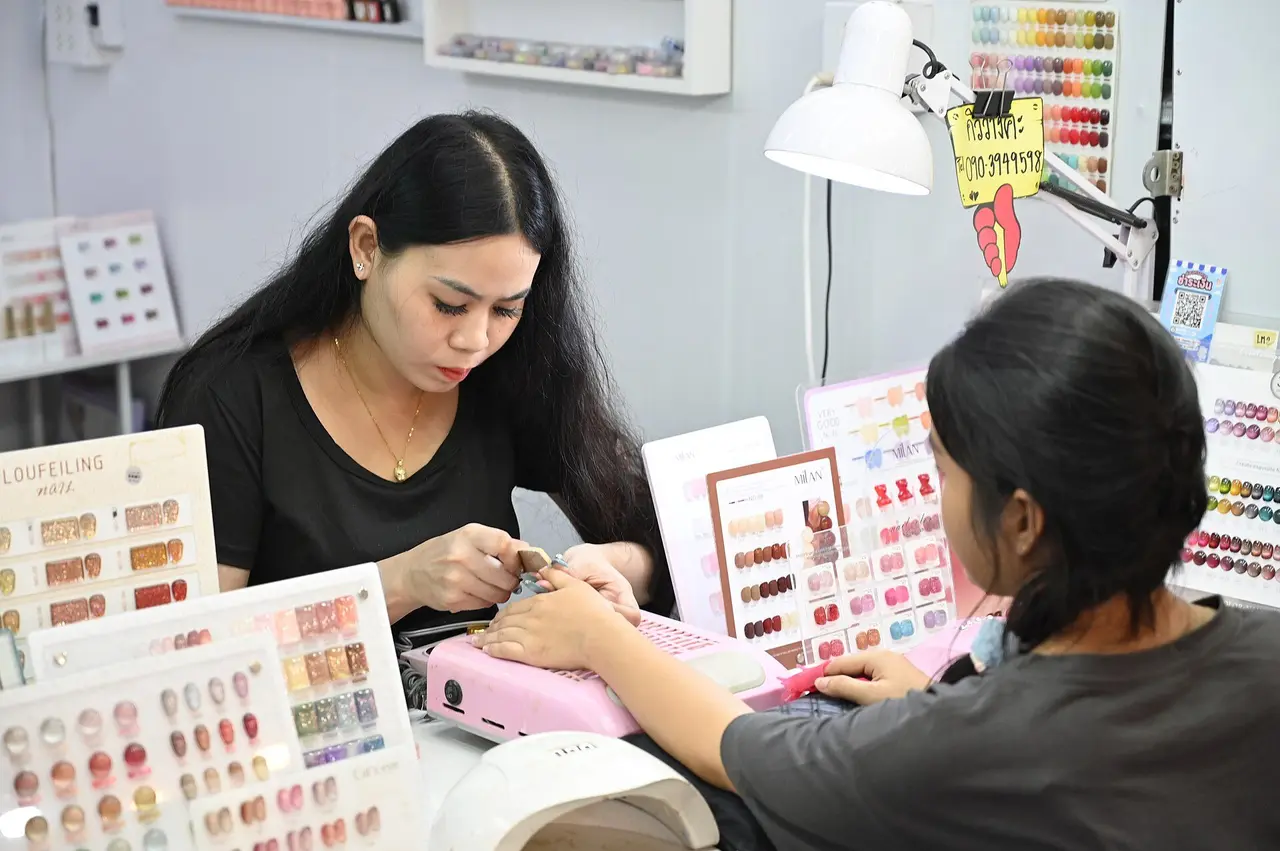
Cuticle nippers, pushers and files come into direct contact with the skin around the nail — an area that scratches very easily. A tiny scratch is enough for bacteria, fungi or viruses from one client to pass to the next if the tools have not been processed correctly. A tidy nail station with clean tools, like the one on the cover photo, is the first thing a client notices and one of the reasons they come back.
What can be transmitted through nail tools
The most common are bacteria that cause paronychia (swollen, red, painful skin around the nail, sometimes with pus) and nail fungus. More dangerous are blood-borne viruses such as hepatitis B and hepatitis C: a tool only needs to carry a trace of blood invisible to the naked eye. You cannot know which client carries an infection, so every tool must be processed as if the previous client was infected.
Cleaning, disinfection and sterilisation: the difference
- Cleaning: washing with water and soap, scrubbing away nail dust, skin and polish residue. It does not kill all germs but is a precondition for the next two steps to work.
- Disinfection: soaking or wiping with a disinfectant at the correct concentration for the time stated on the label. It kills most bacteria, viruses and fungi.
- Sterilisation: using heat (pressurised steam or dry heat) to kill even spores — the most resistant form of microorganism. It applies to metal tools that may come into contact with blood.
Which tools need which level
Metal implements (nippers, pushers, scissors, foot rasps) need all four steps. The table, trays, lamp and foot spa basin need cleaning and disinfection between clients. Paper files, buffers, pumice stones and wooden sticks are porous and cannot be disinfected thoroughly, so they are single-use and thrown away, or given to the client to take home.
A starter kit: what you need and what it costs
Beginners often buy one very expensive set of nippers and reuse it on every client all day. The right approach is to have several reasonably priced sets, so there is always a sterilised set ready while another is being processed. The table below is a minimum kit for a small nail station, with reference prices for 2026 that vary by region and quality (1,000 VND is roughly 4 US cents; 100,000 VND is about 4 USD).
| Item | Quantity | Reference price, 2026 | Subtotal |
|---|---|---|---|
| Stainless steel cuticle nippers | 3 | 150,000 VND each | 450,000 VND |
| Stainless steel cuticle pusher | 3 | 50,000 VND each | 150,000 VND |
| Scissors, nail clippers | 3 | 60,000 VND each | 180,000 VND |
| Lidded soaking container with mesh basket | 1 set | 150,000 VND | 150,000 VND |
| Instrument disinfectant | 1 can | 300,000 VND | 300,000 VND |
| Small dry-heat steriliser | 1 | 1,500,000 VND | 1,500,000 VND |
| Sterilisation pouches with indicator strip | 200 pouches | 150,000 VND | 150,000 VND |
| Nitrile gloves | 1 box of 100 | 120,000 VND | 120,000 VND |
| Medical face masks | 1 box of 50 | 60,000 VND | 60,000 VND |
| Disposable paper files and buffers | 100 of each | 300,000 VND | 300,000 VND |
| 70% alcohol for surfaces | 1 litre | 60,000 VND | 60,000 VND |
| Total | 3,420,000 VND (about 135 USD) |
Choosing nippers and pushers
Choose one-piece stainless steel tools with no wooden or porous plastic handles, because those parts cannot withstand sterilising heat and they trap dirt. Good cuticle nippers have tightly meeting blades that cut cleanly without tearing the skin (Figure 1). Blunt nippers make the technician tug, which easily causes bleeding — painful for the client and a higher infection risk.
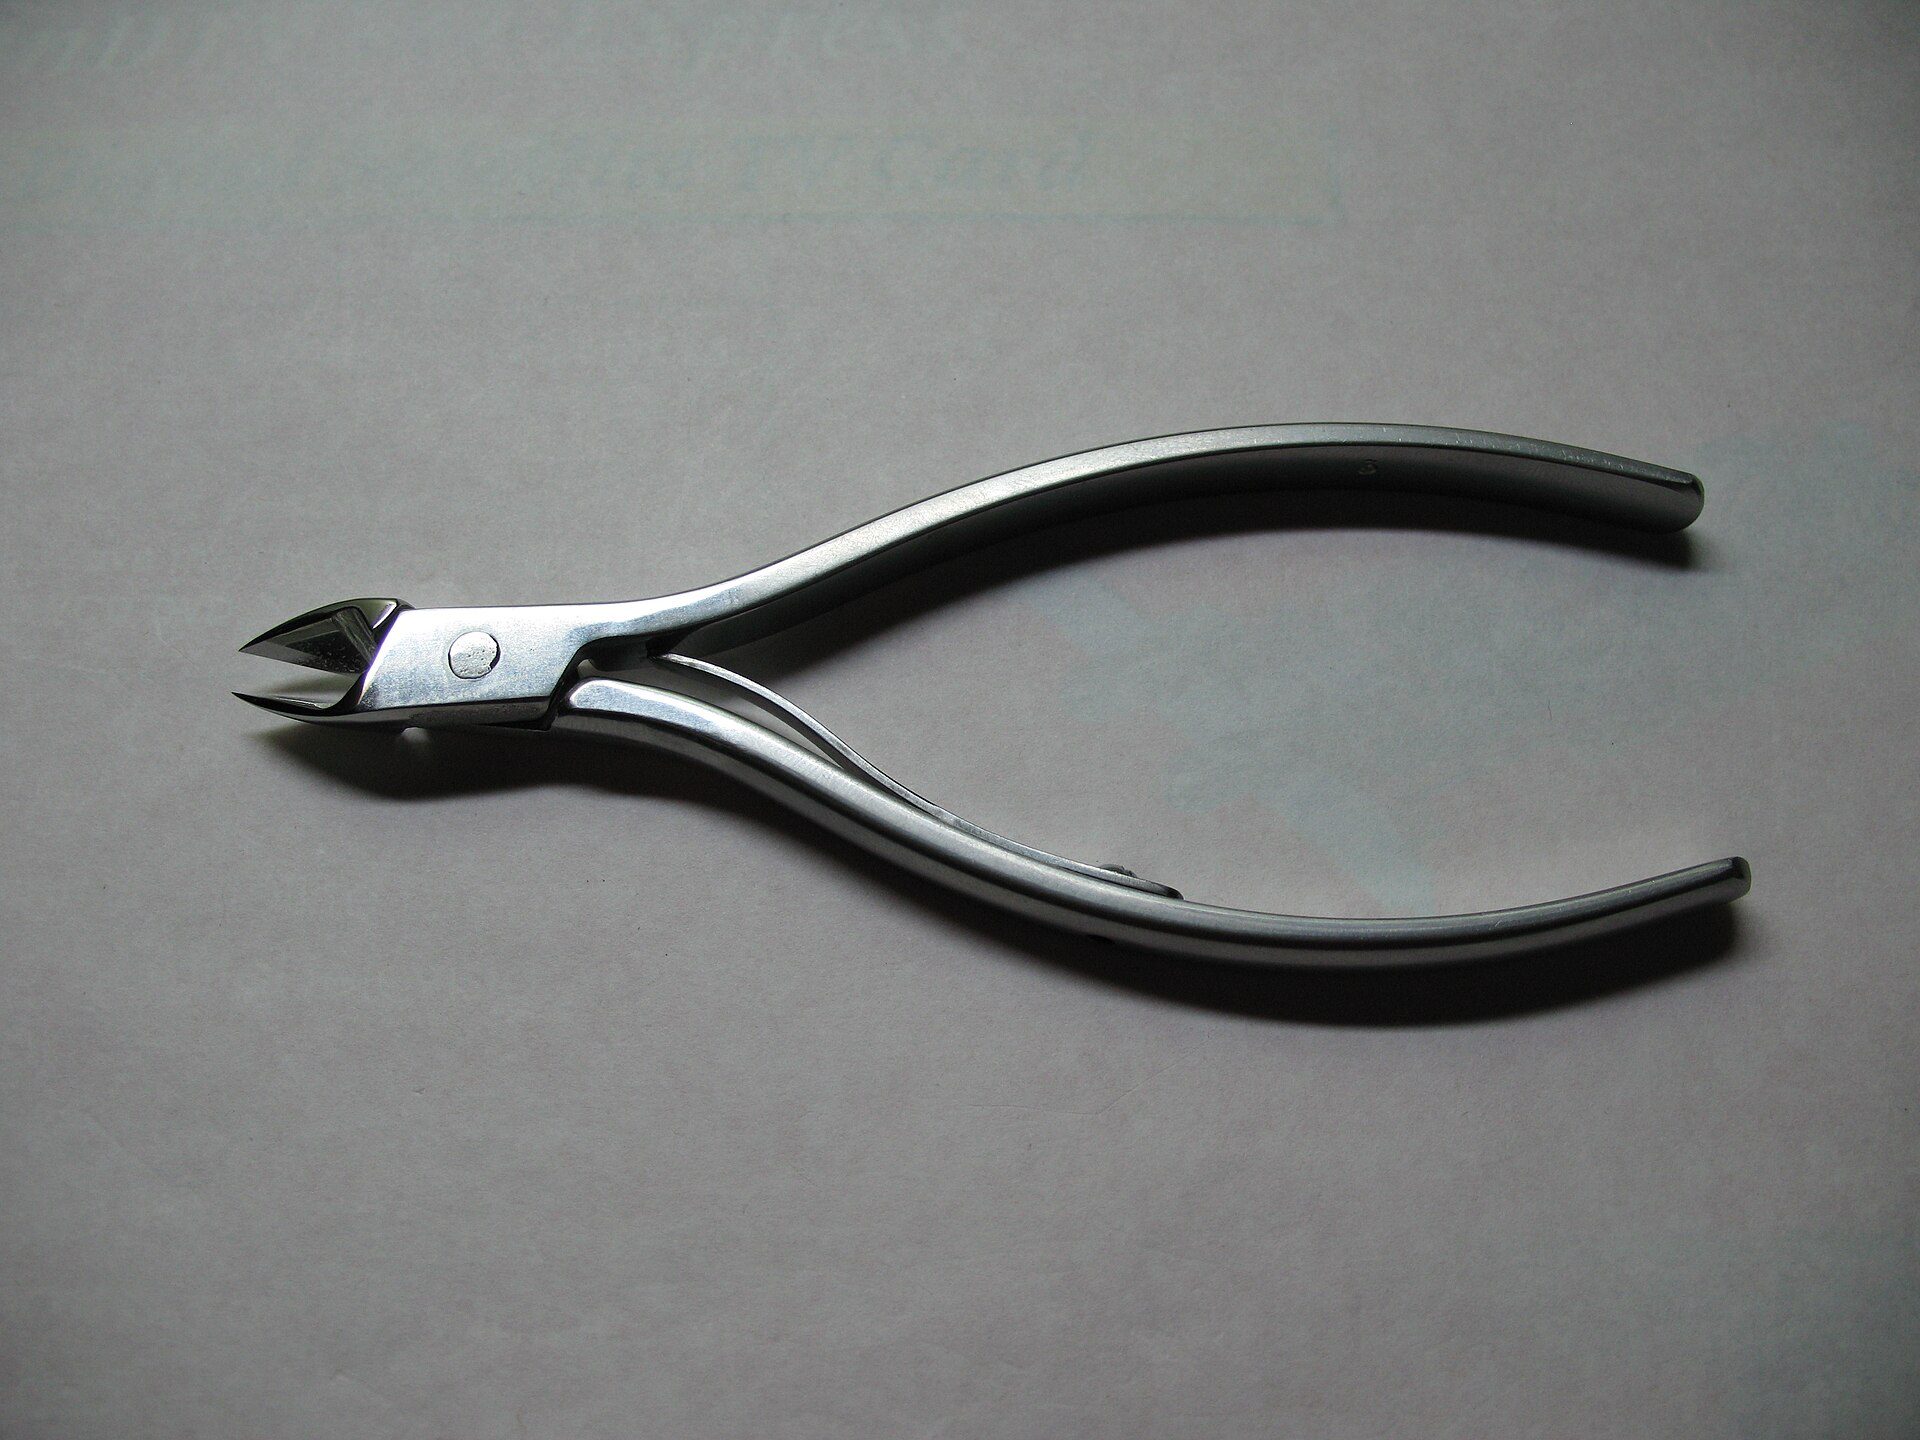
Photo: Сергей Касиба / Wikimedia Commons, Public domain
Sterilisation equipment on a small budget
A steam autoclave is the best option but usually costs much more than a dry-heat cabinet. For a small nail station, a dry-heat steriliser used at the manufacturer's temperature and time is the minimum acceptable. Figure 3 further down shows an example of an instrument steriliser. Cabinets with only a UV lamp, hot "glass bead" sterilisers or ozone boxes do not replace sterilisation; a UV cabinet should only be used to store tools that have already been sterilised.
Single-use items
Paper files, buffers, wooden sticks, paper slippers, cotton and paper towels are single-use. If a client wants to keep their own file and buffer, put them in a bag with the client's name and let them take it home; do not store them in the salon. Cloth towels are used once per client, washed in hot water and dried.
The 4-step nail tool disinfection routine
This routine applies to all metal implements after every client. Wear nitrile gloves throughout all four steps, because you are handling tools covered in skin, nail dust and possibly the previous client's blood.
Step 1: clean
- As soon as the client leaves, put the used tools in a lidded "dirty tools" tray, never mixed with the clean tray.
- Wash under running water, scrubbing the joint, blades and pusher tips thoroughly with a small brush and soap.
- Rinse off the soap and dry with paper towel. Wet tools dilute the disinfectant in the next step.
Step 2: soak in disinfectant
- Mix the disinfectant to the concentration on the label, pour it into the lidded container and write the date it was mixed on the container.
- Open the nippers, then submerge the tools completely and close the lid.
- Soak for the full time on the label (often about 10 minutes, some products longer). Use a timer; do not guess.
- Change the solution as the label directs, and immediately if it becomes cloudy, has sediment or contains nail dust.
Figure 2 shows a soaking jar filled with blue disinfectant — the kind of jar often seen in hair and nail salons. Whatever the type, what matters is the correct concentration, a solution within its use-by period, and tools fully submerged.
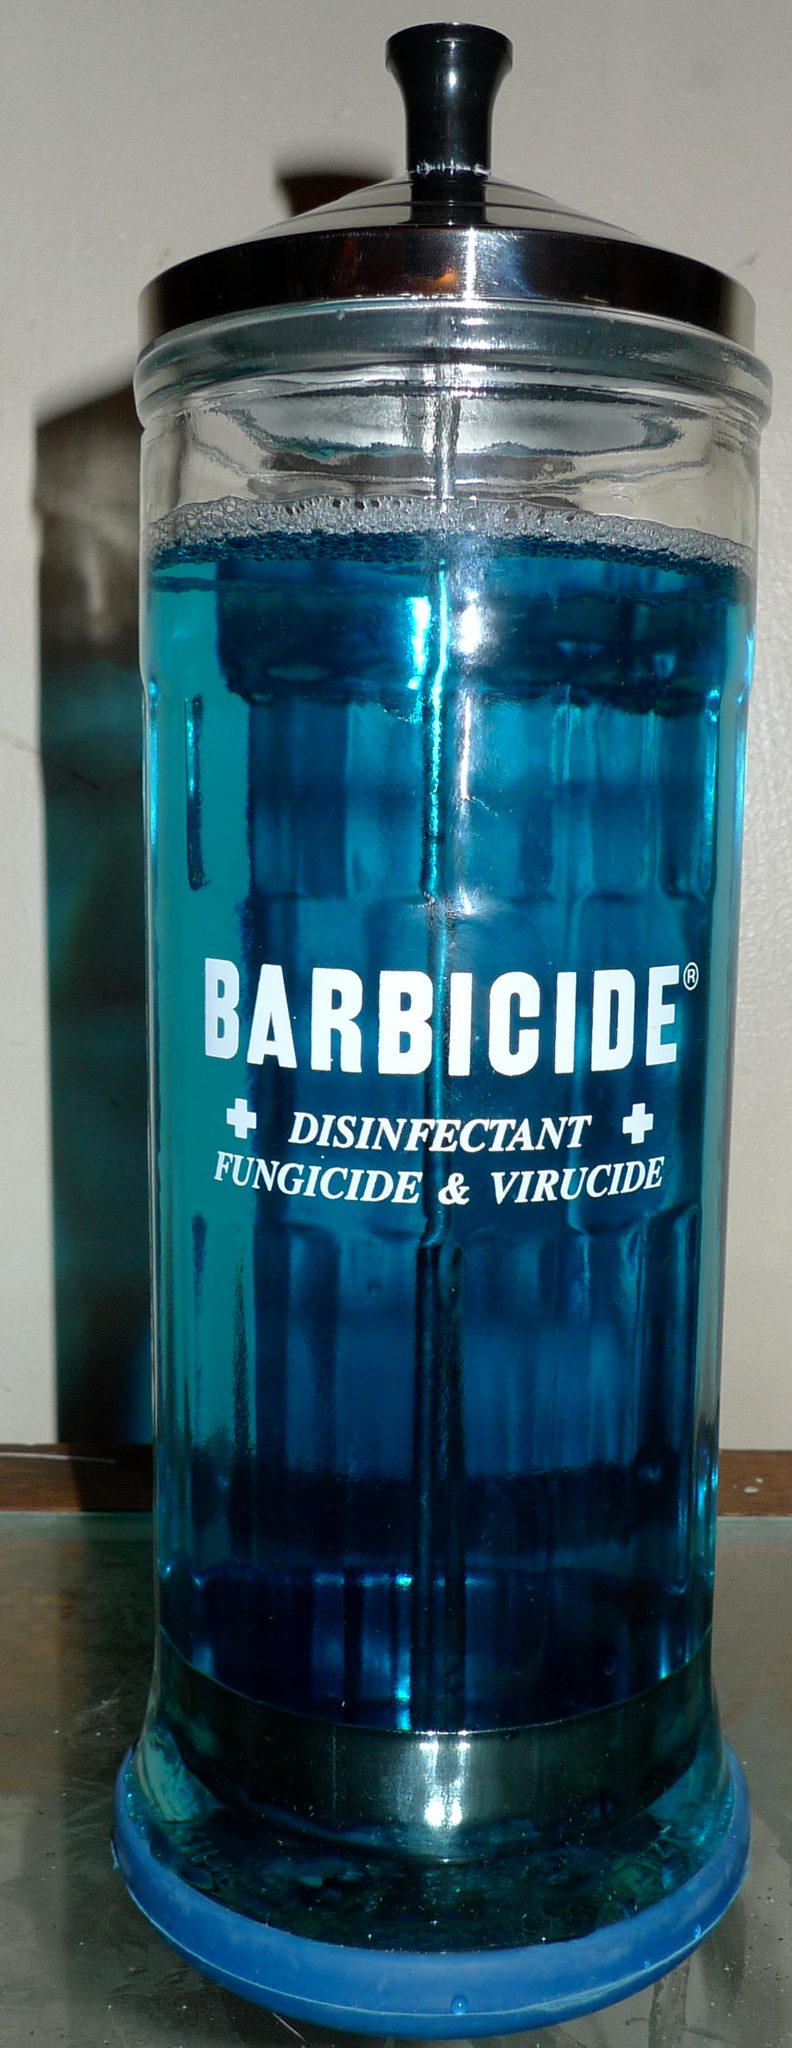
Photo: Piercetheorganist / Wikimedia Commons, Public domain
Step 3: heat sterilisation
Take the tools out, rinse them in clean water to remove the chemical and dry them thoroughly. Put them in a sterilisation pouch, seal it and place it in the machine. Common reference settings: steam autoclave at about 121°C for 15–30 minutes; dry-heat cabinet at about 170°C for 60 minutes or 160°C for 120 minutes. Always follow the instructions for the machine you are using.
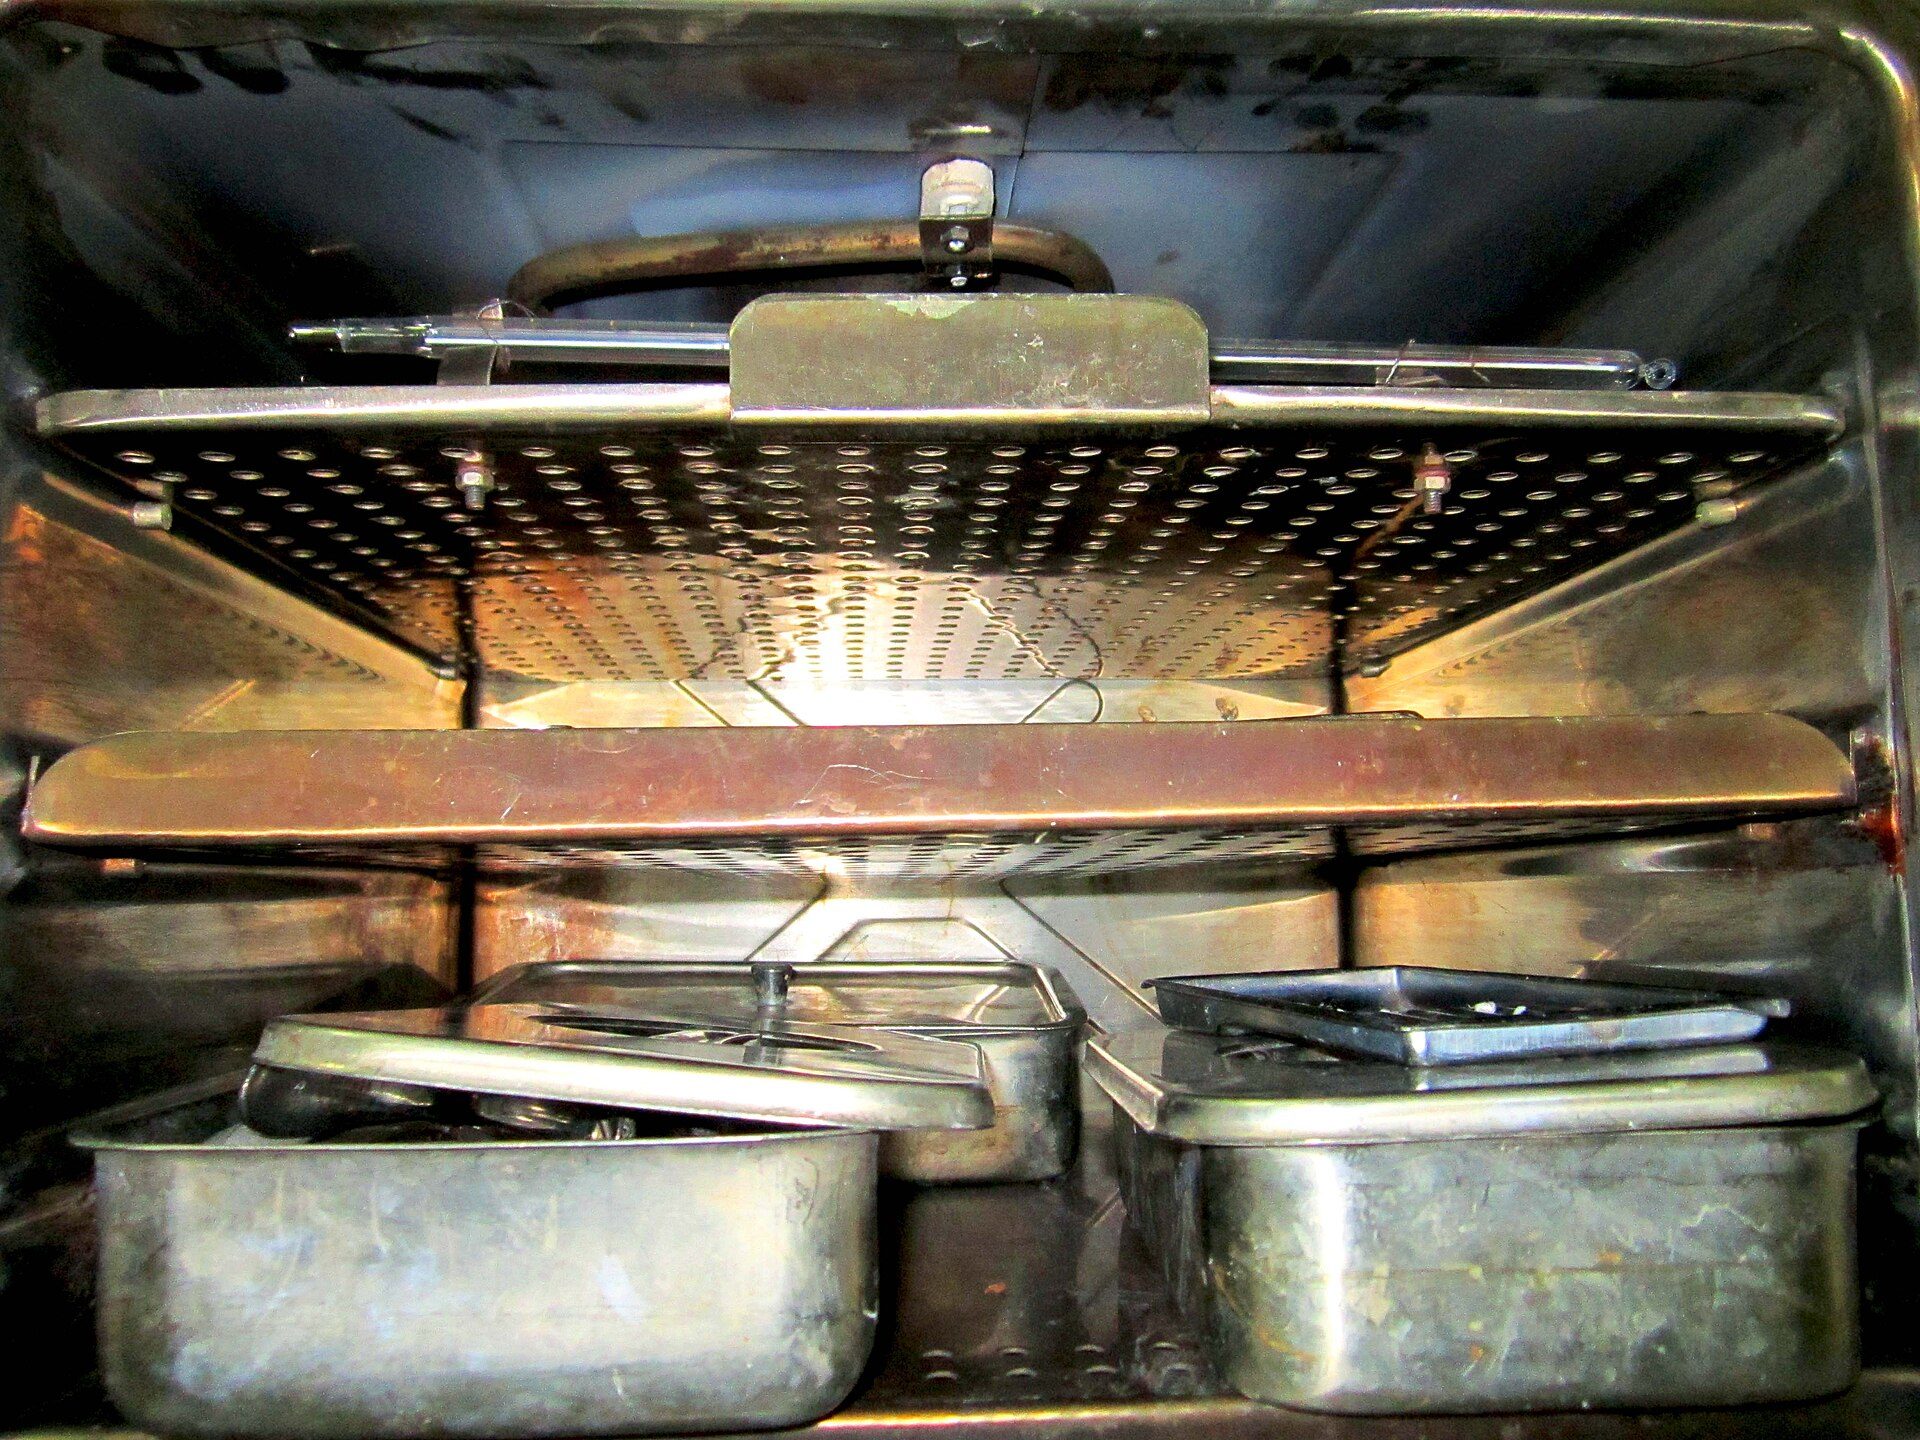
Photo: Делфина / Wikimedia Commons, CC BY-SA 4.0
Step 4: store, and open the pouch in front of the client
Let the pouches cool and check that the indicator strip has changed colour (proving the pouch has been through a heat cycle). Write the sterilisation date and store the pouches in a dry, clean, covered place. When the client sits down, tear the pouch open in front of them: it guarantees the tools are clean up to the last moment and is the simplest way to earn the client's trust.
Hand hygiene, the work table and the foot spa
If the tools are clean but the technician's hands, the table or the foot basin are dirty, germs simply take another route. These three areas need their own routine after every client.
Hand washing and gloves
Wash your hands with soap for at least 20 seconds (Figure 4) before and after every client, after eating and after using the toilet; when there is no sink near the station, use hand sanitiser. Invite the client to wash or sanitise their hands before the service. Wear nitrile gloves when cutting cuticles, when there is a risk of bleeding and when working with chemicals; change torn or soiled gloves immediately.
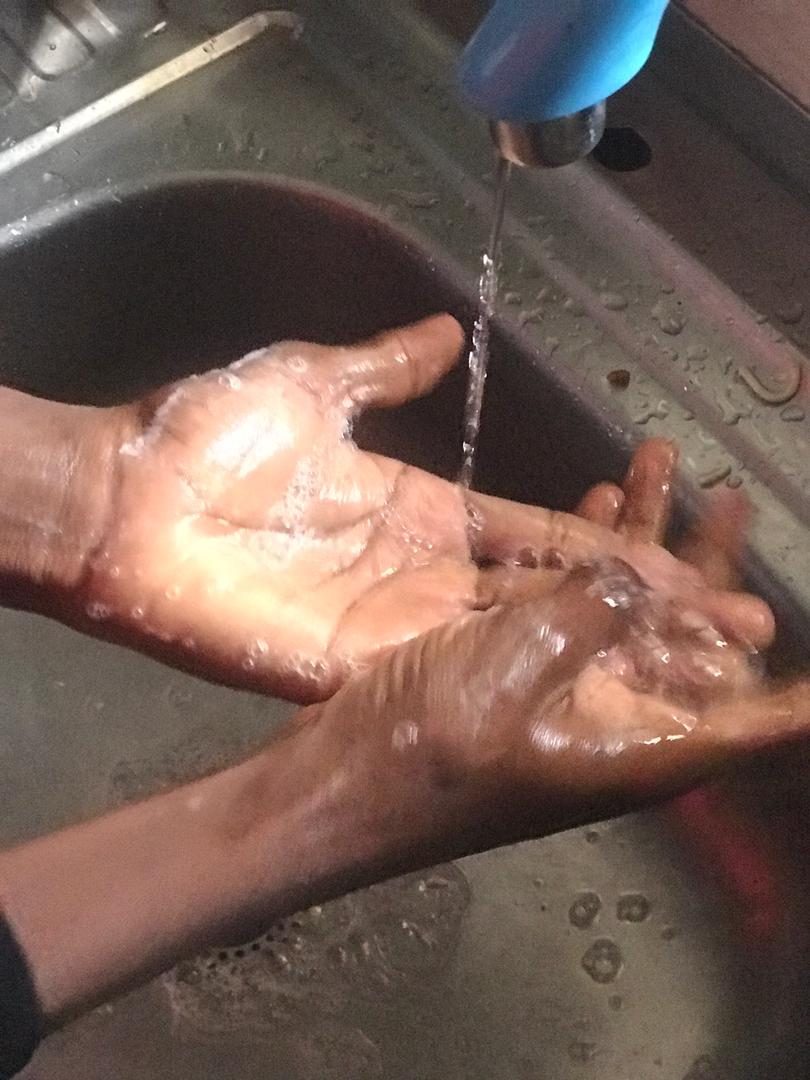
Photo: Justmee3001 / Wikimedia Commons, CC BY-SA 4.0
Table, trays and lamp
After every client: put single-use items in a lidded bin, brush away filing dust, and wipe the table, trays, hand rest and the inside of the lamp with 70% alcohol or a surface disinfectant. Change the table towel. At the end of the day, wipe polish bottles, drill handles and the client chair thoroughly.
Foot spa basin
The foot basin is where bacteria build up most easily, especially whirlpool types. After every client: drain the water, scrub the basin walls with soap, rinse, fill with disinfectant and leave for the full time on the label, then drain and dry. A simple option for a small station is a basin without jets plus disposable liners.
When a client bleeds
Stop immediately, put on gloves (if you are not already wearing them), press clean gauze on the spot until the bleeding stops, then apply antiseptic and a plaster. Set aside the blood-contaminated tools and process them through all 4 steps; seal blood-stained gauze and cotton in a bag before putting it in the bin. Record the incident in your log and review why it happened (blunt nippers, cutting too deep, rushing).
Chemical safety in the nail salon
Nail technicians are exposed every day to acetone, disinfectants, primer, acrylic monomer and nail dust. A little of each, but 8–10 hours a day for years is no longer "a little". Protecting yourself is also protecting your long-term career.
Ventilation and dust
Work where there is a window or an extractor fan pushing air outside; do not sit all day in a closed, air-conditioned room with no ventilation. Wear a mask when filing, using an e-file and doing acrylics; a medical mask blocks dust but not chemical vapours, so ventilation remains the main protection. Close every bottle immediately after use and put acetone-soaked cotton in a lidded bin.
Read labels and safety data sheets
Every chemical should have a clear label and a safety data sheet (the manufacturer's information on hazards and first aid). Read it before use, especially the parts on flammability, irritation and whether gloves are required. Do not decant into unlabelled bottles, and never store chemicals in drinking-water bottles.
The right gloves
Nitrile gloves (Figure 5) resist many salon chemicals better than ordinary latex gloves and cause fewer allergies. Gloves are single-use: once taken off, they are thrown away, never washed and reused.
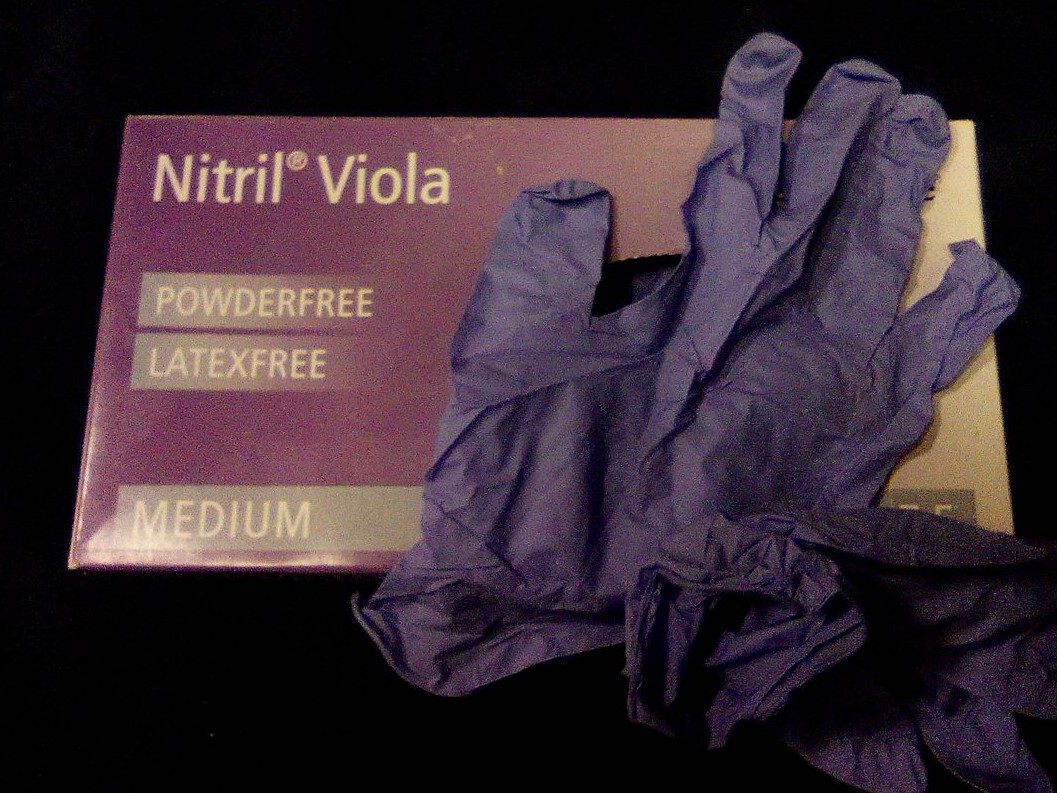
Photo: צודק! / Wikimedia Commons, CC BY-SA 4.0
Chemical safety warning: acetone and gel removers are highly flammable — keep them away from flames, gas stoves, cigarettes and hot hair dryers. Never mix cleaning products together, especially bleach with ammonia-based or acidic cleaners, because toxic gas can form. Mix disinfectant at the concentration on the label: a stronger mix does not clean better, it only damages your skin and your tools. If a chemical splashes in your eyes, rinse immediately under clean running water for several minutes and see a doctor. If you are pregnant, have asthma or skin allergies, ask a doctor about chemical exposure in the salon.
When to refuse a nail service
Refusing is not losing a client; working on a client with a nail condition is the fastest way to lose many clients. Nail technicians do not diagnose disease, but they must recognise warning signs and advise the client to see a dermatologist.
5 conditions where you must stop
- Suspected nail fungus: yellow or chalky white nails that are thickened, crumbly or separating from the nail bed.
- Paronychia: skin around the nail that is swollen, red, hot, painful or has pus.
- Open wounds or scratches in the area you would work on.
- Warts around the fingernails or on the soles of the feet.
- Allergy from a previous service: itching, blisters or weeping around the nails.
How to tell the client
Speak gently and privately so the client does not feel embarrassed: "I think you should have a dermatologist look at this nail first. If I work on it now, it could get worse and spread to your other nails. Once it has healed, come back and I will make them beautiful for you." With diabetic clients, or clients with ulcers or numbness in the feet, be especially careful during pedicures: do not cut cuticles and do not rasp the heels deeply.
Client record card
A simple client card includes: name, phone number, known allergies, today's nail condition and the service performed. The card helps you follow up, and if something goes wrong, you have the information to handle it properly.
Worked example: how many sets of nippers for 8 clients a day?
Lan, 24, is opening a home nail station and expects 8 clients a day, about 60 minutes each. She uses a dry-heat cabinet at 170°C for 60 minutes. All figures are illustrative, reference 2026.
Step 1: the time for one processing cycle
- Cleaning and drying: 5 minutes.
- Soaking in disinfectant: 10 minutes.
- Rinsing, drying, pouching: 5 minutes.
- Sterilisation: 60 minutes; cooling: 20 minutes.
- Total: 5 + 10 + 5 + 60 + 20 = 100 minutes before a set is ready again.
Step 2: the number of sets needed
Each client takes 60 minutes, and a set needs 100 minutes to come back — longer than 1 client (60 minutes) but shorter than 2 clients (120 minutes). So while the first set is being processed, Lan needs 2 more sets for the next 2 clients; by the fourth client, the first set is ready again. The minimum is therefore 3 sets — matching the kit table above. If the cabinet holds several pouches at once, Lan can sterilise 2–3 sets together to save electricity.
Step 3: the cost of single-use items per client
- Paper file and buffer: 300,000 VND ÷ 100 clients = 3,000 VND.
- Nitrile gloves: 120,000 VND ÷ 100 gloves = 1,200 VND each × 2 = 2,400 VND.
- Mask: 60,000 VND ÷ 50 = 1,200 VND.
- Sterilisation pouch: 150,000 VND ÷ 200 pouches = 750 VND.
- Total: 3,000 + 2,400 + 1,200 + 750 = 7,350 VND per client (about 0.30 USD), not counting disinfectant and electricity.
Lan's conclusion
An initial investment of about 3.4 million VND and just over 7,000 VND per client — small compared with the price of one gel manicure, and in return Lan can open sealed tool pouches in front of every client and talk confidently about her routine. That is a real competitive advantage for a small nail station.
Common mistakes in disinfecting nail tools
Spraying alcohol and carrying on
Symptom: one set of nippers used all day, with only a spray of alcohol and a wipe between clients. Cause: no spare sets, fear of losing time. Fix: buy at least 3 sets and complete all 4 steps after every client.
Soaking tools that are still dirty
Symptom: the solution turns cloudy quickly, with sediment at the bottom. Cause: skipping the soap wash. Fix: always clean first; dust and skin residue shield germs from the chemical.
Reusing paper files and buffers
Symptom: worn, discoloured files used on many clients. Cause: wanting to save on supplies. Fix: build the cost into the service price (just a few thousand VND per client) and throw them away after each use.
Trusting the UV cabinet
Symptom: tools are just put in the "purple light" cabinet and taken out for use. Cause: believing a UV cabinet sterilises. Fix: a UV cabinet is for storage only; sterilisation must be done with heat.
Frequently asked questions
Can soaking in 70% alcohol replace instrument disinfectant?
70% alcohol is suitable for wiping surfaces and sanitising hands, but it evaporates quickly and is not a good choice for soaking nail tools. Use a dedicated instrument disinfectant, then heat-sterilise.
Do I need a steriliser if I do nails at home?
Yes, if you use metal nippers and pushers on more than one person. A small dry-heat cabinet is the minimum; until you have one, only offer services that do not involve cutting cuticles.
How long does a soaking solution last?
As the label directs, usually counted in days. Change it sooner if it becomes cloudy, has sediment or contains nail dust. Write the mixing date on the container so you never have to guess.
If a client brings their own tools, do they still need disinfecting?
You should still clean and wipe them with disinfectant before use, then give them back after the service. Never store a client's tools with the salon's tools.
What if my hands develop an allergy to the chemicals?
Wear nitrile gloves when working with chemicals, wash your hands with a mild soap and apply moisturiser after your shift. If the skin cracks, itches or blisters for a long time, see a dermatologist and take the names of the chemicals you use.
Practice exercises and self-assessment
- List your own tool kit using the table above, mark the missing items and write the prices where you buy them.
- Carry out the full 4-step routine on 1 set of nippers, timing each step and photographing the pouch indicator strip after sterilisation.
- Sketch your workstation: clean tray, dirty tray, lidded bin, chemical storage and direction of ventilation.
- Practise saying a refusal for 2 situations: a client with suspected nail fungus, and a client with red, swollen skin around a nail.
Self-assessment criteria
- Pass: you have at least 3 sets of metal tools; your routine includes cleaning, soaking for the right time, heat sterilisation and sealed storage.
- Pass: clean and dirty trays are kept separate; every chemical is labelled and stored away from flames.
- Not yet: you reuse paper files and buffers, only spray alcohol between clients, or treat a UV cabinet as sterilisation.
Once hygiene and safety are solid, the next step in the roadmap is Nail anatomy, nail shapes and client consultation — where you learn to tell healthy nails from problem nails in more detail. Other lessons for this trade, such as fixing lifting gel polish and how long it takes to learn nails, are in the 8-step nail technician roadmap.