Editing a video in CapCut on desktop follows 9 steps: organise the folders, import the footage, make a rough cut, set the pacing, add b-roll, caption, fix the audio, do basic colour, and export. Beginners tend to open CapCut, drag everything onto the timeline and pile on effects — the result drags on, the captions are misspelled and the music drowns out the speaker. This lesson walks through the desktop version of CapCut in the order an agency editor works, with an export settings table and a worked example of a 60-second video for a coffee shop, timed step by step.
By the end of this lesson, you will be able to:
- Set up a proper project folder and import footage so you never "lose files" when you reopen a project.
- Edit a 60-second video from rough cut to final, with a hook in the first 3 seconds and b-roll covering the cuts.
- Generate auto-captions and fix every Vietnamese error: diacritics, proper names, numbers and line breaks.
- Reduce noise, balance dialogue against background music, and do basic colour so shots match.
- Export with the right settings for vertical 9:16 (1080×1920) and horizontal 16:9 video, and know when to move on to Premiere Pro or DaVinci Resolve.
Learning video editing step by step? Editing in Premiere Pro and CapCut is step 3, after media management and editing language. See the 8-step video editor roadmap to learn in the right order.
How far can CapCut on desktop take you?
CapCut comes as a phone app, a web version and a desktop version (Windows, macOS). For someone learning the trade, the desktop version is far more useful: a large screen to see detail, mouse and keyboard shortcuts, a multi-track timeline and clear file management.
Strengths
It is quick to learn, runs on mid-range computers, and has built-in auto-captions, background removal, noise reduction and text effects suited to short video. A practised editor can finish a 30–60 second TikTok or Reels video in a few hours. Many small businesses and online shops in Vietnam use CapCut as their main tool for short-form video.
Limits
Managing long projects, multiple cameras, deep colour grading and team collaboration are weaker than in professional software. Some features, effects and templates are only in paid plans, and the terms of use change over time. Menu names and button positions also change between versions — this lesson describes functions, so find the matching button in the version you are using.
What computer you need
A machine with 16 GB of RAM, at least 100 GB free on an SSD and a dedicated graphics card or a recent integrated chip will edit Full HD smoothly. An 8 GB machine can still edit short videos if you turn on proxies or lower the preview quality. 4K footage from phones should be copied to an SSD; do not edit directly from a memory card or network drive.
Steps 1–2: organise folders and import footage
The most expensive beginner mistake is not a bad cut but lost files: a project that reopens with "media offline", clips scattered across Downloads, chat apps and memory cards. Fifteen minutes of organising at the start saves hours later.
Project folder structure
One folder per project, named like 2026-11_QuanCaPheMoc_Reels60s, containing:
01_FOOTAGE— original clips, with subfolders by shoot day or by camera.02_AUDIO— recorded dialogue and sound effects.03_MUSIC— licensed music, with a file noting source and licence.04_GRAPHICS— logos, images and fonts supplied by the client.05_EXPORT— exports named with version numbers:_v1,_v2,_FINAL.
Copy all the footage into this folder before importing, and back it up to another drive. Note the good shots on your first viewing: which second, what content.
Import footage and choose the frame
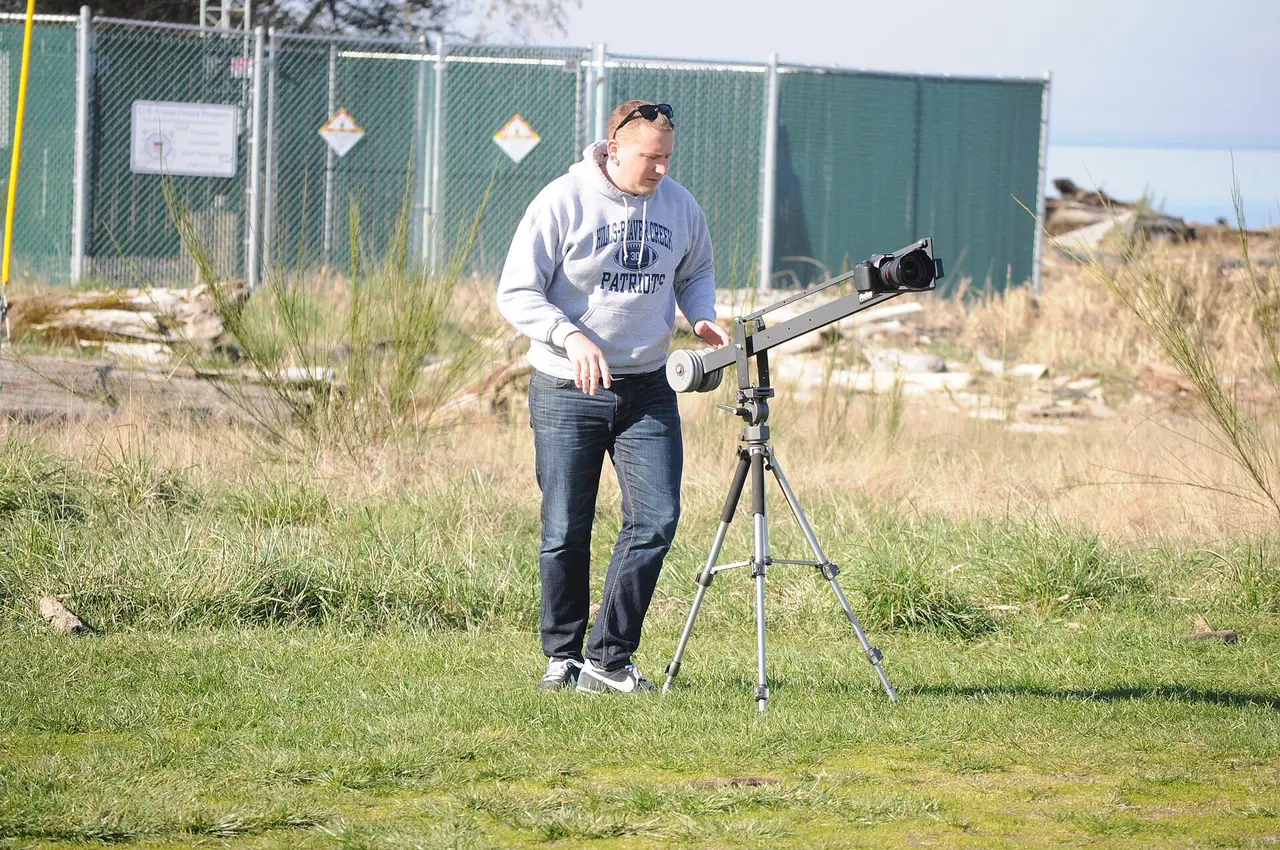
Create a new project and import the whole 01_FOOTAGE folder into the media library. Set the aspect ratio for the final product: 9:16 for TikTok, Reels and Shorts; 16:9 for YouTube or an in-store screen. If you need both, edit the main version in the more important ratio, then duplicate the project for the other. When shooting, the camera operator should leave space around the subject (Figure 1) so it can later be cropped vertically or horizontally without losing detail.
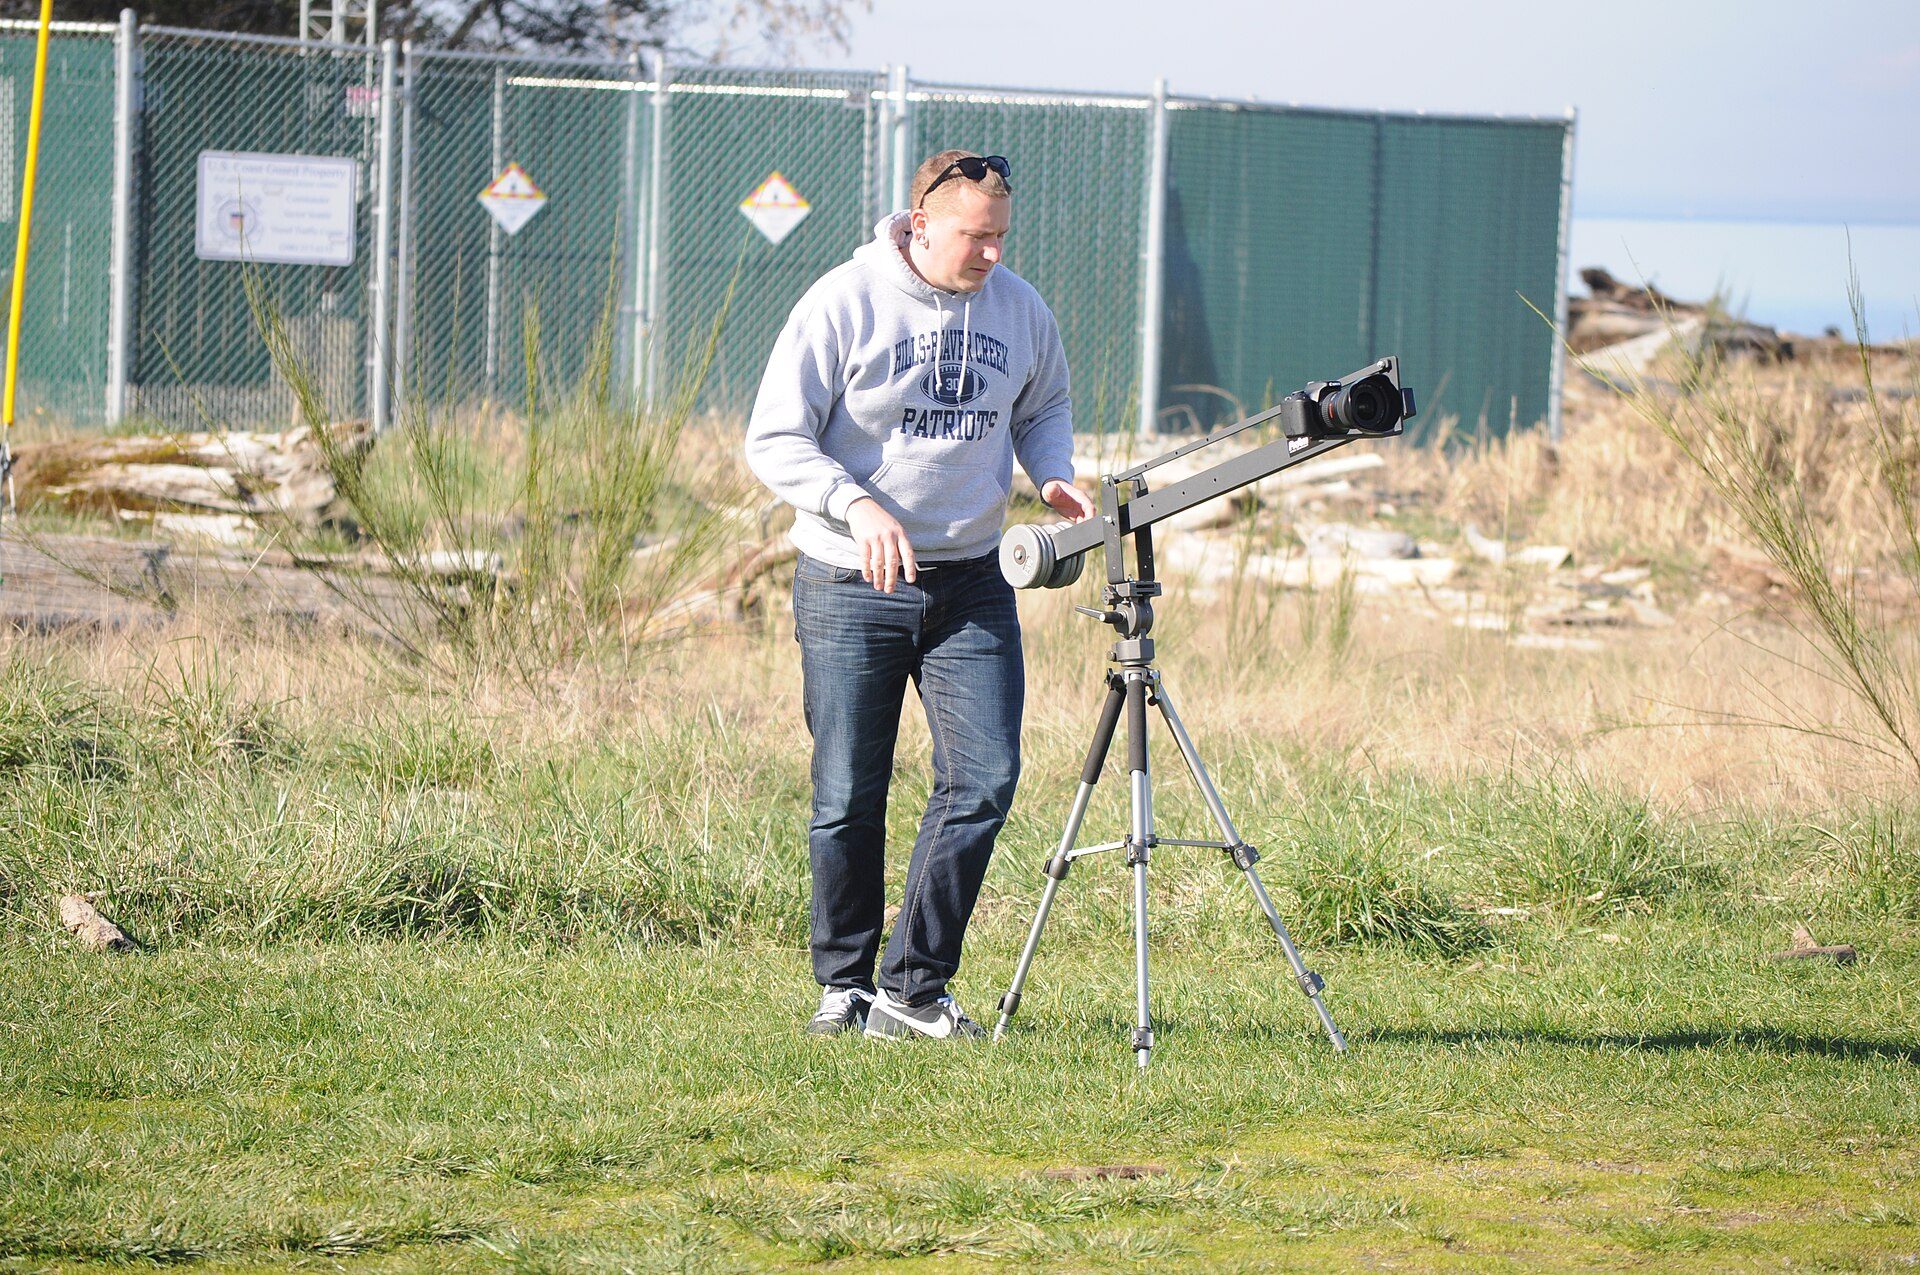
Photo: Joe Mabel / Wikimedia Commons, CC BY-SA 3.0
Project and cache locations
In the settings, keep the project location and cache on an SSD with free space, and clear the cache of finished projects. Never rename or move footage after it has been imported.
Steps 3–5: rough cut, pacing and b-roll
This is the part that decides whether a video keeps its audience. Work in order: get the story right in the rough cut first, then the pacing and polish.
Rough cut: keep the story, drop the rest
Drag the shots you noted onto the timeline in story order. Use split at the start and end of the good parts and delete the rest: "umms", stumbles, long silences. A rough cut is usually 1.5–2 times the final length — for a 60-second video, a rough cut of about 90–120 seconds is normal. Watch it all the way through before moving on.
Pacing: a 3-second hook and shot length
Short video lives or dies in the first 3 seconds: open with the strongest image or an intriguing line, never with a logo. Illustrative shots in short video usually last 1–3 seconds; shots with dialogue run to the end of the sentence. Cutting on action (the moment milk is poured, the moment a cup is set down) and on the music's beat makes the video flow.
Add b-roll to hide the cuts
B-roll is illustrative footage placed on a track above the dialogue. When you cut out a stumbled sentence, the speaker's image "jumps"; place a b-roll shot (coffee being made, a corner of the shop) over that exact spot and viewers no longer see the cut while still hearing continuous speech. A multi-track timeline looks like Figure 2: main picture track, b-roll track, text track and audio tracks.
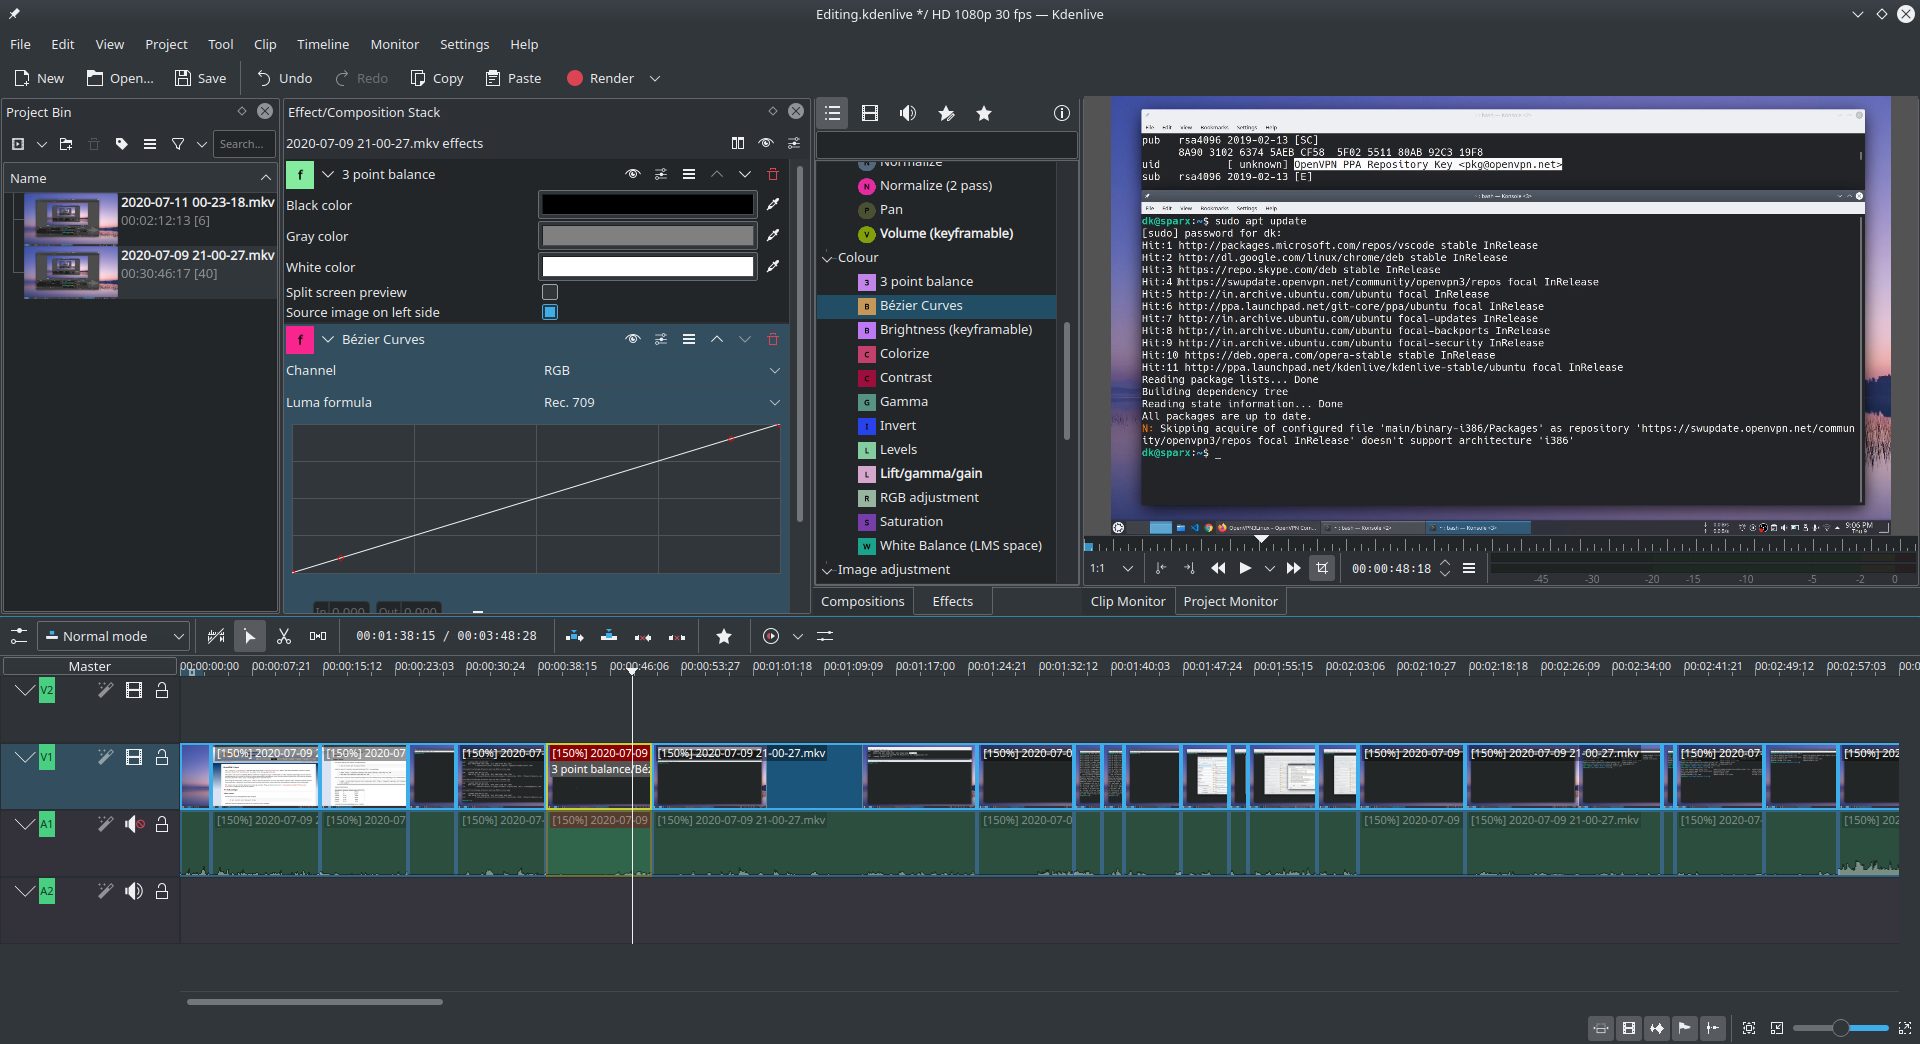
Photo: Ddeepeshkumar / Wikimedia Commons, CC BY-SA 4.0
Step 6: auto-captions and fixing Vietnamese errors
Most people watch short video with the sound off, so captions are close to mandatory. CapCut's speech recognition can generate captions that support Vietnamese; it saves a lot of time but is never 100% right.
Common Vietnamese errors in auto-captions
- Wrong tone marks on words that sound alike, for example "sell" turning into "you", or the word for coffee coming out with the wrong tone.
- Proper names, dish names and shop names recognised wrongly or written in lower case.
- Numbers and units: a spoken "thirty-five thousand" should become "35.000d" (35,000 VND) so it is easy to read.
- Regional accents, fast speech and loud background music cause more errors — clean recording gives better captions.
Caption layout rules
Each caption is at most 2 lines, about 6–10 words per line, broken at natural phrases, never splitting a two-syllable word across lines. Use a font with full Vietnamese diacritic support, white text with an outline or a translucent box so it reads on every shot. In 9:16 video, keep captions inside the safe zone, away from the bottom and right edge of the frame, where app buttons and descriptions appear.
Proofreading captions quickly
Export the captions as text or read them in the caption editing panel, proofread them like a document, then play the video at normal speed to check timing. Ask a second person to read them if the video is going to a client.
Steps 7–8: audio and basic colour
Viewers forgive a slightly dark picture but leave instantly when the sound hisses or the music drowns the speaker. Audio deserves as much time as the picture.
Noise reduction and clean dialogue
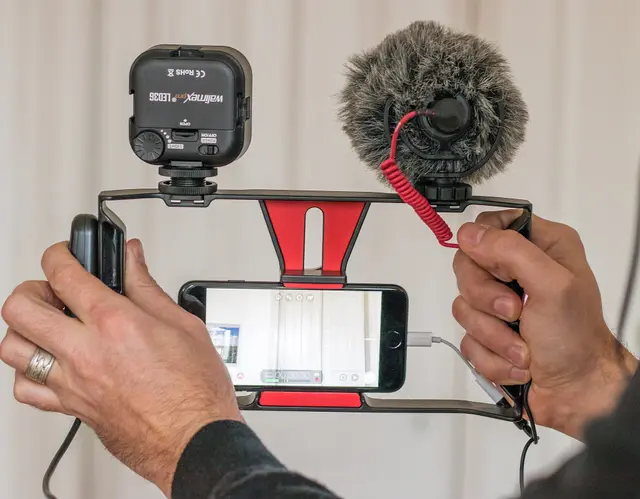
Dialogue recorded on a lavalier (clip-on) microphone (Figure 3) about a hand's span from the mouth sounds much clearer than a phone microphone placed far away. In CapCut, turn on noise reduction for the dialogue clip and listen on headphones: too much makes the voice sound like it is in a tin can. With constant air-conditioner or traffic noise, use moderate reduction and let the background music mask the rest.
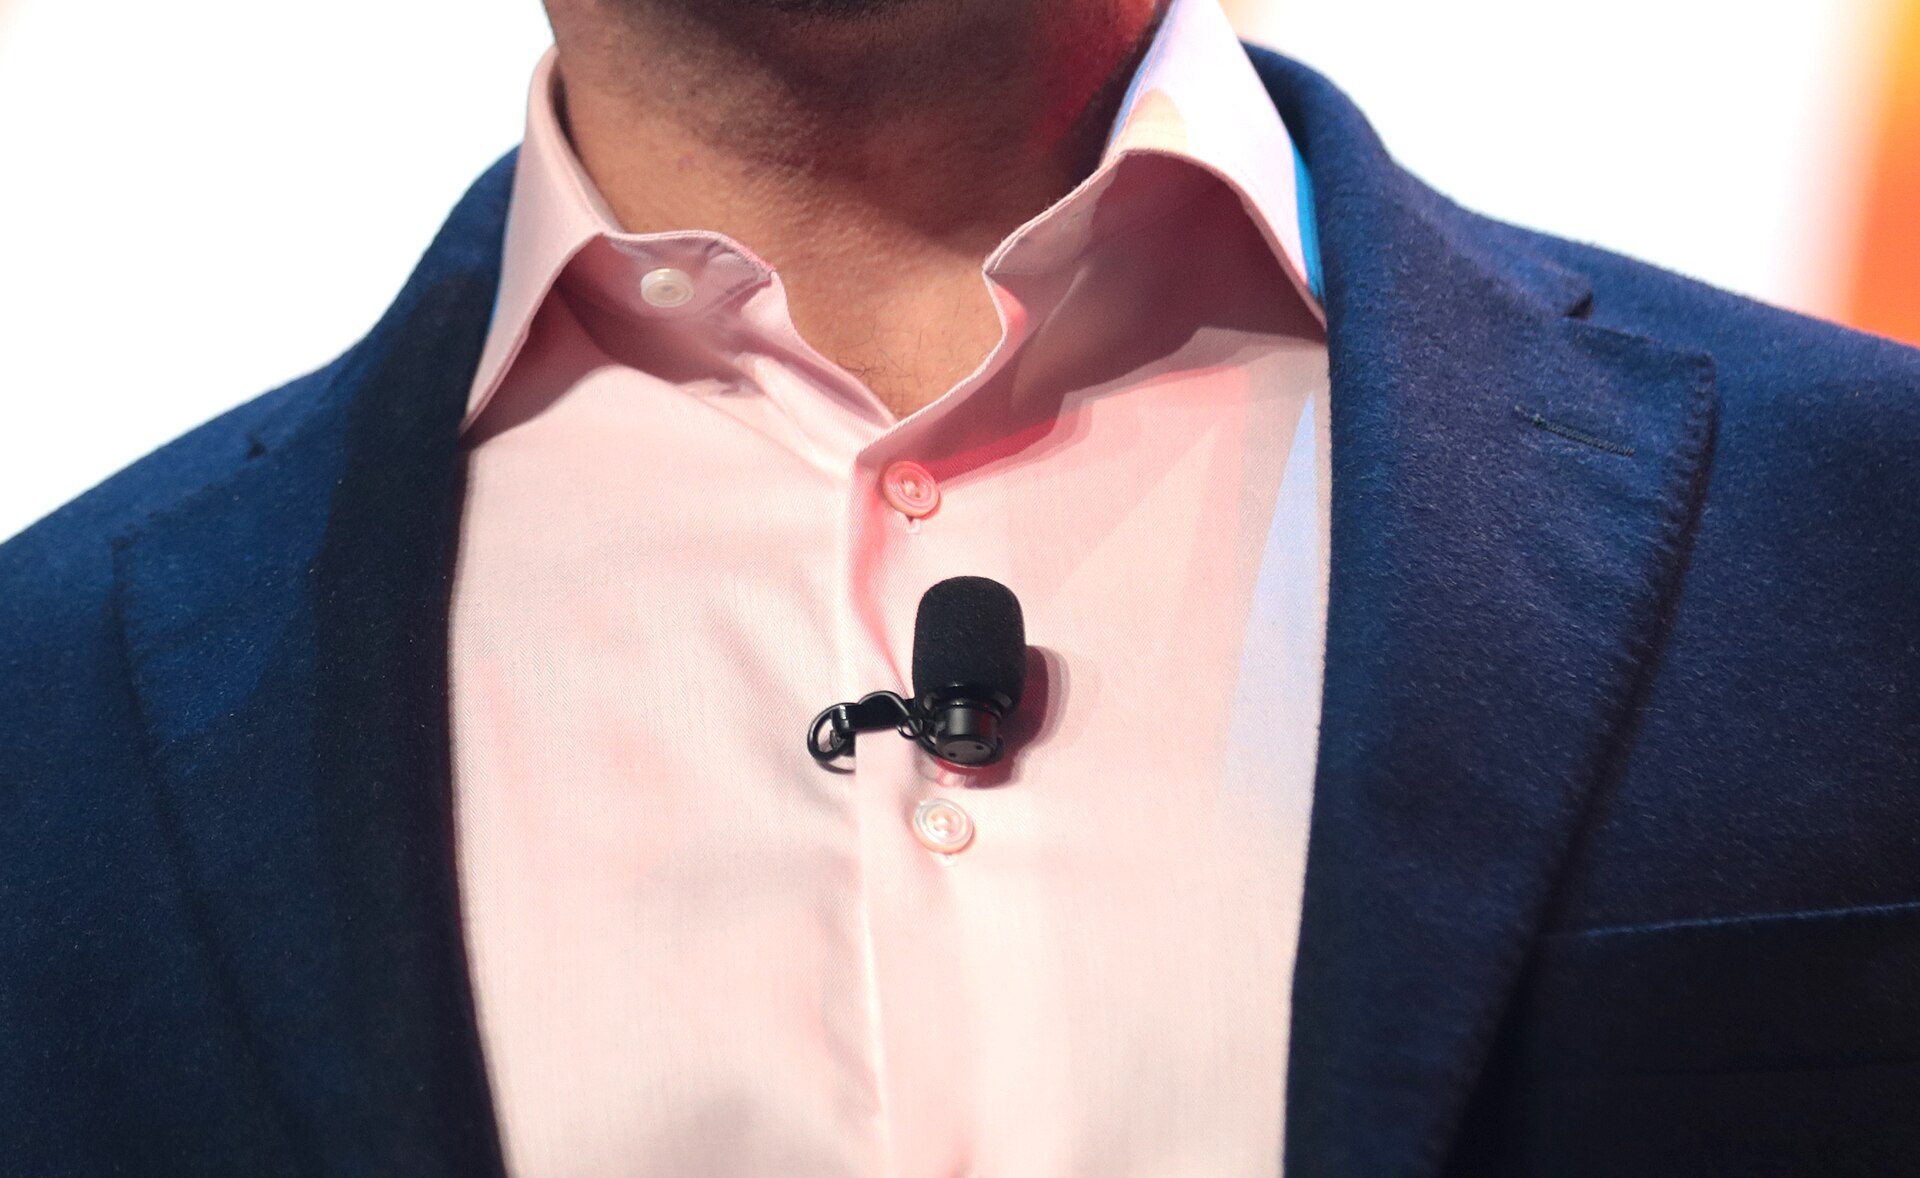
Photo: Gage Skidmore from Surprise, AZ, United States of America / Wikimedia Commons, CC BY-SA 2.0
Balancing dialogue and music
The rule: dialogue leads, music sits underneath. Set dialogue so its peaks sit around -6 dB on the meter and never hit 0 dB (clipping). Under dialogue, bring the music clearly lower — usually by about 15–20 dB; where nobody speaks, bring the music back up. Major platforms normalise overall loudness, and a figure often quoted is around -14 LUFS; check each platform's current guidance for exact numbers. This topic is covered in depth in the "Audio" step of the roadmap.
Basic colour: white balance, exposure, matching shots
Adjust in this order: exposure (brightness), contrast, colour temperature (white balance) so white walls look white, and only then saturation. At a basic level the goal is that neighbouring shots look as if they were filmed in the same session, with natural skin — not green, not orange. If you use a filter, reduce its intensity to about 30–60% and apply it the same way to every shot.
Step 9: export with the right settings
Wrong export settings make a video blurry, heavily compressed after upload, or too large to send to the client. The table gives suggested settings; platforms can change their recommendations, so check the official guidance when needed.
| Used for | Frame / resolution | Frame rate | Suggested video bitrate | Format |
|---|---|---|---|---|
| TikTok, Reels, Shorts | 9:16 — 1080×1920 | 30 fps (match the source, 25 or 30) | about 10–16 Mbps | MP4, H.264, AAC audio 48 kHz |
| Horizontal YouTube, Facebook | 16:9 — 1920×1080 | 25/30 fps (or 50/60 if shot at 60) | about 10–16 Mbps | MP4, H.264, AAC 48 kHz |
| YouTube 4K | 16:9 — 3840×2160 | match the source | about 35–45 Mbps | MP4, H.264 or H.265 |
| Client archive master | project ratio, highest resolution | match the source | higher than the social version | High-quality MP4; ask the client if they need a specific format |
Check the export before sending
- Watch the export on a real phone, not just on the computer screen.
- Check the first 3 seconds, that captions are not covered by the app interface, and that the loudest part does not distort.
- Name files by version in
05_EXPORT; never overwrite older versions.
Frequently used shortcuts
Shortcuts can double your editing speed. The table lists common ones in CapCut on desktop; combinations can differ by version and operating system — see the full list in the program's shortcut settings.
| Action | Windows | macOS |
|---|---|---|
| Play / pause | Space | Space |
| Split clip at the playhead | Ctrl + B | Cmd + B |
| Delete selected clip | Delete / Backspace | Delete |
| Undo / redo | Ctrl + Z / Ctrl + Shift + Z | Cmd + Z / Cmd + Shift + Z |
| Zoom timeline in / out | Ctrl + = / Ctrl + - | Cmd + = / Cmd + - |
| Copy / paste | Ctrl + C / Ctrl + V | Cmd + C / Cmd + V |
Music rights, templates and when to move to Premiere or DaVinci
A video for a coffee shop or an online store is commercial video. What is allowed in a personal entertainment video is not necessarily allowed in an advert.
Copyright and image rights warning: music in an app's built-in library usually comes with limits on purpose and platform; a trending sound is not automatically cleared for advertising. Commercial videos should use music with a clear commercial licence (a paid music library, royalty-free music whose terms allow commercial use, or original music) and keep the licence in 03_MUSIC. Pro templates, effects and fonts have their own terms — read the current terms before using them for a client. If customers' or staff members' faces are clearly visible, get their permission before publishing.
What happens with the wrong music licence
The video can be muted, taken down, or the ad account restricted — the client loses money and you lose credibility.
When to move to Premiere Pro or DaVinci Resolve
- Projects longer than 5–10 minutes with many shots that need tight bin, marker and version management.
- Several cameras at once (multicam) or log footage that needs serious grading — DaVinci Resolve is strong on colour and has a free version.
- Team work, or agencies that require Premiere project files to exchange with other editors.
- Clients who need high-quality masters in specialised formats.
What you learn in CapCut — folders, rough cut, pacing, b-roll, audio balance — carries over intact when you switch software; only the buttons and shortcuts change.
Worked example: a 60-second video for a coffee shop
A small coffee shop in Da Nang asks you to edit a 60-second Reels video introducing a new drink. The owner hands over 42 clips shot on a phone in 4K (about 18 minutes of footage), one piece of about 2 minutes of the owner talking, recorded on a lavalier mic, plus the logo and price list. The atmosphere is like Figure 4.

Photo: Shixart1985 / Wikimedia Commons, CC BY 2.0
The 60-second structure
| Section | Timecode | Length | Content |
|---|---|---|---|
| Hook | 0–3 s | 3 s | Close-up of salted cream poured onto the drink, text "New drink 35,000 VND" |
| Shop intro | 3–12 s | 9 s | The owner says one line, b-roll of the shopfront |
| Preparation | 12–30 s | 18 s | Tamping, pulling the espresso, whipping cream, cut to the beat |
| Drink and space | 30–45 s | 15 s | The finished glass, seating corners, afternoon light |
| Customers enjoying it | 45–55 s | 10 s | Customers who agreed to be filmed, a short reaction |
| Call to action | 55–60 s | 5 s | Logo, address, opening hours |
Check: 3 + 9 + 18 + 15 + 10 + 5 = 60 seconds.
Time spent on each step
| Step | Time |
|---|---|
| 1–2. Create folders, copy, back up, import footage | 15 min |
| Watch 18 minutes of footage, note the good shots | 30 min |
| 3. Rough cut (to about 100 seconds) | 40 min |
| 4–5. Pace to the music, add b-roll, trim to 60 seconds | 35 min |
| 6. Auto-captions and fixing Vietnamese errors | 25 min |
| 7. Noise reduction, balance dialogue and music | 20 min |
| 8. Basic colour, matching shots | 15 min |
| 9. Export 9:16 and 16:9, check on a phone | 20 min |
| Total | 200 min (3 h 20 min) |
Check: 15 + 30 + 40 + 35 + 25 + 20 + 15 + 20 = 200 minutes. Allow about one revision round after the owner's feedback (30–60 minutes). A 2026 reference price for editing a 30–60 second short video for a small client in Vietnam is about 300,000–1,500,000 VND per video (roughly 12–60 USD), depending on region, complexity and whether filming is included; junior editors earn about 7–10 million VND a month.
Common mistakes when editing in CapCut
Lost files when reopening a project
Symptom: clips show red or a missing-media warning. Cause: footage sat in Downloads or on a memory card and was deleted or renamed. Fix: always copy into the project folder before importing; if files are already missing, use the relink-media function and point it to the originals.
Music drowning the dialogue, distorted sound
Symptom: on a phone you cannot make out what the owner says. Cause: the music was not lowered under speech and the dialogue was pushed to the peak. Fix: keep music 15–20 dB below speech and dialogue peaks around -6 dB.
Overusing transitions
Symptom: every shot spins, flips or blurs differently. Cause: believing effects make a video "professional". Fix: mostly straight cuts; use one consistent transition only where sections change.
Unchecked auto-captions
Symptom: the client spots a misspelled dish name after publishing. Cause: trusting speech recognition completely. Fix: check every line and compare dish names with the shop's price list.
Frequently asked questions
Is editing in CapCut on desktop free?
There is a free version that is enough for learning and basic short videos. Some effects, templates and advanced features are in paid plans; check the official site and current terms, because plans and features change.
What frame rate should I export for TikTok?
Keep the source frame rate, usually 30 fps (or 25 fps). Exporting 60 fps from 30 fps footage does not make it smoother; it only makes the file bigger.
Are Vietnamese auto-captions accurate?
Fairly good with clear speech, a close microphone and quiet music; they still get tone marks, proper names and numbers wrong. Always proofread everything before exporting.
Can I use music from the CapCut library in an advert?
It depends on each track's licence and your purpose; many are not meant for commercial advertising. For business clients, the safest choice is music with a clearly stated commercial licence that you keep on file.
After CapCut, do I need to learn Premiere?
If you only make short videos for shops, CapCut is enough. To join an agency, edit long brand films, handle multiple cameras or grade colour seriously, learn Premiere Pro or DaVinci Resolve as well.
Practice exercises and self-assessment
- Shoot 15–20 clips at a cafe you know (ask the owner first) and set up the project folder with the 5 subfolders above.
- Edit a 60-second video using the 6-section structure in the example, record your actual time for each step and compare it with the 200-minute table.
- Generate auto-captions, count the errors you fixed and note their type (tone marks, proper names, numbers).
- Export a 9:16 (1080×1920) and a 16:9 (1920×1080) version and watch them on a phone and a computer.
Self-assessment criteria
- Pass: the video is exactly 60 seconds with a hook in the first 3 seconds and no visible "jump" in the dialogue; captions have no spelling errors and sit inside the safe zone.
- Pass: speech is clear at average phone volume and the music never drowns it; the export matches the resolution and frame rate in the table.
- Not yet: the reopened project has missing media, music without a clear licence is used in a commercial video, or customers' faces are shown without permission.
Once the editing workflow is second nature, you are ready for the next step of the roadmap: Audio: dialogue, music and noise reduction — setting loudness to platform standards, ducking music under speech and adding sound effects. See the 8-step video editor roadmap to learn in the right order all the way to a showreel and paid work.