
Installing the Facebook Pixel comes down to three jobs: create the Pixel (Meta now calls it a dataset) in Events Manager, add the code to your website or connect it through an integration, then check that every event — product views, add to cart, purchase — fires correctly. Without a Pixel, your ads only know who clicked, not who bought; the delivery system cannot learn, and you cannot tell which ads actually make money. This lesson walks you through installing it from scratch, adding the Conversions API to capture more of your orders, and reconciling the numbers with your real orders.
By the end of this lesson, you will be able to:
- Create a Pixel in Events Manager and install it on a website using 1 of 3 methods: partner integration, Google Tag Manager, or pasting the code manually.
- Choose and configure the 5 standard events for an online shop, including order value and the VND currency code.
- Turn on the Conversions API and prevent double counting with an event ID.
- Check the Pixel with the Test Events tool before running ads.
- Add UTM parameters and reconcile the orders Meta reports with the real orders in your sales system.
Teaching yourself to run ads? See the 8-step Facebook Ads Specialist roadmap on NAMBIN — the Pixel is step 3, after ad policies and Business Manager, and before audience targeting and budget optimisation.
What is the Facebook Pixel and why install it before running ads?
The Meta Pixel is a snippet of JavaScript placed on your website. When a visitor opens a page, views a product or checks out, the snippet sends a signal (called an event) back to Meta. Figure 1 shows HTML and JavaScript code on a screen — the Pixel is just a few lines like that, but put it in the wrong place or leave out information and your data will be wrong for the whole month.

Photo: Martin Vorel / Wikimedia Commons, CC BY-SA 4.0
The Pixel lets your ads do three things
Measure: know which ads lead to how many purchases and how much revenue. Optimise: when you choose a sales objective, the system uses purchase data to find people similar to those who bought. Retarget: build custom audiences of people who viewed products or added to cart but did not buy, so your ads can remind them.
What is the Conversions API?
The Pixel runs in the visitor's browser, so it can be blocked by ad blockers, browser privacy settings, a weak connection or a visitor closing the page too quickly. The Conversions API (CAPI) sends events from your website's server directly to Meta, independent of the browser. Meta recommends using both together: the Pixel captures behaviour on the page, while CAPI makes sure important events such as purchases are not lost.
What if the shop only sells on marketplaces or closes sales by message?
E-commerce marketplaces usually do not let you add your own Pixel to product pages; check the advertising and tracking tools available in the marketplace's seller centre, and use links with UTM parameters for reconciliation. For shops that close sales in Messenger, the main event is a conversation started, which is measured directly in Ads Manager; closed orders should be logged manually or through an order management tool so you can calculate cost per order. This lesson focuses on shops that have a website or a landing page.
Preparing before you install
Installing the Pixel takes 15–30 minutes if you are prepared, but can take all day if you are missing permissions. Gather everything below before you start.
Permissions and accounts
- Admin access to the Business Manager (or full control assigned on the dataset/Pixel).
- Admin access to the website: a WordPress, Shopify or website-builder admin account, or a developer who can edit the code.
- The website domain verified in Business Settings (under Brand Safety → Domains) — this helps prove you own the site and lets you manage its events.
The list of events to track
Do not install "everything possible". An online shop only needs five standard events, matching the five steps a customer takes on the website. The table below gives Meta's standard event names (they must be spelt exactly, including capital letters) and the parameters you should send with them.
| Standard event | When it fires | Parameters to send | Used for |
|---|---|---|---|
| PageView | Every page load | Automatic | Counting visits, retargeting people who visited |
| ViewContent | A product detail page is opened | content_ids, value, currency | Retargeting people who viewed a specific product |
| AddToCart | "Add to cart" is clicked | content_ids, value, currency | Measuring interest, retargeting abandoned carts |
| InitiateCheckout | The checkout page is reached | value, currency, num_items | Finding where customers drop out of the funnel |
| Purchase | The thank-you page after a successful order | value, currency = VND, content_ids, event ID | Revenue, ROAS, optimising for sales |
For services that collect contact details (spas, courses, real estate), replace Purchase with Lead or CompleteRegistration when the visitor submits the form successfully. Figure 2 is a symbol for the AddToCart step: a tiny shopping trolley next to a laptop.

Photo: Shixart1985 / Wikimedia Commons, CC BY 2.0
How to install the Facebook Pixel step by step
There are three ways to install it; choose based on your website platform. All three start in the same place: Events Manager in Meta Business Suite.
Common step: create the Pixel (dataset)
- Open Events Manager and choose "Connect data sources" → "Web".
- Give it a recognisable name, for example "Pixel – yourshop.vn", and enter the website address.
- Choose a connection method: Meta suggests using both the Pixel and the Conversions API; for platforms with a built-in integration, Meta will show a partner option.
- Copy the Pixel ID (a long string of digits) — you will paste it in the methods below.
Method 1: partner integration (easiest)
WordPress/WooCommerce, Shopify and many website builders popular in Vietnam have an official integration or a "Facebook Pixel ID" field in their settings. You log in with Facebook to connect, or paste the Pixel ID, and turn on purchase event sending. Advantages: standard events and order values are attached automatically, and many platforms can enable the Conversions API with a single switch. Disadvantages: little customisation; check carefully that the platform sends the correct VND currency.
Method 2: Google Tag Manager
If the website already uses Google Tag Manager (GTM), create a tag containing the Pixel base code, triggered on all pages. Then create additional tags for each event, triggered by page or by button click (for example, fire Purchase when the page URL contains "/thank-you"). This method suits media buyers with basic technical knowledge, who can make changes without a developer.
Method 3: pasting the code manually
Paste the Pixel base code provided by Meta into the <head> section of every page, then add event calls in the right places. Here is an example Purchase call on the thank-you page, with the order value and an event ID to deduplicate against the Conversions API:
fbq('init', 'YOUR_PIXEL_ID');
fbq('track', 'PageView');

// Thank-you page, after order DH1024 was placed successfully
fbq('track', 'Purchase',
  { value: 350000, currency: 'VND', content_ids: ['AO-THUN-01'] },
  { eventID: 'DH1024' });
Note that value is a number with no thousands separators; currency must be VND if you sell in Vietnamese dong. The order value should be pulled dynamically from your sales system, not hard-coded as one number for every order.
Turning on the Conversions API and preventing double counting
When an order is sent both from the Pixel (browser) and from CAPI (server), Meta needs to know it is one order, not two. This mechanism is called deduplication, and it relies on two things: the same event name and the same event ID.
Three ways to turn on the Conversions API
Through a partner: switch it on in your website platform's integration — the fastest route. Through the Conversions API Gateway or a server-side tagging service (such as server-side GTM) — needs some technical knowledge and has server costs. Custom development: a developer calls Meta's API from the ordering system, using an access token generated in Events Manager. Keep the access token as secret as a password.
The event ID must match on both sides
Use the order number itself as the event ID, for example "DH1024", for both the Pixel call on the thank-you page and the CAPI call sent from the server. If the two sides use different IDs, Meta counts two purchases: reported revenue doubles, ROAS looks artificially good, and the system learns the wrong lessons.
Customer information and Event Match Quality
CAPI lets you send customer information such as email and phone number in hashed form (one-way SHA-256 encoding) so Meta can match the event to a user account. Events Manager shows an Event Match Quality score; the higher it is, the more accurate measurement and optimisation become. Figure 3 is a reminder that the moment the customer enters payment details is the moment the Purchase event is created.

Photo: Shixart1985 / Wikimedia Commons, CC BY 2.0
Personal data warning: customers' emails and phone numbers are personal data. In Vietnam, collecting and sharing them must comply with personal data protection rules (Decree 13/2023/ND-CP and the Law on Personal Data Protection, in force from 2026); other countries have their own equivalents, such as the GDPR. Publish a privacy policy on your website that clearly explains your use of advertising measurement tools, only send hashed data, never send sensitive information such as health data, and do not install the Pixel on pages containing customers' medical information.
Testing the Pixel before running ads
An installed Pixel is not necessarily a working Pixel. Spend 20 minutes testing in the order below before switching on a sales campaign; fixing things after you have spent money means the system's learning data is already polluted.
The Test Events tool
- In Events Manager, select the Pixel → the "Test events" tab, enter the website address and open the site.
- Go through the whole journey: home page → product → add to cart → checkout → place a test order (a small order, or one you will cancel in your system).
- Watch each event appear in real time: is the name correct, are value and currency = VND present?
- For Purchase, check that there are two sources (browser and server) and that the event is marked as deduplicated.
The Meta Pixel Helper extension
Meta Pixel Helper is a free Chrome extension: open a page and the icon shows the number of events and warns about errors such as the Pixel being installed twice or missing parameters. It is useful for checking a client's site when you do not have admin access.
Three signs the Pixel is wrong
PageView is twice the number of visits shown in your web analytics tool (the Pixel is installed twice). Purchase appears when you simply reload the thank-you page (no deduplication protection). The order value shows 350 instead of 350,000 (wrong number format or wrong currency).
Tracking conversions properly: UTM and reconciling real orders
Meta's reports and your sales system will never match perfectly. Meta counts according to an attribution window (for example, a purchase within 7 days of clicking or 1 day of viewing an ad), while your sales system only knows where an order came from if you tag it. A specialist's job is to understand why the numbers differ and keep the gap within an acceptable range.
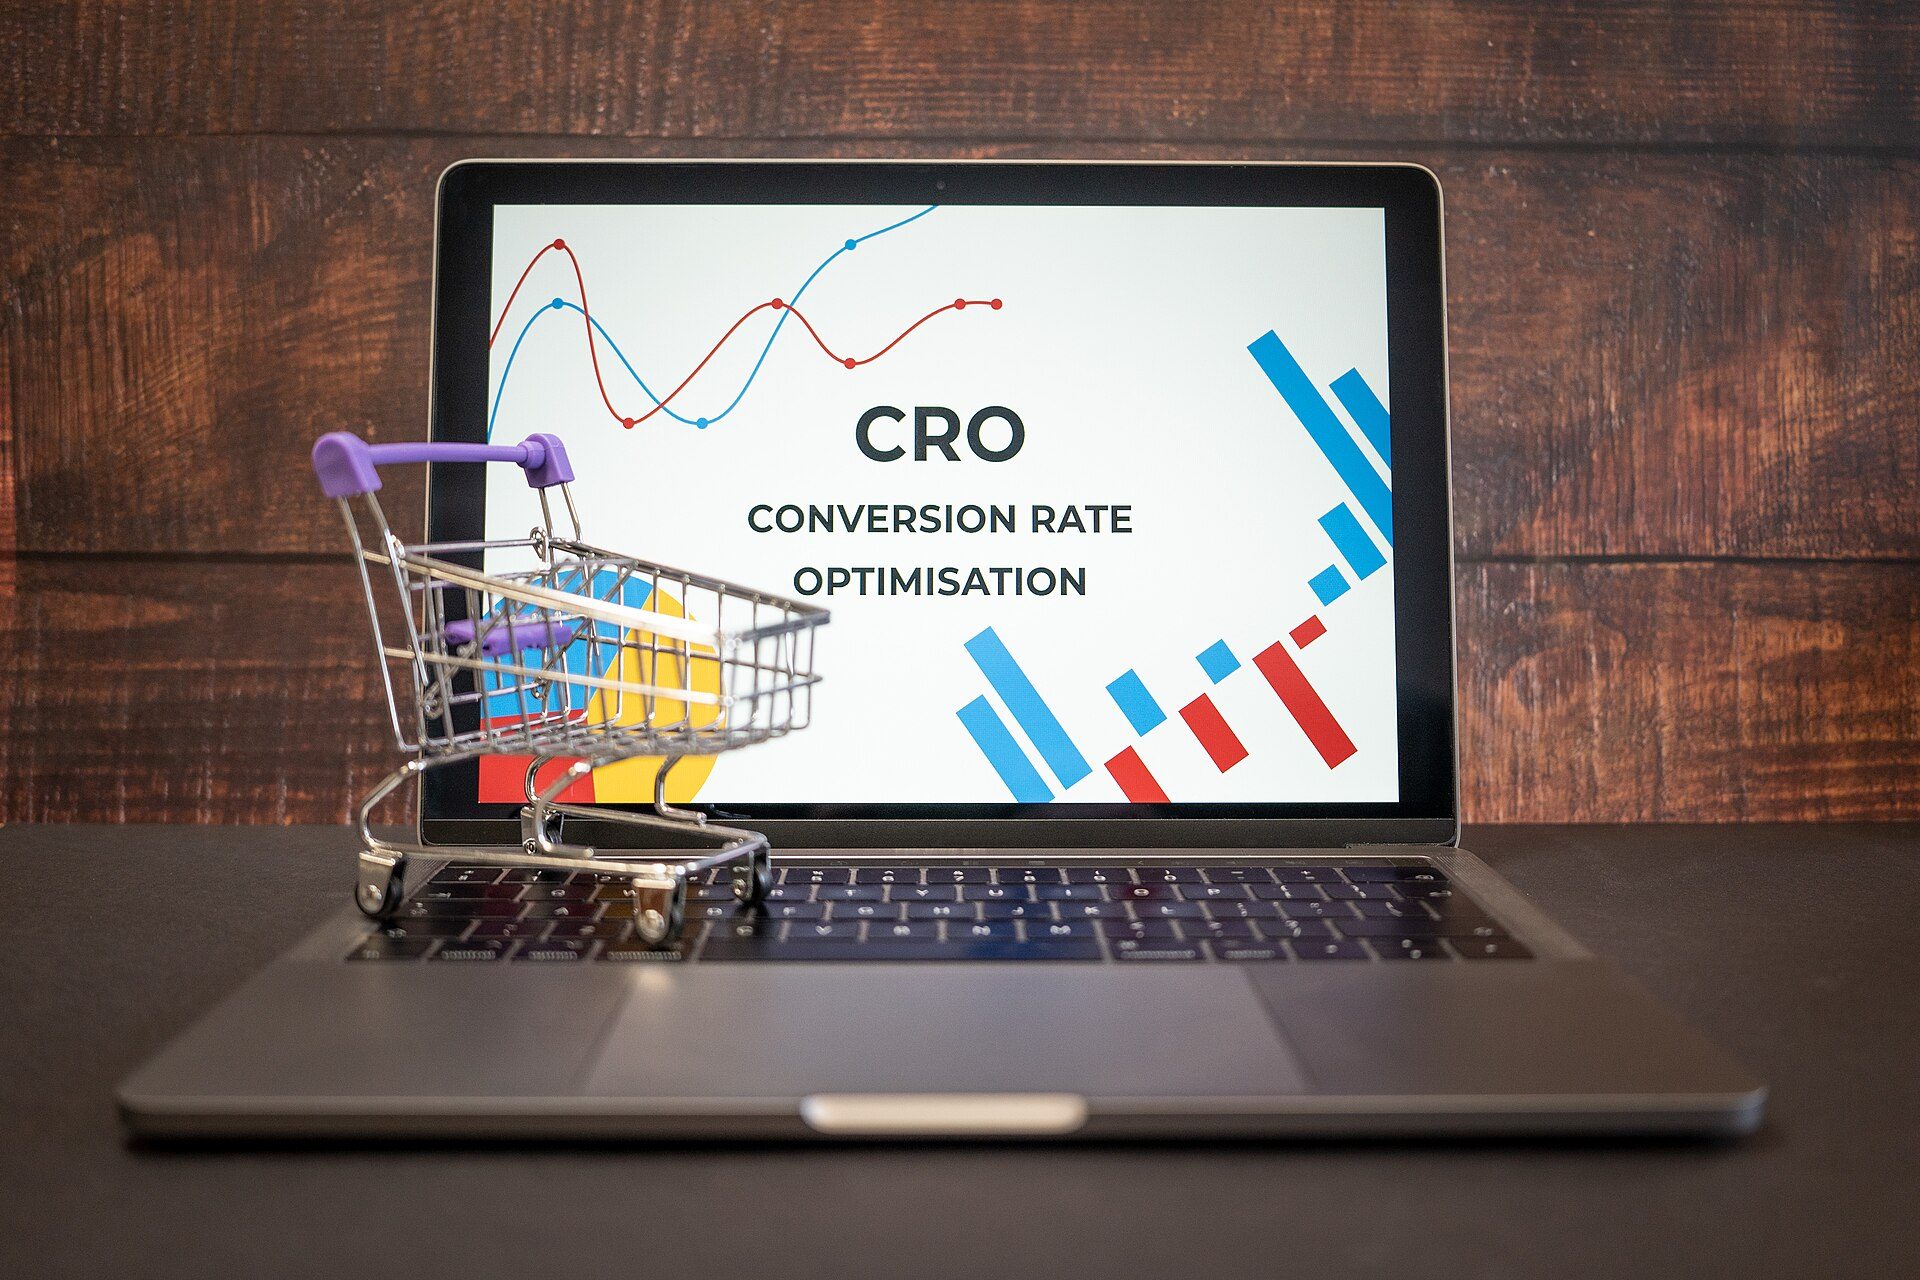
Photo: Zuko.io Images / Wikimedia Commons, CC BY 2.0
Add UTM parameters to every ad
UTM parameters are tags added to the end of a link so that analytics tools know where a visitor came from. In the ad's "URL parameters" field, set for example: utm_source=facebook&utm_medium=paid&utm_campaign=ao-thun-thang11&utm_content=video-01. Instead of typing them by hand, you can use the "Build a URL parameter" button to choose dynamic parameters — Meta fills in the campaign name and ad name for every click. Your sales system or web analytics tool (Figure 5) will then record the source of each order.
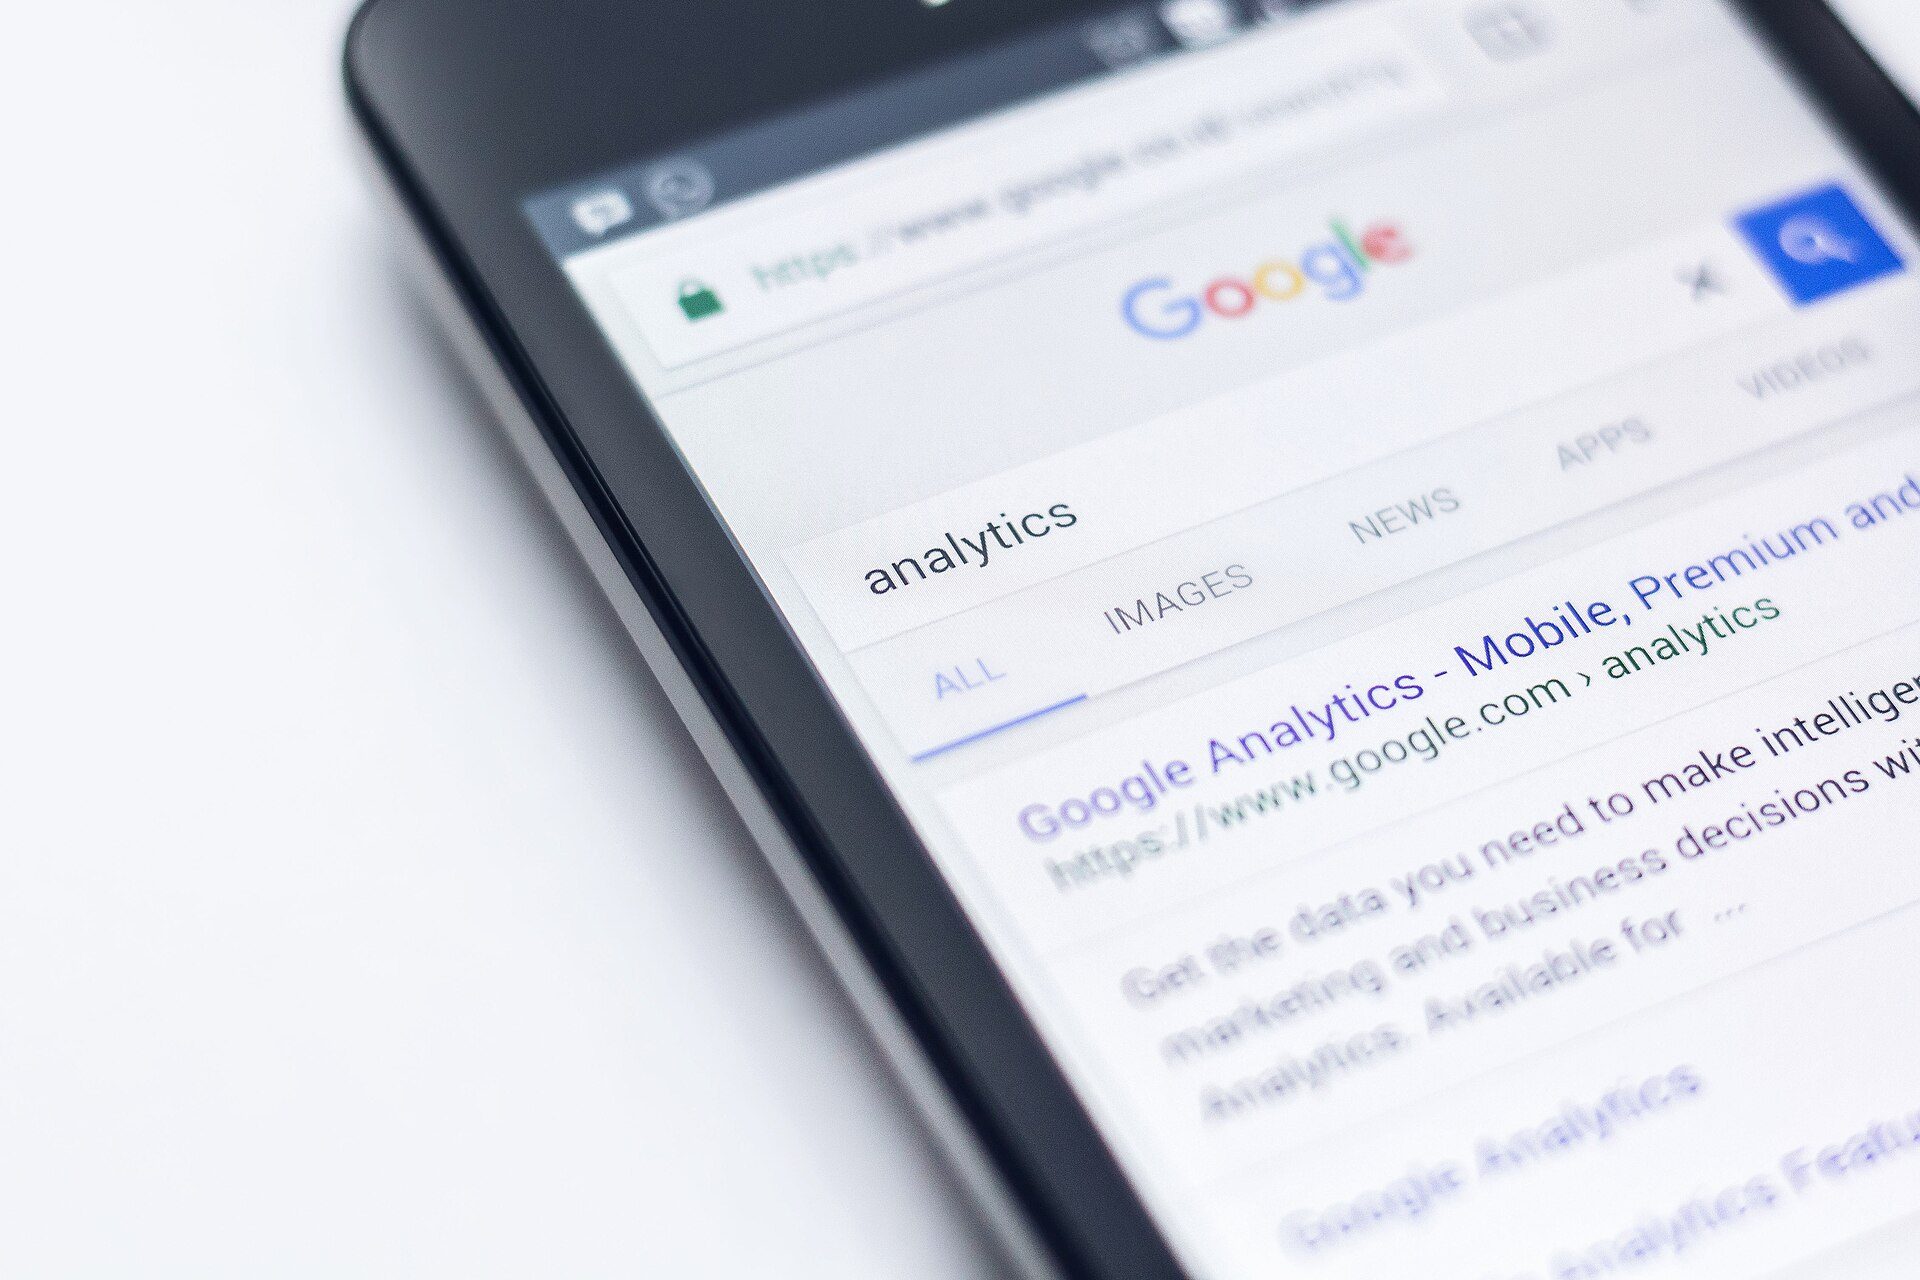
Photo: Edho Pratama edhoradic / Wikimedia Commons, CC0
Reconcile every week
Each week, make a three-column table: Purchases in Meta, orders with utm_source=facebook in your sales system, and total website orders. A 10–20% gap between Meta and UTM is normal because of different attribution windows; a gap of double is a sign of a broken installation or double counting.
Worked example: a coffee roaster turns on CAPI
Ms Huong sells roasted coffee on a WordPress website, with an average order of 300,000 VND (about 12 US dollars). All figures are an illustrative example using 2026 references.
Week 1: Pixel only
The sales system records 60 orders placed through the website. Meta records only 41 Purchase events, about 68%. Investigation shows that many customers use browsers that block tracking, and some close the page as soon as they see "Order placed successfully", before the Pixel has time to send.
Week 2: CAPI on, but the event ID forgotten
She turns on CAPI through a plugin, but the event IDs on the browser and server sides are different. This week the website again has 60 orders, 3 of which were created manually by staff from a phone and so did not go through the checkout page. CAPI sends 57 Purchases, the Pixel sends 41, and Meta cannot deduplicate, so it reports 41 + 57 = 98 purchases — more than the real number of orders. Reported ROAS looks suspiciously good.
Week 3: event ID fixed to the order number
She uses the order number as the event ID on both sides. The website has 60 orders, 3 created manually; after deduplication Meta records 57 Purchases, which is 57 ÷ 60 = 95% of orders. UTM reconciliation: ad spend 3,000,000 VND, the sales system records 30 orders with utm_source=facebook, revenue 30 × 300,000 = 9,000,000 VND, ROAS by UTM = 9,000,000 ÷ 3,000,000 = 3. Meta reports 34 purchases from ads — a gap of 4 orders (about 13%) because Meta also counts people who saw the ad and later visited the site on their own to buy, which is within the normal range.
Common mistakes when installing the Pixel
Installing the Pixel twice
Sign: PageView doubles and Pixel Helper reports duplicates. Cause: pasting the code manually and also enabling the platform integration. Fix: keep one installation method and remove the other.
Firing Purchase on the checkout page instead of the thank-you page
Sign: Meta shows more purchases than real orders, including customers who abandoned checkout. Cause: the event is attached to the "Checkout" button. Fix: only fire Purchase once the order has been created successfully.
Order value in the wrong unit
Sign: revenue shows 350 VND and ROAS is close to zero. Cause: sending value as "350.000" (a string with a dot, the Vietnamese thousands separator) or leaving the currency at the default USD. Fix: send the integer 350000 and the currency VND.
Sharing one Pixel across several websites or clients
Sign: retargeting audiences mix in another shop's customers. Cause: an agency saving effort by not creating separate Pixels. Fix: one Pixel per website, held in the shop owner's own Business Manager.
Frequently asked questions
Does installing the Facebook Pixel cost anything?
No. The Pixel and the Conversions API are both free. Costs only arise if you hire a developer, or pay for servers for the CAPI Gateway or server-side tagging.
Can I install a Pixel without a website?
The Pixel needs a web page you control, which can be a simple landing page. If you only sell through messages, use a messages objective and track closed orders manually; if you sell on a marketplace, use the marketplace's tracking tools and UTMs.
Is the Conversions API mandatory?
Not mandatory, but recommended for purchase or form submission events. As the example shows, using the Pixel alone can miss around 30% of orders, leaving the system short of data to optimise.
Can a newly installed Pixel run a sales campaign straight away?
Yes, but the system learns faster when the Pixel already has an event history. Many people let the Pixel collect data for a few days while running a messages or traffic campaign, then switch to optimising for purchases.
Why do Meta's order numbers differ from my real orders?
Because of attribution windows, customers using several devices, browsers blocking tracking, and manually created orders. A 10–20% gap is normal; a bigger gap means you should re-check your setup.
Practice exercise: install and test a Pixel on a website
- Create a Pixel in your Business Manager and write down its ID.
- Install it on a test website (a free WordPress site or a landing page) using 1 of the 3 methods.
- Configure all 5 standard events; Purchase must include value, currency VND and the order number as event ID.
- Use Test Events to go through a full test purchase, taking a screenshot of each event.
- Create a draft ad with UTM parameters as in this lesson, click the link and check that the UTMs appear in the address bar.
Self-assessment criteria
- Pass: all 5 events appear with the correct names in Test Events; Purchase has a value equal to the test order total, in VND; each order is counted only once.
- Pass: the ad link contains utm_source, utm_medium and utm_campaign; you can explain why Meta and the sales system differ.
- Not yet: the Pixel is installed twice, Purchase fires on the checkout page, the value is in the wrong unit, or no test order has been placed.
Once the Pixel is measuring correctly, you have the raw material for the next step of the roadmap: Customer personas and audience targeting — using data on people who viewed and bought to build custom and lookalike audiences. See the full 8-step Facebook Ads Specialist roadmap, including the lessons on disabled ad accounts and on calculating a daily ad budget.