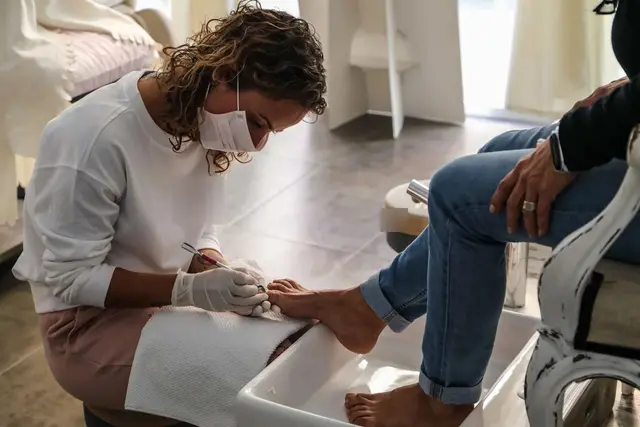
A regular client sits down, holds out her hands and says: "Same red gel as last time, please. Oh, and the skin around my nails got itchy a few days after the last set, and it started lifting, so I peeled it off at home." Her nails look thin and patchy, with white, rough areas. Should you just go ahead and paint?
Short answer: no, not today. Gel polish is a coating that only hardens when it is exposed to the right UV or LED lamp. Done well, it gives a glossy, long-lasting finish with little harm to the nail. Done badly, it brings three main risks: allergy to the acrylates in the gel (usually from uncured gel touching the skin), thin, weak nails from heavy filing or peeling, and burning heat under the lamp when layers are too thick. The itchy skin this client describes may be an allergic reaction, so a gel service is not appropriate until she has had it checked.
This guide walks trainee spa and nail therapists through a gel manicure on natural nails, step by step: what gel actually is, the consultation, protecting yourself, nail prep, thin coats, curing correctly, troubleshooting, safe soak-off removal and aftercare. It follows on from NAMBIN's basic spa manicure guide.
Scope of this guide. A gel manicure is a cosmetic service for healthy nails and skin. A spa therapist does not diagnose skin or nail conditions. All times, grit numbers and other figures here are for reference only: every gel system and lamp comes with its own manufacturer instructions, and those instructions, your spa's written protocol and local hygiene rules always come first. Learn gel application under supervision before working on paying clients. This article covers soak-off gel polish only, not builder gel, hard gel, acrylic or nail extensions.
How gel polish differs from regular nail polish
Regular polish dries as its solvents evaporate. Gel polish contains acrylate-based ingredients and photoinitiators. When light of the right wavelength reaches them, they link together (this is called curing or polymerisation) and the coat becomes hard. If the light is too weak or the time too short, the gel can stay soft or wet underneath, even if the surface looks finished.
Key terms you will hear:
Soak-off gel polish: the coloured gel used in most gel manicures. It is removed by breaking the top coat and softening the gel with acetone.
Builder gel / hard gel: thicker gels used to build strength or length. Many of these do not soak off and must be filed. They are outside this guide.
Inhibition layer (sticky layer): after curing, some gels leave a slightly tacky film on top. It is uncured gel that helps the next coat bond, but it can still cause allergy if it touches skin. Some top coats are "no-wipe" and leave no sticky layer; others must be wiped with a gel cleanser. Follow the system you use.
UV and LED lamps: older UV lamps use fluorescent tubes; LED lamps use small LED chips; many current lamps are sold as "UV/LED". Each gel is designed to cure under a certain range of light, so the gel and the lamp must match according to the manufacturer. Mixing brands of gel and lamp is a common cause of under-curing.
Why gel allergy matters
Allergy to (meth)acrylates in nail products is well recognised by dermatologists, and dermatology bodies such as the British Association of Dermatologists have publicly warned about it. What a therapist needs to understand:
Allergy usually develops after repeated contact, not on the first visit. A client who has worn gel for years can still become allergic.
The usual route is uncured gel touching skin: flooding the cuticle, wiping the sticky layer onto the fingers, under-curing, or the therapist touching wet gel with a glove and then touching the client.
Once someone is allergic, they may react to other acrylate-containing products too, including some dental and medical materials. That is why "let's just try one more time" is never the right answer.
Signs a client may describe or you may see: itching, redness, swelling or small blisters around the nails and fingertips; nails lifting from the nail bed; sometimes itchy, red eyelids, face or neck from touching the face. You do not diagnose. If you see these signs, do not apply gel and suggest the client sees a doctor or dermatologist.
Therapists handle gel every working day, so they can become allergic too. The section on protecting yourself below is not optional.
Consultation before every gel service
Ask the questions on your spa's consultation form, then look at each nail and the surrounding skin in good light.
Questions worth asking
"Have you had gel before? Have you ever had itching, redness or blisters around your nails, fingertips or eyelids after a gel or acrylic set?"
"Are you allergic to any nail polish, nail glue, acrylic nails, lash glue or dental materials?"
"How was your last set removed? Did you peel or pick it off?"
"Are you taking any medicines, or do you have a condition, that makes your skin sensitive to light?" (If yes, suggest they check with their doctor before using a nail lamp.)
"Do you have diabetes, poor circulation, numbness in your fingers or any skin condition on your hands?"
Reference table: go ahead, adjust or postpone
What you see or the client tells you | What to do (for reference; follow your spa's protocol) |
|---|---|
Itching, redness or blisters around the nails or on the eyelids after previous gel or acrylic | Do not apply gel. Offer regular polish or a natural-nail manicure and suggest the client sees a dermatologist. Note it on the record card. |
Client has been told by a doctor they are allergic to acrylates | No gel, acrylic or builder products. |
Nail looks like it may have a fungal problem (discoloured, thick, crumbly); swollen, red or weeping skin around the nail; open cuts | Do not work on that nail or area. Suggest a doctor's opinion. |
Nail lifting from the nail bed, peeling in layers, or so thin it bends easily | Postpone gel on that nail. Suggest a break, shorter length, cuticle oil and regular polish if suitable. |
Medicine or condition that makes skin sensitive to light | Suggest the client asks their doctor first; if they go ahead, use UV-protective fingerless gloves or sunscreen as described below. |
Diabetes, poor circulation, numbness | Work very gently, do not cut living skin, and watch closely for heat under the lamp, because the client may not feel it well. |
Write on the record card the gel system, colours, lamp, anything the client reported and the advice you gave. If a reaction happens later, this record shows which products were used.
Protect yourself and set up the station
Nitrile gloves, single-use. Gel monomers can pass through thin gloves over time, so change gloves as soon as they get gel on them, and never touch the client's skin or your own face with a gel-contaminated glove.
The correct lamp for your gel system, clean inside, with no failed LEDs or tubes. Lamp output can drop with age; check and replace parts as the manufacturer recommends.
Single-use items for each client: files, buffers, orange-wood sticks and lint-free wipes. Metal tools (cuticle pushers, nippers) cleaned and then disinfected or sterilised according to your spa's procedure.
Products: nail surface cleanser or dehydrator, gel base coat, gel colour, gel top coat, gel cleanser if your top coat needs wiping, cuticle oil, and acetone for removal.
Ventilation and fire safety: acetone and many cleansers are highly flammable and have strong vapour. Keep lids closed, pour only what you need, keep them away from flames and heat, and work in a well-ventilated area. A dust extractor or mask reduces the nail dust you breathe while filing.
Gel waste (wipes, cotton) goes into a lidded bin. Keep gel bottles closed and out of strong light, because gel can start to thicken.
Step-by-step: applying gel polish
Step 1: Clean hands and check the nails
You and the client wash or sanitise hands. Put on gloves. Look at each nail again under good light. If there is old gel, remove it first (see "Soak-off removal" below); never apply new gel over a lifting old set.
Step 2: Shape the nails and clean the cuticle area
Trim and shape as in a regular manicure, filing in one direction with a fine file. Soften and gently push back the cuticle, then remove the dead, see-through tissue stuck to the nail plate. Leftover cuticle on the nail is one of the most common reasons gel lifts at the base. Nip only loose, dead tags. Do not cut the living skin at the base of the nail, and do not scratch the skin: gel touching damaged skin is more likely to irritate it.
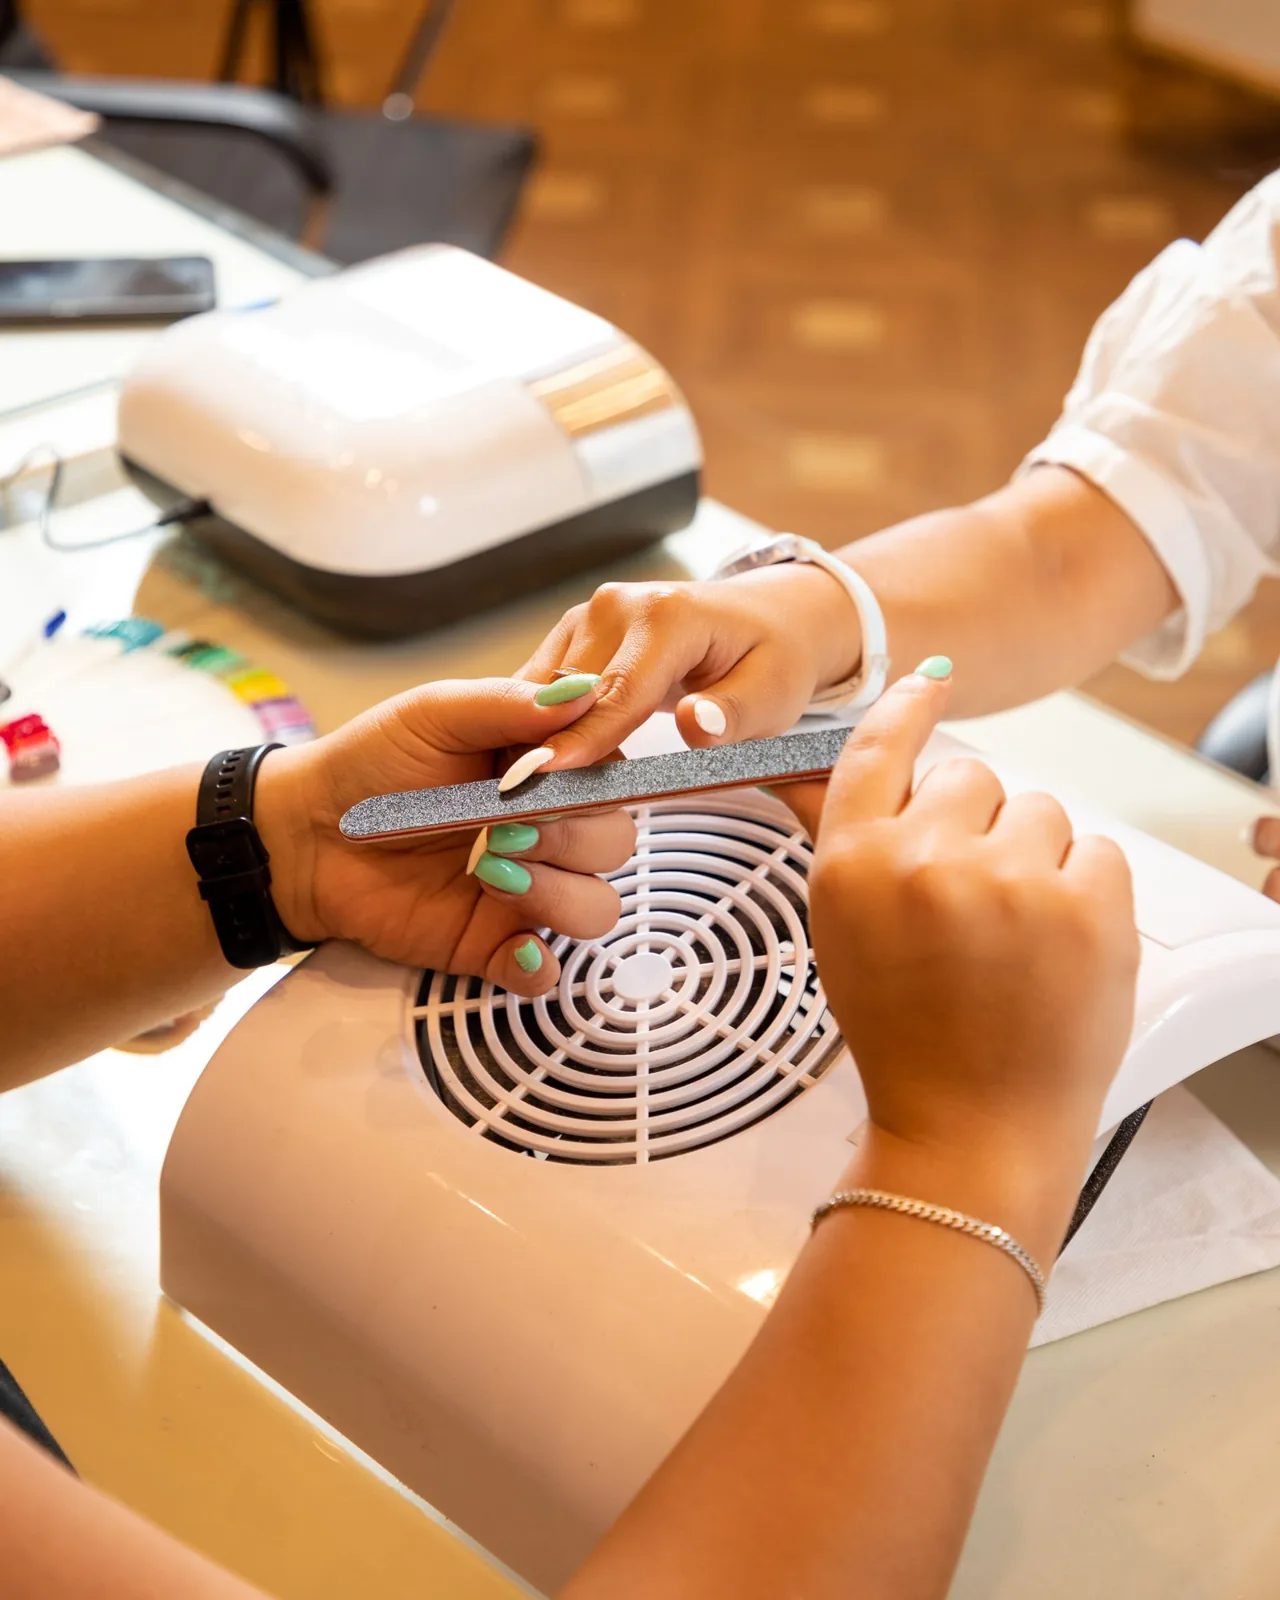
Figure 1. A technician shapes the free edge with a fine file while the client's hands rest over a table-top dust extractor, with a nail lamp in the background. A dust extractor or mask reduces the nail dust you breathe; wear nitrile gloves whenever you handle gel products. (Photo: Farhad Ibrahimzade, Pexels)
Step 3: Remove the shine, lightly
Use a fine buffer or file to take the shine off the nail surface with light strokes. You only want a matte surface, not a thinner nail. Many educators suggest a fine grit for natural nails, around 180 to 240 grit (for reference; follow your gel system). Some gel systems do not require buffing at all.
If the client says it feels hot or stings while you buff, you are pressing too hard or working too long.
Step 4: Remove dust and oil
Brush away the dust, then wipe each nail with a lint-free pad and the nail cleanser or dehydrator. From here on, do not touch the nail surface with your fingers or let the client touch their face or hair, because skin oil causes lifting. If your system uses a primer or bonder, apply it only to the nail plate, exactly as directed.
Step 5: Base coat, then cure
Apply a thin base coat. Keep a small gap of about a hair's width from the cuticle and side walls, so the gel never touches skin. Run the brush lightly along the free edge to cap it (seal the tip). Before the hand goes into the lamp, check every nail; if gel has touched skin, clean it off with an orange-wood stick or a clean-up brush, then cure.
Cure for the time stated by the manufacturer for your lamp. Commonly this is somewhere around 30 to 60 seconds per coat under an LED lamp, and longer under older UV lamps (for reference only). Thumbs are often cured separately, because they tend to sit at an angle in the lamp and may not get full light.
Step 6: Colour in thin coats
Apply the colour in two or three thin coats rather than one thick one, curing each coat. Thin coats cure more completely, look smoother and are less likely to wrinkle or cause a heat spike. Cap the free edge on each coat. Wipe the excess from the brush on the bottle neck before each nail so you are never pushing a bead of gel towards the cuticle.
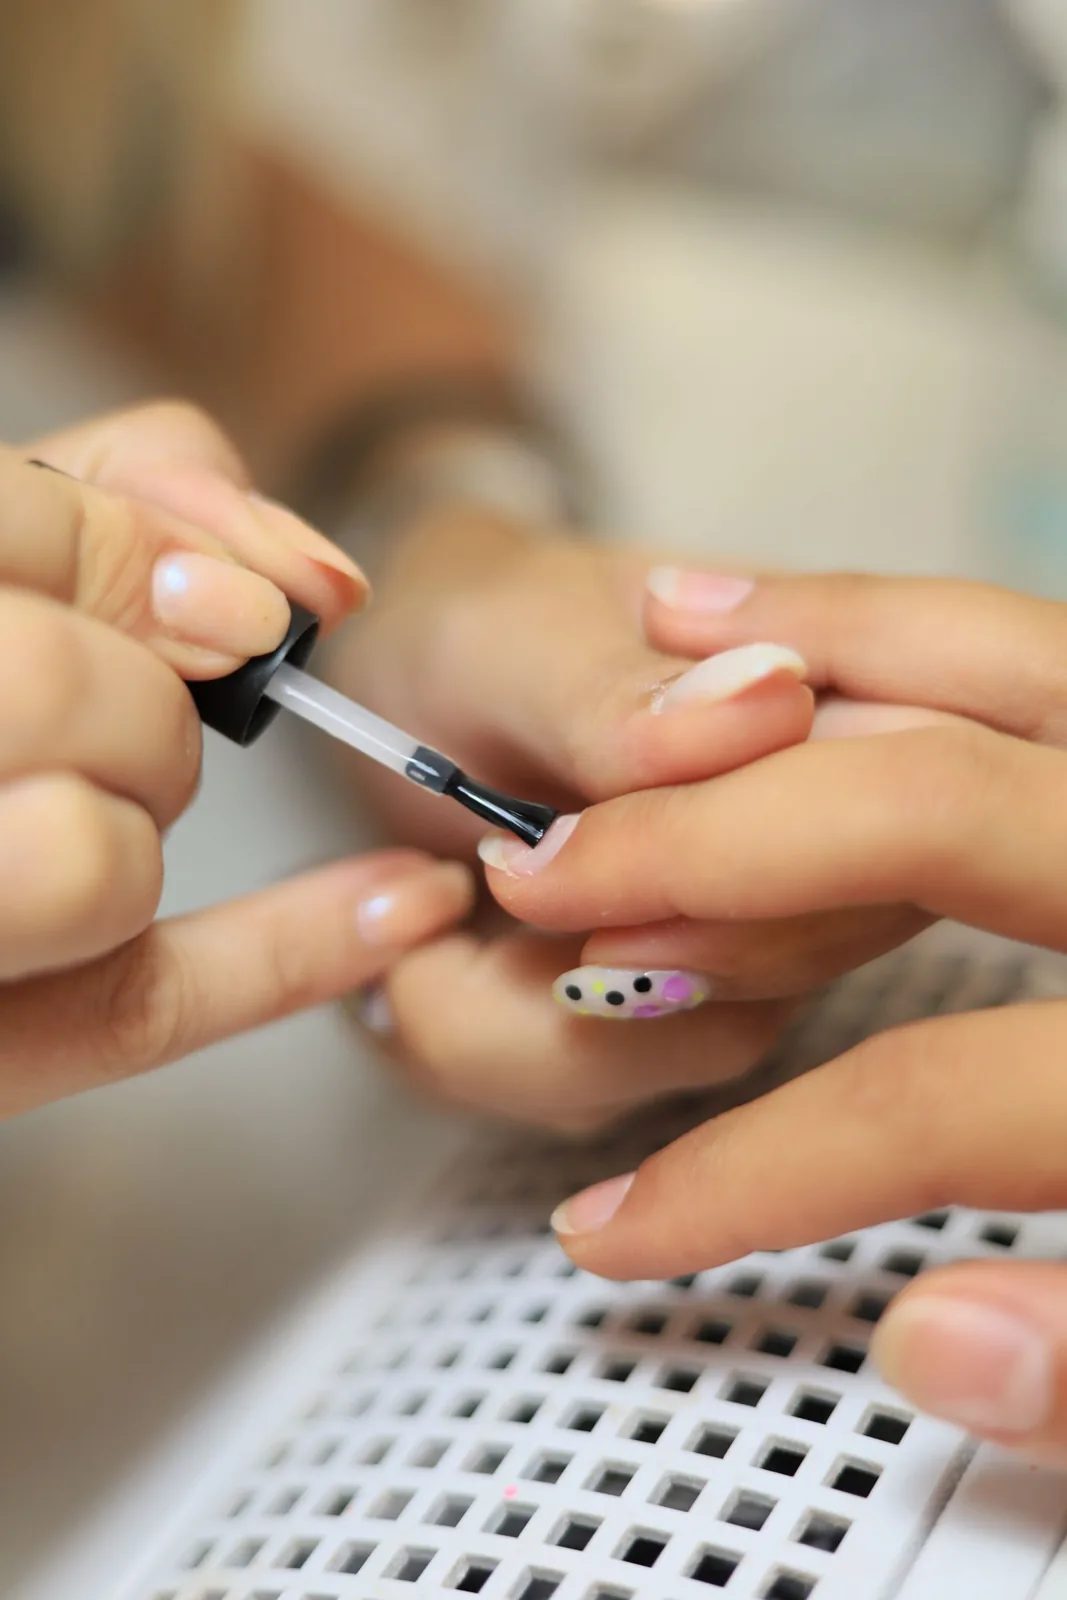
Figure 2. A small brush lays a coat on the client's nail while her hand rests on a dust-extractor grille. Wipe excess off the brush first so every coat stays thin and clear of the skin. (Photo: Kerim Eveyik, Pexels)
Step 7: Top coat, cure and wipe if needed
Apply the top coat, again thin, capped and clear of the skin, and cure it. If it is a top coat that leaves a sticky layer, wipe each nail once with a fresh lint-free pad and the gel cleanser, using a clean part of the pad for each nail so you do not smear uncured gel onto the fingers. If it is a no-wipe top coat, do not wipe it, because wiping can dull the shine.
Step 8: Cuticle oil and aftercare advice
Apply a little cuticle oil to the skin around the nails. Check every nail for gaps, flooding or roughness. Give the aftercare advice listed later in this guide, and write the record card.
Curing safely: heat spikes and skin protection
Heat spike under the lamp
Curing is a chemical reaction that gives off heat. With thick coats, sensitive or thin nails, or a powerful lamp, the client may feel a sudden burning sensation. This is often called a heat spike. Tell the client before the first cure: "If you feel burning, tell me and lift your hand out straight away." If it happens:
Let the client take the hand out for a few seconds until the heat passes, then put it back to finish the cure. The coat still needs its full curing time.
Next time, apply thinner coats, use the lamp's low-heat or ramp mode if it has one, and ask the client to say early if it gets hot.
Be extra careful with clients who have reduced feeling in their fingers.
Protecting the skin from lamp light
Nail lamps give off UV light, and research into any long-term risk from regular nail lamp use is still limited. Simple precautions are common in good salons: fingerless UV-protective gloves, or a broad-spectrum sunscreen applied to the backs of the hands in advance, keeping it off the nail plate so it does not interfere with adhesion. Use only the curing time the gel needs; do not leave hands in the lamp "to be safe".
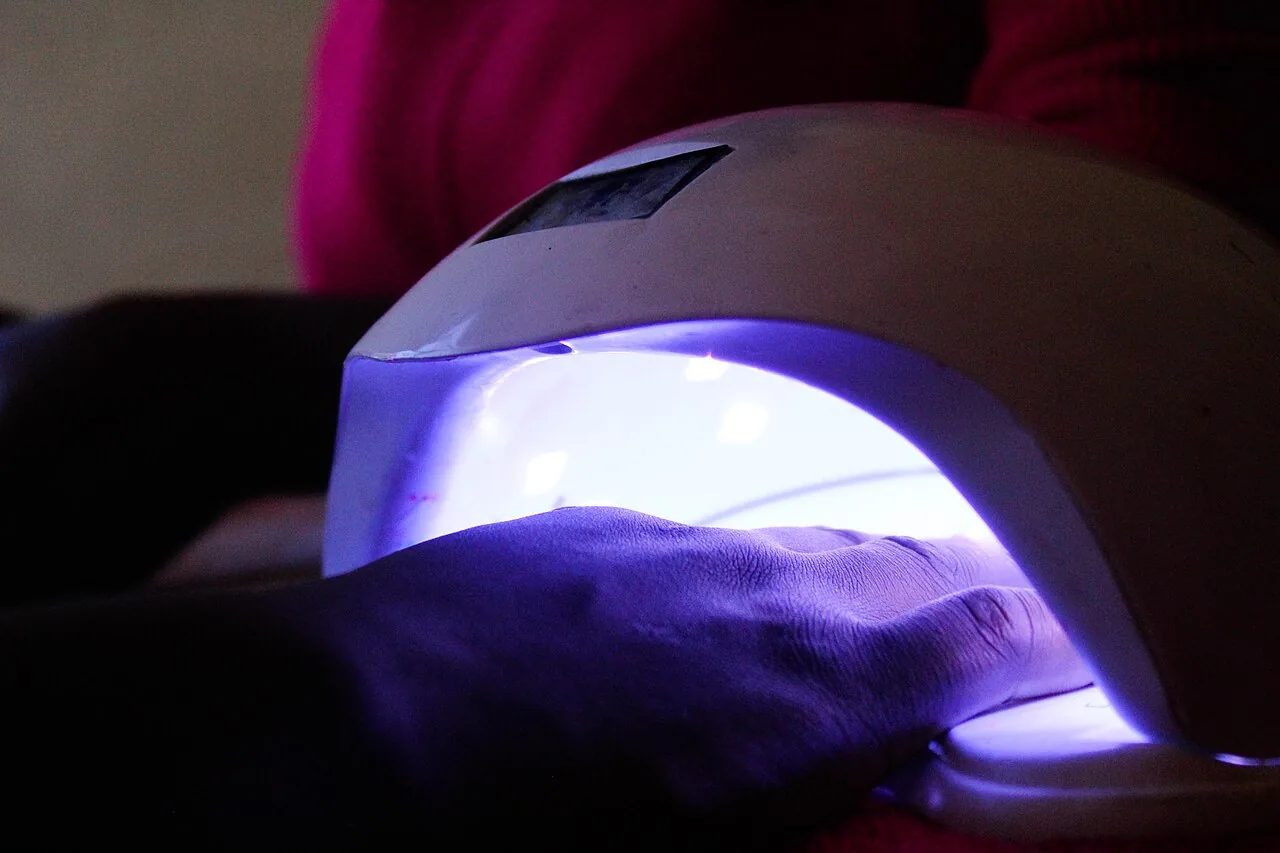
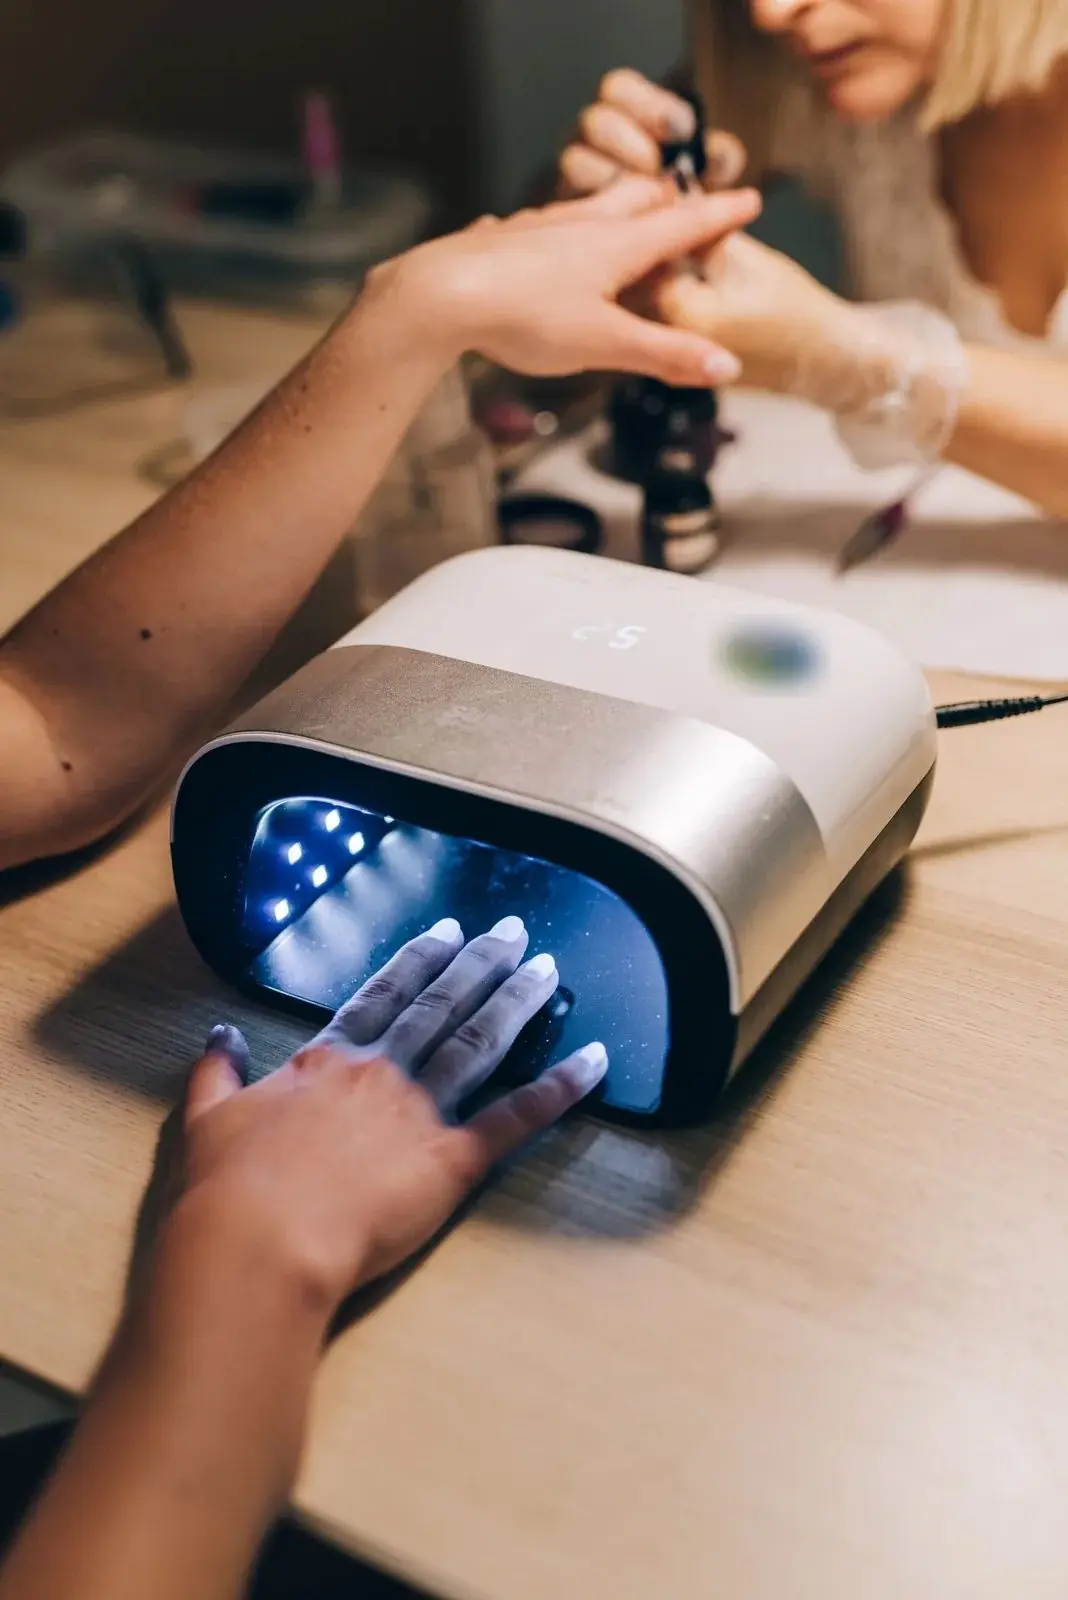
Figure 3. A hand rests flat inside an LED nail lamp under its violet-blue light. Use only the curing time your gel system specifies and ask the client to tell you straight away if it feels hot. (Photo: Kolobetsoo, Wikimedia Commons, CC BY-SA 4.0)
Reference table: common gel problems and their causes
Problem | Likely causes | What to change |
|---|---|---|
Lifting at the cuticle | Cuticle left on the nail, oil on the surface, gel touching skin, coat too thick at the base | Cleaner cuticle prep, dehydrate well, keep a small gap at the cuticle, thin even coats |
Chipping or peeling at the tip | Free edge not capped, nails very long, client using nails as tools | Cap every coat, suggest a shorter length, aftercare advice |
Wrinkled or rippled surface | Coat too thick, under-curing | Thinner coats, correct lamp and full curing time |
Surface still sticky after curing | Normal inhibition layer (if soft only on top), or under-curing (if soft underneath) | Wipe with cleanser if the system needs it; if gel is soft underneath, check lamp match, bulb condition and time |
Burning heat in the lamp | Thick coats, thin or sensitive nails, strong lamp | Thinner coats, low-heat mode, let the client pull out briefly |
Bubbles | Bottle shaken, thick coats, brush too loaded | Roll the bottle gently instead of shaking, thinner coats |
Dull top coat | No-wipe top coat wiped, under-cured top coat | Do not wipe no-wipe top coat; cure fully |
Itching or redness after the visit | Possible allergic or irritant reaction | No more gel; client should see a doctor; review your technique for skin contact |
Soak-off removal: never pry, never peel
Peeling gel off pulls away layers of the nail surface and leaves the nail thin and white. Teach clients this, and remove gel properly in the salon:
Break the seal. Use a medium-fine file to remove the shine of the top coat so acetone can get in. Do not file down to the natural nail.
Protect the skin. Acetone dries skin, so apply a little cuticle oil or barrier cream to the skin around the nail if your system allows it (keep it off the gel).
Wrap. Place a piece of cotton or lint-free pad soaked in acetone on each nail and wrap with foil or reusable clips. Around 10 to 15 minutes is a common reference time, but follow the remover and gel instructions.
Push off gently. Check one nail. If the gel has softened and lifts easily, push it off with an orange-wood stick, working from the base towards the tip. If it does not lift, rewrap and wait a few more minutes. Do not scrape or force it.
Finish. Buff away only the small remaining traces, wash the hands, apply cuticle oil and check the nails before deciding on a new set.
Electric files (e-files): some salons remove gel with an electric file. This is a skill that needs proper training and practice, because an e-file can quickly thin the nail and burn or cut the skin. Do not use one on clients until you have been trained and signed off.
Practical examples
Example 1 – The client who peeled her gel. A client arrives with half the gel peeled off and patchy, thin nails. Remove what remains by soaking, not filing hard. Explain that peeling damages the nail surface. If the nails are weak but healthy, you can offer a short break with cuticle oil and regular polish, or a gel set with very light buffing and advice to come back for proper removal.
Example 2 – Heat spike on the first coat. Your client jerks her hand out of the lamp on the base coat. Tell her that is fine, wait a few seconds, then let her put the hand back to finish the cure. Use thinner colour coats and low-heat mode for the rest of the service, and note "heat sensitive" on her card.
Example 3 – Gel on the skin. You notice a little colour has flooded onto the cuticle on one finger before curing. Stop, clean it off with an orange-wood stick or clean-up brush, change your glove if it touched the gel, and cure only once the skin is clear. If you only notice it after curing, do not file or pick at the skin. Gently file away just the cured gel that sits on the nail edge, staying off the skin, note it on the record card, and ask the client to contact you if any itching or redness appears.
Example 4 – The client from the start of this article. No gel today. Soak off what is left, offer regular polish if she wants it, suggest a dermatologist and record what she reported.
Safety and hygiene checklist
Consultation done and recorded; no signs of allergy, infection or broken skin on the nails to be treated
Hands washed or sanitised (therapist and client); fresh nitrile gloves
Gel system and lamp match according to the manufacturer; lamp clean and working
New file, buffer and orange-wood stick for this client; metal tools cleaned and disinfected or sterilised
Acetone and cleansers capped, away from heat, small amounts only; room ventilated
Living cuticle not cut; no scratches on the skin
Every coat thin, capped and kept off the skin; any flooding cleaned before curing
Gloves changed as soon as they touch uncured gel
Client told to say if it burns; full curing time used for every coat
Sticky layer wiped correctly (if required) without smearing onto skin
Gel waste in a lidded bin; work surface cleaned and disinfected afterwards
Aftercare explained and record card completed
Aftercare advice for the client
"Please don't peel or pick the gel, even if an edge lifts. Come back and we'll soak it off properly."
"Use cuticle oil every day; it keeps the skin and nails flexible."
"Wear gloves for cleaning and washing up, and don't use your nails to open cans or scrape things."
"Most clients come back for removal or a new set after about two to three weeks (for reference), or sooner if it lifts."
"If you notice any itching, redness, swelling or blisters around your nails or on your face, contact us and see a doctor. Don't have another gel set until you know the cause."
Frequently Asked Questions
Does gel polish damage natural nails?
Gel polish itself does not have to damage nails. Most damage comes from heavy buffing during prep, peeling or picking the gel off, and forceful removal. Light buffing, thin coats and proper soak-off removal keep the natural nail in good condition.
Are UV nail lamps safe?
Nail lamps do give off UV light, and research into long-term effects of regular use is still limited, so it is sensible to reduce exposure. Use only the curing time needed, and offer clients fingerless UV-protective gloves or sunscreen on the backs of their hands. Clients with light-sensitive conditions or medicines should ask their doctor first.
Can a client who is allergic to one gel brand switch to another?
Do not assume so. Many gel products contain similar acrylate ingredients, and a person who has become allergic may react to several of them. A gel service should not be offered until the client has been assessed by a doctor or dermatologist, and you should follow their advice and your spa's protocol.
Why is my gel still sticky after curing?
If only the surface is tacky and the gel underneath is hard, it is probably the normal inhibition layer, which you wipe off with gel cleanser if your top coat requires it. If the gel is soft or moves underneath, it is under-cured: check that the gel and lamp match, that the lamp is working properly, the coats are thin and the curing time is correct.
Practice Exercises
Thin-coat drill. On nail tips or a practice hand, apply base, two colour coats and top coat to ten nails. Check each one from the side: is the coat even, capped at the tip, and clear of the "skin" line? Repeat until all ten pass.
Consultation role-play. With a colleague, practise the consultation questions. Your partner plays a client who mentions itchy fingertips after her last set. Practise explaining kindly why you will not apply gel today and what you can offer instead.
Troubleshooting quiz. Cover the right-hand columns of the gel problems table. For each problem, say the likely causes and what you would change, then check your answers.
Removal practice. On a practice hand or tips, break the seal, wrap and soak, then remove the gel using only an orange-wood stick. Note how long it took and whether you had to rewrap. Your goal is zero scraping.
Station audit. Set up your gel station, then ask your supervisor to check it against the safety and hygiene checklist above. Fix anything that is missing.