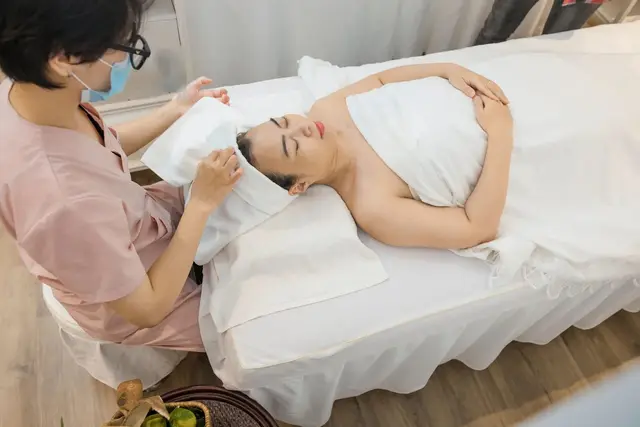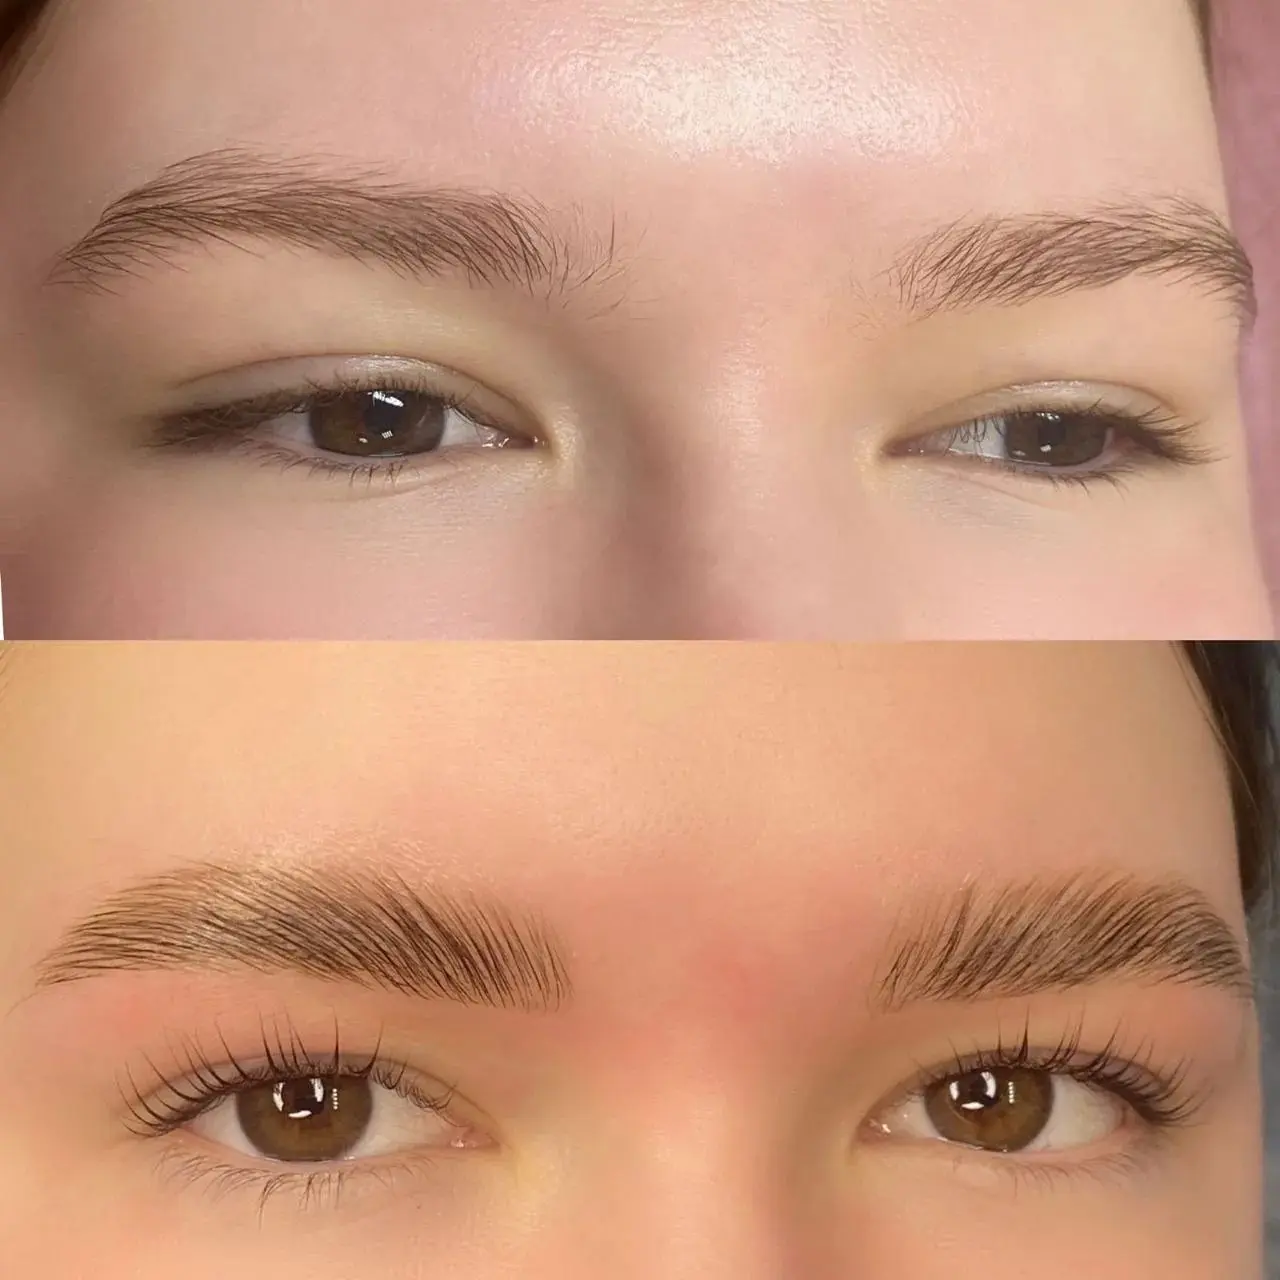
A client sits down in your chair and says, "I'm tired of using an eyelash curler every morning. Can you make my lashes curl up on their own?" What she is asking for is a lash lift, also called eyelash lifting or a lash perm. It is one of the most requested eye services in spas and beauty salons, because it makes the client's own lashes look longer and more open without extensions or mascara.
It looks simple: stick the lashes onto a silicone shield, apply two solutions, wait, wipe off. In reality you are using perming chemicals a few millimetres from the client's eye, on hair that is thin and easy to over-process. This guide takes trainee spa therapists through the whole service: screening, patch test, shield choice, timing, eye protection and aftercare.
Scope of this guide. This article covers cosmetic lash lifts on the client's natural upper lashes in a spa or beauty salon. Every lash lift kit is different: solution strength, processing times and patch-test rules vary between brands. All times and figures here are for reference only. The product instructions, your spa's written protocol and local rules always come first. Practise on training heads and colleagues under supervision before working on paying clients. A spa therapist does not diagnose or treat eye conditions; when in doubt, refer the client to a doctor.
What a lash lift is and how it works
A natural lash usually points forward or slightly down. A lash lift reshapes it to curve upward from the base, so lashes look longer and more open, even without mascara.
Most lash lift kits work in two or three stages:
Lifting (perming) solution. This softens the lash by breaking some of the chemical bonds that hold the hair's shape. While the lash is soft, it takes on the curve of the silicone shield it is stuck to.
Setting (neutralising) solution. This rebuilds the bonds in the new position, so the lash keeps its new curve after the shield is removed.
Nourishing or conditioning step (optional). Many kits include a lotion or oil that is applied at the end to condition the lashes.
Timing matters. Too short, and the curl does not hold. Too long, and the lashes become frizzy, dry or brittle: this is over-processing, the most common lash lift mistake.
A lift is often combined with a lash tint, which is a separate service with its own patch test and contraindications.
Lash lift vs. eyelash curler vs. lash extensions
Be ready to explain the difference:
Eyelash curler. A mechanical tool the client uses at home (Figure 1). It bends the lashes for a few hours only, with no chemicals. If used roughly or with mascara on, it can pull out or break lashes.
Lash lift. A chemical treatment of the client's own lashes. The curve lasts until the lashes shed and are replaced by new growth, usually around six to eight weeks (for reference; it varies with each client's lash growth cycle).
Lash extensions. Single synthetic fibres glued to each natural lash. They add length and thickness, but need refills and a different skill set. A client cannot have a lift on lashes that still have extensions attached.
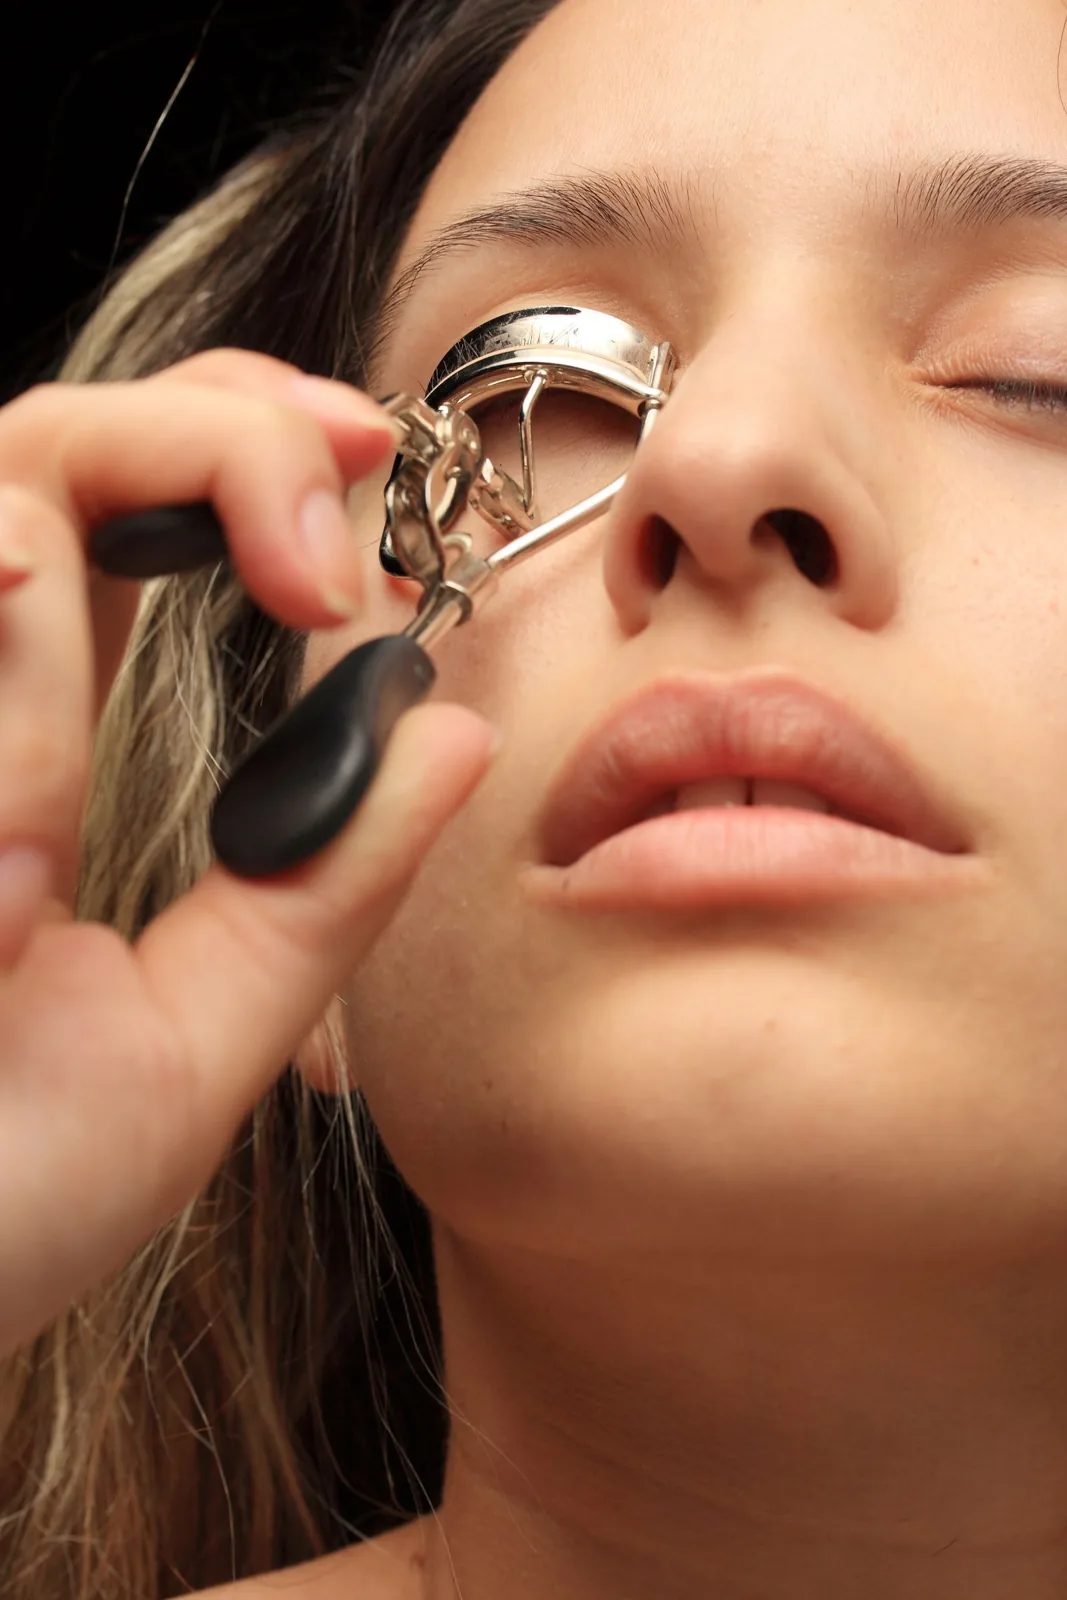
Figure 1. A woman uses a metal eyelash curler on her own lashes. A curler bends the lashes for a few hours with no chemicals; a lash lift changes their curve until they grow out. (Photo: Engin Akyurt, Pexels)
Who should not have a lash lift today
Screening is the most important safety step. Ask every question on your spa's consultation form out loud.
Do not go ahead (postpone or refuse)
Any sign of eye infection or inflammation: red, sticky, watery or itchy eyes, a stye, conjunctivitis, swollen lids.
Cuts, sores, rash, eczema or sunburn on the eyelids or around the eyes.
A known allergy to lash lift or perming products, to the adhesive, or a positive (red, itchy, swollen) patch test.
A previous reaction to a lash lift or tint, even a mild one, until a doctor has advised the client.
Lash extensions still attached. They must be fully removed first, with recovery time as your spa's policy states.
A recent lash lift whose curl is still present. Lifting the same lashes again too soon is a common cause of damage. Most spas wait until the lashes from the previous lift have grown out (often about six weeks; for reference).
Very weak, sparse, broken or damaged lashes.
The client cannot keep their eyes closed and still for the whole service.
Ask more and check with your supervisor or the client's doctor
Recent eye surgery or eye treatment (for example cataract surgery or laser vision correction). The client should ask their eye doctor when cosmetic eye treatments are safe again.
Ongoing eye conditions such as glaucoma, chronic dry eye or blepharitis (inflamed lid margins). Ask the client to check with their doctor first.
Contact lenses. The client must remove them before the service and leave them out for the time stated in your spa's protocol.
Very sensitive eyes or skin, or allergies to cosmetics or hair dye.
Pregnancy or hormonal changes. There is no fixed rule that applies to every product. Many spas ask pregnant clients to check with their doctor, and some brands note that results can be less predictable. Follow your spa's policy.
Medication or medical treatment that affects hair or skin: do not guess; suggest they ask their doctor.
Minors. Follow your spa's age policy and local rules on parental consent.
If you are unsure, postpone. A moved booking is better than an eye injury.
The patch test
Lash lift products can cause allergic reactions, which may not appear straight away. Follow the manufacturer's patch-test instructions exactly; many brands ask for a test before the first service, after a long gap, or when you change products.
A typical approach (for reference only):
Clean a small area of skin, often behind the ear or on the inner elbow.
Apply a small amount of the product as described in the instructions, including the adhesive if the brand recommends it.
Ask the client to leave it for the time stated by the manufacturer (often 24 to 48 hours) and to watch for redness, itching, burning or swelling.
Record the date, product and batch, test site and result on the client card.
If there is any reaction, do not go ahead; the client should wash the area and see a doctor if it is strong or does not settle. A negative test lowers the risk but does not rule out a reaction.
Tools and products
Set up your trolley before the client lies down (Figure 2), so that you never need to leave a client with solution on their lashes.
Lash lift kit: lifting solution, setting solution and (if included) nourishing lotion, all within their expiry dates and from the same brand.
Silicone lift shields (also called pads or rods) in several sizes.
Lash lift adhesive or balm (to hold the shield to the lid and the lashes to the shield). Use the type made for lash lifting.
Lint-free under-eye pads or gel patches, or medical tape suitable for the skin.
Disposable micro-brushes or applicators, and disposable lash wands (spoolies).
A lash lifting tool (a fine plastic or metal tool, often Y-shaped or with a hook) to separate and position lashes. Metal tools must be cleaned and disinfected between clients.
Oil-free lash or eye make-up cleanser and lint-free pads.
Cotton swabs, and a clean dish or foil for dispensing product.
Cling film (some brands recommend covering the lashes during processing).
Disposable nitrile gloves, a timer, a hand mirror.
Sterile eyewash or saline and a clean cup for emergencies, close at hand.
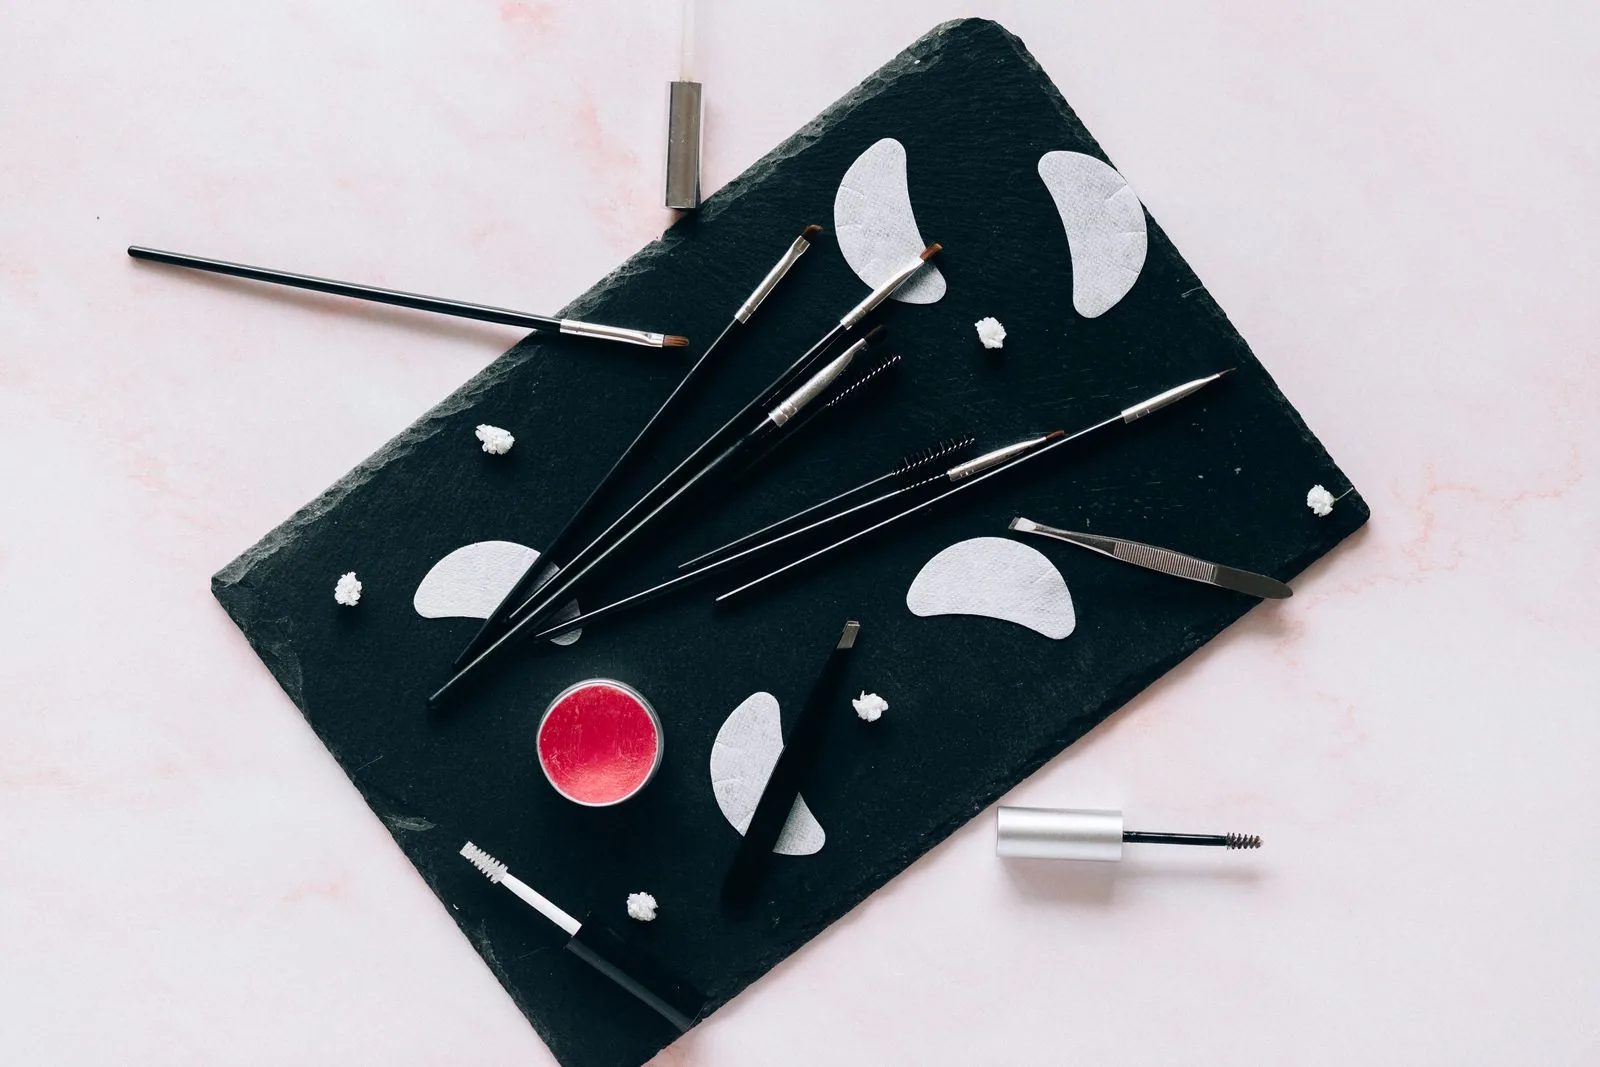
Figure 2. Fine brushes, spoolies, tweezers and white crescent-shaped under-eye pads laid out on a tray. Set up everything before the client lies down; applicators and under-eye pads are used once and thrown away. (Photo: Nataliya Vaitkevich, Pexels)
Choosing the shield size
The shield size controls how much the lash curls. A smaller shield gives a tighter, more dramatic curl; a larger shield gives a softer, more open lift. The general rule is to match the shield to the lash length so that the tips of the lashes reach about the middle or upper part of the shield, not past its top edge.
Lash length and type | Shield choice (general guide) | What to watch for |
|---|---|---|
Short lashes | Small shield | Tips can stick past the top if you go too large; curl will look weak |
Medium lashes | Medium shield | Most common size; check both eyes match |
Long lashes | Large or extra-large shield | Too small a shield over-curls long lashes into a "C" that hits the lid |
Hooded or deep-set eyes | Usually one size larger than lash length suggests | A tight curl may disappear into the lid fold |
Lashes of very different lengths across the eye | Shield shaped for the longest section, or a size compromise | Short inner lashes may need extra care to stay on the shield |
Sizes and shapes vary between brands. Use this table for reference only and follow the brand's sizing guide.
How to do a lash lift step by step
The times below are examples to help you understand the order of work. Always follow the timings in your kit's instructions.
Step 1: Confirm consultation and patch test
Check that the consultation form is signed and the patch test is recorded as negative. Ask whether anything has changed since: new eye irritation, medication or eye treatment. Explain the procedure and that the client must keep their eyes closed throughout.
Step 2: Position the client and wash your hands
The client lies flat or slightly reclined on the treatment bed with their head supported and a towel or headband keeping hair away from the face. Wash and dry your hands, then put on gloves. Make sure the client is warm and comfortable, because they will need to stay still.
Step 3: Cleanse the lashes
Ask the client to remove contact lenses. With the eyes closed, gently clean the lashes and lid with an oil-free cleanser and a lint-free pad or micro-brush, working from root to tip. Remove all mascara, oil and make-up; any oil left on the lashes can stop the solutions from working evenly. Let the lashes dry fully.
Step 4: Protect the lower lashes
Place an under-eye pad or tape over the lower lashes so they stay out of the shield and solutions. It should sit just below the lower lash line, not touching the eye; if the client feels it on the eyeball, reposition it.
Step 5: Fit the shield
Choose the shield size (see the table above). Apply a thin line of lift adhesive to the lid close to the lash line and place the shield so that its bottom edge sits right at the base of the lashes. The shield should follow the curve of the lash line from inner to outer corner. Check that the left and right shields are at the same position and size, unless the lashes are clearly different.
Step 6: Lift the lashes onto the shield
Working in small sections, apply a thin layer of adhesive to the shield and use the lifting tool to sweep the lashes up and lay them flat. Each lash should be straight, separated and touching the shield from the root up. Check the inner and outer corners, where short lashes are easy to miss; crossed or bent lashes, or lashes not touching at the root, give kinks and uneven curl. This step decides the final result.
Step 7: Apply the lifting solution
Wearing gloves, dispense a small amount of lifting solution onto a clean dish or piece of foil (Figure 3). Never dip a used brush back into the bottle. Using a fresh micro-brush, apply a thin layer to the lower part of the lashes, from near the root to roughly the middle of the lash length (the exact area depends on the brand). Keep the solution off the skin and away from the lash line edge by a small margin, and avoid loading the tips, which are the thinnest and most easily damaged part of the lash.
Start your timer as soon as you finish the first eye, and note any difference in timing between eyes. Some brands recommend covering the lashes with a small piece of cling film during processing to keep the solution moist. Processing time depends on the product and the lashes: fine, light or previously tinted lashes usually need less time than thick, dark, coarse lashes. Do not add extra time "to make sure"; over-processing cannot be undone.
Stay with the client the whole time and ask every few minutes about stinging, burning or watering. A slight smell is normal for many products; stinging in the eye is not.
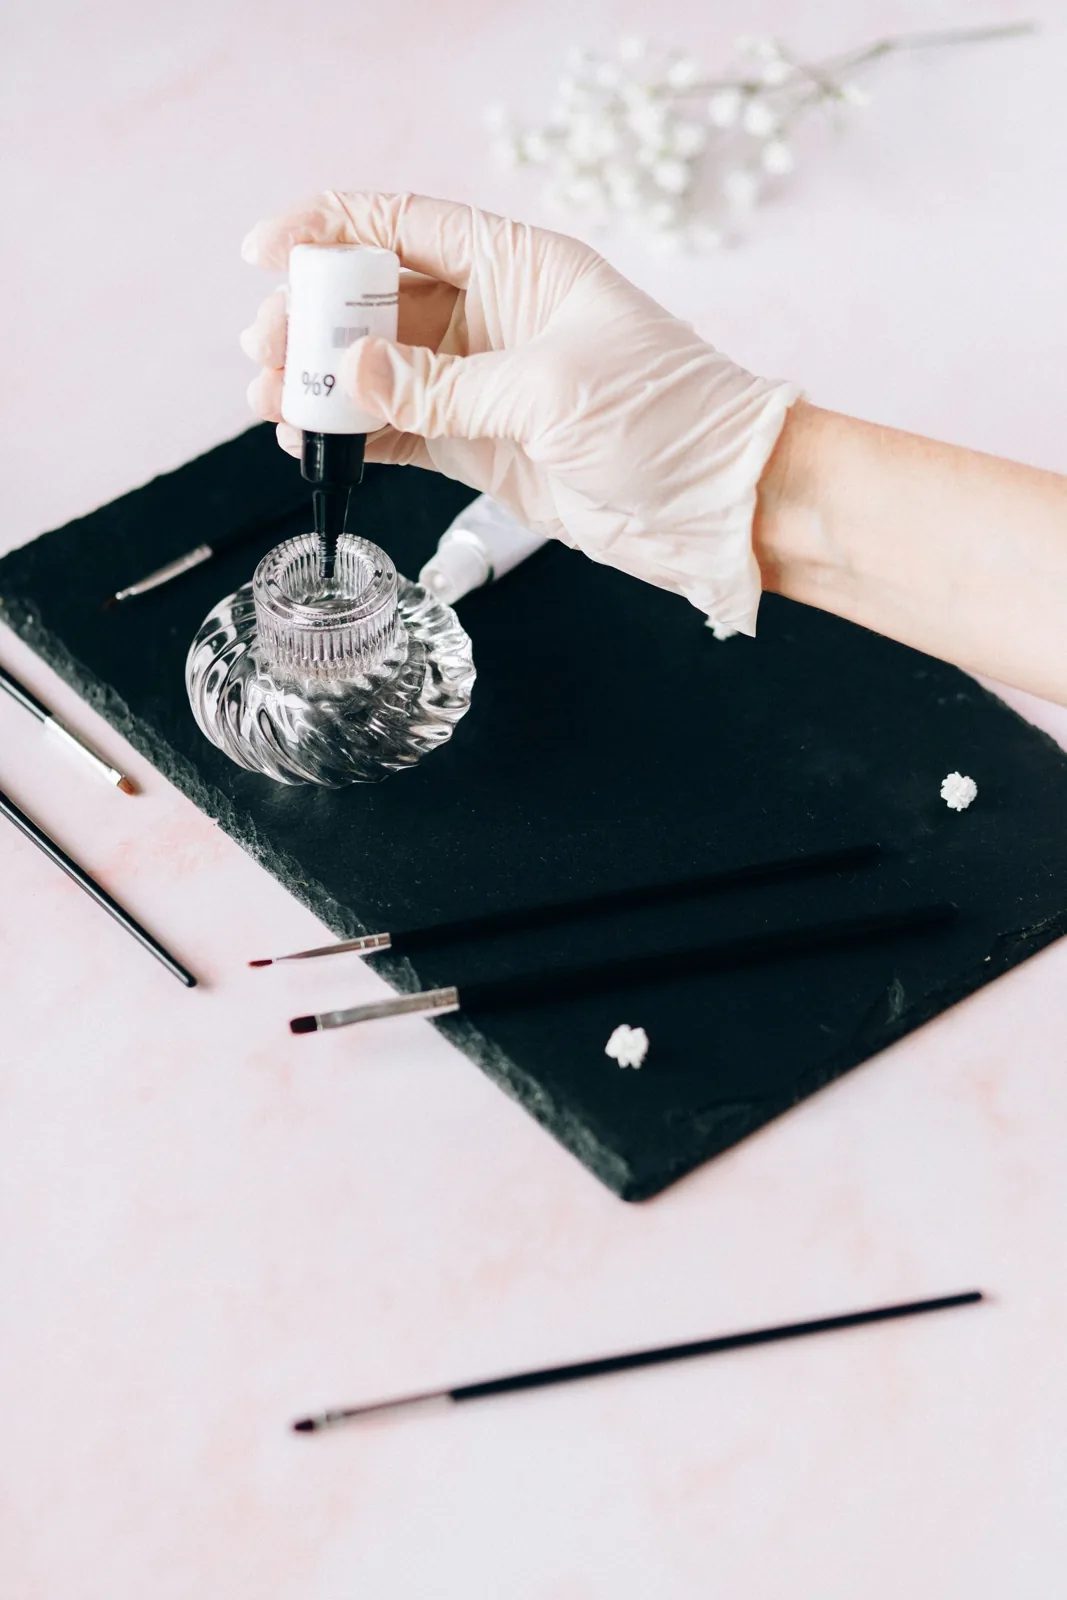
Figure 3. A gloved hand dispenses a small amount of product into a clean glass dish. Work the same way with lash lift solutions: dispense onto a clean surface and never dip a used brush back into the bottle. (Photo: Nataliya Vaitkevich, Pexels)
Step 8: Remove the lifting solution
When the time is up, gently wipe the lifting solution off the lashes with a dry or lightly damp cotton swab or micro-brush, from root to tip, without pulling the lashes off the shield. Remove as much product as possible before the next step. Check that no solution has run onto the skin.
Step 9: Apply the setting solution
Using a new micro-brush, apply the setting solution in the same way and the same area as the lifting solution. Time it according to the instructions; in many kits it is similar to the lifting time, but this varies. Then remove it carefully as in Step 8.
Step 10: Tint and nourish (if included)
If the client has booked a tint and has a negative tint patch test, it is usually done at this point, while the lashes are still on the shield. Then apply the nourishing lotion or oil if your kit includes one.
Step 11: Release the lashes and remove the shield
Apply a little water or the brand's remover to the lashes to soften the adhesive, and gently lift the lashes away from the shield with a damp micro-brush or swab, working from root to tip. Then remove the shield and under-eye pads slowly and carefully. Never pull dry lashes off the shield.
Step 12: Clean, brush and check
Wipe away any remaining adhesive from the lid and lashes. Brush the lashes gently with a clean disposable spoolie. Ask the client to open their eyes slowly. Check that both eyes look even and ask whether the eyes feel comfortable. Show the result in a mirror (Figure 4) and give the aftercare advice.
Finally, record the service on the client card: date, product and batch number, shield size for each eye, processing time for each step, any tint used, client comments and your name. These notes make the next lift faster and safer, and they matter if the client later reports a problem.
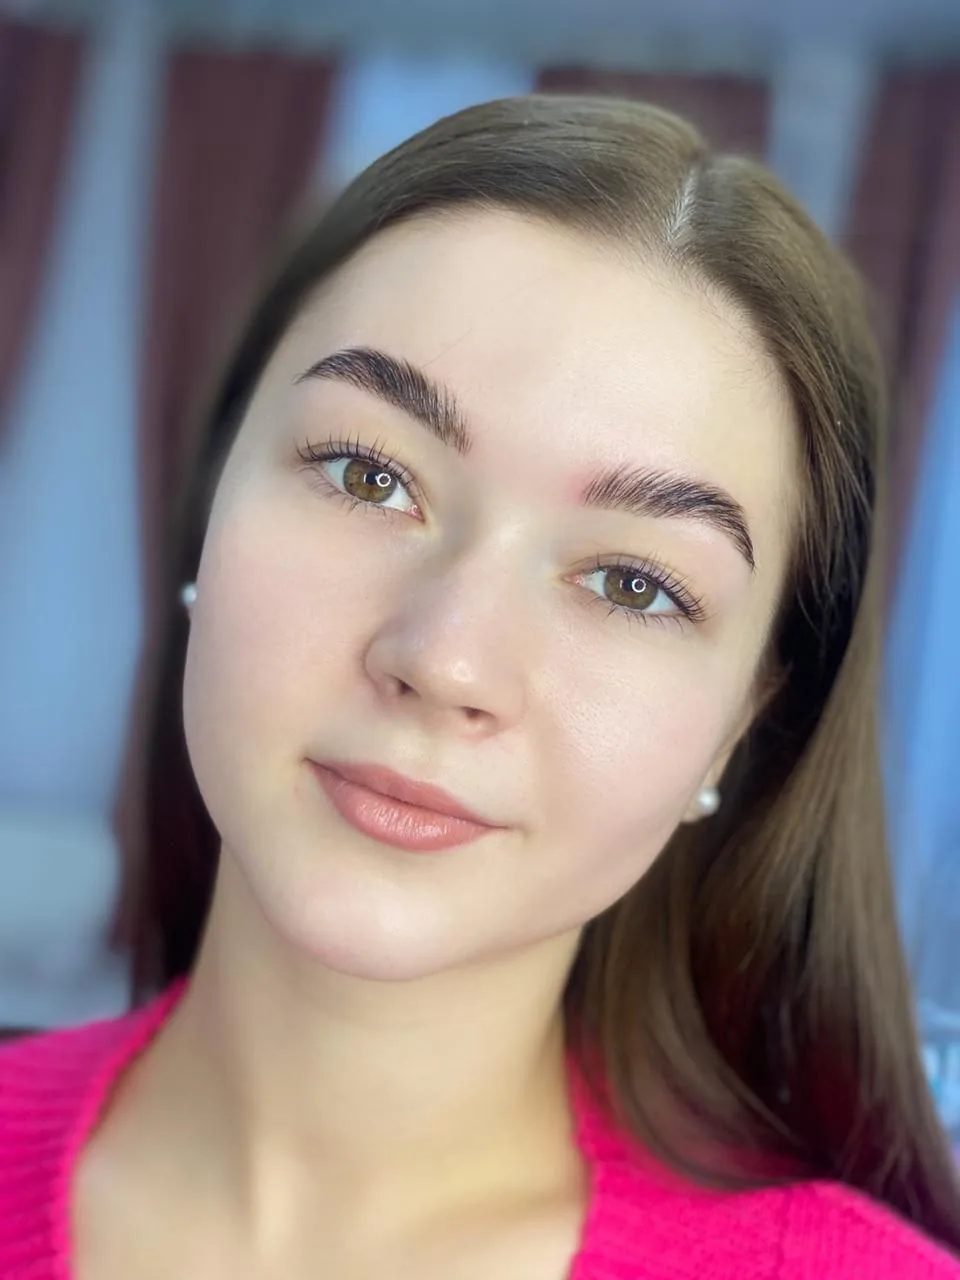
Figure 4. A client after lash and brow lamination (lamination is a lash lift with an added conditioning step): the upper lashes curve up from the base and look longer without mascara. Check that both eyes look even before the client leaves. (Photo: Эстория, Wikimedia Commons, CC BY-SA 4.0)
Hygiene and cleaning between clients
Wash your hands before and after each client; wear fresh gloves.
Use disposable micro-brushes, spoolies, under-eye pads and swabs, and throw them away after one client.
Dispense solutions onto a clean surface; never put a used applicator back in a bottle.
Close bottles straight after use, store them as labelled, and respect expiry and opened-life dates.
Silicone shields: follow the brand's guidance. Some are single-use; reusable ones must be cleaned to remove adhesive and then disinfected with a suitable product before the next client.
Metal lifting tools: clean with detergent and water, then disinfect with a suitable disinfectant used at the right strength and contact time, and store them in a clean closed container.
Change the head cover or towel between clients.
Aftercare advice for the client
Give aftercare advice verbally and, if possible, in writing. Typical advice (for reference; follow your product's guidance):
Avoid getting the lashes wet, and avoid steam, sauna, swimming and heavy sweating for the time stated by the product, often around 24 hours.
Avoid mascara, especially waterproof mascara, for the same period.
Do not rub the eyes or sleep face down on the lashes for the first night if possible.
Do not use an eyelash curler on lifted lashes; it can bend or break them.
Use oil-free eye make-up remover and remove make-up gently.
If the eyes become red, painful, swollen, very watery, or vision changes, contact the spa and see a doctor promptly.
Explain that the lift drops gradually as lashes shed and regrow, and that the next lift should wait until most lifted lashes have grown out.
If something goes wrong
Solution gets into the eye or the client feels stinging in the eye
Stop the treatment at once. Remove the solution from the lashes as quickly and gently as possible. Rinse the eye immediately with plenty of clean, cool running water or sterile eyewash, holding the eyelids open as much as the client can, and keep rinsing. First-aid guidance for chemicals in the eye generally recommends rinsing for a long period, often at least 15 to 20 minutes (for reference; follow your first-aid training). Then make sure the client is checked by a doctor or at an eye clinic, and take the product box or bottle with you so the doctor can see the ingredients. Do not put any cream, oil or "soothing" product in the eye.
Allergic reaction
Redness, itching and swelling of the lids after the service may be an allergic reaction. Advise the client to stop using any eye make-up and to see a doctor. If there is swelling of the face, lips or tongue, or difficulty breathing, call emergency services straight away (115 in Vietnam).
Damaged or frizzy lashes
Dry, frizzy or over-tight lashes are usually over-processed. Never "fix" them with another lift; advise gentle care and let them grow out, and review your timing and shield choice.
Record every incident in your spa's incident log.
Reference table: common lash lift problems
Problem | Likely cause | How to prevent it next time |
|---|---|---|
Curl is too weak or drops within days | Under-processing; oily lashes; solution not covering the root; shield too large | Cleanse thoroughly; follow full processing time; check shield size |
Lashes look frizzy, dry or "fried" | Over-processing; solution on the tips; lashes lifted again too soon | Shorter time for fine or tinted lashes; keep solution off tips; wait for regrowth |
Kink or "L-shape" in some lashes | Lashes not flat against the shield at the root | Lay every lash flat from root before applying solution |
Curl is too tight (lashes touch the lid) | Shield too small for lash length | Choose a larger shield; check where tips reach |
One eye looks different from the other | Different shield position or size; unequal timing between eyes | Match shield placement; time each eye separately |
Crossed or stuck-together lashes | Lashes not separated during lifting | Separate and lay lashes in small sections |
Stinging, redness or watering | Solution on skin or in eye; sensitivity | Thin layers, keep off skin, check under-eye pad position, ask the client often |
Safety checklist for every lash lift
Before
Consultation form completed, contraindications checked, client signature.
Patch test done according to the manufacturer and recorded as negative.
Contact lenses removed; no make-up on lashes.
Products from the same kit, within expiry date, opened-life checked.
Trolley set up with gloves, disposable applicators, shields, timer and eyewash.
During
Gloves on; product dispensed, never double-dipped.
Under-eye pads not touching the eye.
Solutions applied thin, off the skin and away from the tips.
Timer running for each eye; you never leave the client.
You ask about stinging regularly and stop immediately if needed.
After
All product removed; lids and lashes checked.
Client comfortable; eyes not red or painful.
Aftercare advice given.
Disposable items thrown away; tools cleaned and disinfected; bed covers changed.
Client card updated with products, shield sizes and timings.
Frequently Asked Questions
How long does a lash lift last?
Usually until the treated lashes shed and new ones grow in, often around six to eight weeks (for reference). Results vary from client to client, depending on their natural lash growth cycle and how they care for their lashes.
How long does the appointment take?
A lash lift on its own often takes around 45 to 60 minutes, and a lash lift with tint a little longer (for reference).
Does a lash lift damage the natural lashes?
Done correctly, with the right timing and spacing between treatments, most clients do not notice problems. Over-processing, repeated lifts too close together and rough removal can make lashes dry, frizzy or brittle.
Can a client wear mascara after a lash lift?
Yes, after the waiting period stated in the product instructions (often about 24 hours). Recommend a non-waterproof mascara that is easy to remove, and gentle removal with an oil-free product.
What is the difference between a lash lift and lash lamination?
The two names are used in different ways by different brands. "Lash lamination" usually means a lash lift with an extra conditioning step and a slightly different finish. In practice the main steps and the safety rules are the same: screening, patch test, accurate timing and protecting the eye.
Practice Exercises
Shield sizing. Look at the lashes of three classmates or training models. For each eye, note the lash length and eye shape and choose a shield size using the table above. Ask your trainer to check your choices.
Lifting practice without chemicals. On a training head or a colleague, fit the shields and lift the lashes onto them with adhesive only. Time yourself. Ask your trainer to check that every lash is flat from the root, that inner and outer corners are included, and that both eyes match.
Timing plan. Read the instructions of the lash lift kit your spa uses. Write a timing plan for three types of lashes: fine/light, normal, and thick/dark. Have your trainer check it.
Consultation role-play. With a partner, role-play a consultation with a client who wears contact lenses, had laser eye surgery a few weeks ago and had extensions removed last week. Decide what you would do and what you would say.
Emergency drill. Practise the steps for solution getting into the eye: stopping, removing product, rinsing with eyewash, and arranging medical help. Check that you know where the eyewash is kept in your spa. A good lash lift is the result of patience at the shield stage, honesty at the consultation, and discipline with the timer. Get those three right, and your clients will come back for their next lift.