Durable rooftop waterproofing means doing four things in order: find the real source of the leak, treat the weak points thoroughly (cracks, pipe penetrations, wall bases), choose a material that suits the roof (torch-on bitumen membrane, liquid PU or two-part cementitious coating), and flood test for 24–72 hours before laying the protective layer. Most roof terraces that "were waterproofed and still leak" failed because the wall base or pipe collars were skipped, or the work was done on a damp slab — not because the material was poor. This lesson runs from the survey to a sample quote for a 40 m² roof terrace, the way a lead applicator coaches an apprentice on a Vietnamese townhouse job.
By the end of this lesson, you will be able to:
- Survey a roof terrace, narrow down the leak source and fill in a survey sheet with photos, locations and measurements.
- Compare torch-on bitumen, liquid PU and two-part cementitious coatings on pros, cons, service life and price per m² to pick a system.
- Carry out the 8 work steps: strip and clean, treat cracks, pipe collars, cove the wall base, prime, apply the waterproofing, flood test, protect.
- Prepare a quote for a 40 m² terrace with every item, quantity, unit price and a total that adds up.
- Work safely with gas torches, chemicals and on roofs without railings.
Learning waterproofing properly? Roof terraces and flat roofs are step 5 of the roadmap — after chemical safety, leak diagnosis, cementitious coatings and bathroom waterproofing. See the 8-step waterproofing roadmap to learn in the right order.
Why is the roof terrace the leakiest part of a house?
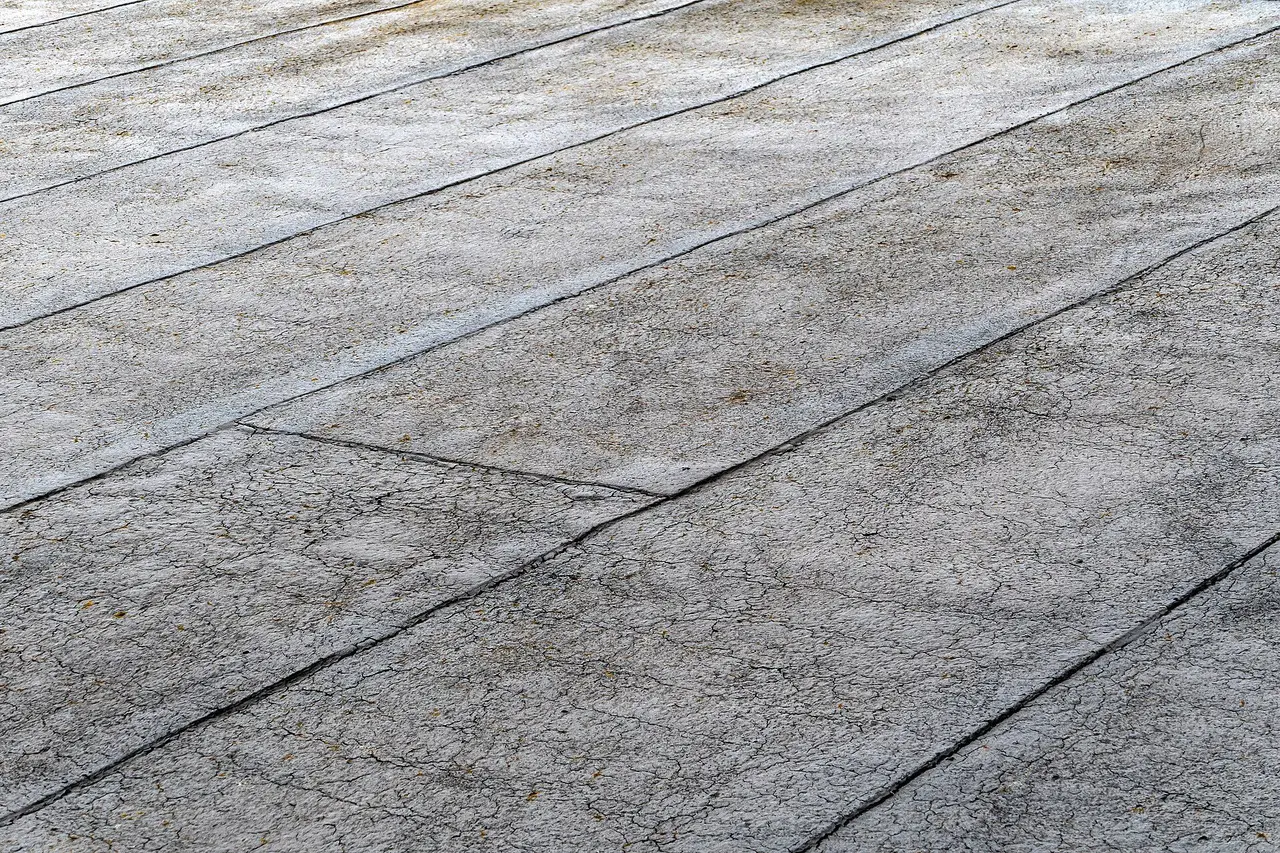
A roof terrace takes direct sun all day and heavy downpours in the afternoon. The concrete expands and contracts with the heat every day, and over time this causes hairline cracks, cracks at construction joints and separation at the wall base. Water that ponds where the fall is poor has more time to seep through those cracks into the ceiling of the top-floor bedroom. Figure 1 shows a flat roof finished with a bitumen-based waterproofing layer.
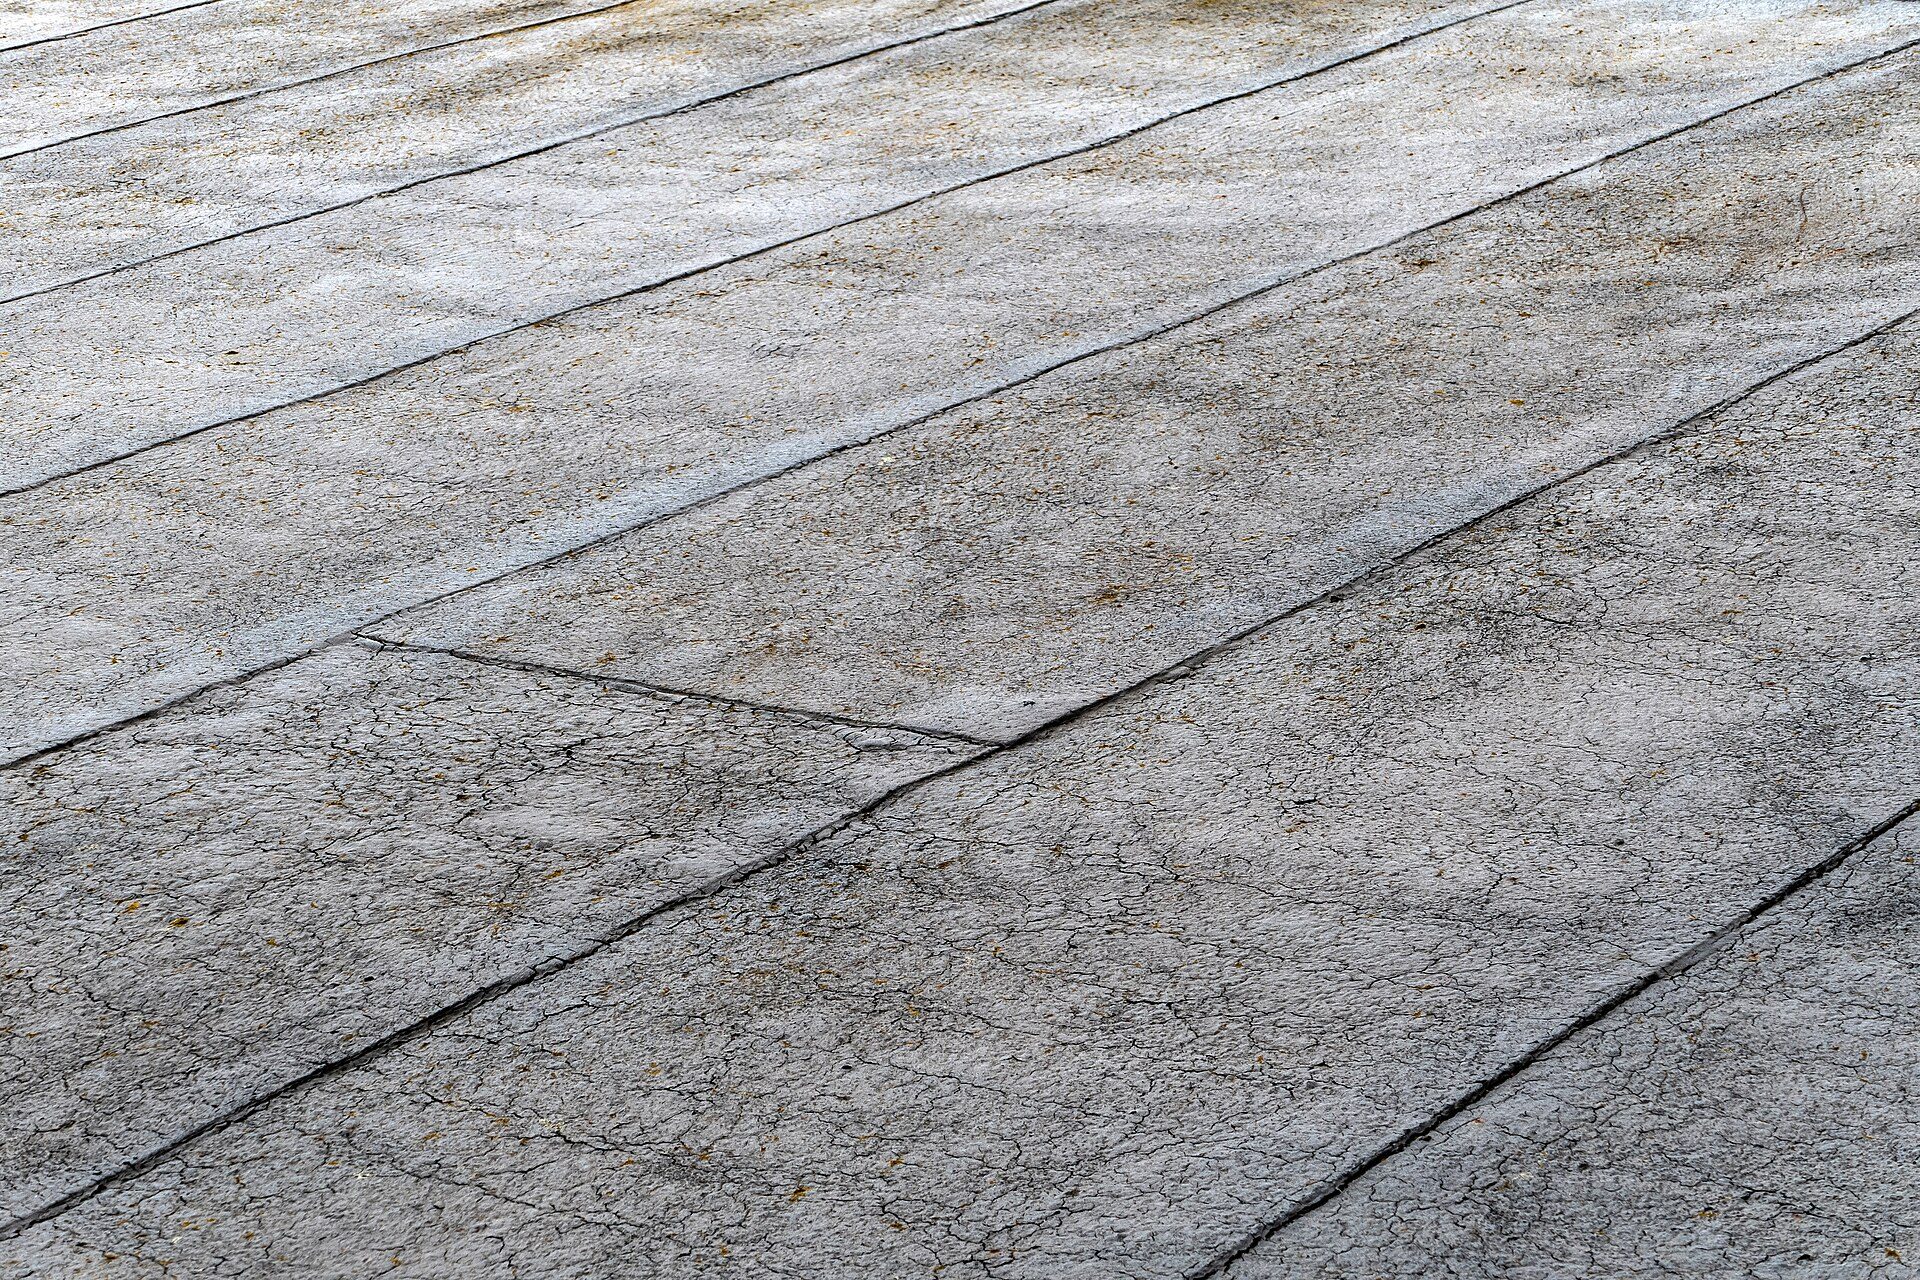
Photo: W.carter / Wikimedia Commons, CC0
Common weak points
- Wall bases and parapet bases: the slab-to-wall joint, where the concrete slab and the brick wall shrink and move differently.
- Pipe penetrations: rainwater outlets, drain pipes, supply pipes up to the tank, and tank stand legs passing through the slab.
- Cracks: hairline cracks in the screed, and through-cracks at construction joints.
- Ponding: poor falls or a blocked outlet (see Figure 2).
Roof leak or pipe leak?
A leak from the terrace usually spreads after rain and dries out after a few sunny days. A stain that stays damp through many dry days points to a leaking supply pipe, drain pipe or water tank. Do not quote for waterproofing the whole terrace when the cause is one leaking pipe.
Survey the leak source before you quote
A good survey decides most of the outcome. The goal is to answer: where does the water get in, which path does it take, and can the existing finish stay or must it go?
Match the ceiling below with the terrace above
Photograph and measure the stain on the ceiling below (how many metres from each wall). Go up to the terrace, measure to the same spot and see what is above it: a wall base, an outlet, a pipe, a crack, a hollow tile. Tap the tiles with a rubber mallet: a hollow "thud" means the tile has debonded, and water can travel sideways under the tiles for several metres before it comes through the ceiling.
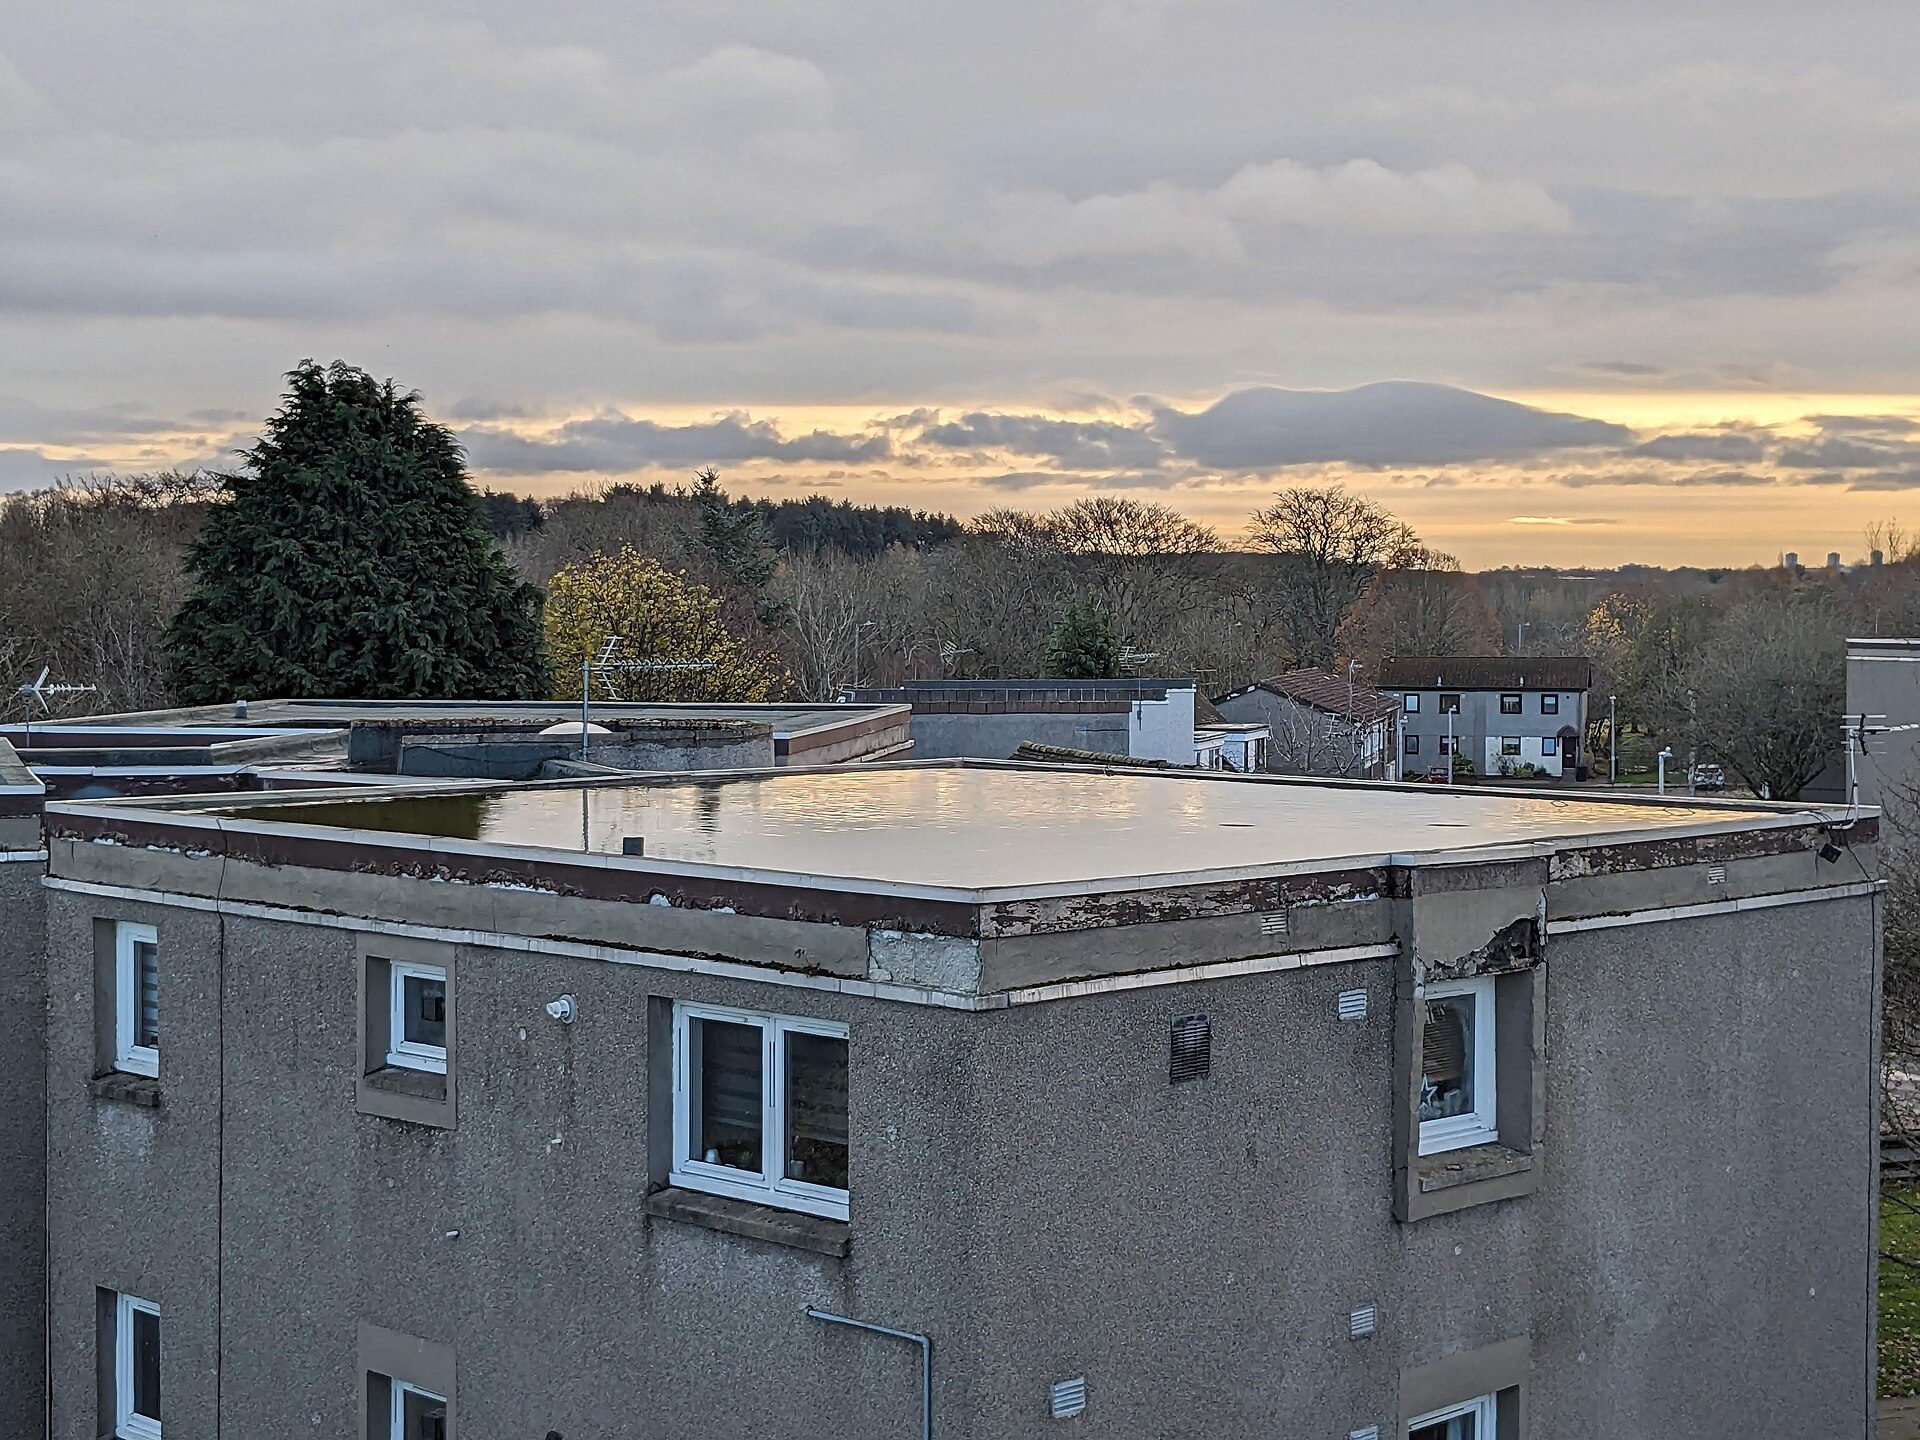
Photo: Robek / Wikimedia Commons, CC BY-SA 4.0
Flood test one zone at a time
When the source is unclear, build small dams of brick or mortar around each suspect zone (wall base, around the outlet, the middle of the terrace), plug the outlet, fill with about 3–5 cm of water for 24–48 hours and watch the ceiling below. Whichever zone makes the ceiling wetter is at fault. A moisture meter helps compare readings before and after.
Fill in a survey sheet
Record: slab area, wall-base length, number of pipe penetrations, total crack length, tile condition (what percentage is hollow), falls and outlets, and a numbered photo of each point. These figures also become the quantities in the quote later.
Torch-on bitumen vs liquid PU vs two-part cementitious coating
These three groups are the most common choices for roof terraces on Vietnamese homes. There is no single "best" one; choose by the roof surface, slab moisture, whether there will be a protective layer or an exposed finish, and the owner's budget. Prices below are supply-and-install for the waterproofing layer only, 2026 references in Vietnam, varying by region, brand and quantity (1,000 VND is roughly 4 US cents).
| Criterion | Torch-on bitumen membrane (3–4 mm) | Liquid PU (about 1.2–2 mm) | Two-part cementitious (2–3 coats) |
|---|---|---|---|
| Pros | Thick, factory-made even layer; handles ponding well; takes foot traffic once protected | Seamless, no joints; highly elastic, bridges small cracks; easy around details and pipes | Cheap and easy to apply; bonds well to concrete; can go on a slightly damp slab |
| Cons | Needs a gas torch, so fire risk; laps are the weak point; awkward on small details; needs protection from sun | Slab must be dry, blisters if moisture is trapped; fails quickly if applied thinner than specified; costs more | Less elastic than PU; cannot bridge large cracks; needs a protective layer, shorter life if exposed to strong sun |
| Typical service life | about 10–15 years (with protection) | about 7–12 years (exposed systems need a UV-resistant topcoat) | about 5–10 years (with protection) |
| Reference price per m², 2026 | 180,000–300,000 VND | 200,000–350,000 VND | 120,000–200,000 VND |
| Best when | Large, flat terraces that will be screeded and re-tiled | Terraces with many details, or left exposed or with a thin finish | Low budgets, slabs that are hard to dry fully, tiled over for protection |
Torch-on bitumen membrane
The membrane is a roll of modified bitumen with a reinforcing mesh. It is laid on a primed slab and bonded by melting its underside with a gas torch. Quality lives in the laps: side laps of at least about 10 cm and end laps of about 15 cm, with the lap edges torched and pressed down until an even bead of bitumen squeezes out.
Liquid PU
Liquid polyurethane is brushed or rolled into a seamless elastic membrane, usually in 2 coats at right angles. It only lasts if it is as thick as the manufacturer specifies; applying it thinly to save money is the number-one cause of failure (Figure 4). The slab must be as dry as the label requires, which often means waiting several sunny days after stripping.
Two-part cementitious coating
A powder part (cement, fine sand, additives) is mixed with a liquid part (polymer emulsion) in the manufacturer's ratio and brushed on in 2–3 coats at right angles. It "breathes" and goes on a slab that has been pre-wetted to saturation with no standing water. It must be protected by a screed or tiles.
The 8-step rooftop waterproofing method
Tools: grinder, breaker, chasing saw, vacuum, brushes and rollers, trowels, a paddle mixer, scales, a gas torch and cylinder (for torch-on), a moisture meter, reinforcing mesh and non-shrink grout.
Steps 1–2: strip and clean, treat cracks
- Strip and clean: break out hollow tiles and weak mortar down to sound concrete; scrape off moss, oil and old flaking coatings; grind high spots; vacuum all dust. If many tiles are hollow, remove them all rather than patching.
- Treat cracks: chase each crack into a V about 1–2 cm wide and deep, clean it, prime it, fill with repair mortar or an elastic sealant compatible with the waterproofing system, and embed a strip of reinforcing mesh about 10–20 cm wide along the crack.
Steps 3–4: pipe collars and wall-base coving
- Pipe collars: break out about 2–3 cm around the pipe down to sound concrete, clean it and pack it tight with non-shrink grout. Then reinforce with mesh and carry the waterproofing about 10 cm up the pipe and about 20 cm out onto the slab (see Figure 3).
- Wall-base coving: form a mortar fillet or rounded cove of about 3–5 cm at the slab-to-wall joint so the waterproofing never folds at a sharp right angle and cracks. Run the waterproofing about 30 cm up the wall above the finished floor level, with mesh in the corner.
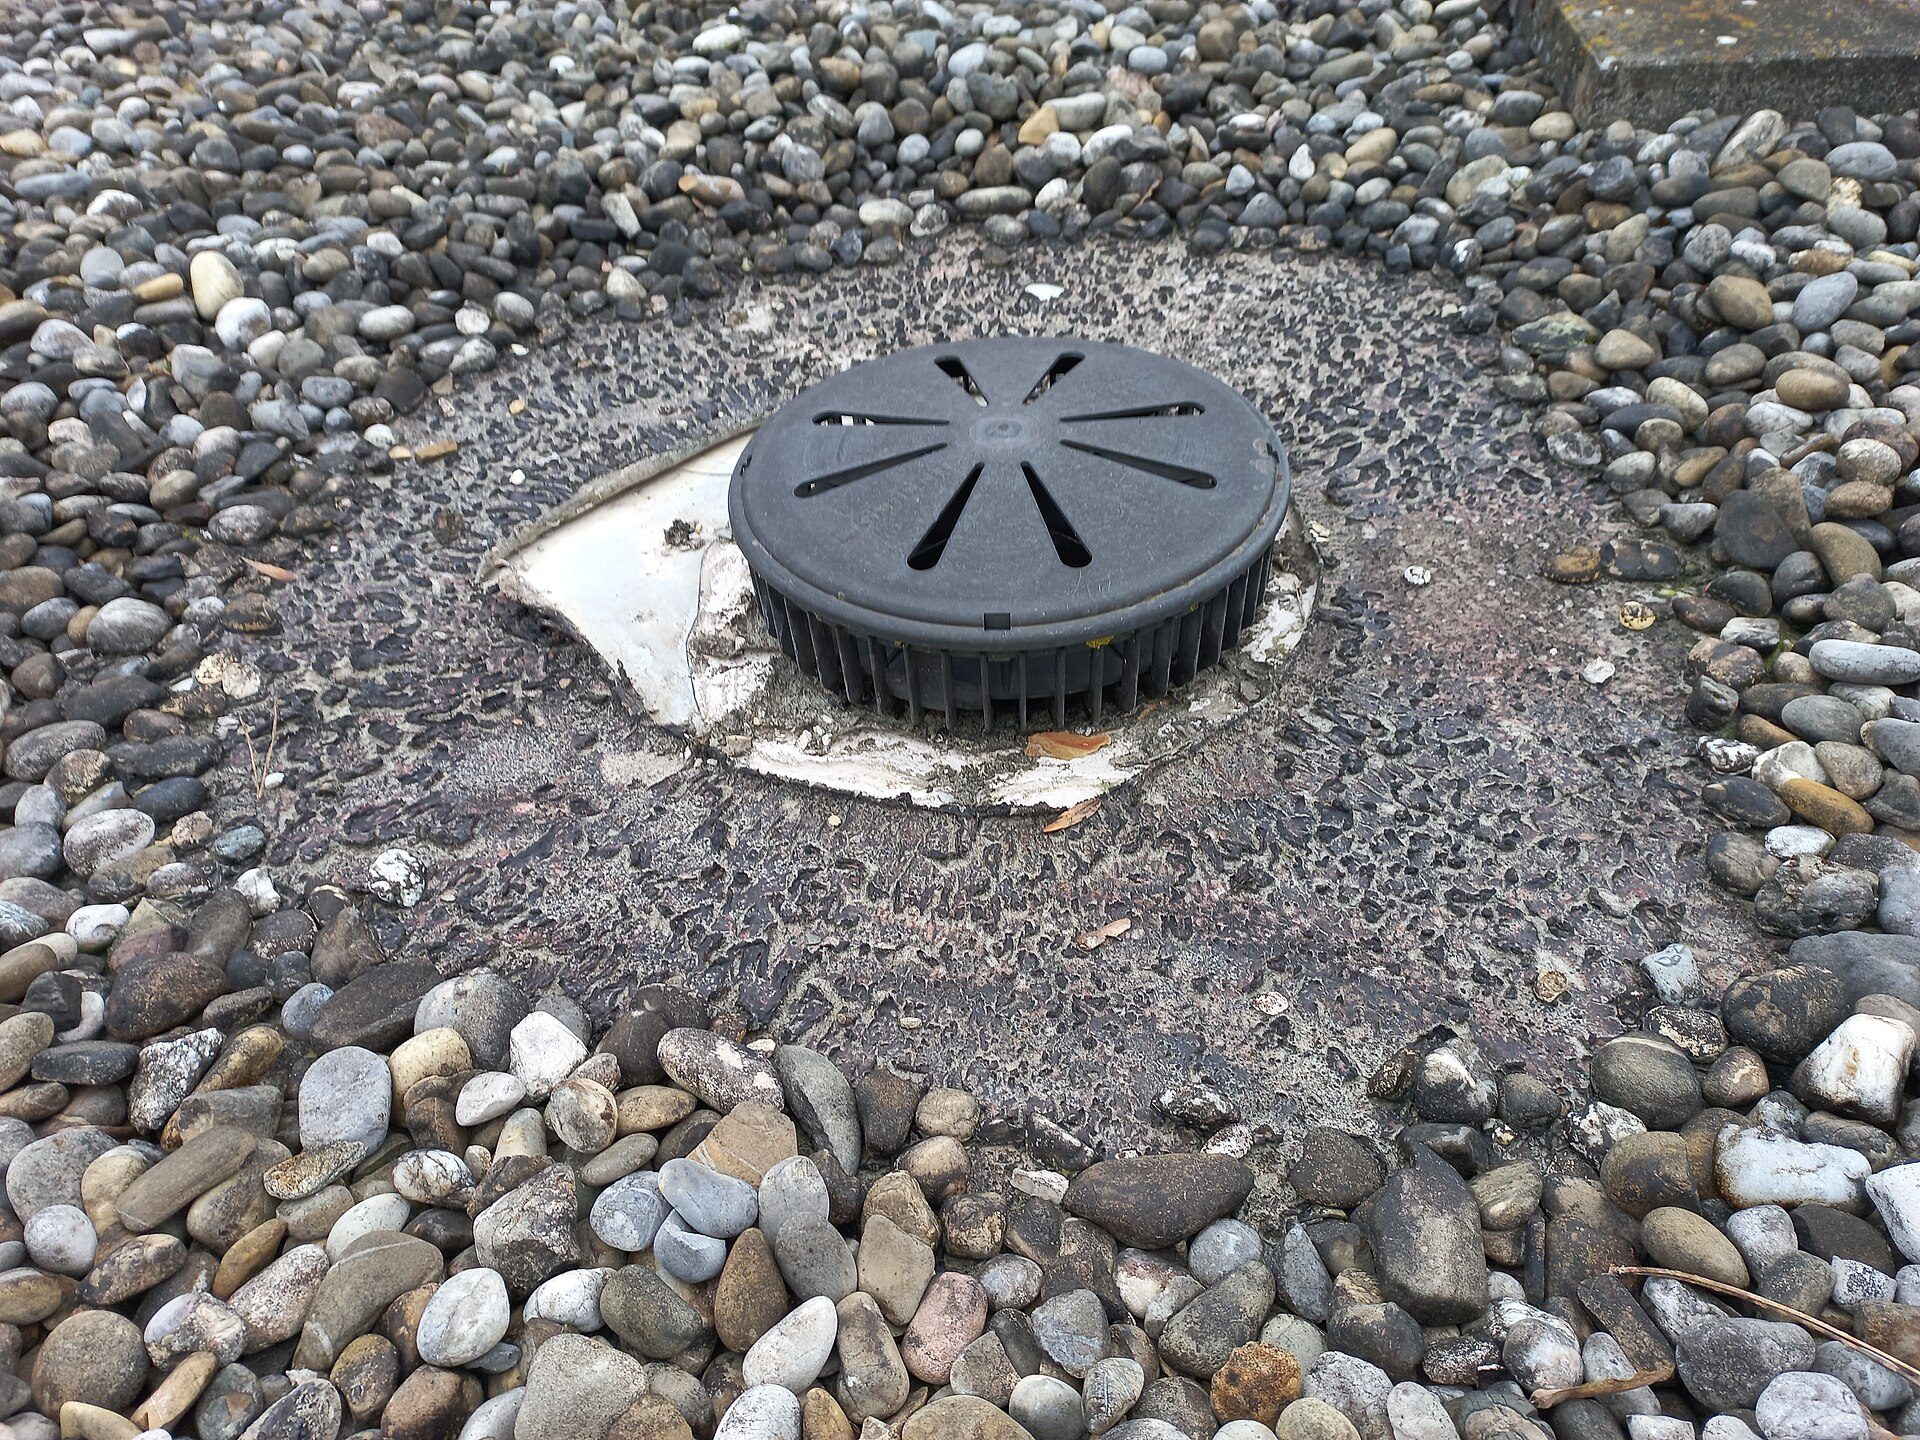
Photo: Asurnipal / Wikimedia Commons, CC BY-SA 4.0
Steps 5–6: prime and apply the waterproofing
- Prime: check that slab moisture meets the material's requirement. Torch-on uses a bitumen primer; PU uses the primer from the same system; cementitious coatings go on a surface pre-wetted to saturation with no standing water. Let the primer dry as per the label.
- Apply: do the details first (pipes, corners, wall base), then the field. Torch-on: dry-lay the roll, roll it back, then torch it down working from low points to high points so laps shed water. PU and cementitious: mix to the exact ratio with a paddle mixer, apply 2–3 coats at right angles, each coat once the previous one is touch-dry as per the label, to the full kg/m² coverage rate.
Steps 7–8: flood test and protection
- Flood test: once the waterproofing has cured as per the label, plug the outlets and flood to about 3–5 cm for 24–72 hours (48 hours is common). Mark the water level and set a bowl of water beside it as a control for evaporation. Check the ceiling below several times; only sign off when it is completely dry, with photos and a written record.
- Protection: lay a protective screed about 2–4 cm thick with a fall of about 1–2% to the outlets, then tile; or, for exposed PU, apply the system's UV-resistant topcoat. Do not chisel, drill or drag heavy items across the waterproofing before it is protected.
Safety on rooftop waterproofing jobs
There are three main hazards: fire from gas torches, chemicals (solvents and alkalis), and falls from the roof. New workers underestimate all three because a terrace looks "wide and flat".
Safety warning: Gas torches — check the valve, hose and fittings with soapy water before every shift, never look for leaks with a flame; keep the cylinder upright and away from the torching area, never point the flame toward the cylinder, the hose or anything flammable (curtains, foam-backed metal roofing, the owner's belongings); always have a fire extinguisher on the terrace; close the cylinder valve during breaks; and watch the area for at least 30–60 minutes after finishing. Chemicals — read the label and safety data sheet; solvent-based PU needs ventilation, an organic vapour respirator and no flames nearby; cementitious materials are alkaline, so wear gloves and goggles; if chemicals splash in the eyes, rinse with clean running water for at least 15 minutes and see a doctor immediately; for serious burns or breathing difficulty, call the emergency number (115 in Vietnam). Working on roofs — if the railing is lower than about 1 m or missing, wear a harness anchored to a solid point; do not work in rain or strong wind; avoid harsh midday sun and drink enough water; lift materials with a pulley and keep someone watching below.
Crew roles on site
Torching a membrane needs at least 2 people: one torching, one watching the flame and holding the extinguisher. Never leave an apprentice alone on a terrace without railings.
Tell the homeowner
Warn the owner in advance when there will be solvent smells or an open flame, ask them to close top-floor windows, clear flammable items from the terrace, and keep small children off the terrace during the work and the flood test.
Worked example: quoting a 40 m² roof terrace
A four-storey tube house has a 5 × 8 m = 40 m² roof terrace. The fourth-floor bedroom ceiling stains after rain in the corner by the wall and around the outlet. The survey finds about 60% of the tiles hollow, 12 m of cracks, 3 pipe penetrations (2 outlets, 1 supply pipe to the tank), and a wall base of 2 × (5 + 8) = 26 m. The owner wants it re-tiled, so the applicator chooses a 3 mm torch-on bitumen membrane with a protective layer.
Quantities
- Membrane up the wall base to 0.3 m: 26 × 0.3 = 7.8 m². Slab 40 m² + wall base 7.8 m² = 47.8 m², rounded to 48 m² (laps are included in the rate per m²).
- Tile removal, protective screed and re-tiling: by slab area, 40 m².
- Wall-base coving: 26 linear metres.
Quote (2026 reference prices, varying by region)
| Item | Quantity × unit price | Amount |
|---|---|---|
| Break out old tiles and mortar, remove debris | 40 m² × 60,000 VND | 2,400,000 VND |
| Crack treatment (V-chase, fill, mesh) | 12 m × 50,000 VND | 600,000 VND |
| Pipe collars and outlets | 3 points × 250,000 VND | 750,000 VND |
| Mortar coving at the wall base | 26 m × 40,000 VND | 1,040,000 VND |
| Primer + 3 mm torch-on bitumen membrane (slab and wall base) | 48 m² × 230,000 VND | 11,040,000 VND |
| Protective screed laid to falls, average 3 cm | 40 m² × 90,000 VND | 3,600,000 VND |
| Tiling (labour + mortar; tiles bought by the owner) | 40 m² × 120,000 VND | 4,800,000 VND |
| Total | 24,230,000 VND (about 950 USD) | |
Check: 2,400,000 + 600,000 + 750,000 + 1,040,000 + 11,040,000 + 3,600,000 + 4,800,000 = 24,230,000 VND, which is 24,230,000 ÷ 40 ≈ 605,750 VND per m² of slab. The 48-hour flood test is included in the labour, not charged separately. The waterproofing part alone (cracks, collars, coving, membrane) is 600,000 + 750,000 + 1,040,000 + 11,040,000 = 13,430,000 VND.
Terms to write on the quote
- Expected duration (for example 6–8 days, excluding rain days), flood test period and sign-off.
- Exclusions: floor tiles, repairs to plasterboard ceilings, repainting the ceiling below.
- Clear warranty length and scope (often a few years depending on the system), void if the owner later drills, chisels or installs equipment through the waterproofing.
Common mistakes and how to avoid them
Blistering after a few weeks of sun
Sign: bubbles under the PU or membrane. Cause: the slab was still damp, and moisture vapourises in the heat. Prevention: measure moisture before applying, wait until the slab meets the material's requirement; if the slab will not dry, choose a cementitious system.
PU applied too thin, cracking and peeling
Sign: the coating cracks and wears through to the slab after one or two hot seasons (Figure 4). Cause: under-applied coverage, a single coat, no UV topcoat. Prevention: calculate the full kg/m² from the label, mark the area into grid squares and divide the material per square to control it.
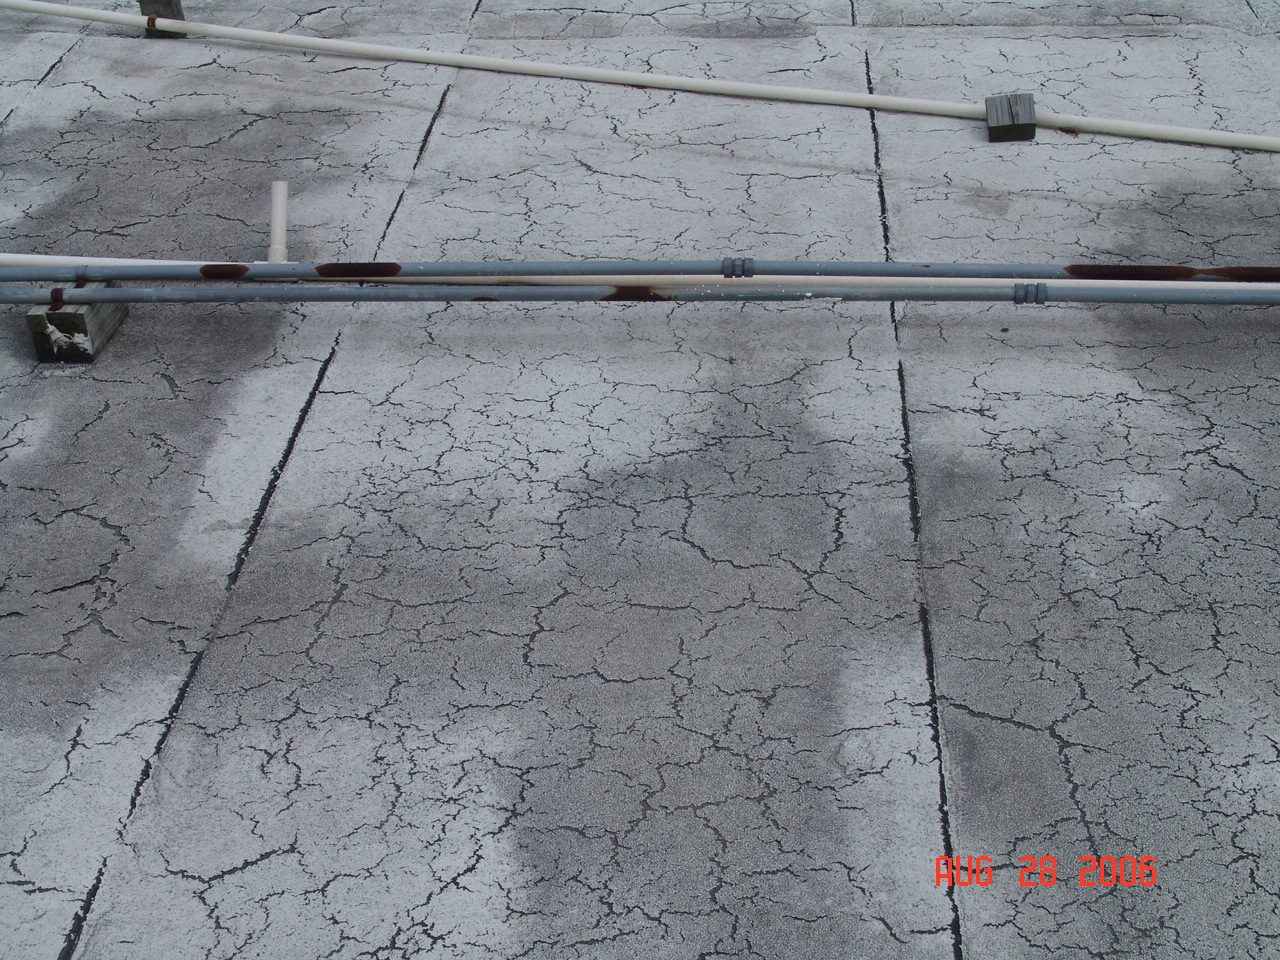
Photo: GRALISTAIR / Wikimedia Commons, CC BY-SA 4.0
Leaks at the wall base or pipes despite a waterproofed slab
Sign: ceiling stains in a line along the wall or in a ring around a pipe. Cause: no coving, no mesh reinforcement, waterproofing not carried high enough up the wall. Prevention: do the details first and photograph each one before coating the field.
Open laps on a torch-on membrane
Sign: a membrane edge can be lifted with a trowel. Cause: short laps, not enough heat, dusty substrate. Prevention: side laps about 10 cm, end laps about 15 cm, and check every lap with a trowel once it has cooled.
Frequently asked questions
Do the old tiles have to come up?
If many tiles are hollow or cracked, or the leak source is unclear, break them out and treat the slab directly. If the tiles are sound and only the grout lines leak, a dedicated over-tile system may work, but survey carefully and tell the owner clearly what the warranty does and does not cover.
Torch-on or PU?
For flat, large terraces that will be screeded and tiled, torch-on is economical and durable. For terraces with many details, an exposed finish, or where an open flame is unwanted, PU is the better fit — provided the slab is dry and the full coverage is applied.
How long should the flood test run?
The usual practice is 24–72 hours, and many applicators choose 48 hours. A longer test reveals slow leaks. Always keep a control bowl so evaporation is not mistaken for a leak.
Can I waterproof in the rainy season?
Yes, if you can get several dry days in a row and have tarpaulins ready. Never apply PU or torch-on membrane to a wet slab; cementitious systems tolerate damp better but still need protection from rain until they have cured as per the label.
Practice exercises and self-assessment
- Survey a real terrace (or your own): fill in a survey sheet with area, wall-base length, number of pipes, crack length and numbered photos.
- On a test concrete slab of about 1 m², practise coving, one pipe collar and two coats of cementitious coating at right angles.
- Prepare a quote for a 30 m² terrace using the table above with unit prices from your own area.
Self-assessment criteria
- Pass: your survey sheet identifies at least 2 leak sources with photo evidence and recommends a material with reasons.
- Pass: the test pipe collar is packed tight, no mesh shows through, the coating runs about 10 cm up the pipe, and a 48-hour flood test shows no leak.
- Pass: your quote lists every item, quantity and unit price, and the total adds up.
- Not yet: you coat a slab without measuring moisture, skip the wall-base coving, or torch a membrane without an extinguisher on hand.
Once you are confident with roof terraces, move on to the next step of the roadmap: External walls, cracks and PU injection — sealing wall cracks with elastic sealants and injecting expanding PU through packers to stop active leaks.
Keep going in waterproofing: after roof terraces come external walls, PU injection, a full project fixing a terrace that leaks into a bedroom, and quoting and warranties. See the 8-step waterproofing roadmap.