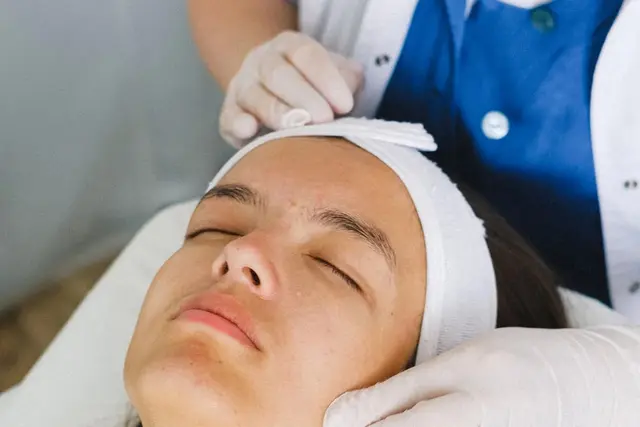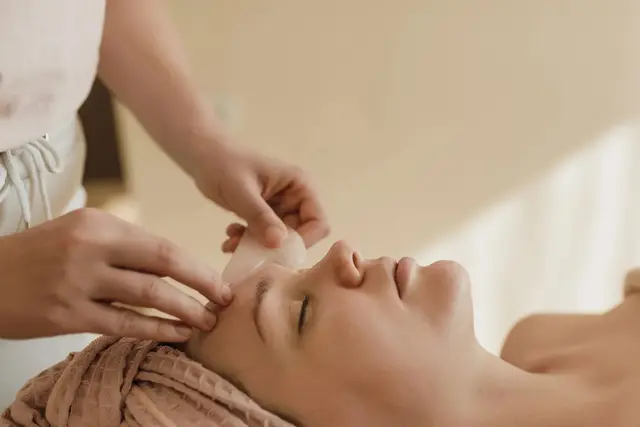
A basic manicure looks simple from the client's chair: a short soak, tidy nails, neat cuticles and a smooth coat of polish. Behind that result is a routine that a spa therapist has to get right every time: a clean station, tools that are safe for the next client, careful filing, gentle cuticle work that never cuts living skin, and a polish finish that lasts. This guide walks a new therapist through a complete basic manicure on natural nails, step by step, with the hygiene rules, the contraindications to check before you start and the signs that mean you should stop and suggest the client see a doctor. It also covers situations you will meet in Vietnamese spas and salons, such as clients who ask for their cuticles to be "cut clean".
Scope of this guide. This is a basic manicure on natural nails with regular nail polish or a buffed finish. It does not cover gel polish, acrylic or nail extensions, which need separate training. A manicure is a beauty service, not a treatment for any nail or skin condition. Times and quantities in this article are for reference only; always follow your spa's written procedures, the product instructions and any local hygiene rules that apply to your workplace.
What a basic manicure includes (and what it does not)
A standard basic manicure covers a short consultation and hand check, polish removal, filing and shaping, a soak or cuticle softener, gentle cuticle care, light buffing if needed, a short hand massage, polish (or a buffed natural finish), and finally aftercare advice, clean-up and record keeping.
As a guide for planning your booking sheet, many spas book a basic manicure at around 30 to 45 minutes, and a "spa manicure" with exfoliation, a mask or a longer massage at around 45 to 60 minutes (for reference only; follow your spa's menu). New therapists usually take longer; ask for extra booking time rather than rushing the cuticle step.
A basic manicure does not include treating thick, discoloured or painful nails, cutting into live skin, removing ingrown or infected tissue, or "fixing" a nail that has lifted from the nail bed. Those situations belong with a doctor.
Prepare the station and tools
Set up before the client sits down, so you never leave a client with wet hands while you look for a file.
On the table: a clean towel or a single-use table cover; a lint-free pad or paper towel under the client's hand; a hand rest or cushion covered with a clean towel; a bowl for the soak; cotton pads, polish remover and a small closed container for used cotton; a bin within reach; and a good lamp.
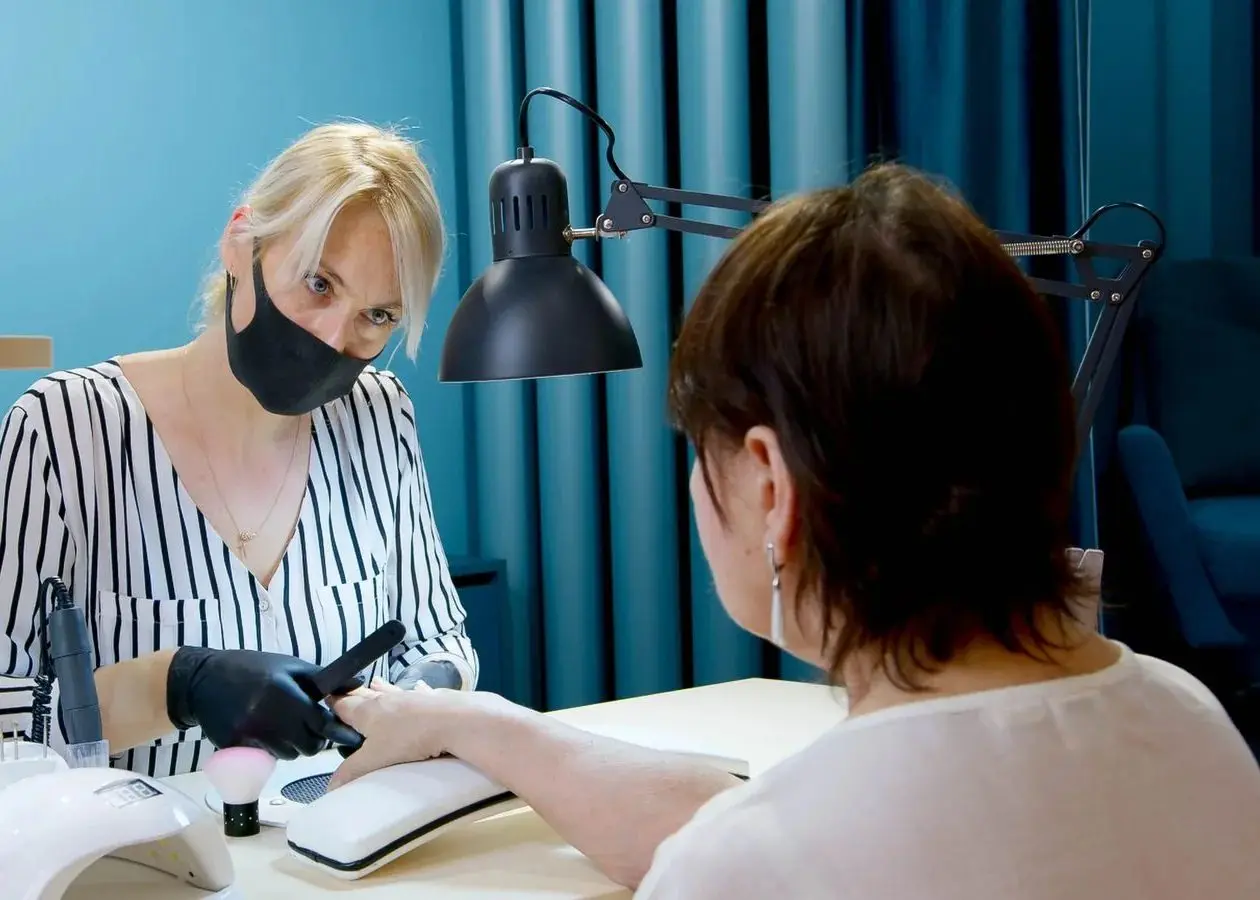
For you: clean, short nails, hair tied back, no rings or bracelets on your hands, a clean uniform, and a pair of single-use nitrile gloves. Nitrile is a common choice because some clients and therapists are allergic to latex. Many spas also ask therapists to wear a mask while filing, because nail dust goes into the air close to your face.
Tools and products: nail clippers, a nail file, a buffer, a cuticle pusher (metal or a disposable wooden or plastic stick), cuticle nippers for loose dead skin and hangnails only, a nail brush, cuticle softener or cuticle oil, hand lotion or massage oil, base coat, polish, top coat and a clean-up brush.
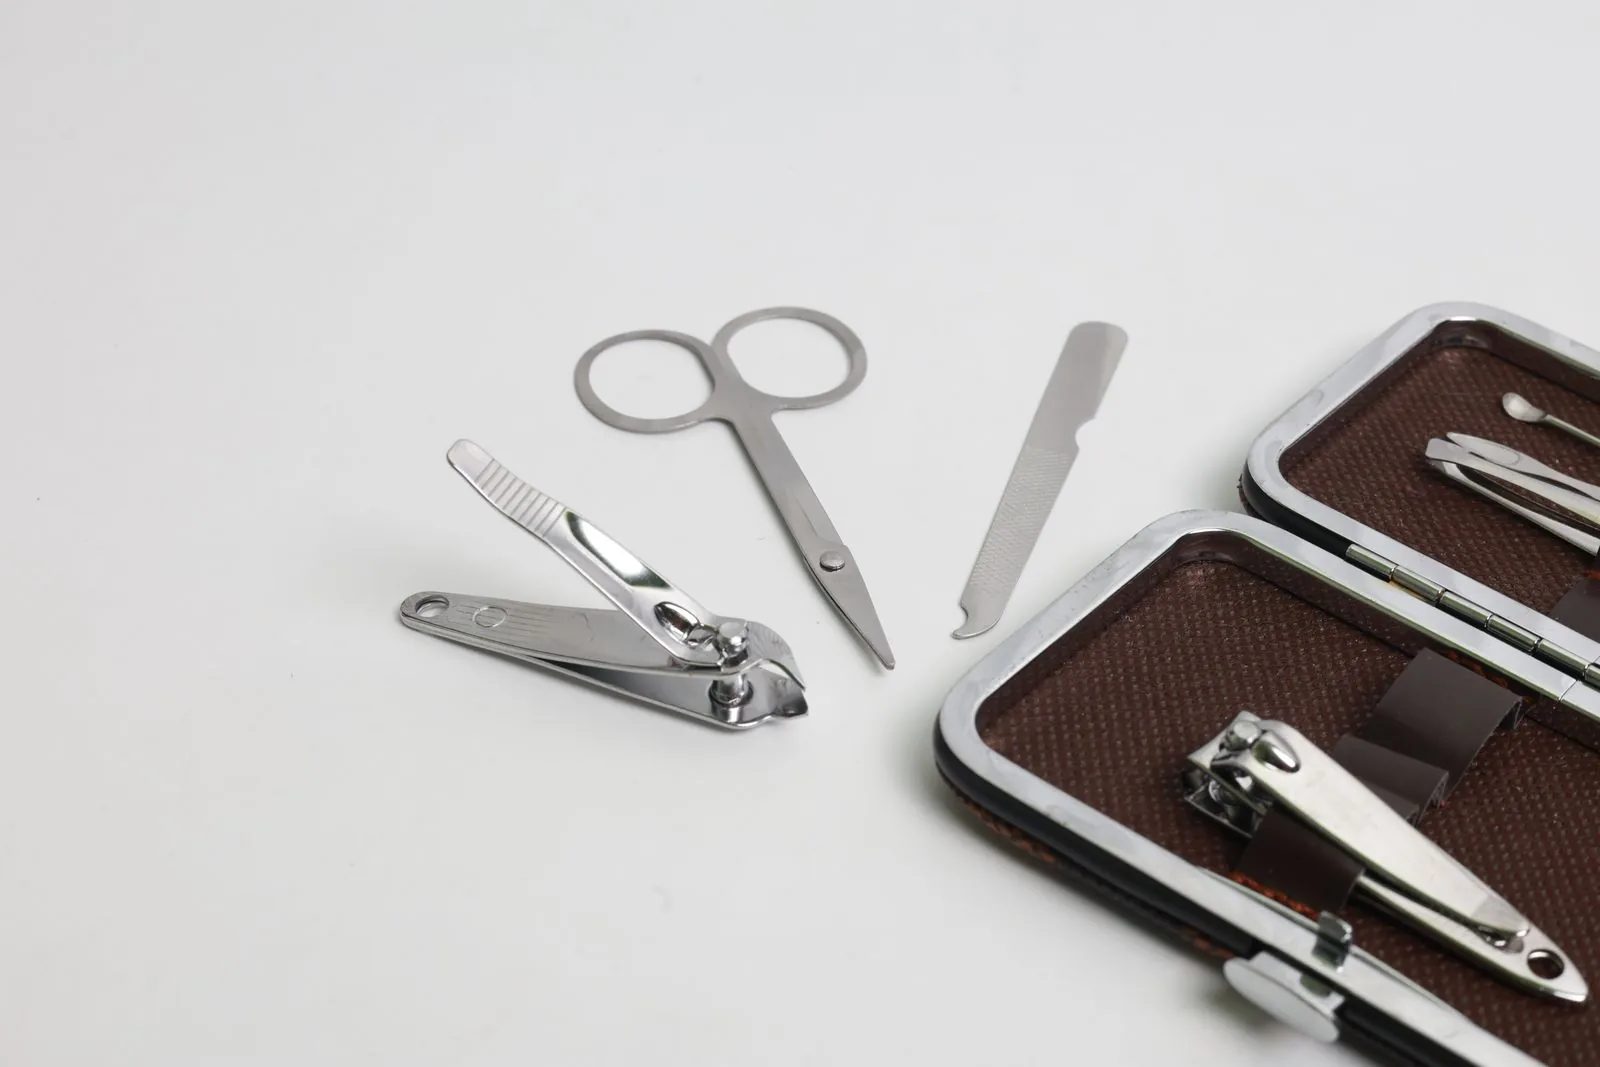
Figure 1. Metal manicure tools: nail clippers, small scissors and a metal nail file, with a home manicure case. Metal tools can be reused after cleaning and disinfection, but a fabric-lined case like this cannot be disinfected, so a spa should store clean tools in a closed, washable container. (Photo: Doni Purniawan, Pexels)
Reference table: what to do with each tool after a client
How a tool is handled after each client depends on what it is made of. The rule of thumb is simple: if it cannot be cleaned and disinfected, it is single use.
Tool or item | Can it be reused? | What to do after each client |
|---|---|---|
Paper or foam nail file, foam buffer, wooden cuticle stick | No (porous, cannot be disinfected) | Throw away, or give it to the client to take home |
Metal clippers, nippers, metal pusher, metal file | Yes | Scrub with detergent and water, rinse, then disinfect with an instrument disinfectant for the full contact time on the label, or sterilise if your spa has a steriliser. Dry and store in a clean closed container |
Glass or crystal file | Yes | Wash, rinse and disinfect as above |
Plastic nail brush, soak bowl | Yes | Wash, rinse, disinfect, dry. A single-use bowl liner is a good extra step |
Towels | Yes | One fresh towel per client; launder hot and store covered |
Cotton pads, gloves, table cover | No | Throw away |
Polish, base and top coat | Shared bottle | Do not touch the brush to broken skin; close the bottle straight after use |
Never take a metal tool straight from one client to the next after only a wipe with alcohol. Visible dust and skin must be scrubbed off first, because disinfectants do not work properly through dirt. If a tool is used on skin that bleeds, it must go through the full cleaning and disinfection (or sterilisation) process before anyone uses it again.
Before you start: consultation and checking the hands
Ask the client to wash their hands or clean them with hand sanitiser, then look at their hands and nails in good light before you touch a tool. Ask a few simple questions:
Do you have any allergies to nail products, lotions, fragrance or latex?
Do you have diabetes, poor circulation, or a condition that slows healing?
Do you take medicine that makes you bleed or bruise easily?
Have you had any problem with your nails or the skin around them recently?
Do you prefer a short or long shape, and polish or a natural finish?
Write the answers on the client card. If the spa has a health form, check it again at each visit, because health changes.
Contraindications: when not to go ahead (or to change the service)
What you see or hear | What to do |
|---|---|
Red, swollen, hot or painful skin around a nail, or pus | Do not work on that hand. Suggest the client sees a doctor |
Nail that is thick, crumbly, yellow, white, green or dark, or lifting from the nail bed | Do not file, buff or polish that nail. Suggest a doctor checks it. Do not tell the client what you think it is |
A new or changing dark line or patch under a nail | Do not polish over it. Suggest a doctor checks it soon |
Open cuts, broken skin, fresh burns or a recent injury on the hand | Avoid the area. If it is large, rebook |
Warts on the fingers or around the nails | Avoid the area and do not use tools on it |
Eczema, psoriasis or dermatitis that is flaring (cracked, weeping, very itchy) | Postpone. A gentle service may be possible when the skin is calm, if the client's doctor agrees |
Diabetes, poor circulation, or medicine that thins the blood | Extra caution: no cutting, very gentle pushing, warm (not hot) water. Ask the client to check with their doctor if they are unsure |
Known allergy to a product | Do not use it. Choose a product without that ingredient, or skip that step |
You are not a doctor and you should never name a disease. Use neutral words: "This nail looks different from the others, and I'd rather not work on it today. It would be a good idea to have a doctor look at it." Then offer to do the other nails or a hand massage only, and note it on the card.
Step-by-step: a basic manicure on natural nails
Step 1: Hygiene and setting up the client
Wash your hands with soap and water, dry them on a clean paper towel and put on fresh gloves in front of the client. Seat the client so their elbow and forearm rest comfortably on the cushion. Their wrist should not hang over the edge of the table. Position the lamp so it lights the nails without shining into the client's eyes.
Step 2: Remove old polish
Hold a cotton pad soaked in remover on the nail for a few seconds, then wipe from the base towards the free edge in one firm stroke. Rubbing back and forth spreads colour into the cuticle area. Use a cotton-wrapped stick for the corners. Acetone and other removers have a strong smell and are flammable, so keep the bottle closed, away from heat, and use them in a ventilated room.
Step 3: Shape the nails
Agree on length and shape first. If the nails need to be shorter, cut with clippers in small bites, leaving a little length to file.
To file, hold the file at a slight angle under the free edge and work from the side towards the centre, then from the other side towards the centre. Long, smooth strokes in one direction are kinder to natural nails than fast sawing, which leaves a rough edge that splits more easily. Do not file deep into the side walls of the nail: a nail that is filed too far into the corners loses strength and can grow into the skin.
For natural nails, choose a fine grit file. Coarse files made for acrylic are too harsh. Grit numbers vary between brands, so check the label and ask your trainer which file the spa uses on natural nails.
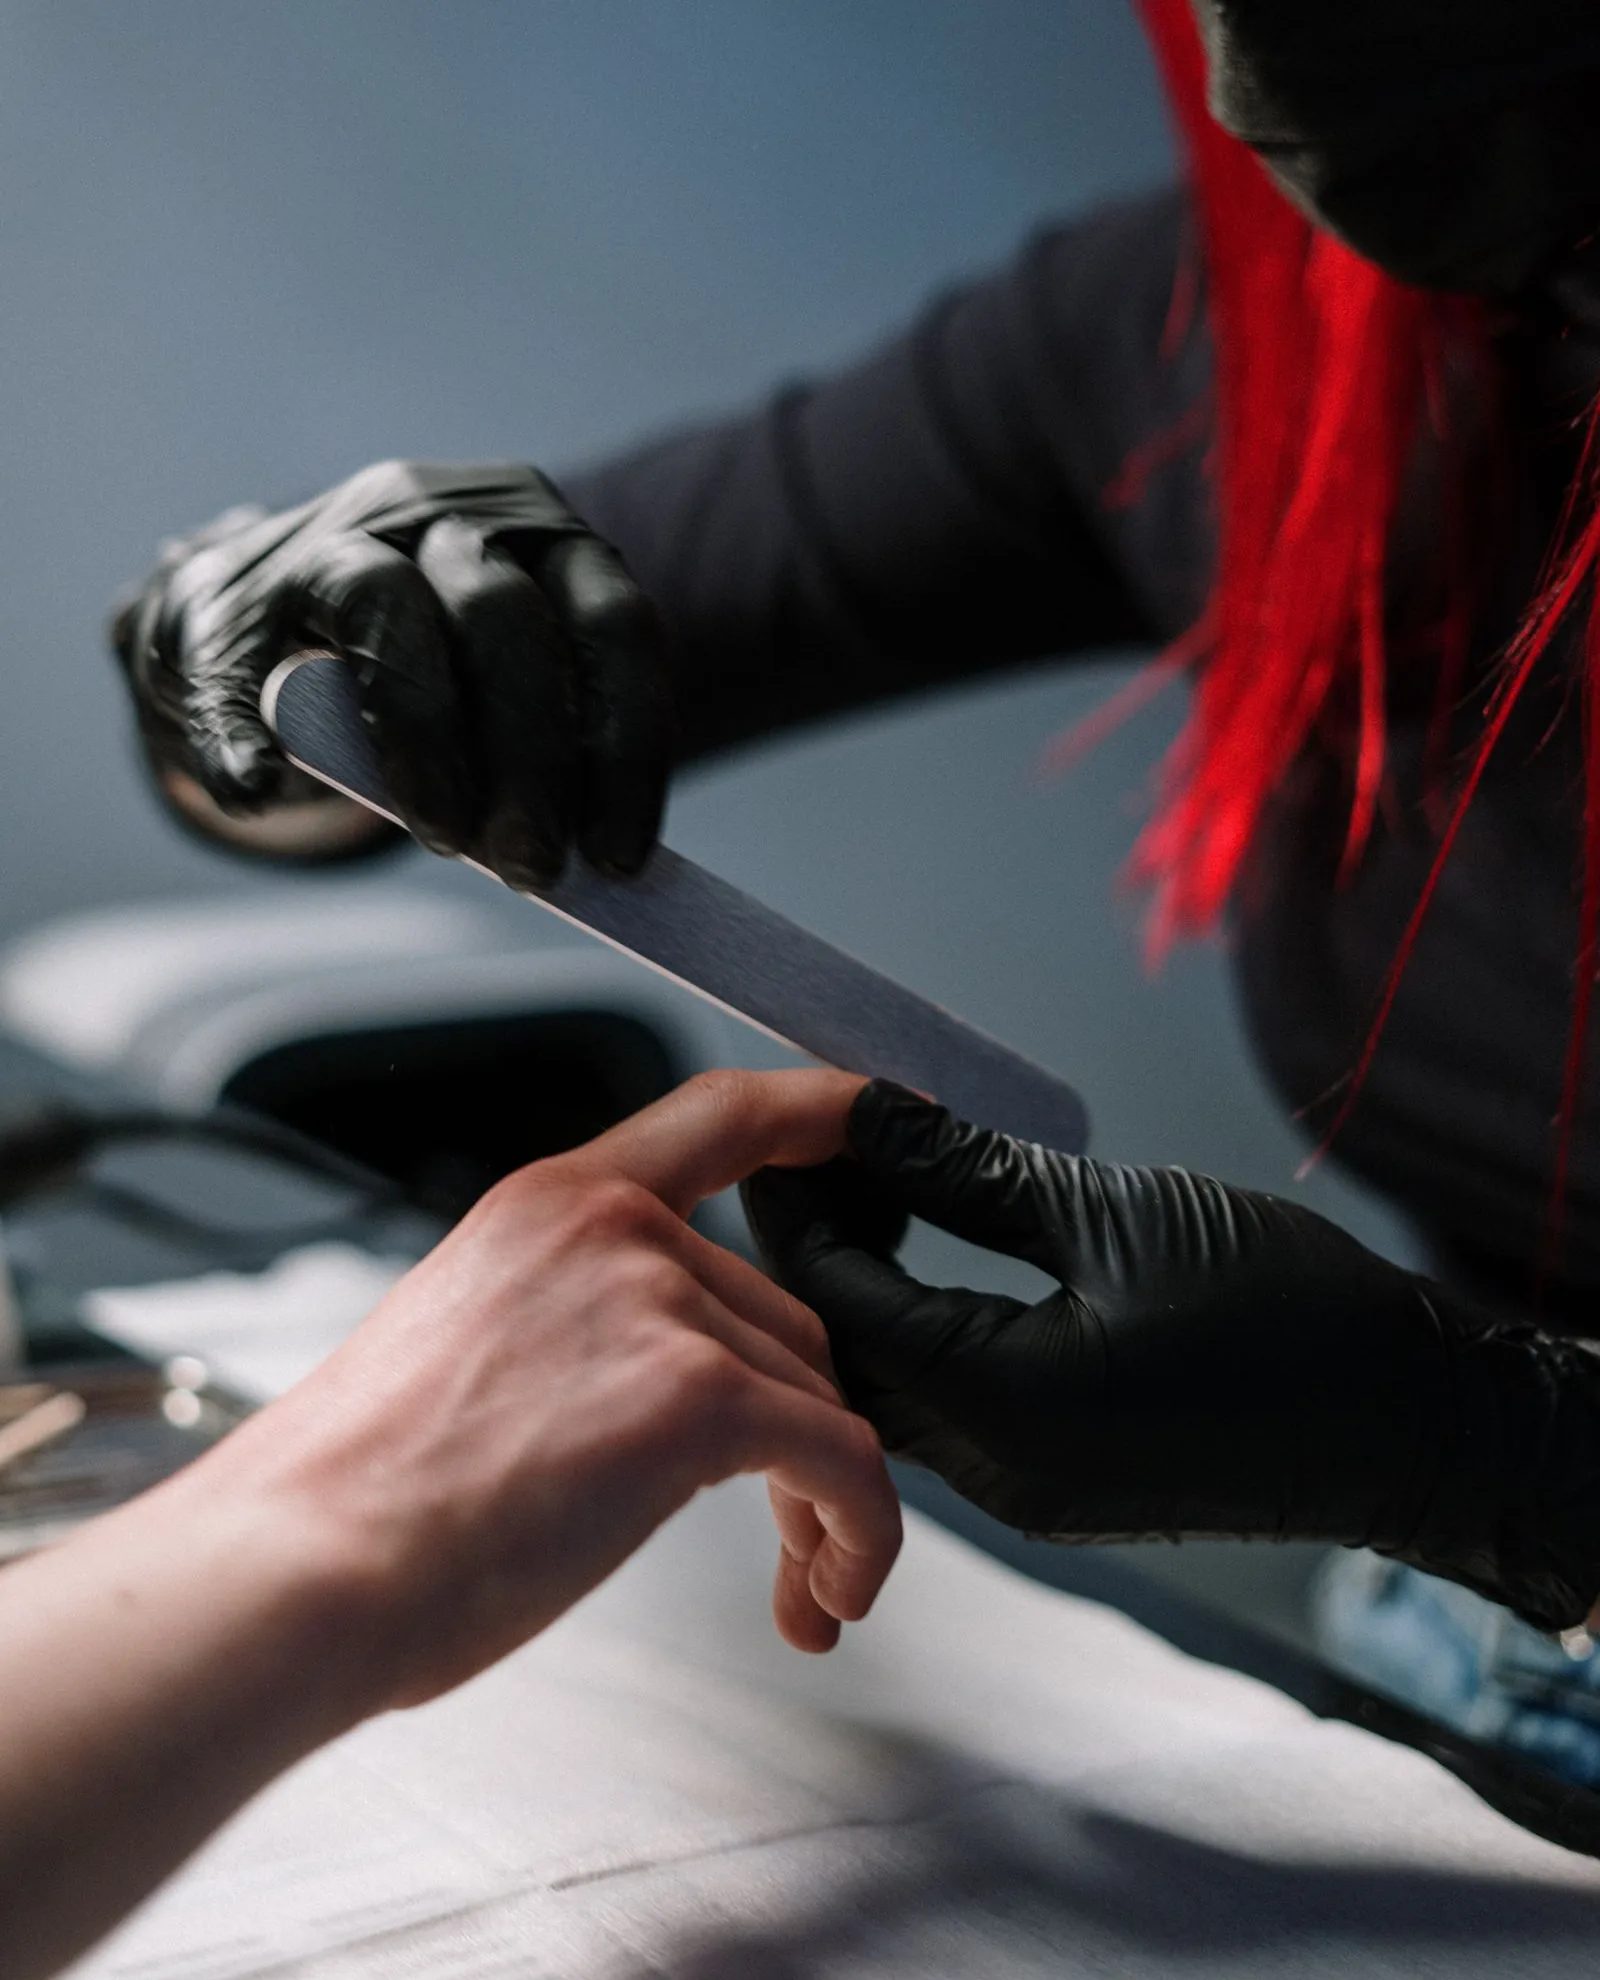
Figure 2. Filing a natural nail. The technician wears gloves and a mask, supports the client's finger and uses a long file in smooth strokes rather than sawing back and forth. (Photo: cottonbro studio, Pexels)
Reference table: common nail shapes
Shape | What it looks like | Good for |
|---|---|---|
Square | Straight free edge, sharp corners | Strong nails; corners can catch, so soften them slightly |
Squoval (soft square) | Straight edge with rounded corners | Most clients; practical and strong |
Round | Edge follows the fingertip | Short nails, men's manicures, clients who type a lot |
Oval | Longer, egg-shaped tip | Clients who want the fingers to look longer |
Almond | Narrower, tapered towards a rounded point | Clients with longer nails; less strong at the tip |
Step 4: Soak or soften the cuticles
Fill the bowl with warm water and a small amount of a mild cleanser or soak product. Prepare the bowl before you put your gloves on in Step 1, and check the temperature with a thermometer if your spa uses one, or on the inside of your wrist. It should feel comfortably warm, never hot. Ask the client how it feels as soon as their fingers go in. Clients with diabetes or poor circulation may not feel heat well, so keep the water only lukewarm for them.
Let one hand soak for a few minutes while you file the other, then swap. Soaking for a long time is not better. Some spas prefer a "waterless" manicure, applying a cuticle softener instead of soaking, because water swells the nail and polish may last less well on a nail that is still wet. Both methods are used; follow your spa's routine.
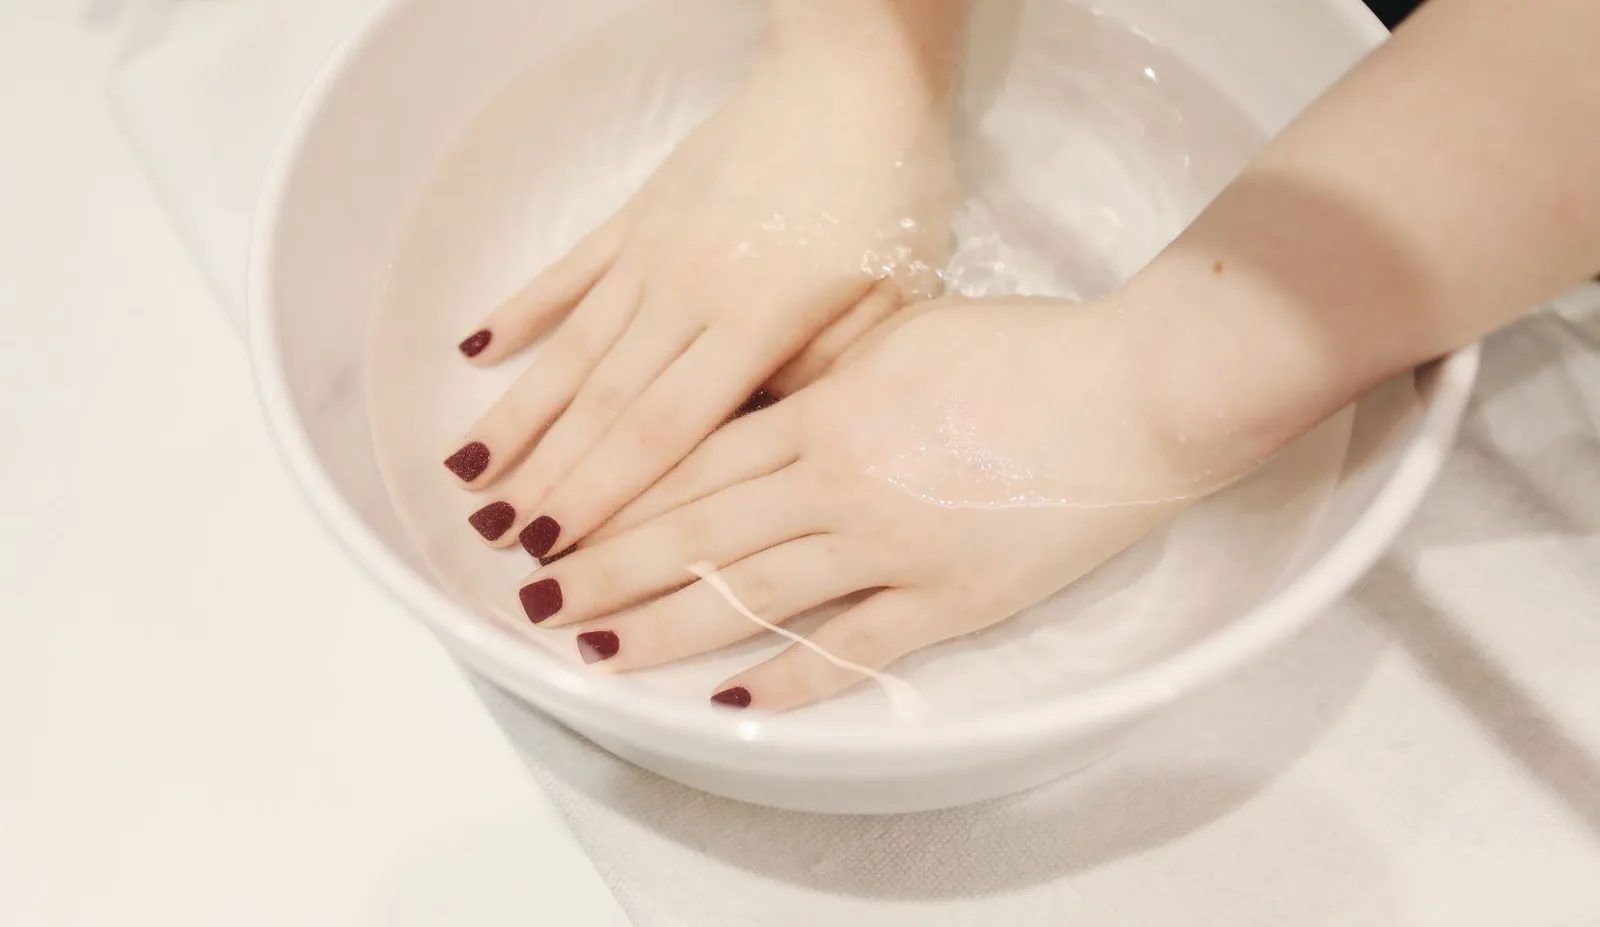
Figure 3. A client's hands resting in a bowl of warm water to soften the cuticles. Keep the soak short and the water comfortably warm, never hot, and clean and disinfect the bowl (or fit a new liner) for every client. (Photo: Polina Tankilevitch, Pexels)
Step 5: Gentle cuticle care
This is the step where most injuries happen, so slow down. It helps to know two words:
Cuticle: the thin layer of dead tissue that sticks to the nail plate near its base.
Eponychium (often also called the cuticle in everyday speech): the living fold of skin at the base of the nail. It protects the area where the nail grows from germs and water.
Dry the hand. Apply cuticle softener if you use one and wait the time on the label. Then, with the pusher held at a low angle, gently push the dead tissue back off the nail plate in small strokes. Use very light pressure. If the client winces, you are pressing too hard.
Use nippers only to trim loose, dead skin and hangnails that are already lifting. Close the nippers on the loose piece and lift it away, do not pull or tear. Never cut into the living fold of skin.
A note for Vietnamese salons: many clients ask the therapist to "cắt da" (cut the cuticle skin) all the way round, so the nail looks very clean. Cutting the living fold can cause small cuts, bleeding and a way in for infection, and the skin often grows back thicker and rougher. A professional explanation works better than a flat "no": "I'll push it back and remove the loose, dead skin, so it looks neat but stays protected. If I cut the living skin it can bleed and get infected, and it usually grows back harder." Then show the result. Most clients are happy once they see a tidy cuticle line.
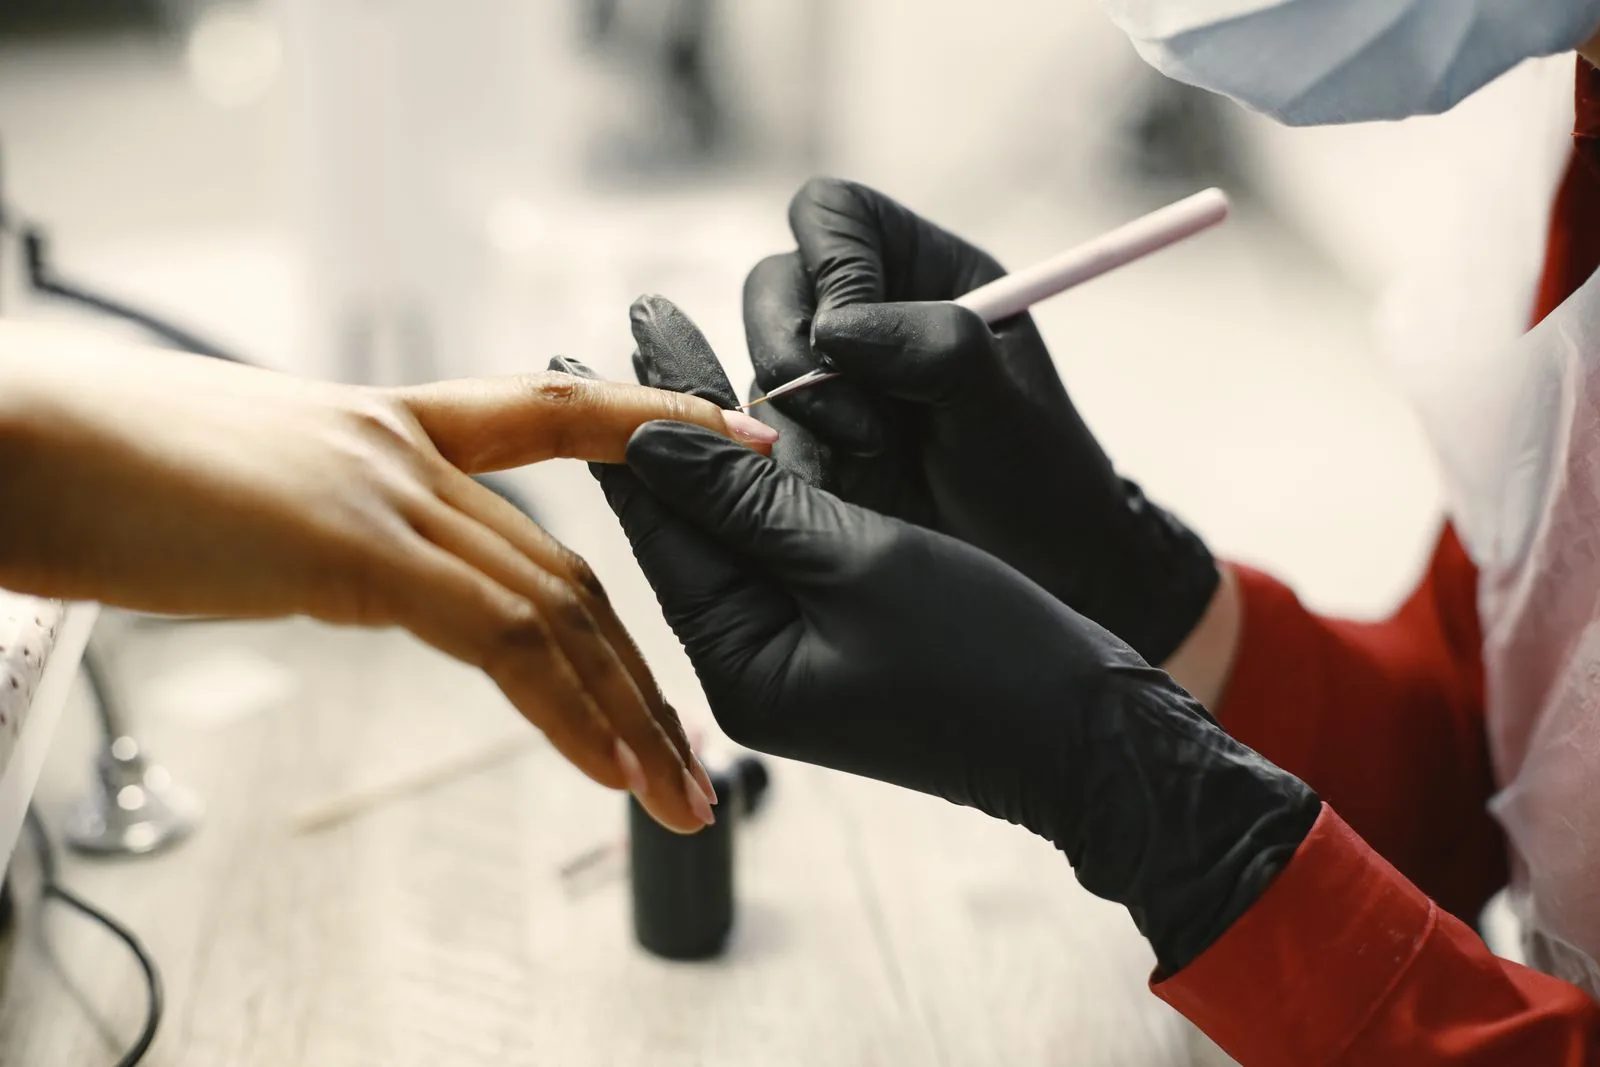
Figure 4. Cuticle care with gloves on: the technician supports the client's finger and works gently at the base of the nail with a fine tool. Push dead cuticle tissue back lightly and never cut the living skin fold. (Photo: Gustavo Fring, Pexels)
Step 6: Buff (only if needed)
A light buff smooths ridges and gives a natural shine. Use a fine buffer and only a few light strokes per nail, keeping it moving. Heavy buffing thins the nail plate and can make it sensitive or weak, so do not buff every visit if the client has thin nails. If the client wants a natural finish instead of polish, a fine shine buffer and a drop of cuticle oil are enough.
Step 7: Hand and lower-arm massage
Apply a small amount of lotion or oil and give a short relaxing massage to the hand, wrist and forearm, as your spa routine describes. Keep the pressure light around the wrist and knuckles, and skip the massage on any area with broken skin or swelling. A few minutes is enough. Massage oils and lotions can contain fragrance or essential oils, so check the client's allergies first.
Step 8: Clean the nail plate
Polish will not stick to oil. After the massage, wipe each nail with a cotton pad and a little remover or a nail cleanser so the surface is clean and dry. Pay attention to the sides and the free edge. From here on, ask the client not to touch their face or hair.
Step 9: Apply polish
Ask the client to choose the colour before this step, ideally before the massage, so their hands do not get oily again while they decide.
Base coat: one thin layer. It helps polish stick and can reduce staining from dark colours.
Colour, coat one: wipe the brush on the inside of the bottle neck so only a small bead is left. Place the brush a little way from the cuticle, push it gently towards the cuticle without touching the skin, then pull it down the centre to the free edge. Do the same down each side. Three strokes cover most nails.
Colour, coat two: another thin coat for even colour. Two thin coats dry better and last longer than one thick coat.
Cap the free edge: run the brush lightly along the tip of the nail. This helps prevent early chipping.
Top coat: one thin layer, also capping the edge.
Clean-up: dip a small clean brush or a wrapped stick in remover and remove any polish on the skin, keeping a fine clean line around the cuticle.
Keep a little gap between polish and skin. Polish that floods the cuticle lifts and peels sooner.
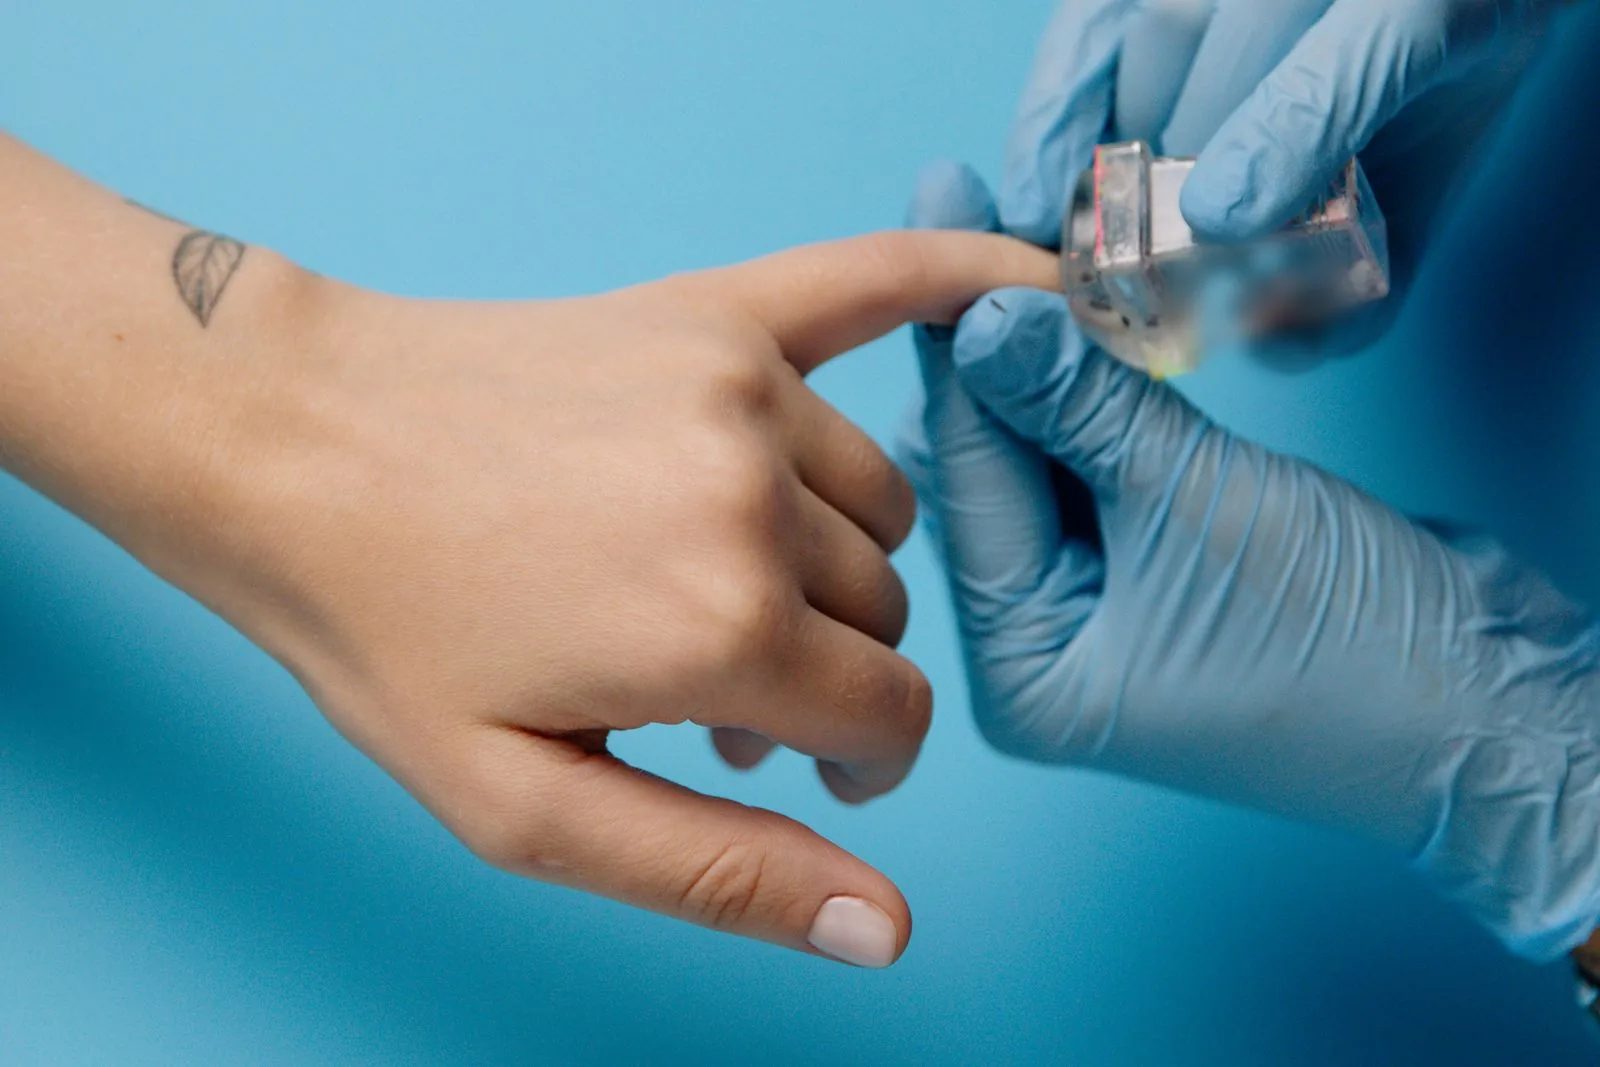
Figure 5. Applying a pale polish with gloved hands, holding the client's finger steady. Thin coats, a small gap at the cuticle and a capped free edge help the polish last. (Photo: cottonbro studio, Pexels)
Step 10: Drying, aftercare and clean-up
Regular polish feels dry on the surface within minutes, but it stays soft underneath for much longer (often an hour or more, for reference; it depends on the product and how thick the coats are). A quick-dry drop or spray and a cool fan help. Help the client with their bag, phone and helmet, and remind them not to dig in a bag or start riding a motorbike with fresh polish. Many clients in Vietnam leave on a motorbike, and helmet straps and handlebars are common causes of smudges.
Give simple aftercare advice:
wear gloves for washing dishes and cleaning;
use cuticle oil or hand cream daily;
do not pick or bite polish or hangnails, and come back if a hangnail needs tidying;
contact the spa, or see a doctor, if the skin around a nail becomes red, swollen or painful.
Then clean up: throw away single-use items, put metal tools in the "used" container for cleaning and disinfection, empty and disinfect the bowl, change the towel and table cover, wipe the table, lamp and polish bottles, and write the service and any notes on the client card.
Common problems and how to fix them
Problem | Likely cause | What to do |
|---|---|---|
Polish bubbles | Coats too thick, shaking the bottle hard, or a hot room or fan blowing directly | Roll the bottle between your palms instead of shaking; use thin coats; let each coat set briefly |
Polish peels in a sheet | Oil on the nail, or no base coat | Clean the nail plate well after massage; always use a base coat |
Chips at the tip after a day or two | Free edge not capped, or the nail was still swollen from soaking | Cap the edge; dry the nails well; consider a softener instead of a long soak |
Polish on the skin | Too much polish on the brush, or brush started too close to the cuticle | Wipe the brush; leave a small gap; clean up with a fine brush |
Client says filing feels hot or painful | File too coarse, too much pressure or fast sawing | Change to a finer file, lighten pressure, use long one-way strokes |
A small nick that bleeds | Pusher or nippers used on living skin | Follow the first-aid steps below |
If you nick the skin
Stop work on that finger at once and tell the client calmly what has happened.
Press a clean gauze or cotton pad on the spot until the bleeding stops. Keep your gloves on.
Clean the area as your spa's first-aid procedure says and cover it with a small plaster.
Do not continue on that finger and do not polish over broken skin.
Throw away any single-use item that touched blood. Put metal tools aside for full cleaning and disinfection or sterilisation before reuse. Change gloves.
Record what happened on the client card and in the spa's incident book, and tell your supervisor.
Advise the client to keep it clean and to see a doctor if it becomes red, swollen, hot or painful.
Hygiene and safety checklist
Hands washed and fresh nitrile gloves put on for each client
Table cover, towel and hand-rest cover fresh for each client
Metal tools taken from a clean closed container (cleaned, then disinfected or sterilised)
New file, buffer and wooden stick for this client (or the client's own kit)
Bowl cleaned and disinfected, or a new liner fitted
Health questions asked and client card checked
Hands and nails checked in good light for contraindications
Water tested: warm, never hot
Ventilation on; remover bottle closed when not in use and away from heat
Cuticle work: push gently, trim only loose dead skin, never cut living skin
First-aid kit within reach
Used tools separated from clean tools, single-use items thrown away
Client card updated, including any nails you did not work on and why
Frequently Asked Questions
Should I cut a client's cuticles?
No, not the living skin. Push back the dead tissue gently and trim only loose, dead skin and hangnails. The living fold protects the area where the nail grows; cutting it can cause bleeding and infection.
Is it safe to reuse a nail file?
Metal and glass files can be reused after cleaning and disinfection. Paper, emery and foam files are porous and cannot be disinfected, so they should be thrown away after one client or given to the client to keep.
Can I give a manicure to a client with diabetes?
Often yes, with extra care, but ask first and follow your spa's policy. Use lukewarm water, push cuticles very gently, do not cut anything, and stop if you see any cut, redness or swelling. If the client is unsure whether a manicure is suitable, suggest they ask their doctor first.
A nail looks yellow and thick. Can I polish over it?
No. Do not file, buff or polish a nail that looks unusual, and do not guess what it is. Explain politely that you would rather not work on it today and suggest the client has it checked by a doctor. You can still care for the other nails if they are healthy.
How long should a soak be?
Only a few minutes is usually enough to soften the cuticle (for reference; follow your spa's routine). A longer soak does not make the result better and the nail stays swollen with water, which can shorten how long the polish lasts. Some spas skip soaking and use a cuticle softener instead.
Practice Exercises
Exercise 1: Tool sorting. Lay out ten tools and items from a manicure kit. Sort them into "single use" and "reusable", and for each reusable tool explain, out loud, how it is cleaned, disinfected and stored.
Exercise 2: Consultation role-play. With a partner, practise the health questions and a hand check. Your partner plays three clients: one with a red, swollen nail fold, one who takes blood-thinning medicine, and one with no problems. Decide what you do for each and write it on a practice client card.
Exercise 3: Filing and shapes. On a practice hand or a willing classmate, file all five nails into a squoval shape using long one-way strokes. Then, on a second practice hand, file a round shape. Your trainer checks that the shapes match and that the side walls are not filed too deep.
Exercise 4: Polish in three strokes. On practice nail tips, apply base coat, two thin colour coats and a top coat with capped edges. Aim for a clean, even gap at the cuticle on every nail. Time yourself, then repeat until the result is neat without rushing.
Exercise 5: Explaining "no cutting". Write and practise, in your own words, a short, friendly explanation for a client who asks you to cut their cuticles all the way round. Practise it with a partner until it sounds natural.