The quickest correct way to replace a hot and cold basin tap (a basin mixer tap) is: close the two angle valves under the basin, disconnect the flexible hoses and the mounting nut of the old tap, fit the new tap with new stainless steel hoses, connect hot on the left and cold on the right, wrap 8–12 turns of PTFE tape on the angle valve threads, tighten hand-tight plus a little, then flush out debris and check for leaks. Someone with practice finishes in 30–45 minutes with about six tools. This lesson goes step by step, the way a master plumber teaches an apprentice, and shows how to tell when you only need to replace the cartridge, which is cheaper.
In Vietnam, the most common bathroom setup is a ceramic wash basin with a single-hole, single-lever mixer tap, fed from an electric storage water heater. Prices below are 2026 references in Vietnamese dong (VND); as a rough guide, 25,000 VND is about 1 US dollar.
By the end of this lesson, you will be able to:
- Shut off the water in the right place (angle valves or main valve) and release the pressure before dismantling, without spraying water into the vanity cabinet.
- Identify which side the hot and cold supply hoses go on, and choose stainless steel hoses of the right length with the right 1/2" or M10 thread.
- Wrap PTFE tape in the right direction, with the right number of turns, and tighten with the right force so it neither drips nor cracks the thread.
- Flush debris from the tap outlet, check 3 leak points over 15 minutes and hand the job over to the customer.
- Tell whether a leak at the base of the tap comes from a seal, a hose or the cartridge, and quote for a cartridge replacement or a whole new tap.
Learning the plumbing trade? See the NAMBIN 8-step residential plumber pathway — from pipe materials and PPR welding to fitting sanitary ware and finding work. If the basin tap is fed by an electric water heater, also use the tool choose water heater capacity, breaker and cable to advise the customer at the same time.
What is a hot and cold basin tap made of, and where does it fail?
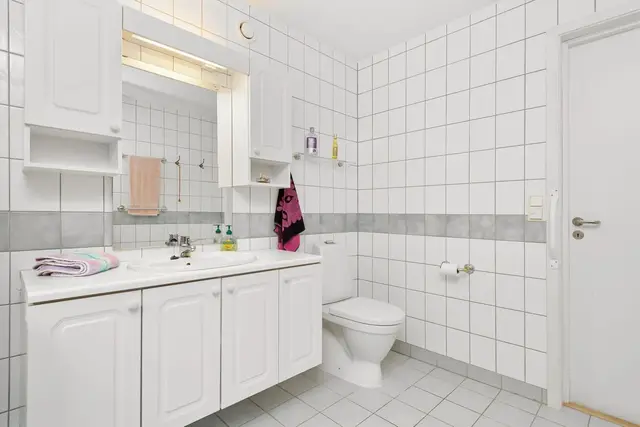
The most common basin mixer in Vietnam is the single-hole, single-lever type: the tap body sits on the basin, and two flexible hoses pass through the tap hole down to two angle valves fitted on the pipe stubs coming out of the wall. Figure 1 shows such a tap.
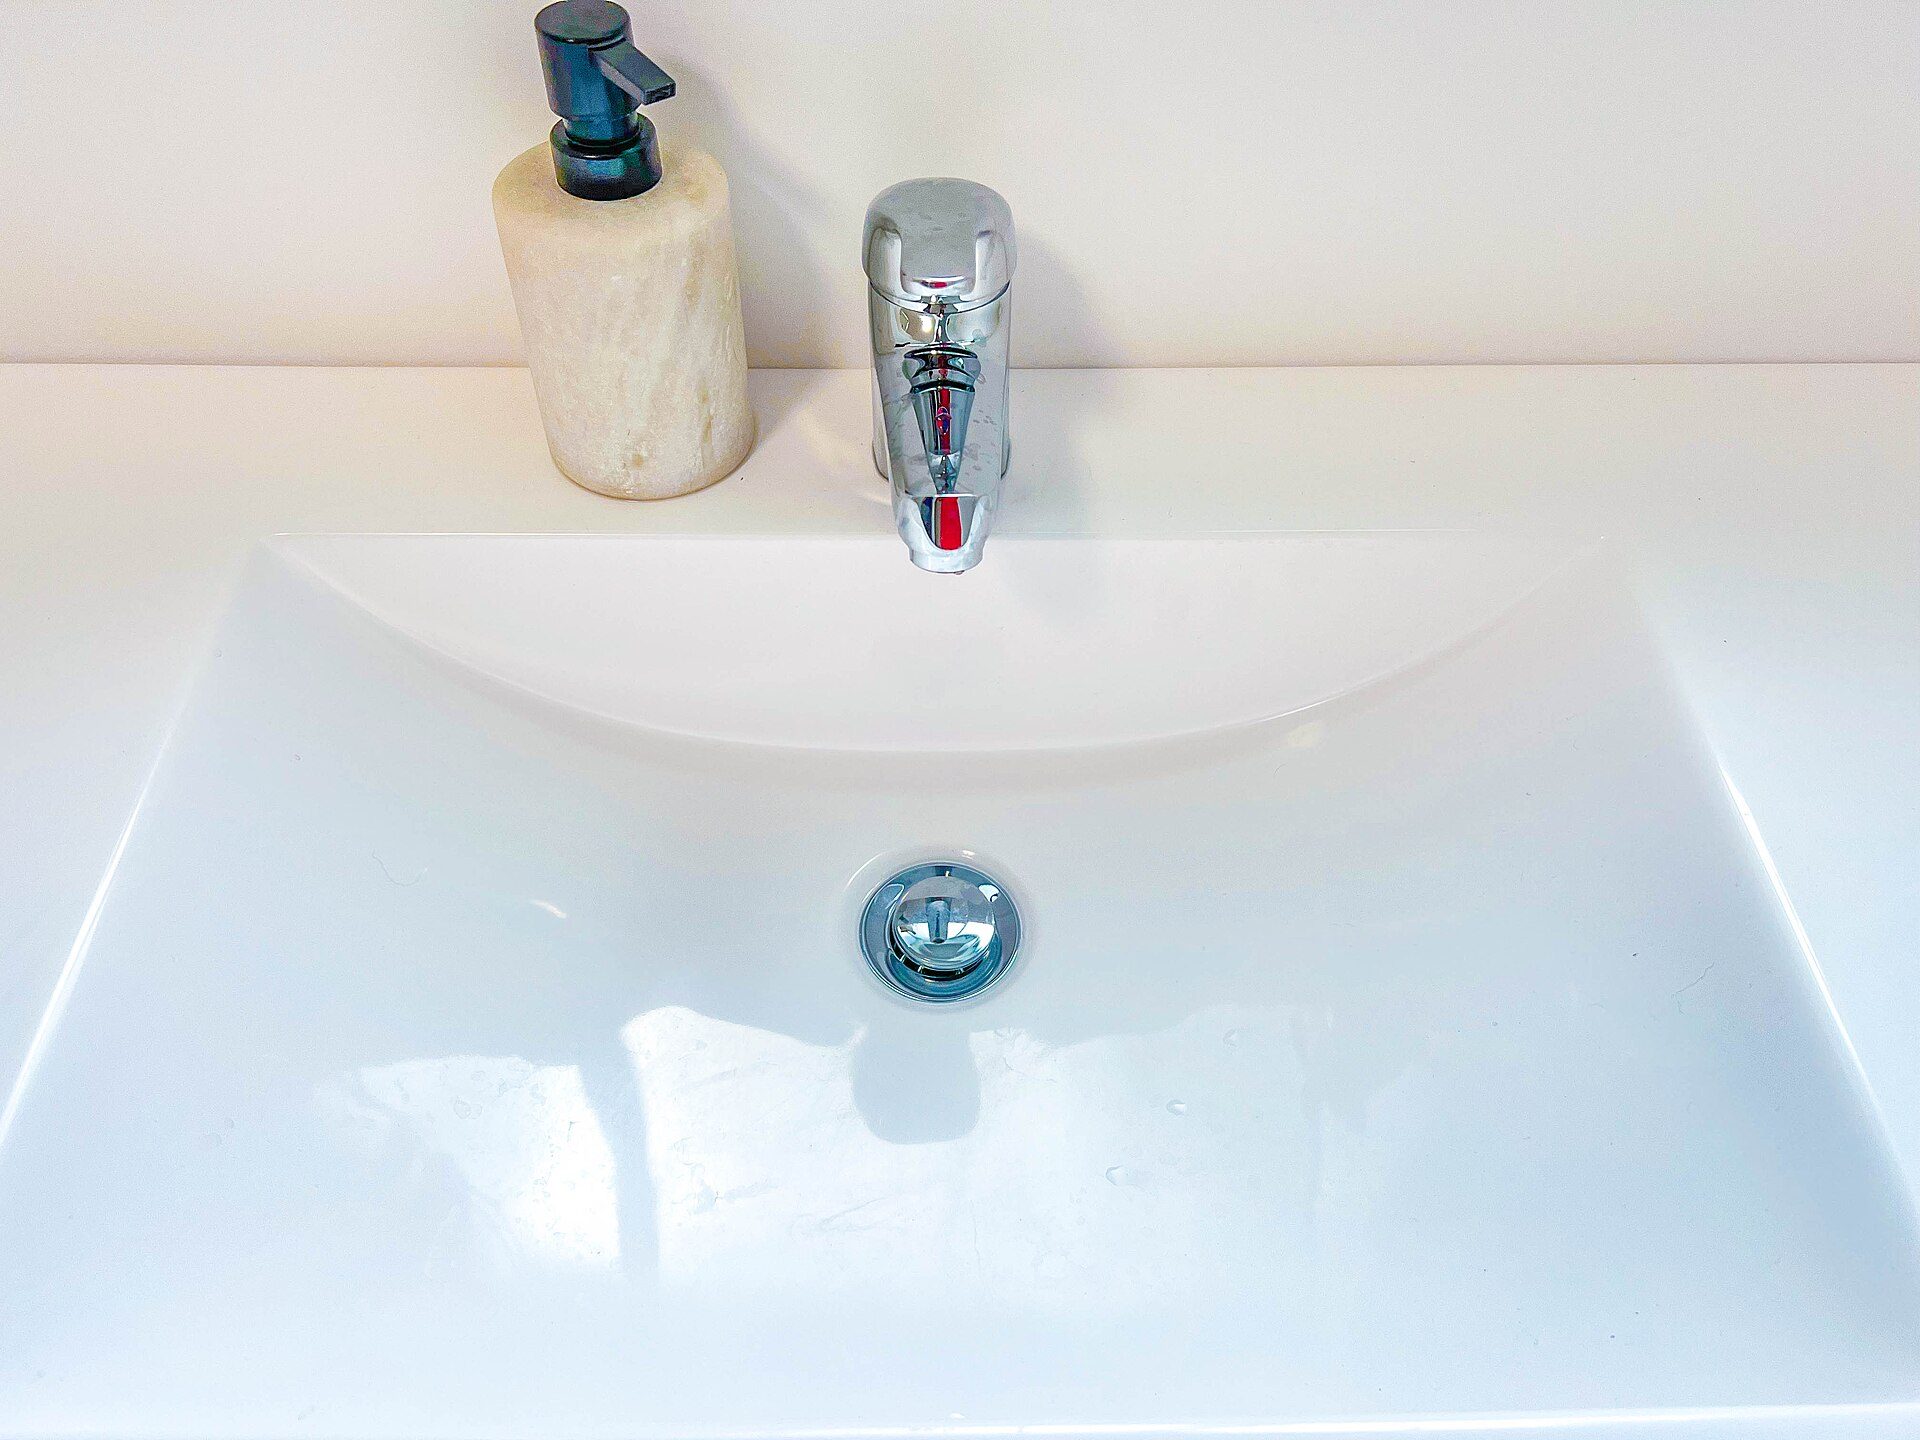
Photo: Smtzzz / Wikimedia Commons, CC BY-SA 4.0
Four parts you need to know by name
- Tap body and lever: lever to the left for hot, to the right for cold, lift to open.
- Cartridge: a plastic block containing two ceramic discs; it decides whether the tap seals or drips.
- Flexible supply hoses: braided stainless steel hoses connecting the bottom of the tap to the angle valves.
- Angle valves: small valves on the wall stubs that shut off water to each fixture separately.
How a ceramic disc cartridge works
The cartridge has two flat-ground ceramic discs pressed against each other, each with openings. Moving the lever slides the upper disc over the lower one: the more the openings line up, the stronger the flow; shifted to the left, more hot water comes through. Limescale, sand and pipe swarf scratching the disc faces are the main reasons a tap drips or the lever becomes stiff.
Which side do the hot and cold supply hoses go?
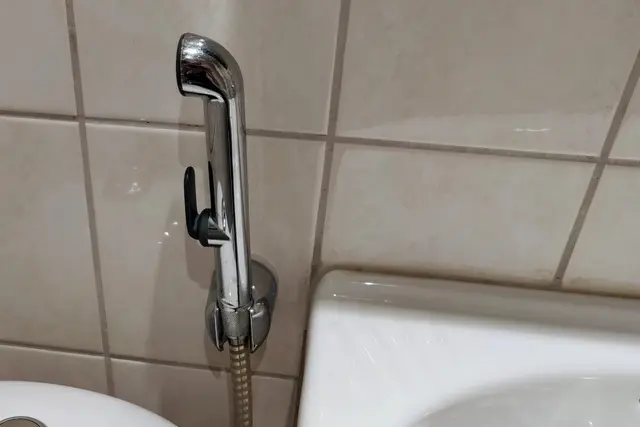
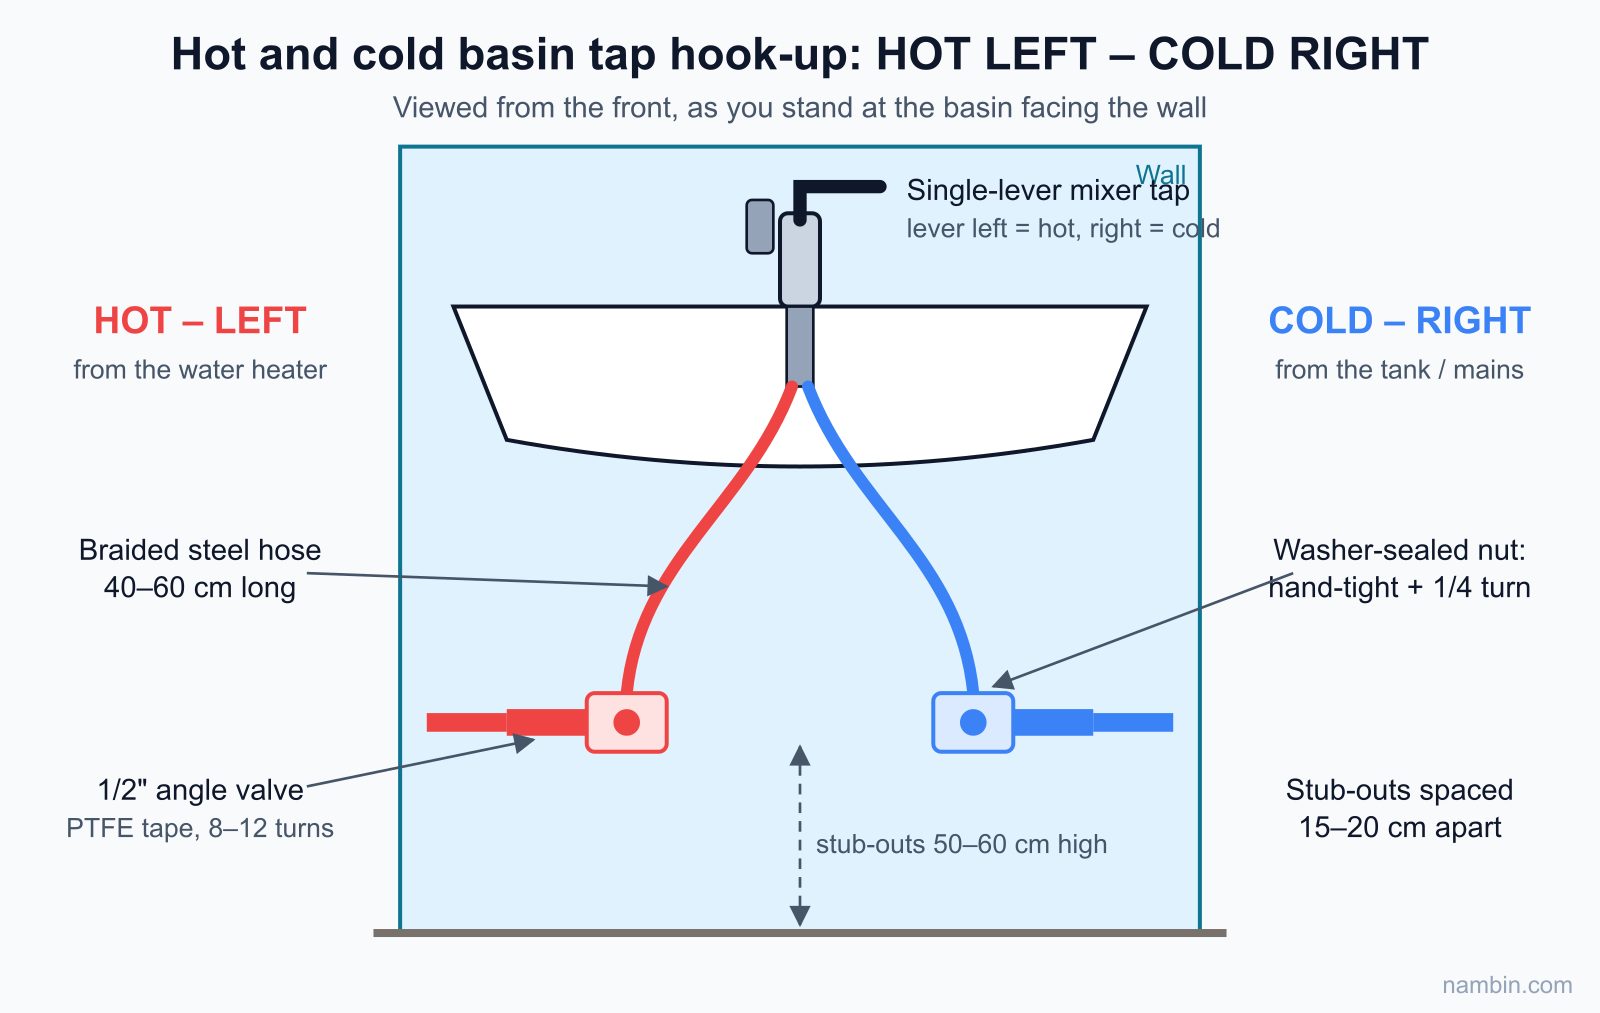
The general convention in Vietnam and in most countries: looking at the basin from the front, hot water is on the left and cold water is on the right. If you connect them the other way round, the tap still works, but when the customer moves the lever to "cold" they get hot water at 60–70 °C — easily scalding children and elderly people. Figure 2 shows the correct connection.
How to tell the hot and cold pipes apart when they are not marked
Switch on the water heater for 15–20 minutes, open the old tap towards hot, then feel the two angle valves: the one that gradually gets warm is the hot one. Mark them straight away with red and blue tape before you dismantle anything.
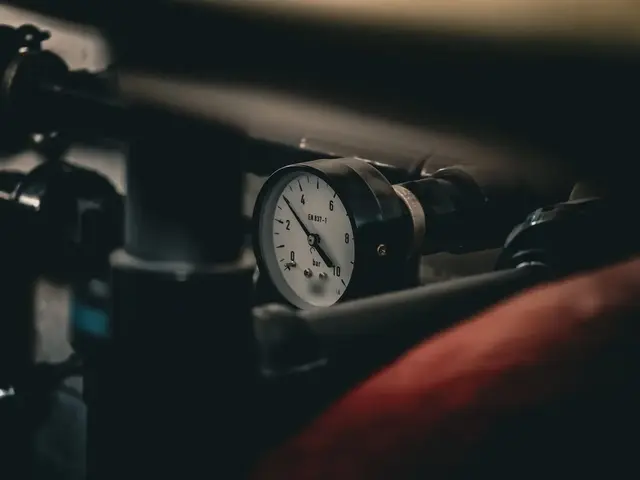
Figure 3 shows the water connections under a sink in Germany, laid out the same way as under a basin in Vietnam.
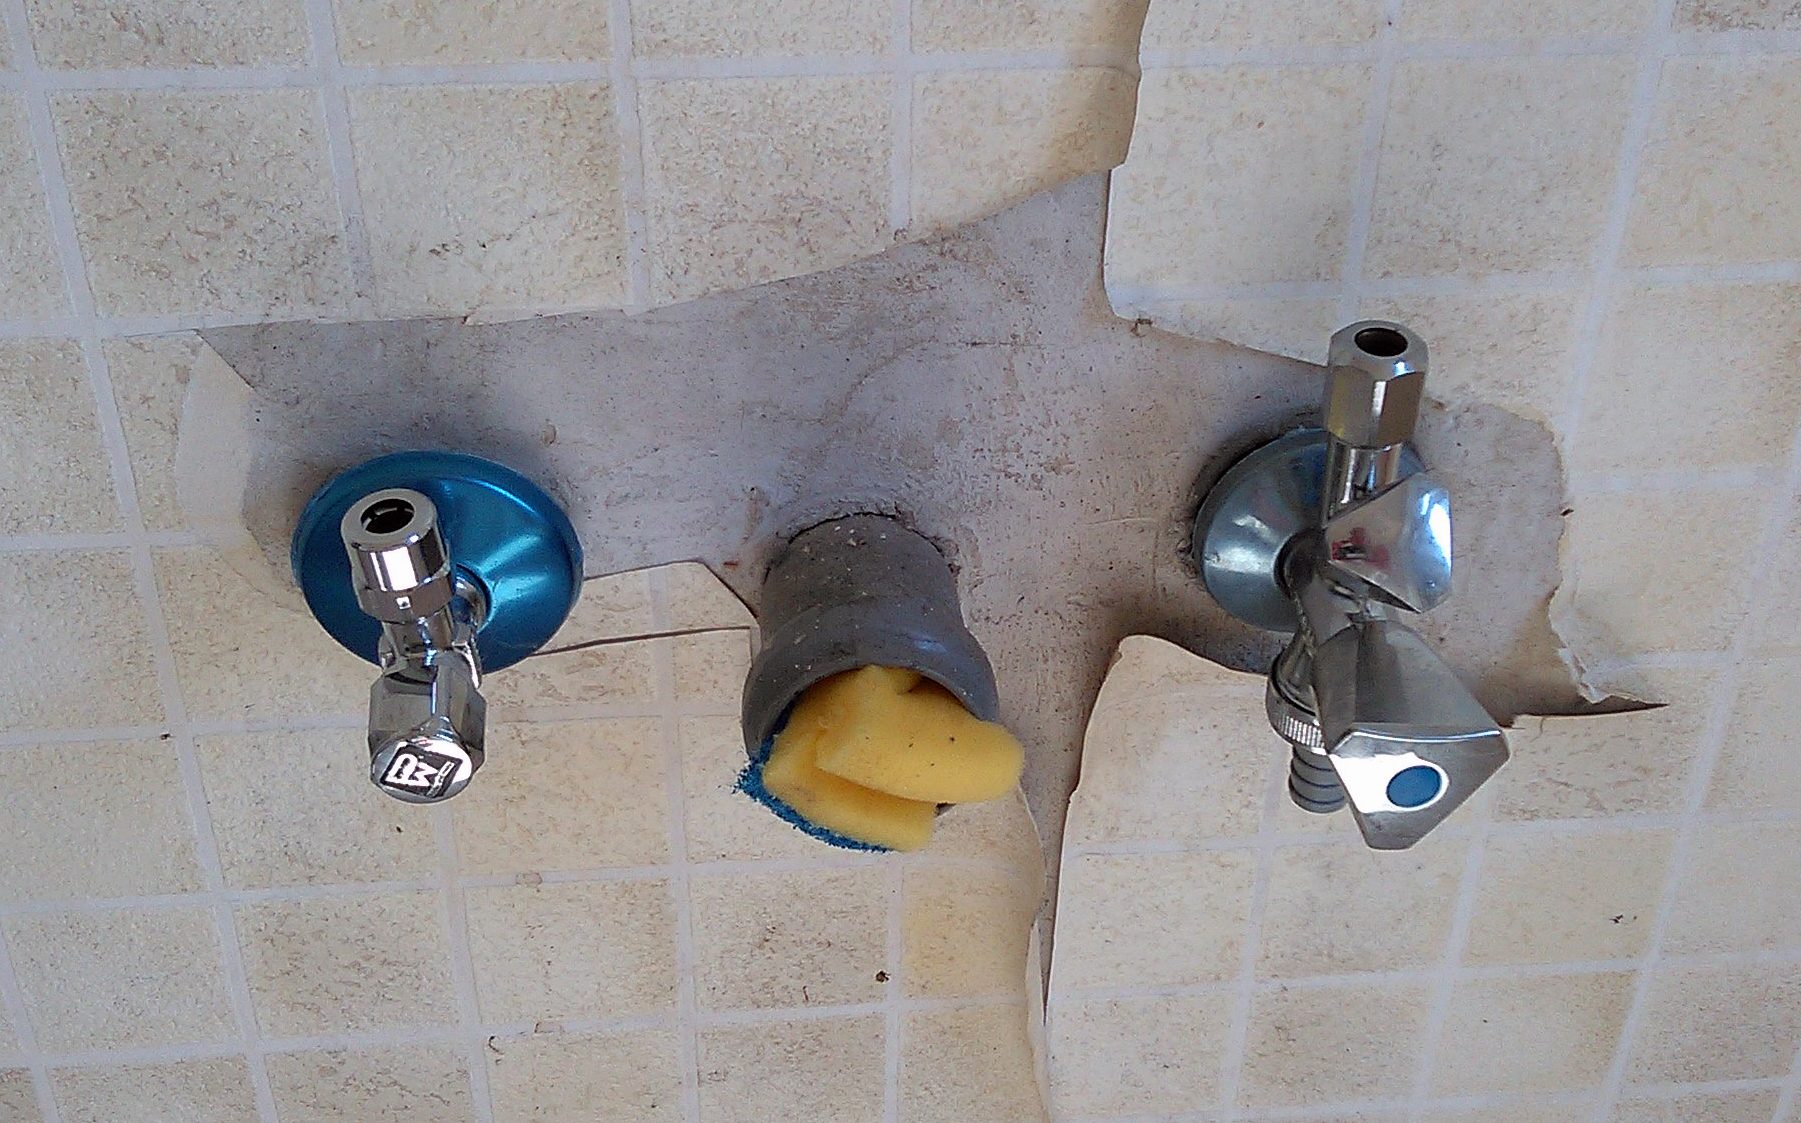
Photo: Photograph: Frank C. Müller , Frankfurt am Main / Wikimedia Commons, CC BY-SA 4.0
What if the wall stubs are the wrong way round?
If the hot stub is on the right, do not swap the hoses at the bottom of the tap (the tap is built with hot on the left internally). Instead, cross the two hoses under the basin: the hose from the tap's left inlet goes down to the right angle valve (the hot pipe) and vice versa, using hoses 10–20 cm longer so they curve gently.
Tools, materials and 2026 reference prices
Ask the customer for a photo of the area under the basin before you go, so you know the type of angle valves, the distance between the stubs and whether the old hoses can be reused. The table below is the kit to bring for a basin mixer replacement job.
| Item | Used for | 2026 reference price |
|---|---|---|
| Adjustable wrench 200–250 mm (2) | Holding the angle valve and turning the hose nut | 80,000 – 200,000 VND each |
| Basin wrench (tap spanner) | Reaching the tap mounting nut tight under the basin | 120,000 – 300,000 VND |
| PTFE tape (thread seal tape) | Sealing the angle valve threads | 5,000 – 15,000 VND per roll |
| Stainless steel hose 40 cm, 1/2" thread (2) | Connecting the angle valve to the tap | 40,000 – 120,000 VND each |
| Stainless or brass 1/2" angle valve (if replacing) | Replacing an old valve that is stuck, rusty or leaking at the neck | 60,000 – 200,000 VND each |
| Single-lever hot and cold basin tap | Replacing the tap | 500,000 – 3,000,000 VND (mid-range 800,000 – 1,500,000) |
| Cartridge, 35 or 40 mm | If you only replace the cartridge | 80,000 – 300,000 VND |
| Neutral-cure silicone (optional) | Sealing around the tap base on a stone counter | 40,000 – 90,000 VND per tube |
These are 2026 reference prices in large cities and vary by region and brand. Labour for replacing a basin or kitchen tap is usually 150,000 – 300,000 VND per set (about 6–12 USD), excluding materials; fixing a dripping tap or replacing a cartridge is about 100,000 – 200,000 VND per tap (see the labour price table in the lesson plumber pay and common plumbing labour prices 2026, in Vietnamese).
Choosing stainless steel hoses: length and thread
Measure from the bottom of the tap (under the basin) to the outlet of the angle valve and add 10–15 cm so the hose curves gently: a wall-hung basin usually takes 40 cm hoses; a countertop basin or low wall stubs need 50–60 cm. The angle valve end is almost always a 1/2" thread (21 mm pipe in Vietnamese terms); the inlet of a single-hole tap is usually a small M10 or M8 thread, while other tap types use 1/2" — read the instructions in the tap box before buying hoses.
Can you use the hoses supplied with the tap?
The hoses supplied with a mid-range tap are usually fine. If they are short, with thin braiding or plastic connectors, or if old hoses are 5–7 years old with brown rust or bulges, replace them with 304 stainless steel hoses with an EPDM rubber core — a supply hose leaking at night is the most common reason for a flooded vanity cabinet.
Step-by-step procedure for replacing a hot and cold basin tap
This procedure covers the most common case: a single-hole, single-lever tap on a ceramic basin with two angle valves.
Safety warning: the hot water line from a water heater can reach 60–75 °C. Before dismantling, switch off the water heater's breaker and run the hot water at the tap for 2–3 minutes to cool it. If an angle valve is stuck and will not close, close the main valve and the cold supply valve to the heater — never close the cold supply to the heater and leave the heater heating. If the vanity cabinet has a socket (for a water purifier), unplug it before you start.
Step 1: shut off the water and release the pressure
- Switch off the water heater's breaker and run the hot tap to cool the line.
- Close both angle valves: turn the handle clockwise until tight. If an old valve is seized, do not force it with a wrench — the neck can snap and water will spray hard. In that case, close the apartment's main valve or the floor branch valve.
- Open the tap on both sides to release the pressure; if water still flows steadily after 30 seconds, the angle valve is not sealing — close the main valve.
- Put a towel and a small bucket under the angle valves.
Step 2: remove the old tap
- Use two wrenches: one holds the body of the angle valve, the other turns the hose nut anticlockwise. Holding the valve stops the turning force from reaching the pipe stub buried in the wall.
- Use the basin wrench to loosen the nut holding the tap; if it is rusty, spray penetrating oil and wait 5–10 minutes.
- Lift the old tap out, clean the basin surface and scrape off old silicone.
- Check the angle valves: green corrosion at the neck, a loose handle or a valve that does not seal means close the main valve, remove the valve, wrap PTFE tape (see the next section) and fit a new valve.
Step 3: fit the new tap on the basin
- Screw the two hoses into the bottom of the new tap before putting the tap on the basin — screw them in by hand until snug, then use a small spanner for about another 1/4 turn. The M10 thread is small; overtightening strips the thread in the tap body.
- Place the base gasket under the tap body and feed the two hoses through the hole in the basin.
- From under the basin: fit the horseshoe-shaped backing plate and screw on the nut; before fully tightening, align the tap so it points straight at the centre of the bowl.
- Tighten the mounting nut just enough that the tap does not turn when you shake it firmly by hand. A ceramic basin can crack if you overtighten.
Step 4: connect the hoses to the angle valves
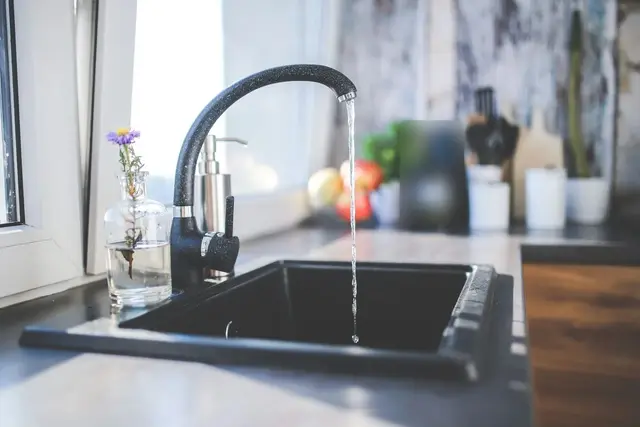
Following Figure 2: the hose from the tap's left inlet (usually marked red) goes to the hot angle valve, the right hose (marked blue) goes to the cold angle valve. The hose end has a flat rubber washer inside the nut — this is the main seal, so do not wrap PTFE tape on the hose end thread. Turn the nut by hand until tight, then use a wrench for about another 1/4 turn while your other hand holds the angle valve. The hoses must curve gently, without kinks or twists. Figure 4 shows the same principle on a shut-off valve under a kitchen sink: the inlet thread is taped, the outlet connection is not.
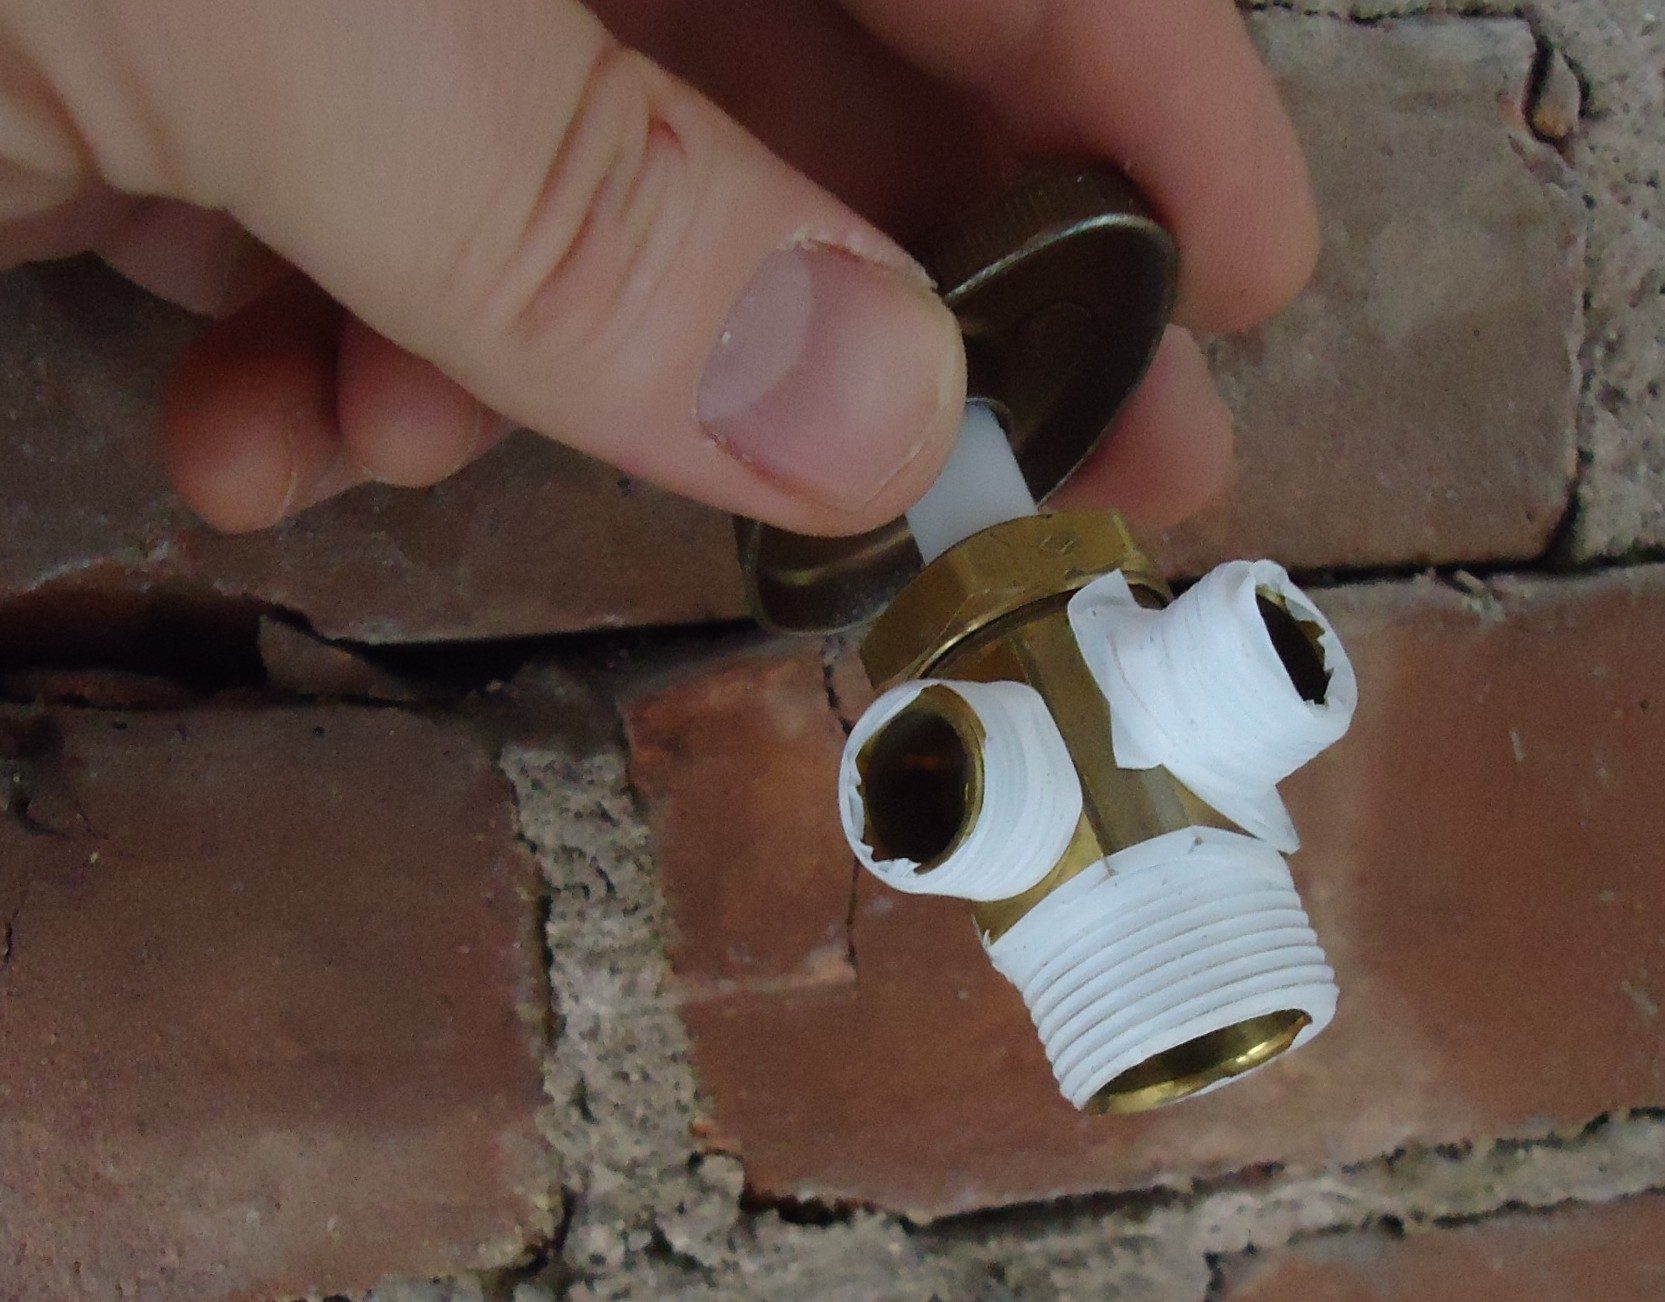
Photo: Tomwsulcer / Wikimedia Commons, CC0
Wrapping PTFE tape in the right direction with the right number of turns
PTFE tape (thread seal tape) seals thread-into-thread joints, such as the neck of an angle valve screwed into the female threaded socket of the wall stub. Do not use it on connections with a flat washer (hose ends) or on compression fittings.
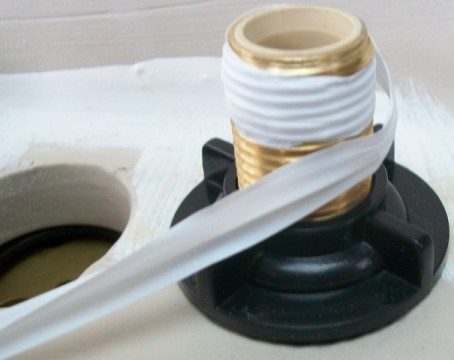
Photo: Tomwsulcer / Wikimedia Commons, CC0
Wrapping direction
Hold the valve with the threaded end pointing towards your face. Wrap clockwise — the same direction you will turn the valve into the pipe. If you wrap the other way, the tape rolls off the thread as you screw it in and bunches up at the neck (see Figure 6). Start 1–2 threads back from the end, leaving the first thread bare so it engages easily and no shreds of tape fall into the pipe.
Number of turns and how to check
The standard tape sold in Vietnam is thin, so 1/2" threads need 8–12 turns. Pull the tape taut so it hugs the thread; if you can still see the thread shape, it is right (Figure 5). If the thread shape has disappeared and it turns stiffly from the first turn, there is too much — remove it and wrap again. Too little and it screws in loosely, and will weep at the neck during the pressure test.
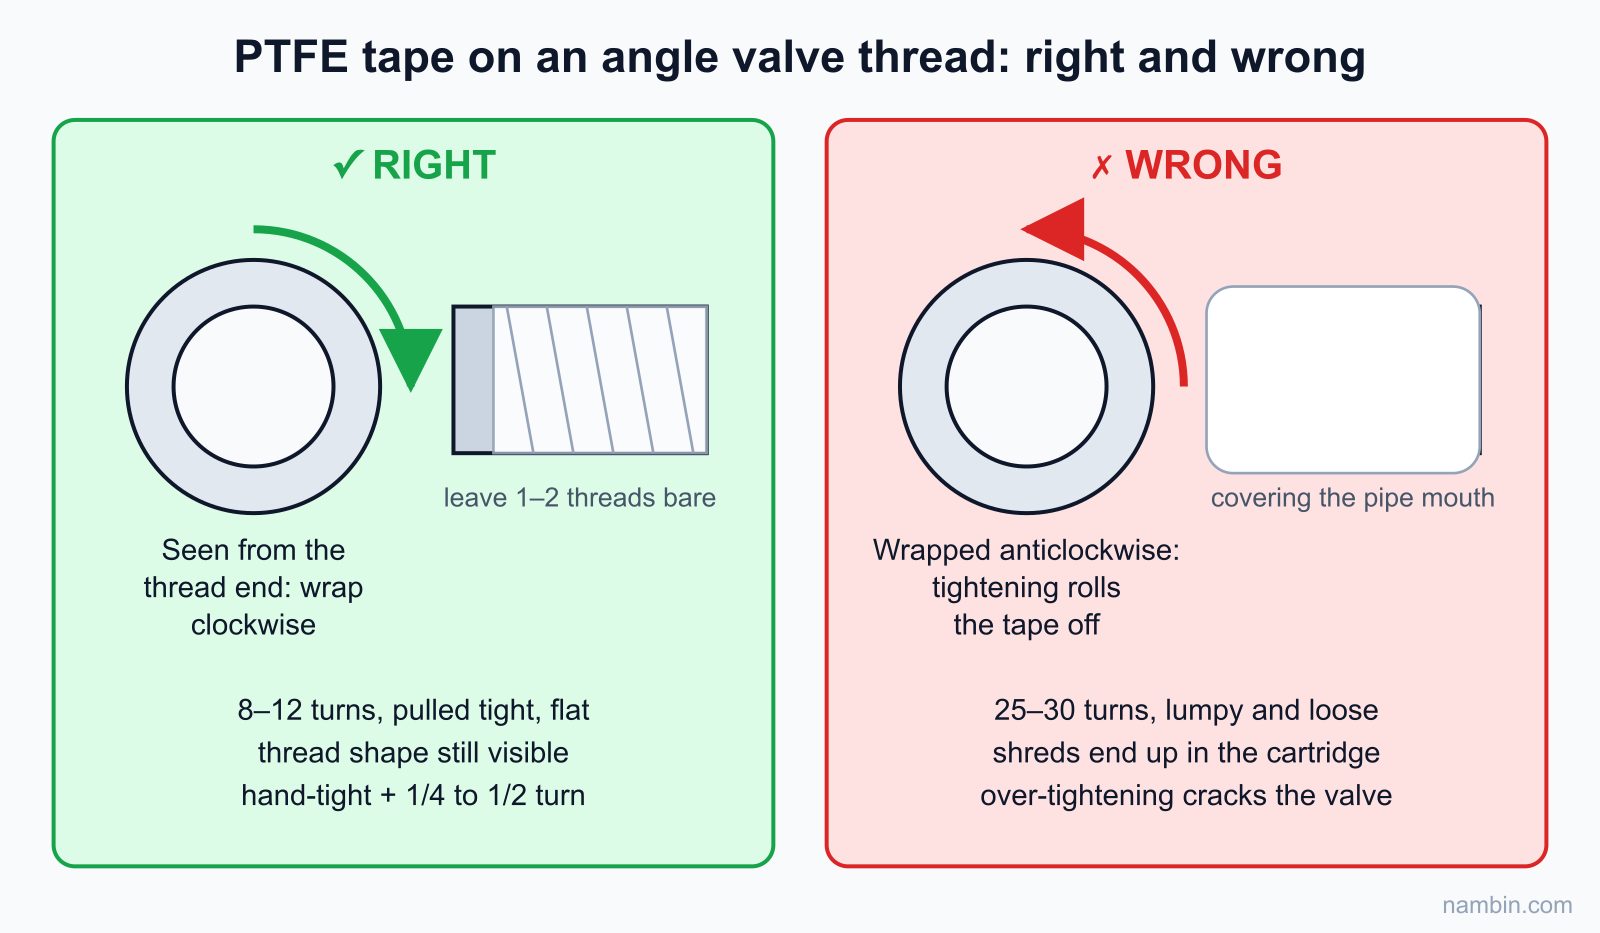
Hand-tight plus a little — how much is enough?
An easy rule: hand-tight, then another 1/4 to 1/2 turn with a wrench for taped threads; about another 1/4 turn for washer-sealed connections. The angle valve must stop with its handle pointing up or outwards; never turn it back to adjust the position, because the tape seal will open — if you need to adjust, take it out and re-wrap. Overtightening can crack the female threaded socket in the wall, which only shows up weeks later as a damp stain.
Flushing the tap outlet and checking for leaks
If you open the water straight through the new tap outlet, pipe swarf, sand and shreds of tape go straight into the ceramic discs. Flush first.
Flushing
- Unscrew the aerator (the flow-straightening filter at the tap outlet) by hand and put it aside.
- Open the cold angle valve slowly and listen for water entering the hose. Turn the tap to cold and flush for 30–60 seconds.
- Open the hot angle valve, turn the tap to hot and flush for another 30–60 seconds. Switch the water heater breaker back on.
- Rinse the aerator screen under running water and refit it by hand.
The aerator has a fine thread and should only be turned by hand; gripping it with pliers can strip the thread, like the old aerator in Figure 7.
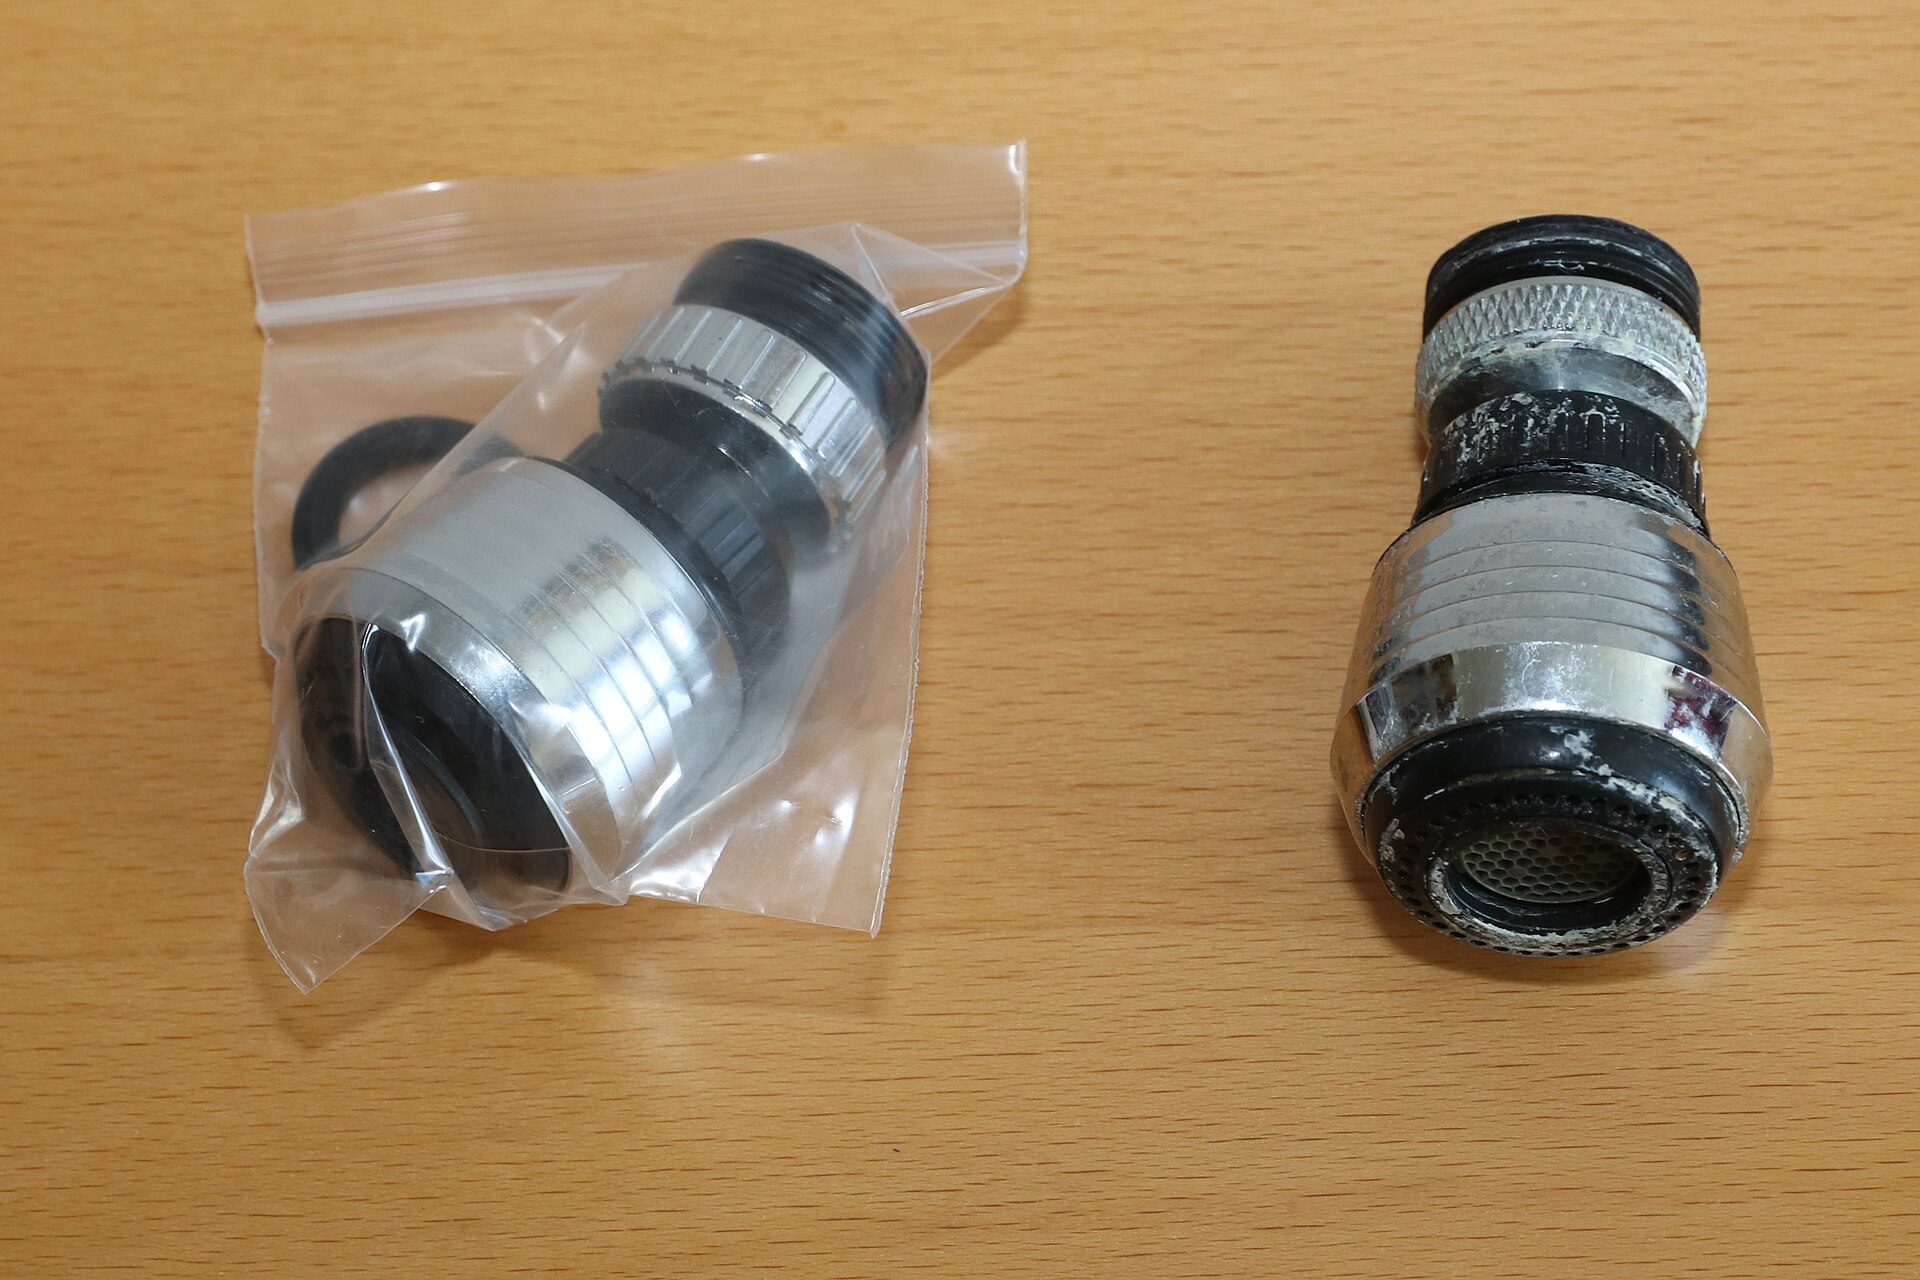
Photo: MKFI / Wikimedia Commons, Public domain
Checking 3 leak points over 15 minutes
- Point 1 – angle valve neck into the wall: dry it, wrap a piece of dry toilet paper round the neck. If the paper is still dry after 15 minutes, it passes.
- Point 2 – both hose ends: feel with a fingertip under the nut, where drops collect.
- Point 3 – tap base and body: close the tap, dry the basin surface; open and close 10 times at hot, cold and middle; check that neither the base nor the outlet drips.
A very slow leak often only shows after a few hours: put a sheet of dry paper on the bottom of the cabinet and ask the customer to check it the next morning.
When to replace the cartridge instead of the whole tap
If the tap body still looks good, is not cracked, the plating is not peeling, and a cartridge of the same size is available, replacing the cartridge is cheaper and quicker than replacing the whole tap. Detailed steps for fixing a dripping tap, and for unblocking a basin, are in the lesson fixing a dripping tap and unblocking a basin without breaking anything (in Vietnamese).
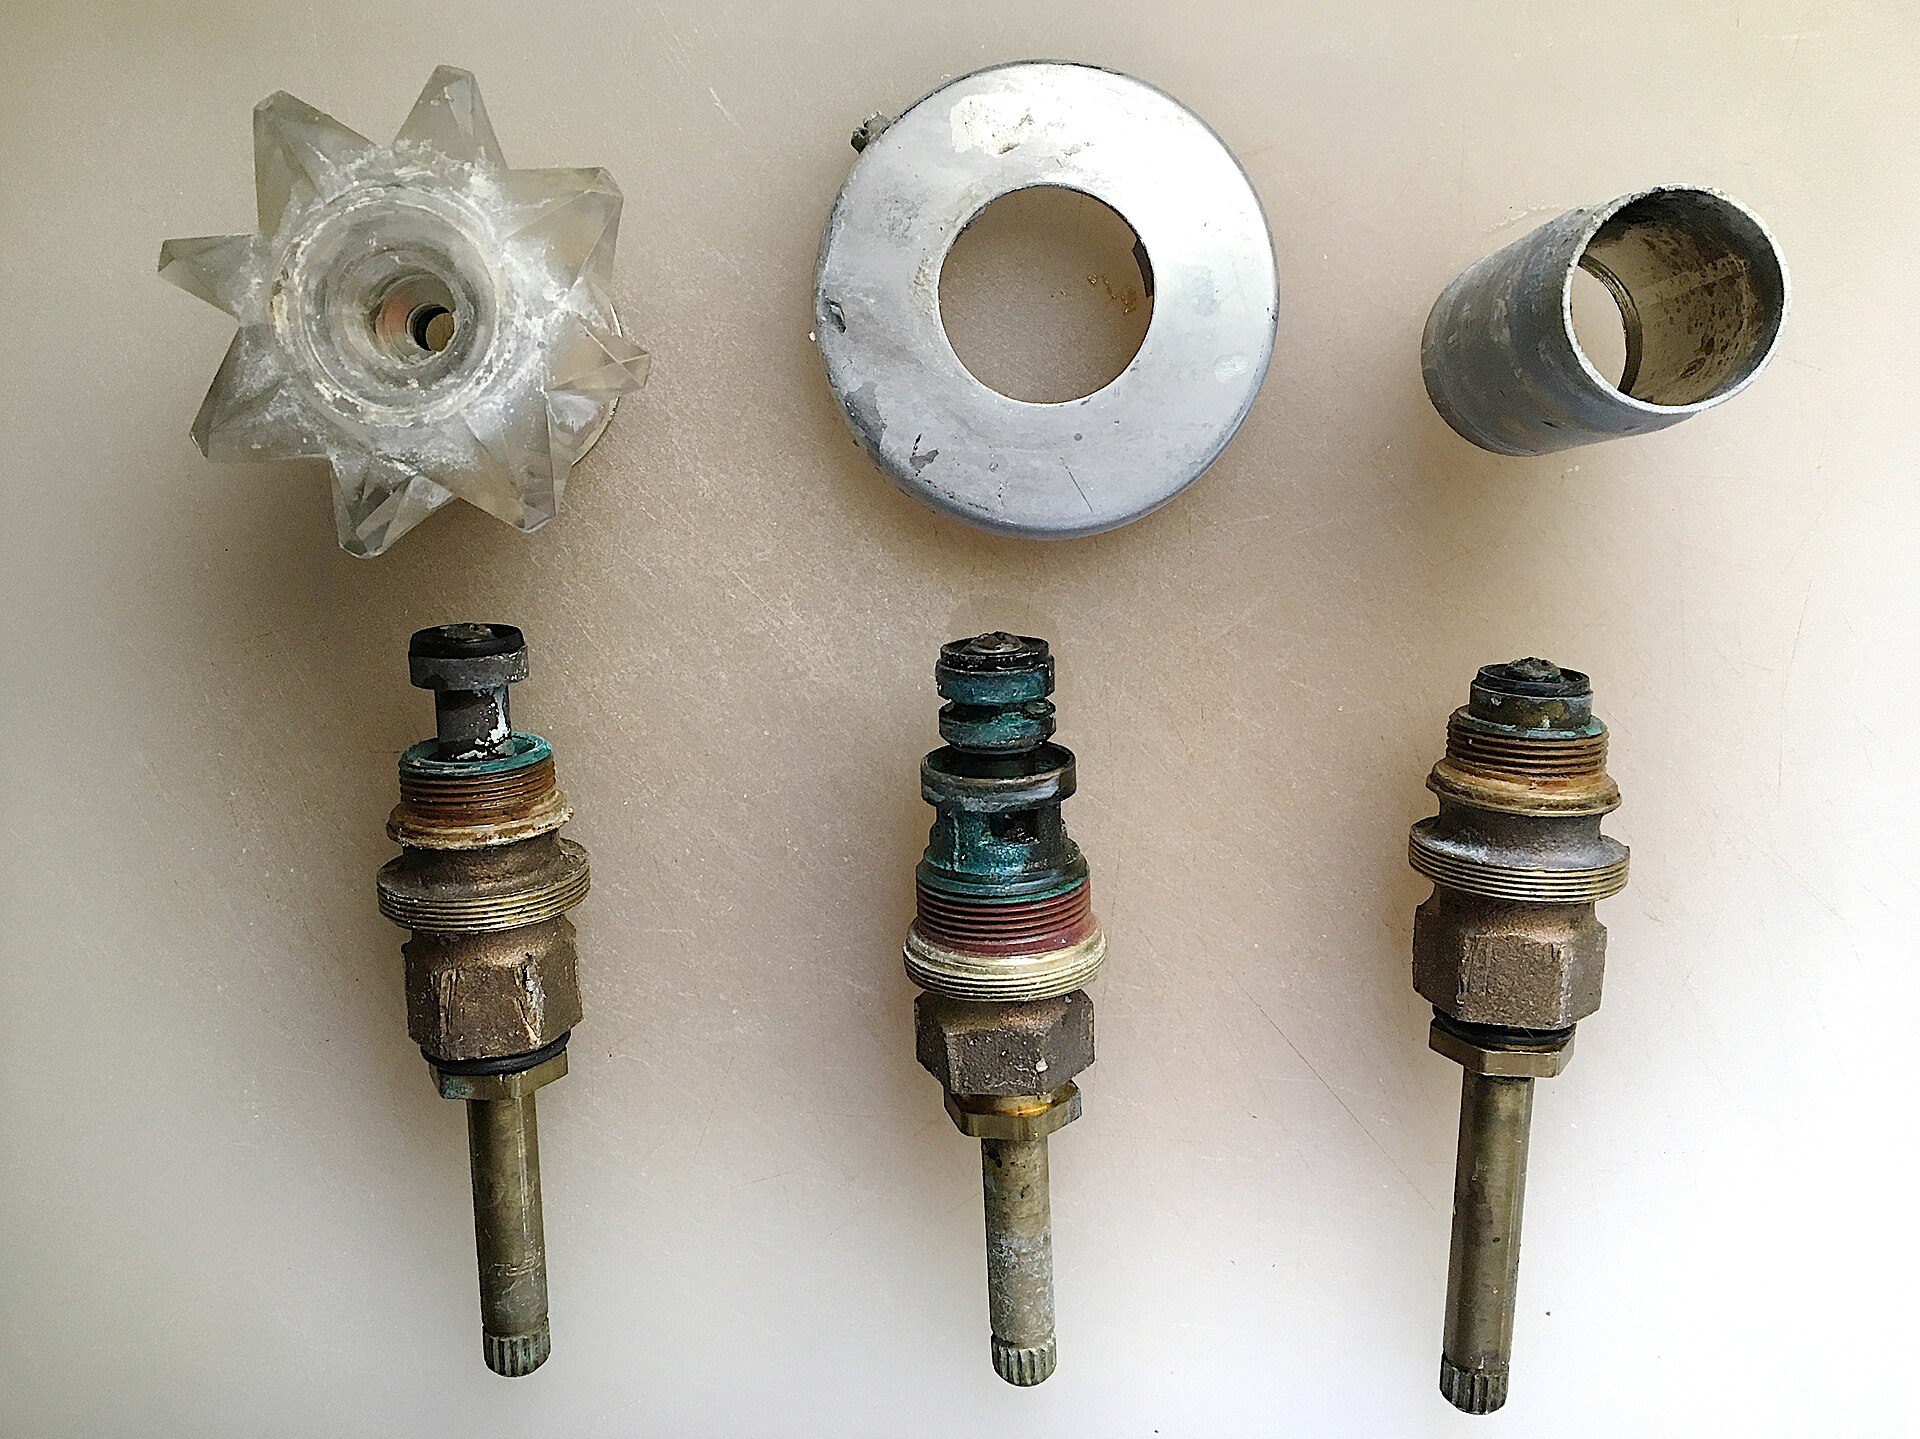
Photo: Alan Levine from Strawberry, United States / Wikimedia Commons, CC BY 2.0
Signs that the cartridge should be replaced
- The lever is fully closed but the outlet keeps dripping steadily — the ceramic disc faces are scratched or clogged with scale.
- The lever is stiff, jerky, or does not stay in position.
- Water leaks around the base of the lever (the cartridge seal has failed).
How to replace a single-lever cartridge
- Close both angle valves and open the tap to release the pressure.
- Prise off the red-and-blue cap on the lever, undo the hex screw and lift the lever off.
- Unscrew the chrome cover, use a spanner to undo the nut holding the cartridge, and pull the cartridge out.
- Measure the cartridge diameter (usually 35 or 40 mm) and take the old cartridge with you to buy the right one (Figure 8).
- Fit the new cartridge with its two locating pins in the holes in the tap body, tighten the nut by hand plus a little, refit the lever, then flush and test as above.
When the whole tap must be replaced
The tap body is cracked, the plating is peeling, it is corroded inside, or no replacement cartridge is available. A reference rule: if the cartridge plus labour costs more than about 60% of the price of a comparable new tap, advise the customer to replace the whole tap, together with new hoses.
| Symptom | Common cause | Fix | 2026 reference cost (materials + labour) |
|---|---|---|---|
| Leak at the angle valve neck into the wall | PTFE tape wrapped wrongly, rusty valve | Re-wrap or replace the angle valve | 160,000 – 400,000 VND |
| Leak at the hose nut | Hardened hose washer, cross-threaded nut | Replace the stainless steel hose | 140,000 – 320,000 VND |
| Outlet drips when closed | Scratched ceramic discs, scale | Replace the cartridge | 180,000 – 500,000 VND |
| Cracked body, peeling plating, no replacement cartridge | Tap at the end of its life | Replace the whole tap + 2 hoses | 800,000 – 2,000,000 VND (mid-range tap) |
Worked example: a two-bedroom apartment, basin tap dripping and leaking at the base
Ms Lan lives in an apartment and calls to say the basin tap in the shared bathroom drips all night and the bottom of the vanity cabinet is damp. The tap is 8 years old. All figures below are illustrative examples with 2026 reference prices.
Diagnosis from photos and on site
- Photo of the area under the basin: two chrome angle valves, supply hoses with brown rust at the lower end, hot valve on the left.
- On site: dry everything and put paper in place. After 10 minutes the paper under the hot hose nut is wet while the angle valve neck is dry — the leak under the basin comes from the hose.
- The outlet drips about 1 drop per second when closed, and the lever is stiff — the cartridge has failed. The plating on the tap body is peeling at the base, and the manufacturer no longer supplies a cartridge for this model.
- Conclusion: replace the whole tap and both hoses; the angle valves are still good and are kept.
Quote for the customer
- Mid-range single-lever hot and cold basin tap: 1,200,000 VND.
- 2 stainless steel hoses, 40 cm, M10 × 1/2" ends: 2 × 80,000 = 160,000 VND.
- Spare PTFE tape: 10,000 VND.
- Labour for replacing the tap: 250,000 VND.
- Total: 1,200,000 + 160,000 + 10,000 + 250,000 = 1,620,000 VND (about 65 USD).
So the customer can compare, also write down the hoses-only option: 2 × 80,000 + 150,000 labour = 310,000 VND — it stops the leak under the basin, but the tap will still drip. Ms Lan chooses to replace the whole tap.
Work and timing
- Switch off the water heater breaker, run off the hot water, close both angle valves, release pressure: 5 minutes.
- Disconnect the hoses, remove the rusty tap mounting nut (spray oil, wait): 10 minutes.
- Screw the hoses into the new tap, place the tap, align it, tighten the mounting nut: 10 minutes.
- Connect hot-left, cold-right hoses to the angle valves, flat washers, hand-tight + 1/4 turn: 10 minutes.
- Remove the aerator, flush, switch the heater back on, test the 3 points: 10 minutes (plus 15 minutes waiting for the paper, used to tidy up and fill in the job card).
Total working time: 5 + 10 + 10 + 10 + 10 = 45 minutes. Handover: show the customer where the angle valves are, ask her to check the paper under the cabinet the next morning, and give a 3–6 month labour warranty as agreed.
Common mistakes when replacing a basin tap
Hot and cold connected the wrong way round
Sign: moving the lever to the right gives hot water. Cause: the pipes were not marked before dismantling, or the wall stubs are reversed and the hoses were not crossed. Fix: close the valves and swap the two hose ends at the angle valves (not at the bottom of the tap), using longer hoses if needed.
PTFE tape on a washer-sealed hose end
Sign: it still weeps even when screwed very tight. Cause: the tape gets in the way so the washer cannot seat flat. Fix: remove all the tape, check the washer, and screw it back on.
Overtightening
Sign: a cracked ceramic basin, a stripped M10 thread at the bottom of the tap, or a damp stain on the wall a few weeks later (a cracked threaded socket). Cause: using a long wrench to make it "extra secure". Fix: follow the hand-tight + 1/4 turn rule; a cracked socket in the wall means opening up the wall to replace it.
Not flushing before refitting the aerator
Sign: the new tap has a weak flow or starts dripping in the first week. Cause: pipe swarf and shreds of tape stuck in the aerator and the ceramic discs. Fix: remove the aerator and the cartridge and rinse them out.
Frequently asked questions
How long does it take to fit a hot and cold basin tap, and what does the labour cost?
An experienced plumber takes 30–45 minutes for a single-hole tap. The 2026 reference labour price in Vietnam is 150,000 – 300,000 VND per set, excluding the tap and hoses; replacing angle valves or dealing with the wall stubs costs extra.
Which side do the hot and cold supply hoses go?
Looking at the basin from the front: hot on the left, cold on the right. If the wall stubs are reversed, cross the hoses under the basin; do not swap them at the bottom of the tap.
What should I do if the tap leaks at the base?
Dry everything and use paper to find the leak point. Angle valve neck: re-wrap the PTFE tape or replace the valve. Hose nut: replace the hose. Tap base or around the lever: replace the base gasket or the cartridge; if the body is cracked, replace the whole tap.
How many turns of PTFE tape are enough?
About 8–12 turns of thin tape for a 1/2" thread, clockwise when looking at the threaded end. Never wrap tape on a connection with a flat washer.
Practice exercises and self-assessment
- On a basin at home: shut off the water, release the pressure, disconnect and reconnect one supply hose; record the time.
- Wrap PTFE tape on a 1/2" thread with 5, 10 and 25 turns; screw it in, note the force needed and test for leaks.
- Identify the hot and cold pipes on an unmarked basin by feeling the temperature, and mark them red and blue.
- Prepare a quote with two options (replacing the hoses and replacing the whole tap) for a dripping tap, adding up each line correctly as in Ms Lan's example.
Self-assessment criteria
- Pass: the paper is dry at all 3 points after 15 minutes; lever left gives hot, lever right gives cold; the tap does not turn when shaken by hand; the hoses curve gently without kinks.
- Pass: your quote separates materials and labour, the sums are correct, and you can explain why you chose a cartridge replacement or a whole new tap.
- Not yet: water weeps at any point, tape on a washer-sealed connection, forgetting to switch off the water heater, or refitting the aerator before flushing.
Replacing a tap is a small skill within the Fitting sanitary ware step of the pathway; revise the fitting heights for basins, toilets and showers in the lesson fitting toilets, basins and showers at the right height with watertight bases (in Vietnamese). The next step is Pumps, water tanks & water heaters — where you learn to install a water heater with a safety valve, the source of the hot water line you have just connected to the tap.
Want to learn the plumbing trade properly? Follow the 8-step residential plumber pathway on NAMBIN to know what to learn first and what to do next. When a customer asks you to choose a water heater for the hot water line to the basin and shower, open the tool choose water heater capacity, breaker and cable to advise them on the spot.