A client books a "back facial" before a wedding. She will wear an open-back dress and says the skin between her shoulder blades feels rough, with blackheads she cannot reach herself. She asks if you can "clear it all in one session". What you do in the next hour depends on how well you prepare: a careful consultation, the right products in the right order, clean gloved hands for any extractions and honest advice about what one treatment can and cannot do.
This guide explains how to give a professional back facial step by step: preparing the room, checking the skin and screening the client, positioning and draping, cleansing, exfoliating, softening the skin with warmth, doing extractions only within your training, applying a mask, massaging, finishing and giving aftercare.
Scope of this guide. A back facial is a cosmetic cleansing and care treatment. It does not treat acne or any skin disease, and a spa therapist does not diagnose. If you see painful, swollen or widespread spots, a rash, broken skin or a mole that looks unusual, do not treat that area and suggest the client sees a doctor or dermatologist. All times in this article are for reference only. Your spa's written protocol, your training and the product manufacturer's instructions always come first.
What a back facial is (and how it differs from other treatments)
A back facial, sometimes called a "backcial" or back treatment, uses the same logic as a facial on the face: cleanse, exfoliate, soften, extract if appropriate, mask, massage and protect. The difference is the area. The back is larger, thicker-skinned in many places, hard for clients to reach and often covered by clothing and straps that rub and trap sweat. Unlike a body scrub (smoothing the whole body), a back massage (relaxing the muscles) or a body wrap (applying and wrapping a product), a back facial focuses on cleansing and caring for the skin of the back itself, and it is the only one of these that may include extractions.
Who it suits and when not to treat
Clients often book a back facial for blackheads, rough texture or a dull look on the upper back, after sport and sweating, or before an event where the back will show. Before you start, check the client's health form and ask about the back specifically. Do not treat, or do not treat the affected area, if you see or are told about any of the following. Your spa's contraindication list may contain more items:
Painful, red, swollen or deep spots, or spots spread over most of the back. These need a doctor's opinion, not extractions.
Broken skin, cuts, scratches, open sores, burns or sunburn.
A rash, skin that looks infected, weeping or crusted areas, or anything the client says a doctor is treating.
A mole or mark that the client says has changed in size, shape or colour, bleeds, itches or looks different from the others. Work around it and suggest the client shows it to a doctor.
Recent sunburn, recent waxing, laser or other procedures on the back, or a fresh tattoo, unless your protocol says otherwise.
Prescribed acne medicines (tablets or creams), retinoids or strong acids used on the back. Many protocols say no exfoliation or extractions on these areas without the doctor's agreement. Ask and follow your spa's rules.
Known allergies to ingredients in your products. Check the product list with the client.
Pregnancy, recent surgery, a back injury or anything that makes lying face down uncomfortable. Do not improvise; check with your supervisor before treating.
When you are unsure, the safe answer is to choose a gentler treatment or to postpone. Explain this calmly: "I'd rather not work over that area today. It's worth showing it to a doctor first, and we can book the back facial once it has settled."
What you need before you start
A clean couch with fresh linen, a face cradle or rolled towel with a clean cover, extra towels for draping and a blanket.
Disposable gloves (nitrile is common if anyone may be sensitive to latex), a clean apron, and hair tied back.
Bowls, clean sponges or cotton pads, and warm water.
A body or back cleanser suited to the skin, and an exfoliant: a fine scrub or an enzyme product.
Warm towels prepared in a clean towel warmer, or a steamer only if your spa uses one for the body.
Single-use tissues or cotton for extractions; a single-use sterile lancet only if you are trained and your protocol allows it; a sharps container if lancets are used.
A clay or soothing mask, a flat mask brush or spatula (clean or disposable), and a timer.
Massage cream or oil, a light moisturiser, and sunscreen to recommend for daytime.
The client record card and a pen.
Lay everything out on a clean trolley before the client lies down, so you never need to search through cupboards with gloves on.
Step-by-step: how to give a back facial
Step 1: Prepare the room and the couch
Clean and disinfect the couch surface, trolley and any equipment as your spa's procedure requires. Cover the couch with fresh linen and put a clean cover on the face cradle. Check that the room is warm enough, because the client's back will be uncovered for part of the treatment. Switch on the towel warmer early enough to heat the towels, and check that it has been cleaned and holds freshly laundered towels only.
Step 2: Consultation and back skin check
Talk to the client while they are still dressed. Ask what bothers them most, what they use on their back at home, whether they are using any prescribed products, whether they have had sun exposure or any procedures recently, and whether lying face down is comfortable. Explain what the treatment involves, including that extractions will only be done if the skin is suitable.
When the client is lying down and the back is uncovered, look at the whole area before you touch it with product. Note blackheads, rough texture, dryness, redness, marks, moles, tattoos, scars and any areas you will avoid. Write the main points on the record card.
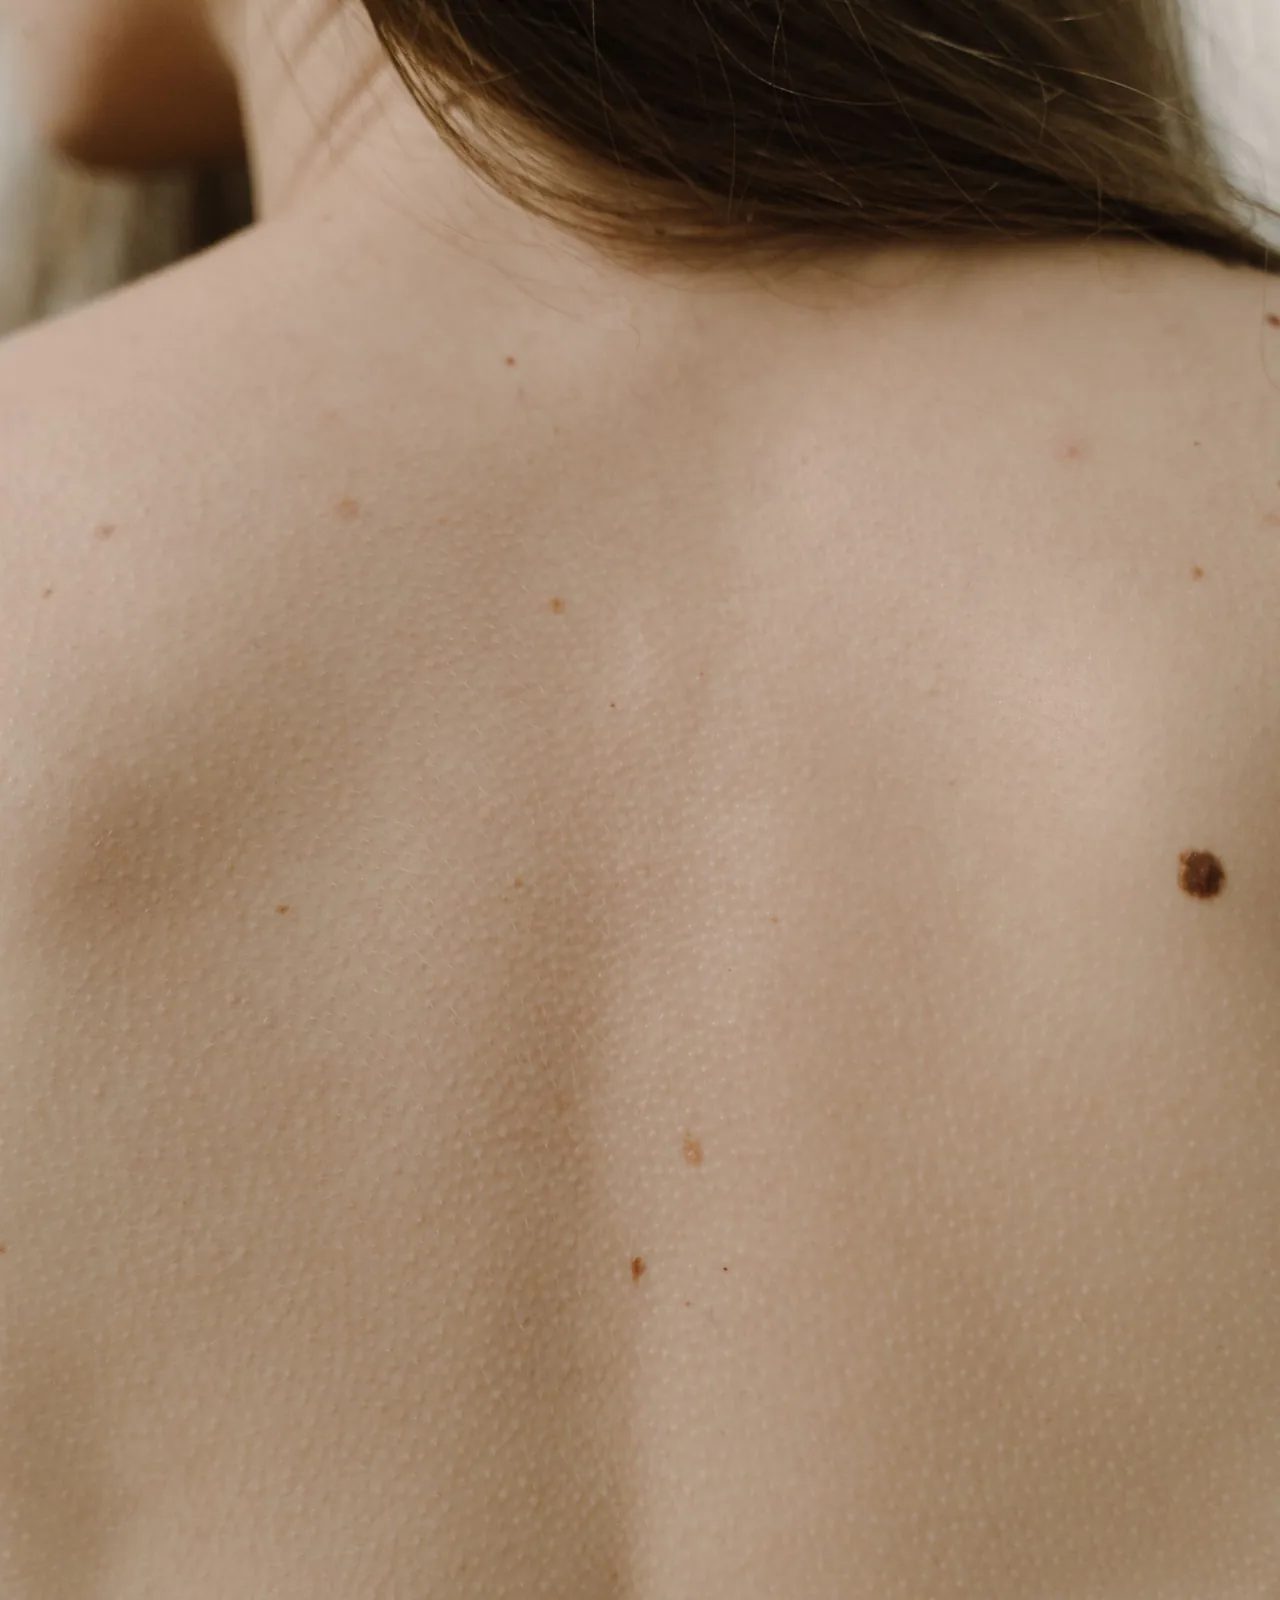
Figure 1. A woman's bare upper back with a few small moles, one darker than the rest, and visible skin texture. Look at the whole back before you apply any product, and work around moles and marks rather than over them. (Photo: cottonbro studio / Pexels License / Pexels)
Your job is to notice and record, not to judge whether a mole is harmless. If a mark has changed or looks different, avoid it and calmly suggest the client shows it to a doctor.
Step 3: Positioning and draping
Leave the room while the client undresses to their comfort level and lies face down under a towel or sheet, with the face in the cradle. Knock before you come back in. Fold the drape down to just below the area you will treat, usually to the waist or the top of the hips, and tuck it so it stays in place. Ask the client to unfasten or remove any bra or straps that sit across the back, and protect hair with a headband, cap or towel.
Check comfort: a small rolled towel or bolster under the ankles often takes pressure off the lower back. Ask "Is your neck comfortable? Are you warm enough?" and adjust before you begin. Cover the legs with the blanket.
Step 4: Hand hygiene and gloves
Wash or sanitise your hands as your procedure requires, then put on fresh disposable gloves. Gloves are especially important for cleansing and any extractions, because you may come into contact with oil, sweat and skin contents. Change gloves if they tear, after extractions, and whenever you touch something that is not clean, such as a door handle or your phone.
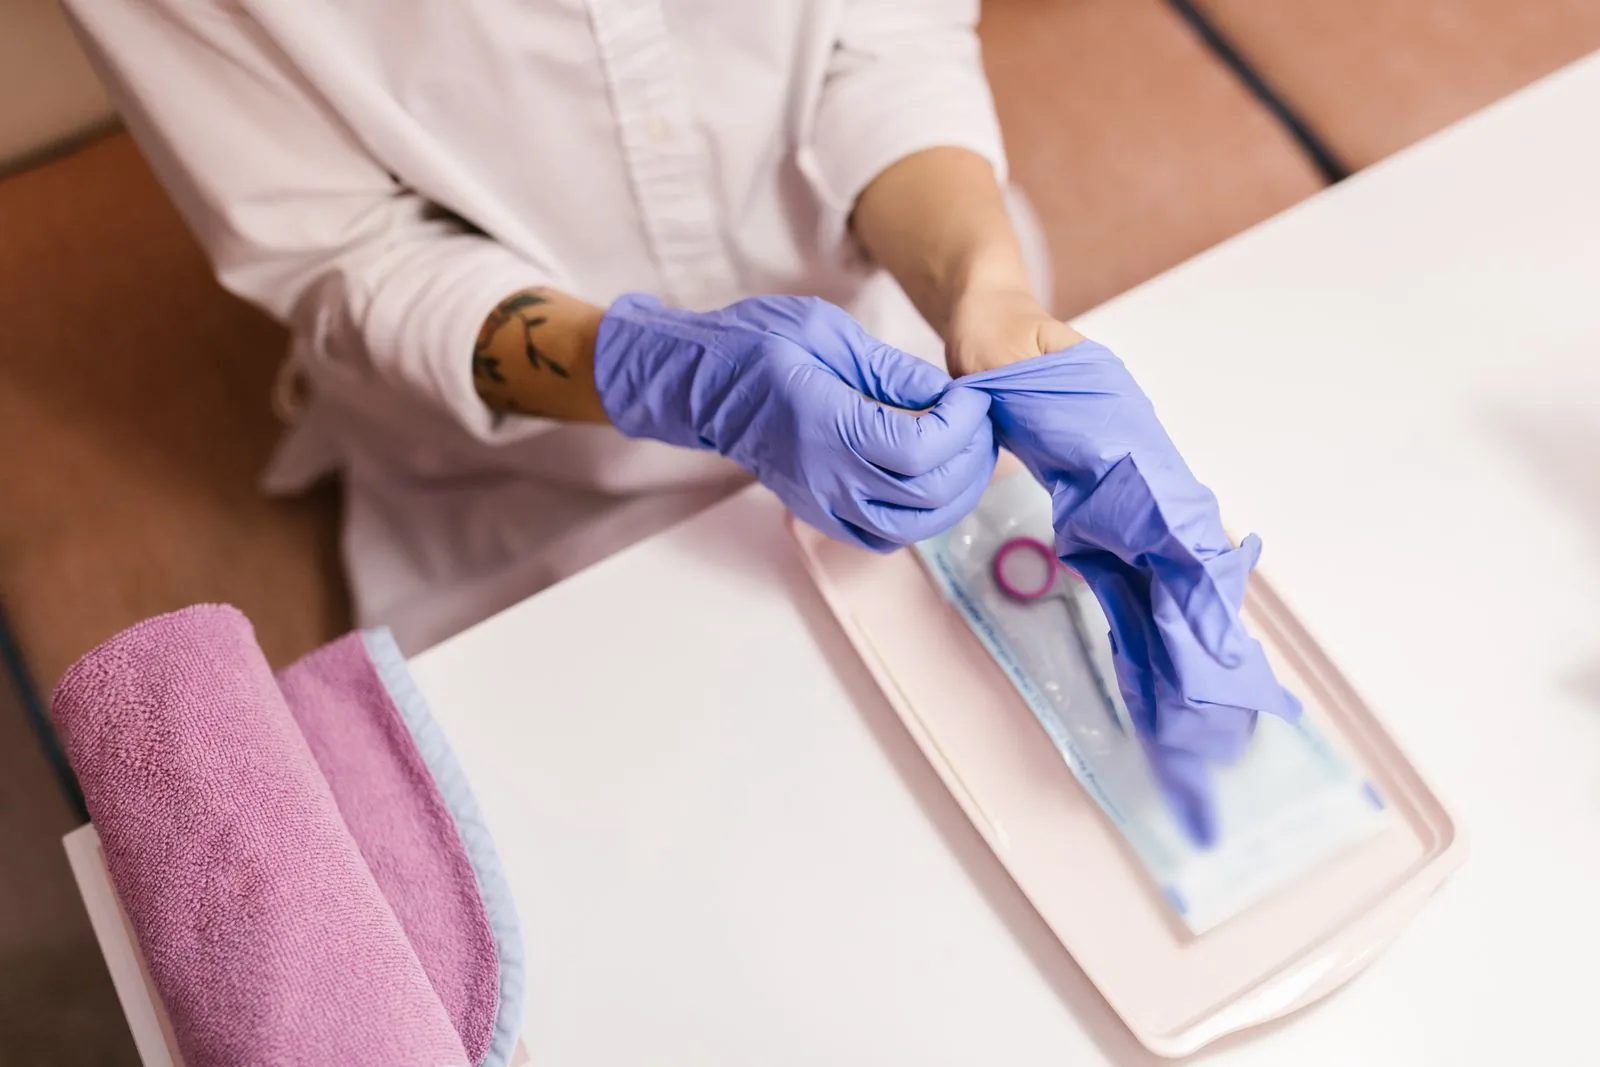
Figure 2. A therapist in a white top pulls on blue disposable gloves beside a tray holding a sealed sterilisation pouch with an instrument inside, with a folded pink towel nearby. Put on fresh gloves and open sterile packs only when you are ready to use them. (Photo: RDNE Stock project / Pexels License / Pexels; small text on the pouch blurred)
Step 5: First cleanse
Apply a small amount of cleanser to your gloved hands or a damp sponge and spread it over the back with long, smooth strokes: from the lower back up to the shoulders and out to the sides. Work it gently for a short time, paying attention to the upper back, shoulders and the line where straps sit. Remove it thoroughly with warm, damp sponges or warm towels, working in the same direction each time. If the client arrived wearing sunscreen or body lotion, cleanse a second time.
Step 6: Exfoliate
Exfoliation removes loose dead skin cells so the skin feels smoother and pores are easier to clean. Choose the type that suits the skin you saw in Step 2:
Fine scrub: suitable for skin that is not sensitive and not inflamed. Use light circular movements and avoid any spots, marks or areas you decided to skip. A scrub should never be used over red, inflamed spots or broken skin.
Enzyme or other non-gritty exfoliant: often preferred for sensitive skin or when there are a few inflamed spots, because it does not need rubbing. Follow the product's timing exactly.
Acid-based exfoliants (AHA/BHA): use only if you are trained, your spa offers them for the body and the client is not using prescribed retinoids or acids on the back. Follow the manufacturer's instructions.
Remove the exfoliant completely with warm sponges or towels. If the client feels stinging or burning at any point, remove the product straight away with cool water and do not continue with that product.
Step 7: Soften the skin with warmth
Warmth softens the surface and makes gentle extraction easier. Most spas use warm towels for the back. Take a towel from the warmer, unfold it to let some heat escape and test it on the inside of your own wrist or forearm before it touches the client. It should feel comfortably warm, never hot. Lay it over the back, press lightly, and ask the client how the temperature feels. Leave it for a short time, for reference a few minutes, then remove it.
If your spa uses a body steamer, follow the manufacturer's distance and time guidance. Skip or reduce heat for clients who feel faint in the heat or have reduced feeling in the skin.
Step 8: Extractions, only if suitable and within your training
Extractions are where most hygiene and injury problems in back treatments happen, so be strict with yourself:
Only extract if you have been trained to do so and your spa allows it.
Only extract blackheads and soft, ready blockages on intact skin. Leave red, painful, swollen or deep spots alone. Do not squeeze them.
Wear fresh gloves. Wrap your fingertips in clean tissue or cotton, or use the tool your training specifies, and apply gentle pressure from the sides. If the contents do not come out easily after one or two gentle tries, stop.
Never use nails. Never press hard enough to leave bruises or broken capillaries.
If your protocol allows a lancet, use a new single-use sterile lancet, never re-use it, and place it in a sharps container immediately after use.
Keep the extraction stage short, for reference around ten minutes, because long extraction sessions cause more redness and irritation.
Wipe the area with the antiseptic or soothing product your protocol specifies, then change your gloves.
Be honest with the client: "I've cleared the blackheads that were ready. I've left the red spots alone because pressing them can make them worse. If they keep coming back or hurt, a doctor or dermatologist is the right person to look at them."
Step 9: Apply a mask
Choose the mask according to the skin:
Clay mask: often used for oily or congested backs.
Soothing gel or cream mask: often used after extractions, for sensitive or dry skin, or when the skin looks red.
Take the amount you need into a clean bowl with a spatula, so you never put a used brush back into the product container. Apply an even, thin layer with a flat brush, working from the lower back up to the shoulders and avoiding moles, broken skin and the hairline. Set a timer for the time stated on the product. While the mask is on, cover the client with a light towel if they feel cold, and stay nearby.
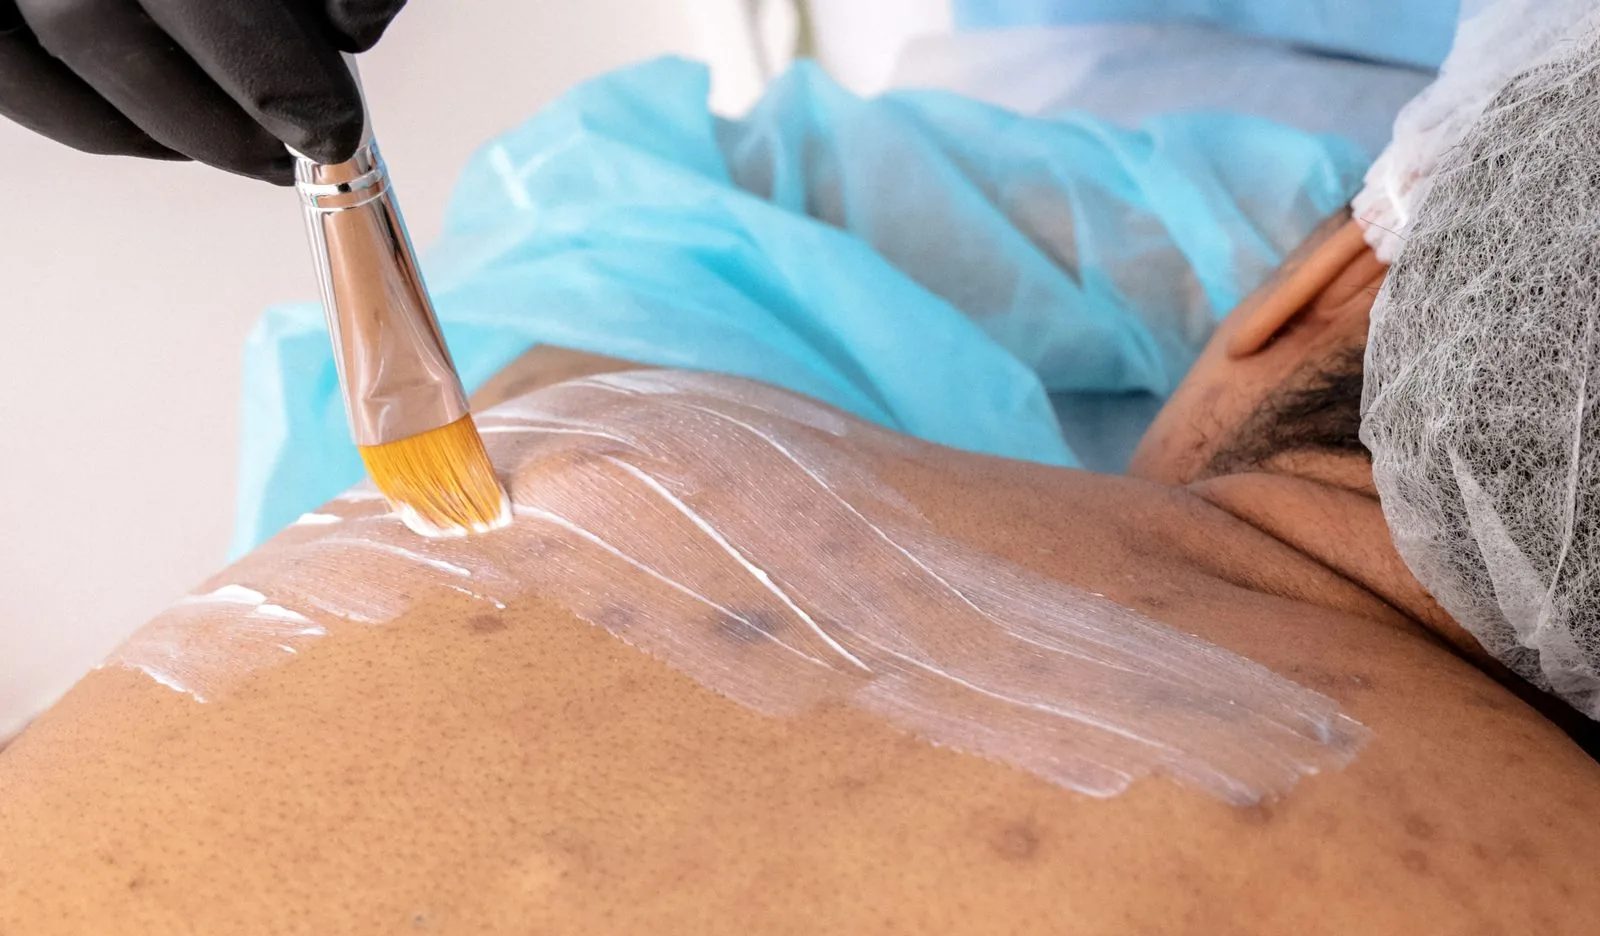
Figure 3. A hand in a black disposable glove uses a flat brush to spread a thin white product over the upper back and shoulder of a client wearing a disposable hair cap, with a blue disposable sheet around the shoulders. Take the product from a separate bowl so the brush never goes back into the jar. (Photo: Omar Medina / Pexels License / Pexels)
Many clay masks should not be left to crack and dry hard, because this can feel tight and uncomfortable on sensitive skin. Check the product instructions. Remove the mask with warm, damp sponges or warm towels, gently and without scrubbing.
Step 10: Back massage
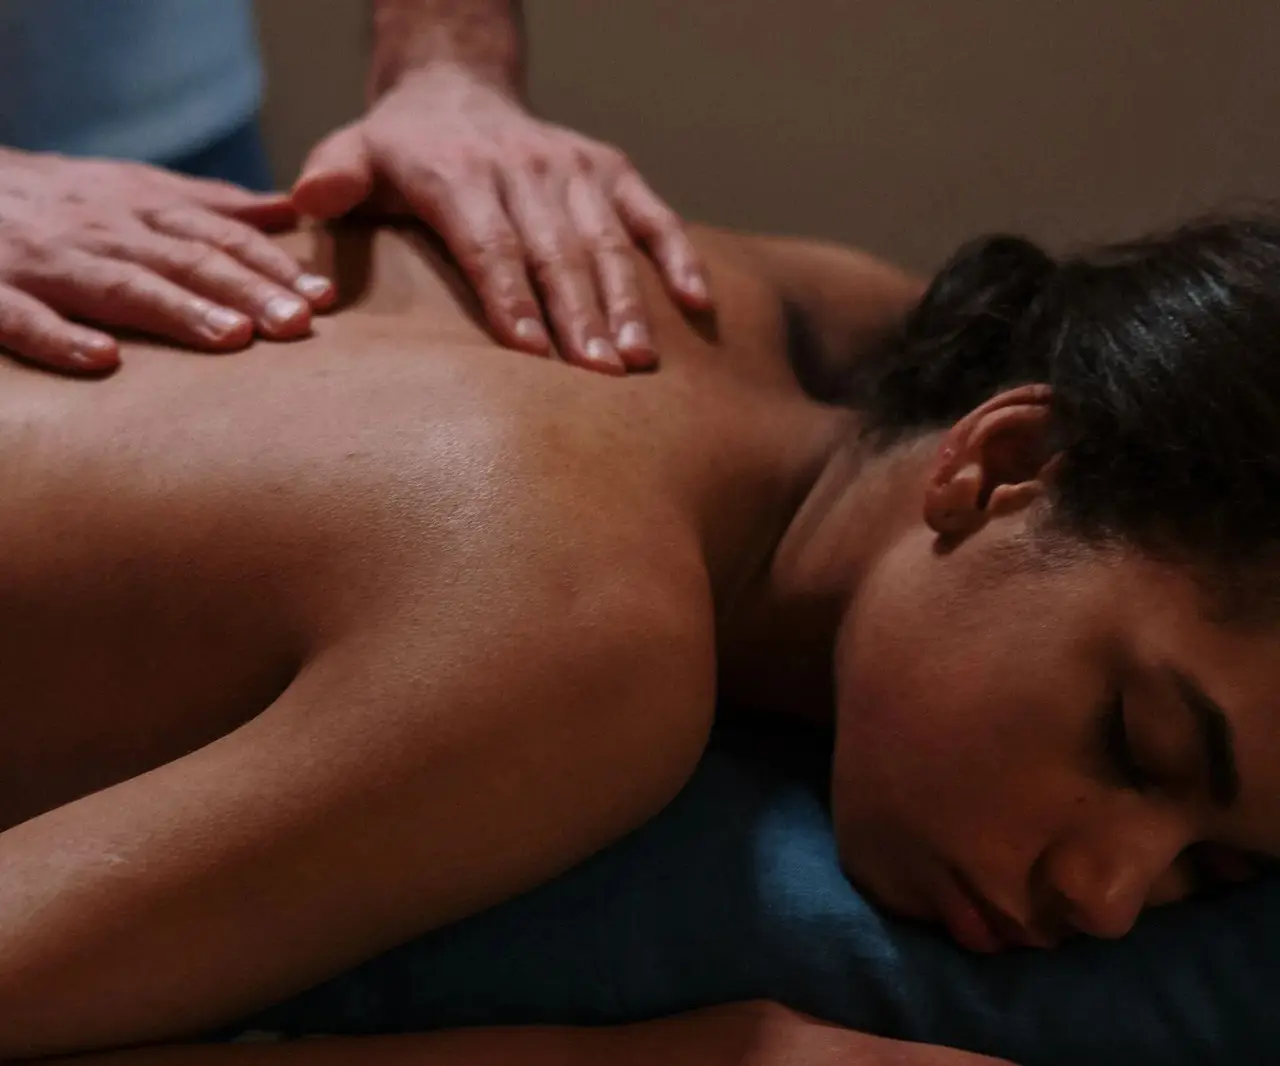
A short massage is the part clients often remember most. After the mask is removed and the skin is dry, apply a small amount of massage cream or oil suited to the skin type. Use smooth, light-to-medium strokes over the back and shoulders: long gliding strokes up either side of the spine (never directly on the spine), circles over the shoulder blades and gentle kneading of the shoulder tops. Avoid any spots you extracted, any marks you noted and any areas the client said are sore.
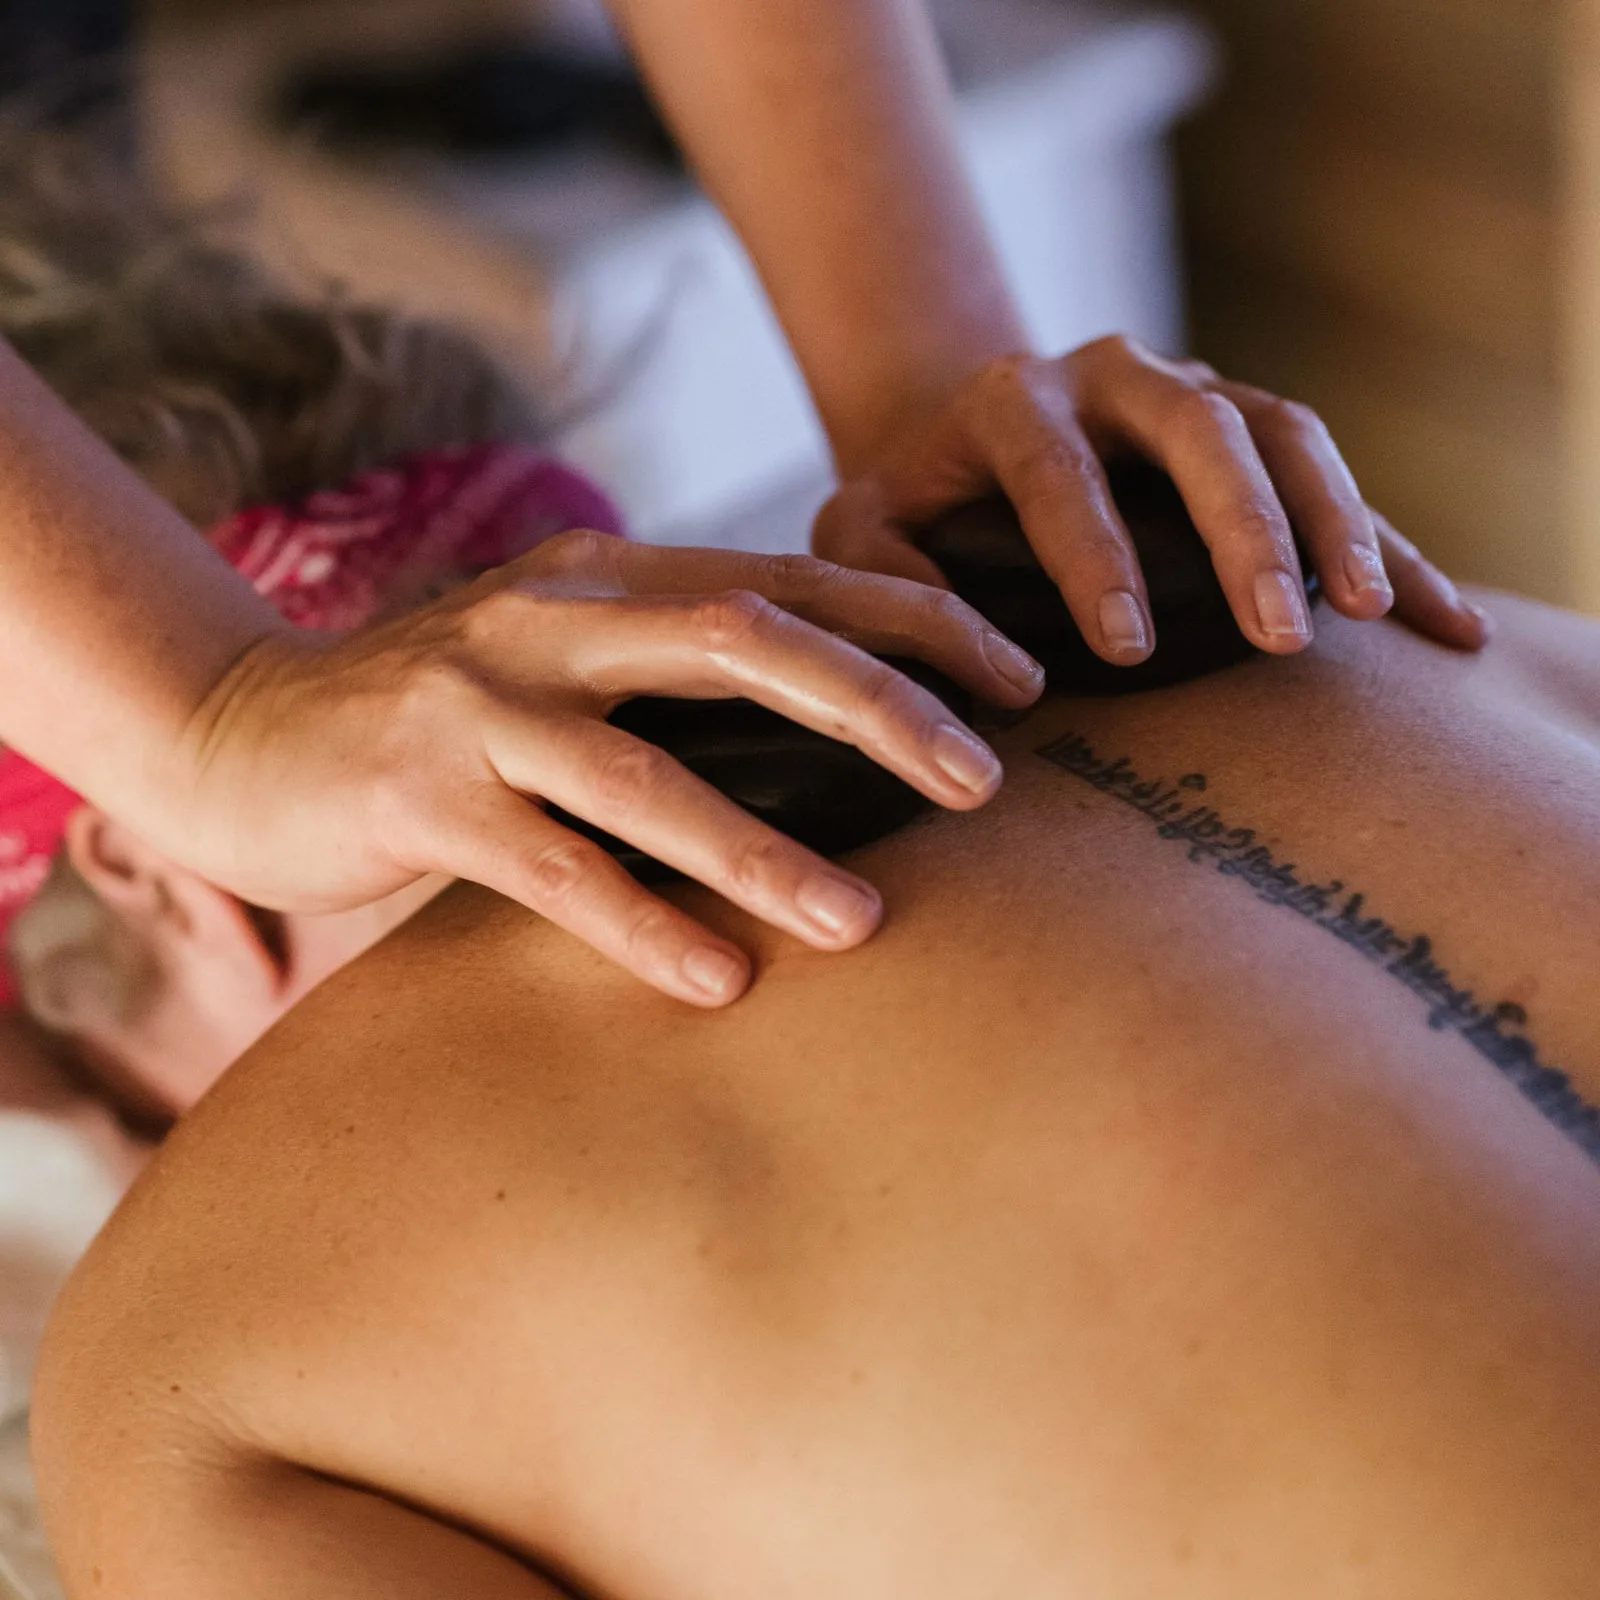
Figure 4. A therapist's hands rest on the upper back of a client lying face down, with warm, smooth stones held under the palms; a tattoo runs down the client's spine. Massage around tattoos, marks and treated areas with light pressure, and only use heated stones if you are trained in a hot-stone protocol. (Photo: Anete Lusina / Pexels License / Pexels)
Keep pressure lighter than in a deep-tissue massage, because the skin has just been exfoliated. For reference, five to ten minutes is common.
Step 11: Finish and protect
Remove excess massage product if needed, then apply a light, non-greasy moisturiser or the finishing product in your protocol. If the client will go out in daylight with the back exposed, remind them to use sunscreen, because freshly exfoliated skin can be more sensitive to the sun.
Cover the back with the drape, tell the client you have finished and that they should get up slowly, and leave the room while they dress. Some clients feel light-headed after lying face down in a warm room; offer water and a hand when they sit up if needed.
Step 12: Aftercare advice and records
Before the client leaves, give short, clear aftercare advice and write the session on the record card: products used, exfoliant type and time, whether extractions were done and roughly where, any reactions and any advice to see a doctor.
Example timing for a 60-minute back facial
The table below is a sample plan for reference only. Adjust it to your spa's menu and the products you use.
Stage | Approx. time | Purpose | Key safety point |
|---|---|---|---|
Consultation and skin check | 5–10 min | Understand the concern, screen for contraindications | Note areas to avoid; refer when unsure |
Positioning and draping | 3–5 min | Comfort and privacy | Neck comfortable; client warm |
Cleansing | 5 min | Remove sweat, sunscreen and lotion | Fresh gloves; no product on broken skin |
Exfoliation | 5–10 min | Smooth texture, prepare pores | No scrub over inflamed spots; follow product time |
Warm towels | 3–5 min | Soften the surface | Test temperature on your own wrist first |
Extractions (if suitable) | up to about 10 min | Clear ready blackheads | Trained only; gloves; no squeezing inflamed spots |
Mask | 10–15 min | Absorb oil or soothe | Bowl and spatula, no double-dipping |
Massage | 5–10 min | Relaxation, product application | Light pressure; avoid treated spots and the spine |
Finish, dressing, aftercare | 5 min | Protect the skin, inform the client | Get up slowly; record the session |
Adapting the treatment to the skin you see
Use your notes from Step 2 to choose products and adjust each step. These are general beginner guidelines, not rules for every product:
What you see | Exfoliation | Extractions | Mask | Notes |
|---|---|---|---|---|
Many blackheads, oily shine | Fine scrub or enzyme | Yes, if trained, blackheads only | Clay | Focus on upper back and shoulders |
Dry, flaky or rough skin | Gentle enzyme or very fine scrub, short time | Usually not needed | Cream or gel | Richer moisturiser at the end |
Redness, reacts easily | Enzyme only, or skip | Avoid or minimal | Soothing gel | Lukewarm towels; patch test new products |
A few red, sore spots among blackheads | Non-gritty only, avoid the spots | Blackheads only; leave the red spots | Soothing on red areas, clay elsewhere | Suggest a doctor if the spots are frequent or painful |
Many painful, deep or widespread spots | Do not treat that area | No | No | Offer a relaxing service elsewhere and refer to a doctor |
Practical examples
Example 1: the wedding guest. The client from the opening has blackheads and rough texture across her upper back, with no inflamed spots. You cleanse, use a fine scrub, warm towels, extract the ready blackheads with tissue-wrapped fingertips for a short time, apply a clay mask and finish with a light moisturiser. You suggest booking a few days before the event, not the day before, in case of temporary redness. You do not promise "clear skin by Saturday".
Example 2: the gym-goer with red spots. A man who trains daily has blackheads on his shoulders and several red, sore spots in the middle of his back. You use an enzyme exfoliant, extract blackheads on the shoulders only, leave the red spots alone, apply a soothing mask and suggest he sees a doctor if sore spots keep appearing.
Aftercare advice to give the client
Some pinkness after a back facial is common and should settle; if the skin becomes painful, very red, swollen or itchy, contact the spa and consider seeing a doctor.
If your spa recommends it, avoid saunas, hot baths, intense exercise and tight clothing for the rest of the day.
Do not pick or scratch any extracted areas.
Avoid strong sun on the back, and use sunscreen if the back will be exposed.
Avoid scrubs, exfoliating products and waxing on the back for a few days, or as your spa advises.
Safety and hygiene checklist
☐ Couch, face cradle, trolley and equipment cleaned and disinfected as per spa procedure; fresh linen and cradle cover.
☐ Towel warmer clean, holding only freshly laundered towels.
☐ Health form checked; back-specific questions asked (medicines, sun, procedures, allergies).
☐ Skin checked before any product; areas to avoid noted on the record card.
☐ Hands washed or sanitised; fresh disposable gloves; changed after extractions or if torn.
☐ Products decanted into clean bowls with a spatula; no double-dipping.
☐ Every warm towel tested on your own wrist or forearm first.
☐ Extractions only if trained; blackheads and ready blockages only; tissue-wrapped fingertips or approved tool; no nails.
☐ Single-use lancets (if allowed) used once and placed straight into a sharps container.
☐ Client kept warm, covered and asked about comfort; never left alone with a mask for long.
☐ Client gets up slowly; aftercare given; session recorded; referral advice noted if given.
☐ Used linen bagged, single-use items discarded, tools cleaned and disinfected or sterilised according to spa procedure.
Frequently Asked Questions
How long does a back facial take?
Many spas offer it as a 45- to 60-minute treatment, for reference. The time depends on your menu, how much extraction is needed and whether you include a longer massage.
Is a back facial good for back acne?
A back facial can help keep the skin clean and remove blackheads, and many clients like how their skin feels afterwards. It is not a treatment for acne. If a client has painful, deep, frequent or widespread spots, suggest they see a doctor or dermatologist, and treat only what is within your scope.
How often should a client have a back facial?
There is no single right answer. Some spas suggest a few weeks between sessions so the skin can recover from exfoliation and extractions. Follow your spa's recommendation and adjust to how the client's skin responds.
Should I wear gloves for the whole back facial?
Many spa protocols require gloves for cleansing, exfoliation and especially extractions. Some therapists massage with bare, freshly washed hands after the mask is removed, if their spa allows it. Always wear gloves when there is any chance of contact with skin contents, broken skin or body fluids, and follow your spa's written procedure.
Can I do a back facial on a man with a hairy back?
Yes, but adjust the technique. Use enough product so it glides, choose products that rinse out of hair easily and avoid thick scrubs that get trapped. Work in the direction of hair growth with sponges and towels to reduce pulling.
Practice Exercises
Consultation role-play: With a classmate, practise the back-specific consultation questions: concerns, home products, prescribed medicines, sun exposure, recent procedures and comfort lying face down. Write a short record card entry from the answers.
Towel temperature test: Take towels from the warmer and practise unfolding, airing and testing each one on your inner wrist before laying it on a partner's back. Ask your partner to describe the temperature each time.
Adaptation quiz: For each case below, decide which exfoliant, mask and extraction plan you would use, or whether you would refer: (a) oily shine with many blackheads; (b) dry, flaky skin with no spots; (c) a few red, sore spots plus blackheads on the shoulders; (d) a mole the client says has recently changed colour.