An air conditioner leaking water inside the room is, in most cases, condensate that cannot get out: the drain line or drain pan is blocked, the indoor unit is hung with the wrong tilt, or the drain hose sags, kinks or ends under water. Less often the indoor coil freezes and then melts (dirty filter, low refrigerant), uninsulated copper pipe sweats, or rain runs in through the hole in the wall. Many cases can be checked and cleared by the owner in 15–30 minutes; the rest need a technician to correct the installation or deal with the refrigerant.
By the end of this lesson, you will be able to:
- Explain where condensate comes from and why a wall-mounted unit can drain several litres a night.
- Identify which of the 7 causes is most likely from where and when the water appears.
- Clear a blocked AC drain line with a pump or a wet-dry vacuum without puncturing it.
- Check the indoor unit tilt and the drain slope with a spirit level, to at least 1 cm per metre.
- Estimate repair costs from 2026 reference prices and know which jobs need a technician.
Want to fix this for customers? See the NAMBIN 8-step path to becoming an air-conditioning & refrigeration technician: proper installation, cleaning and servicing, refrigerant charging and inverter board diagnosis.
Why does an air conditioner leak water? Follow the condensate
A split air conditioner has no water supply. Every drop is moisture from the room air that condenses on the indoor coil.
How condensate forms
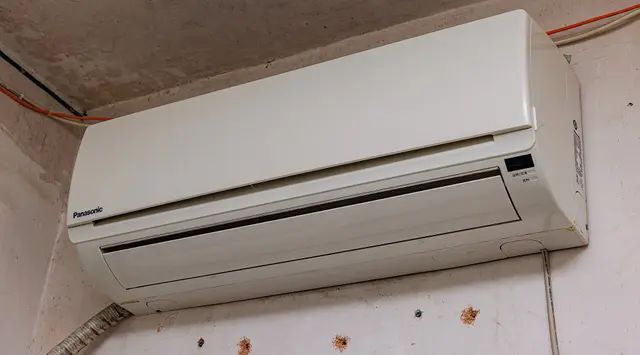
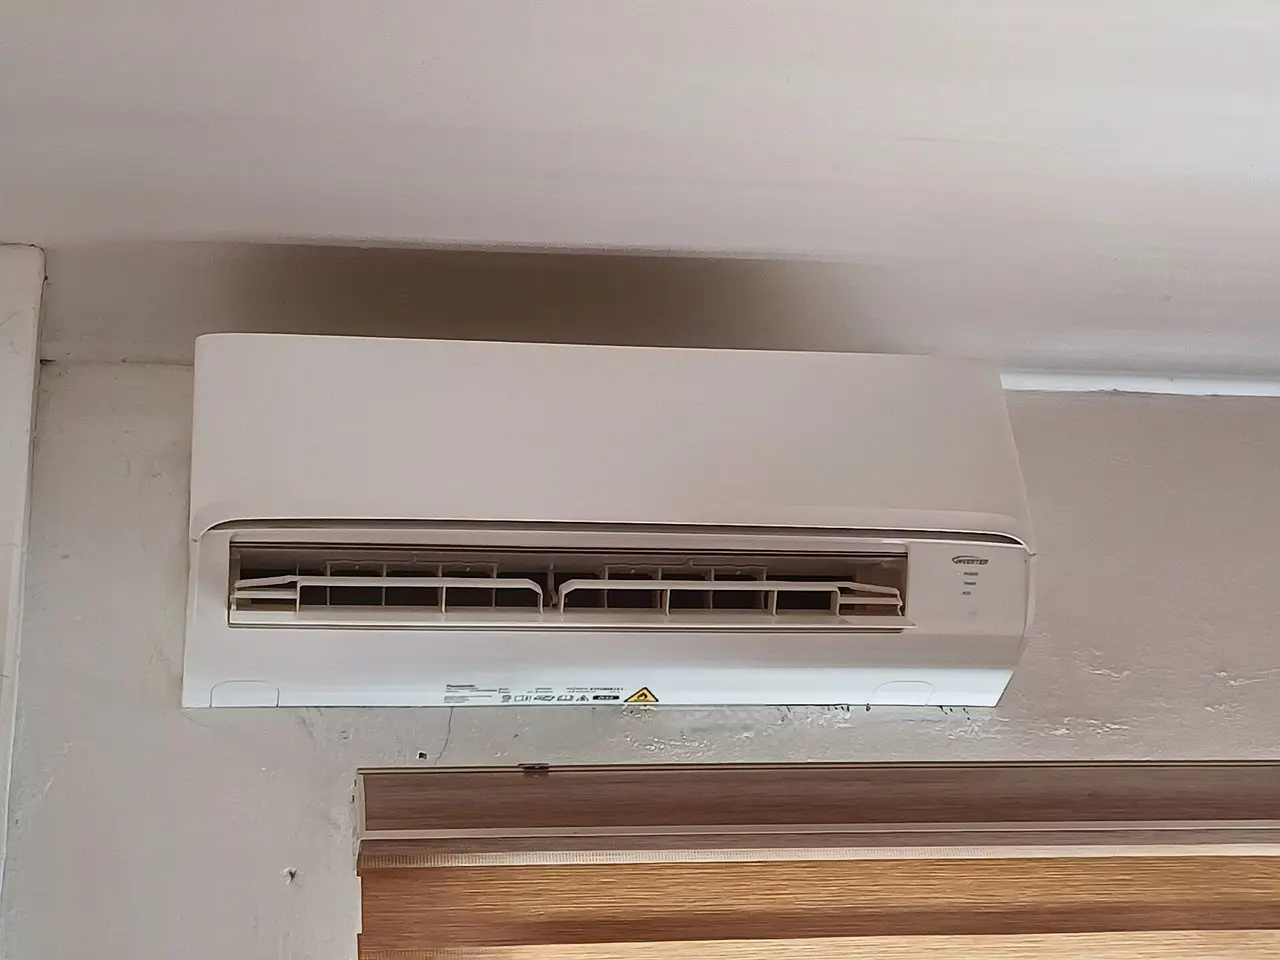
The indoor coil (the bank of aluminium fins inside the indoor unit) is much colder than the room air. When humid air blows across it, water vapour condenses into droplets, just like on the outside of a glass of iced water. The droplets run down into the drain pan (a plastic tray under the coil) and then through the condensate drain line (a small flexible hose or PVC pipe) to the outside. A typical wall-mounted indoor unit looks like Figure 1; the drain pan sits out of sight just behind the louvre.
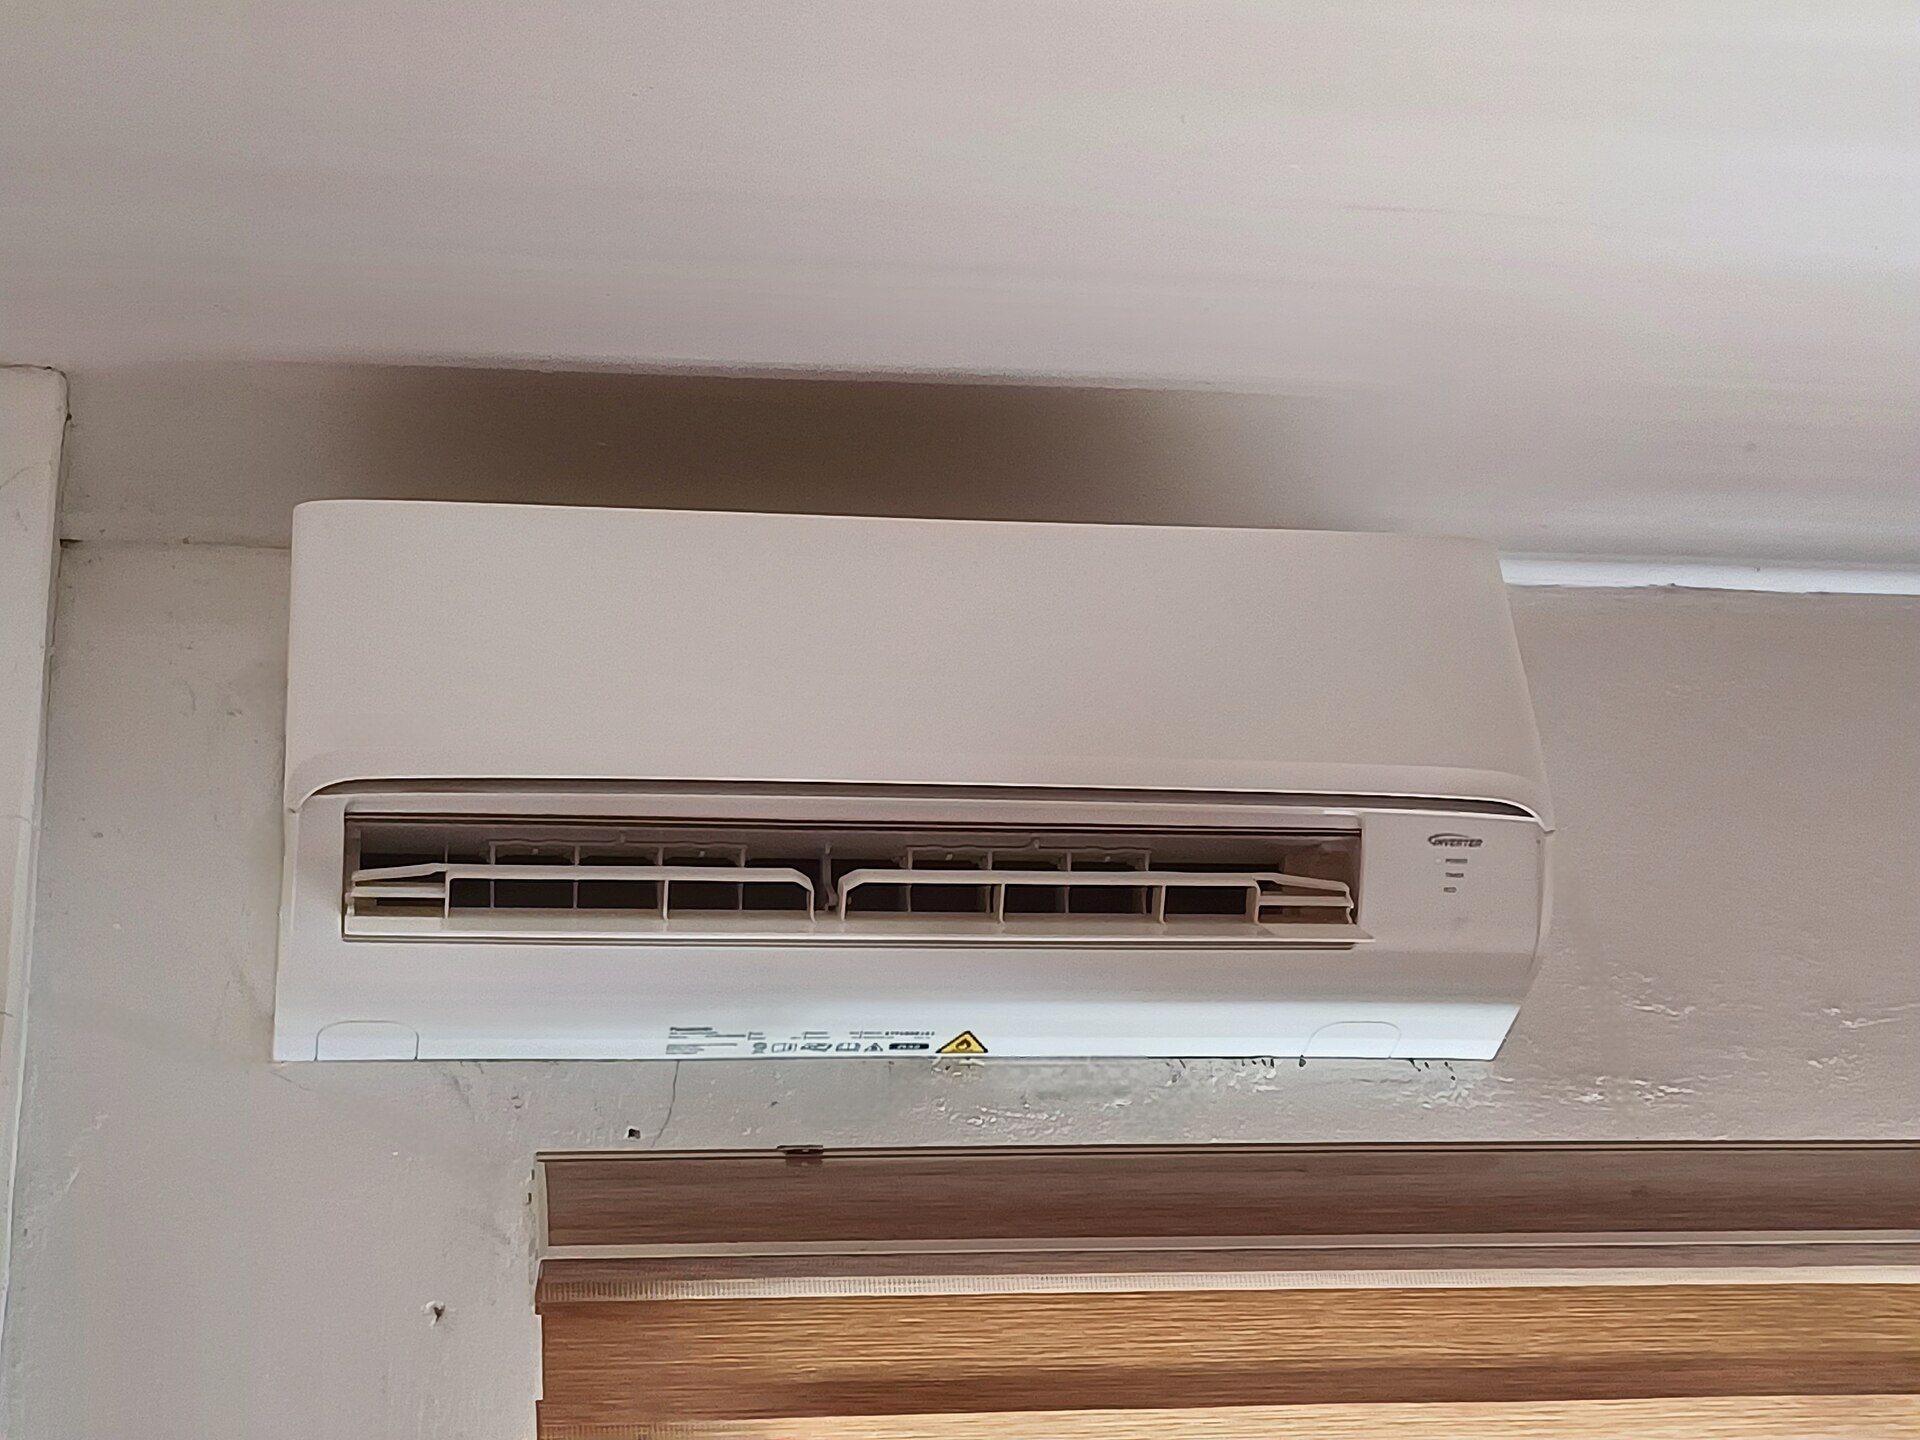
Photo: Curpharar / Wikimedia Commons, CC BY-SA 4.0
How much water does it make in one night?
Vietnam is humid, especially in the damp spring season and the rainy season. A 12,000 BTU unit running in cooling mode can condense roughly 0.5–1.5 litres of water per hour depending on humidity (a rough reference estimate). Run it for 8 hours overnight at 1 litre per hour: 8 × 1 = 8 litres — close to a small bucket. A drain that is only slightly restricted is enough to overflow the pan.
Water leaves by gravity
Most household units have no condensate pump; the water simply runs downhill. So three things decide whether a unit leaks: the path is clear (not blocked), it slopes evenly (no sags, no uphill sections), and the outlet is open (not submerged). A correctly routed outlet drips steadily while the unit runs, as in Figure 2.
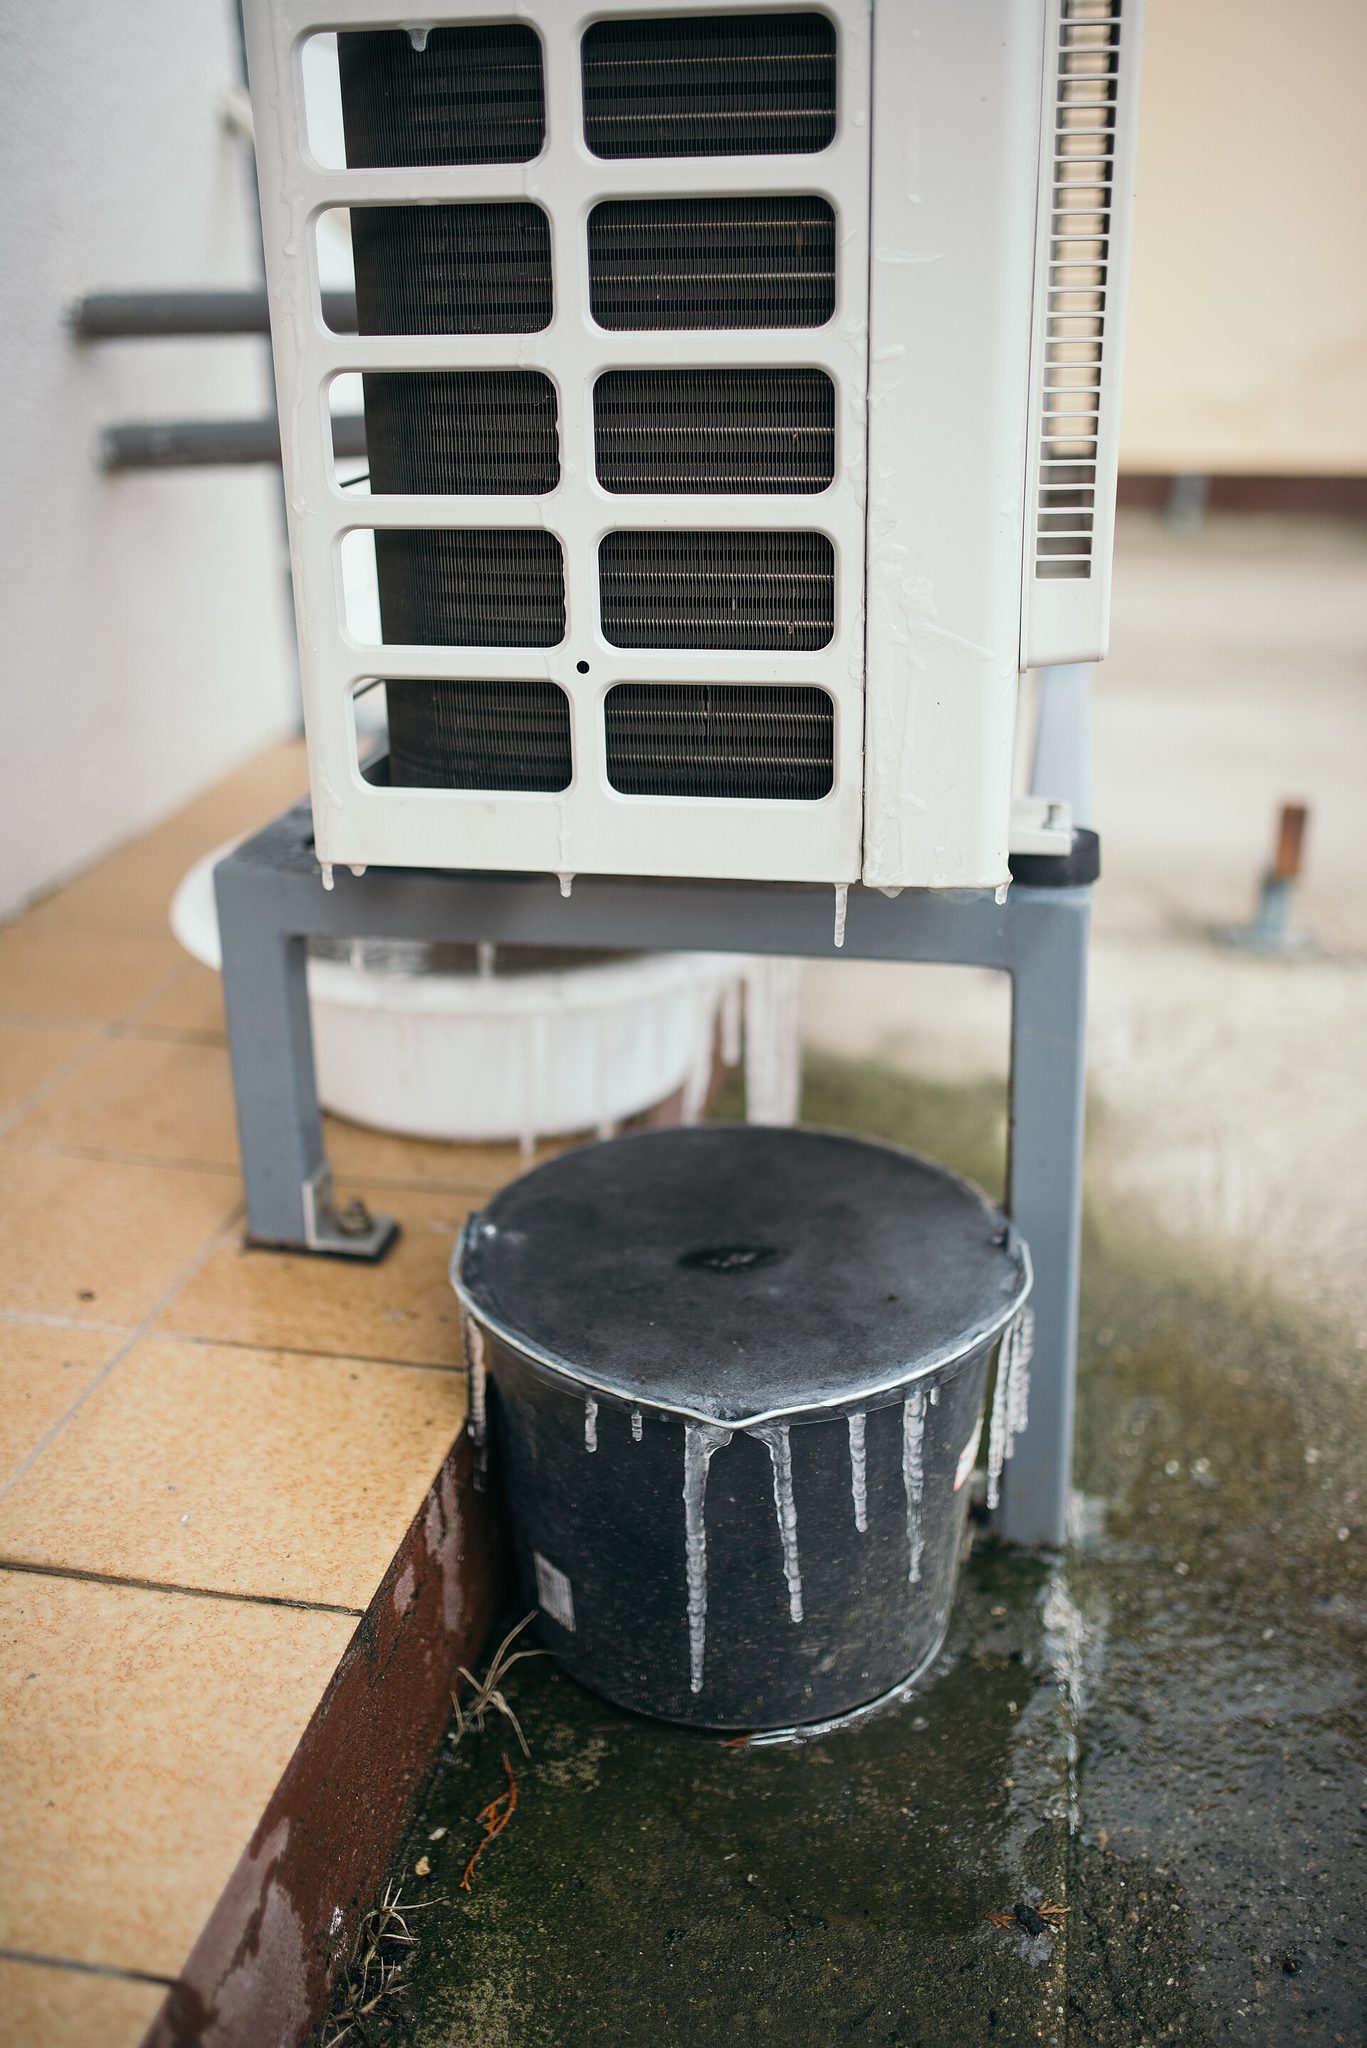
Photo: Shixart1985 / Wikimedia Commons, CC BY 2.0
7 reasons an air conditioner leaks water indoors
The causes are listed in the order they turn up in real jobs. The first three account for most cases.
1. Blocked drain line or drain pan
Dust that slips past the filter, slime and mould build up in the pan and turn into sludge that plugs the outlet. Sometimes it is a dead cockroach or a spider nest that got in from the outdoor end. Signs: the indoor unit drips evenly along the bottom edge or from the air outlet after 30–60 minutes of running; the outdoor end of the hose is dry or barely trickles.
2. Indoor unit tilted the wrong way or drain without enough slope
The drain pan has a single outlet, on the left or right depending on the model. The indoor unit must be level or tilted slightly towards that outlet (a few millimetres, as specified in the manufacturer's installation guide). Hang it the other way and the water collects at the far end and spills over. A drain line that runs flat drains sluggishly and overflows whenever the unit makes a lot of water. This usually shows up in the first weeks after installation, or after the unit has been taken down and re-hung.
3. Kinked or sagging drain hose, or outlet under water
A flexible hose behind a wardrobe is easily crushed. An outdoor run with no clips sags, water sits in the dip and pushes back. An outlet pushed into a bucket, a plant pot or a full gutter cannot discharge either. In apartment blocks, if the shared drain stack is blocked, water backs up into every unit connected to it.
4. Dirty filter freezes the indoor coil
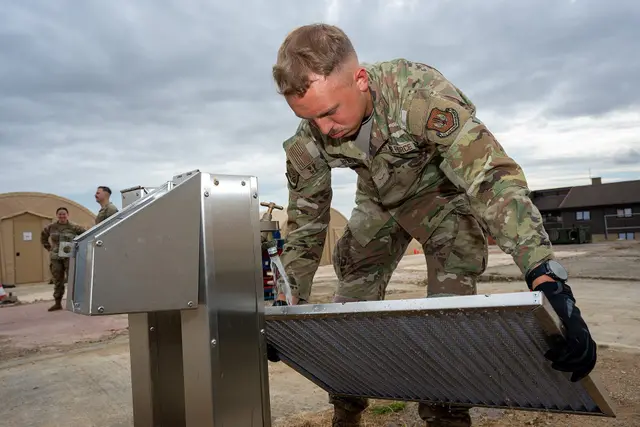
A filter clogged with dust like the one in Figure 3 starves the coil of air. With too little airflow the coil gets too cold and the condensate freezes into ice on the fins. When the unit stops or defrosts, the ice melts all at once, the pan cannot cope and water drips in bursts — sometimes with small bits of ice. The fix is to wash the filter and clean the coil; see how to clean an air conditioner at home.
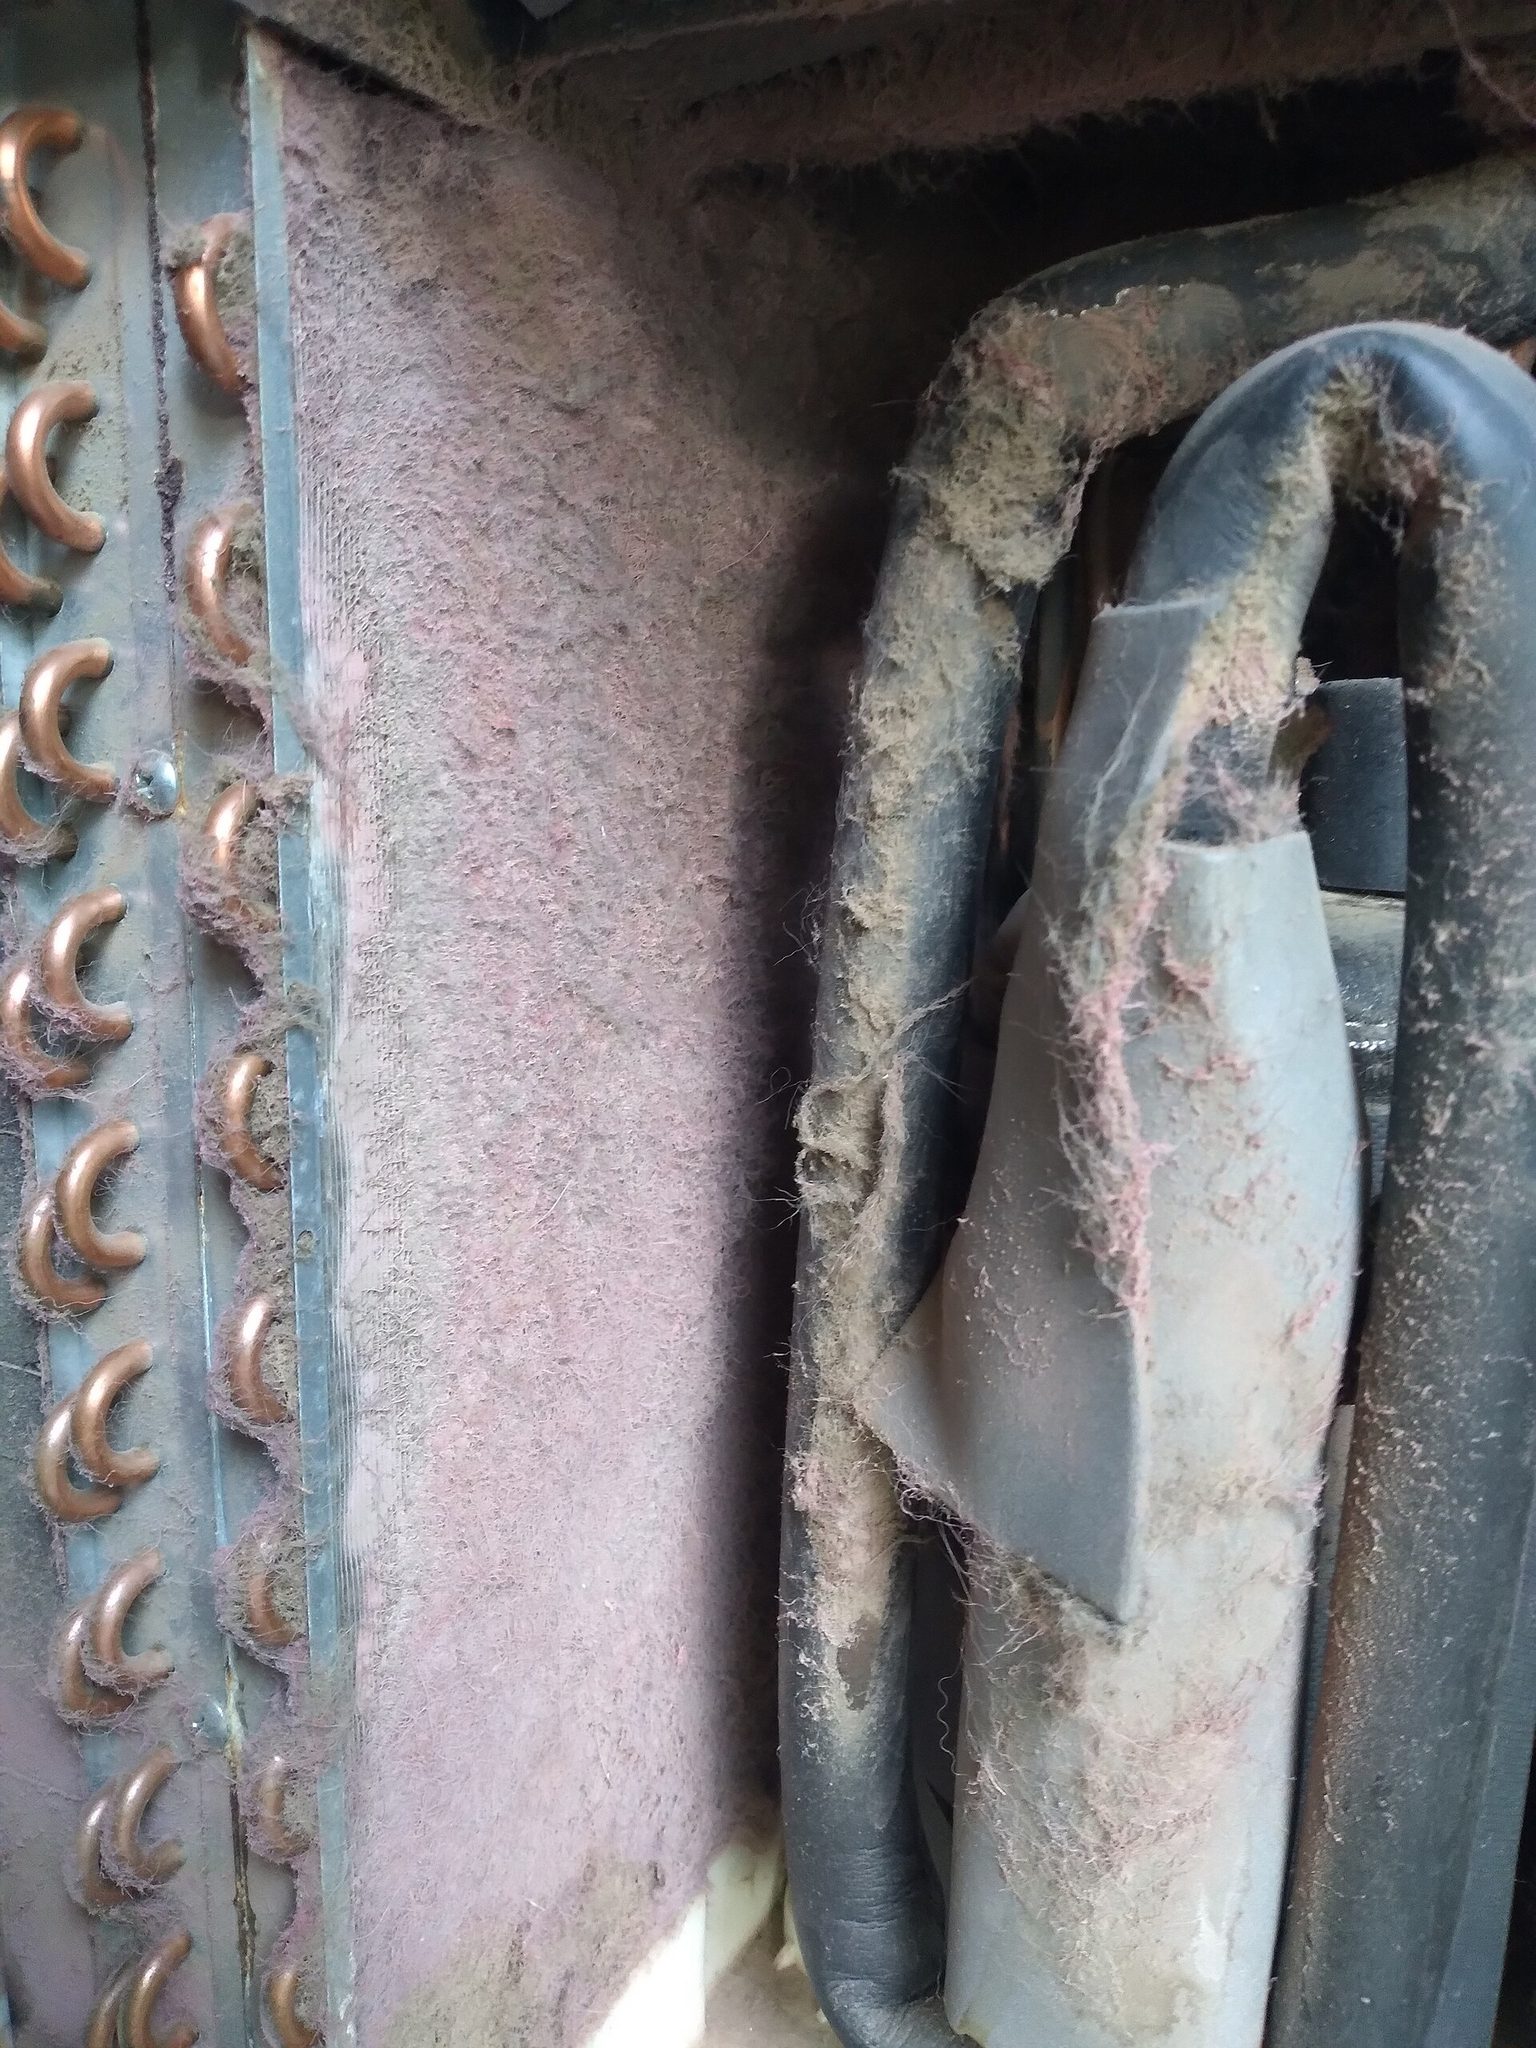
Photo: Gerardolagunes / Wikimedia Commons, CC BY-SA 4.0
5. Low refrigerant makes the coil frost up and melt
When the system is short of refrigerant because of a leak, pressure on the indoor side drops and part of the coil and the small copper pipe frost over. The frost melts when the unit rests and water drips, much like cause 4, but the filter is clean and the unit usually also cools poorly. Low refrigerant can only be confirmed with pressure gauges; the technician's checks are covered in air conditioner not cooling: 9 causes.
6. Exposed copper pipe or damaged insulation sweating
The two copper pipes between the indoor and outdoor units are wrapped in pipe insulation (closed-cell foam tube). If the insulation is torn, perished or shrunk back, or a joint was never wrapped, humid air touches the cold pipe and condensation forms. Water runs along the pipe, soaks the wall behind the unit or drips where the pipes leave the unit. Figure 4 shows the black insulation on the large copper pipe of an old unit breaking down — the same condition on the indoor section is a source of dripping.
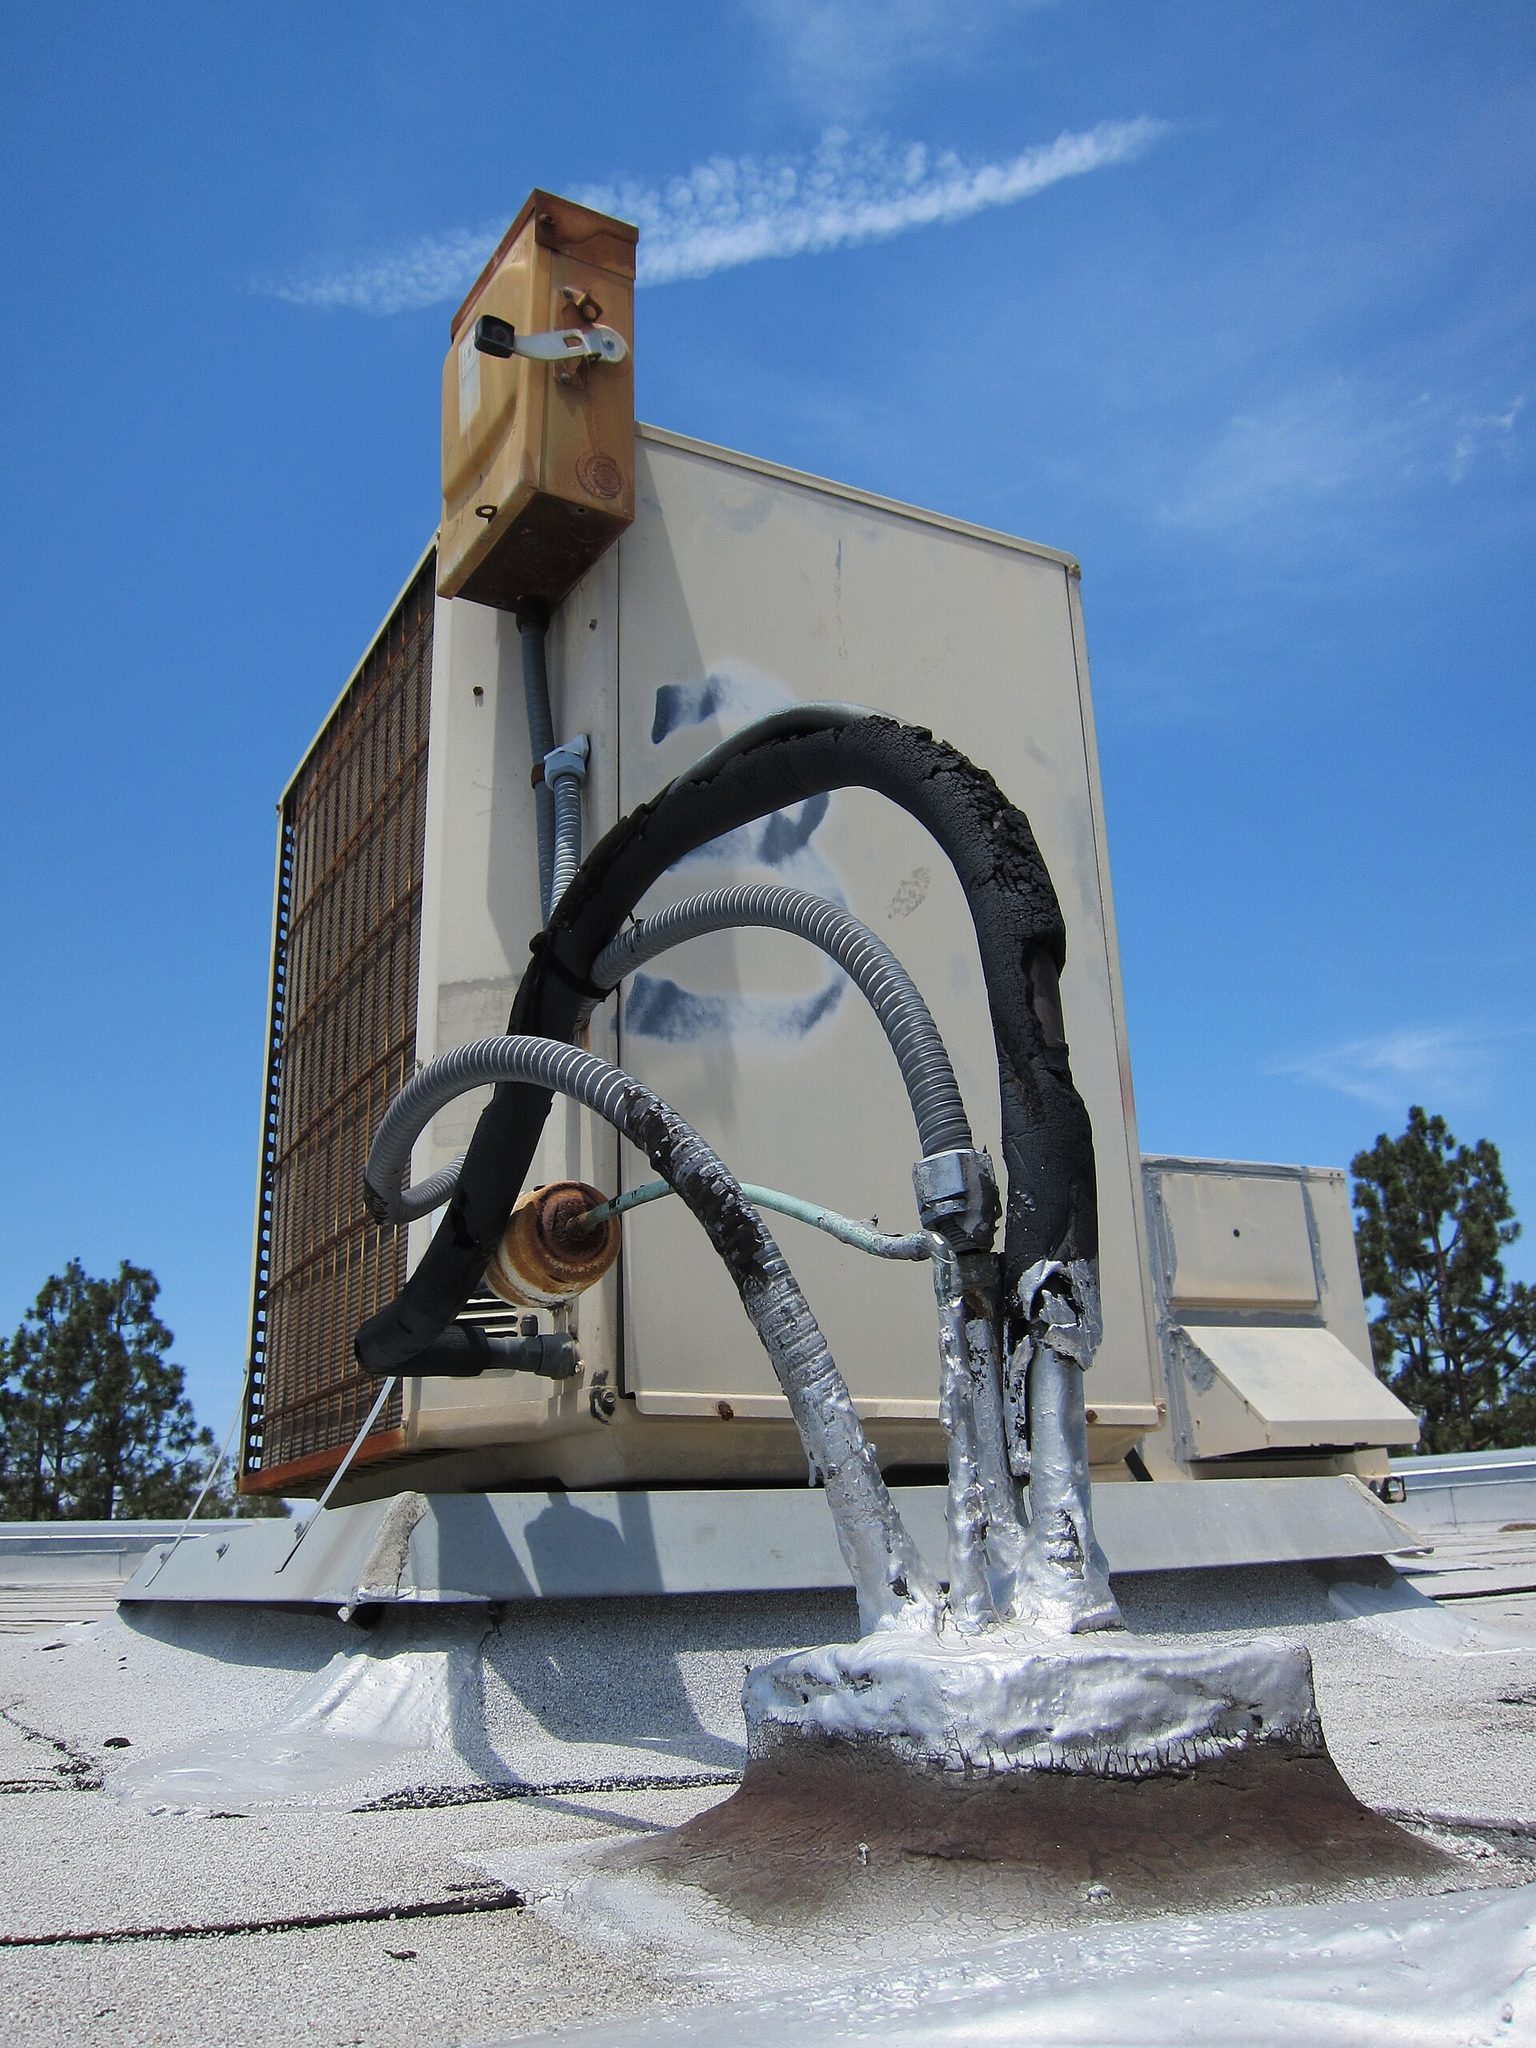
Photo: Chris Hunkeler from Carlsbad, California, USA / Wikimedia Commons, CC BY-SA 2.0
7. Rain getting in through the wall hole
The hole cored through the wall for the copper pipes and the drain must slope outwards and be sealed. If it slopes inwards, is not sealed, or the pipes have no drip loop before entering the wall, rainwater follows the pipes into the room. Signs: it only gets wet when it rains, the wall around the pipe hole shows damp patches, and it drips even with the unit off.
Quick diagnosis table: symptom → cause → DIY or call a technician
Note three things: where the water appears, whether it happens while running or after switching off, and whether it is linked to rain.
| Symptom | Likely cause | DIY or call a technician |
|---|---|---|
| Even dripping along the bottom edge while running; outdoor end of the hose dry | Blocked line or pan (1) | DIY if the outlet is safely within reach; sludge in the pan: technician cleaning |
| Dripping at one end; unit newly installed or re-hung | Wrong tilt (2) | Check with a spirit level yourself; adjusting the bracket: technician |
| Weak flow at the outlet; hose sags, kinks or sits in a bucket | Sagging, kinked or submerged hose (3) | Straighten the hose, lift the outlet out of water; re-routing: technician |
| Bursts of water after switching off; dirty filter | Coil icing from dirt (4) | Wash the filter yourself; dirty coil: technician cleaning |
| Bursts of water, clean filter, weak cooling, frost on the small pipe | Low refrigerant (5) | Technician to measure pressure and fix the leak |
| Drops along the copper pipes, damp wall behind the unit | Open insulation (6) | Technician to re-wrap insulation |
| Wet only when it rains, drips with the unit off | Rain through the wall hole (7) | Technician to seal the hole and rework the pipe entry |
A unit can have two causes at once; if it still drips after fixing one, keep checking.
Safety before opening the indoor unit
Inside the indoor unit, the control board, terminal block and fan motor sit right next to the drain pan. The socket is often directly below the unit — exactly where the water falls.
Safety warning: always switch the unit off with the remote and then switch off its circuit breaker before opening the front panel or touching the pan or hose. If water has dripped onto the socket or plug, or you see water near the board, do not switch back on; let it dry completely and have a technician check the insulation. Working at height: use a sturdy A-frame ladder with someone holding it; never stand on a swivel chair, and never climb over a balcony railing or out of a window to reach the outdoor end of the hose — an outlet high up on an upper-floor balcony is a job for a technician with a safety harness. Do not attempt to recharge refrigerant yourself.
Tools to prepare
- A-frame ladder, torch, dry cloths, a basin and a large plastic sheet to protect what is below.
- A hand pump (balloon pump or bicycle pump with a rubber cone tip) or a wet-dry vacuum cleaner.
- A short piece of soft hose and tape to seal the pump to the drain line.
- A spirit level 40–60 cm long and a tape measure.
- A cup with about 0.5 litres of clean water for flow tests.
Jobs to leave alone
Do not remove the board, take the indoor unit off its bracket, or cut or braze copper pipe. Owners should stop at washing the filter, clearing the hose, straightening kinks and measuring the tilt.
How to clear a blocked air conditioner drain line
The rule: push or pull the blockage out with air and water, never poke it with something rigid. The drain hose is soft and the pan is thin plastic; a steel wire or bamboo stick easily punctures or cracks them, and a hole hidden inside the wall leaks later and is far harder to find than a blockage.
Step 1: confirm it is blocked
- Switch off the breaker, open the front panel and remove the filter.
- Slowly pour about 0.5 litres of water into the pan, at the end away from the outlet.
- Watch the outdoor end (or have someone watch it): a clear line drains steadily within about a minute; if the water rises in the pan, only drips out or does not come out, it is blocked.
Step 2: clear it with a vacuum or a pump
- Suction (gentlest on the unit): at the outdoor end, tape the hose of a wet-dry vacuum tightly over the drain line and run it for 20–30 seconds. Sludge is pulled out instead of being pushed back into the unit.
- Air pump: from the outdoor end, seal the pump tightly and give short, firm strokes to push the plug back into the pan, then wipe the pan clean. Do not blow from the pan side with a loose connection — air can escape and pop the hose joint inside the wall.
- Repeat the 0.5-litre test from step 1. A steady flow means it is clear.
Do not pour strong drain cleaner into the pan: it can corrode the aluminium fins and make plastic hoses brittle. If the pan is full of sludge, the lasting fix is a full coil wash by a technician with a pressure washer and catch bag.
When the blockage is in the shared apartment stack
If your own line is clear but water still backs up, or neighbours on the same stack have the same problem, ask the building management to clear the shared drain stack rather than breaking into the wall yourself.
Checking the indoor unit tilt and drain slope with a spirit level
If the line is clear but the unit still drips, or a new installation leaks, suspect the tilt and the slope straight away. Figure 5 shows a condensate drain line being installed on site: the pipe is clipped at regular intervals so it does not sag.
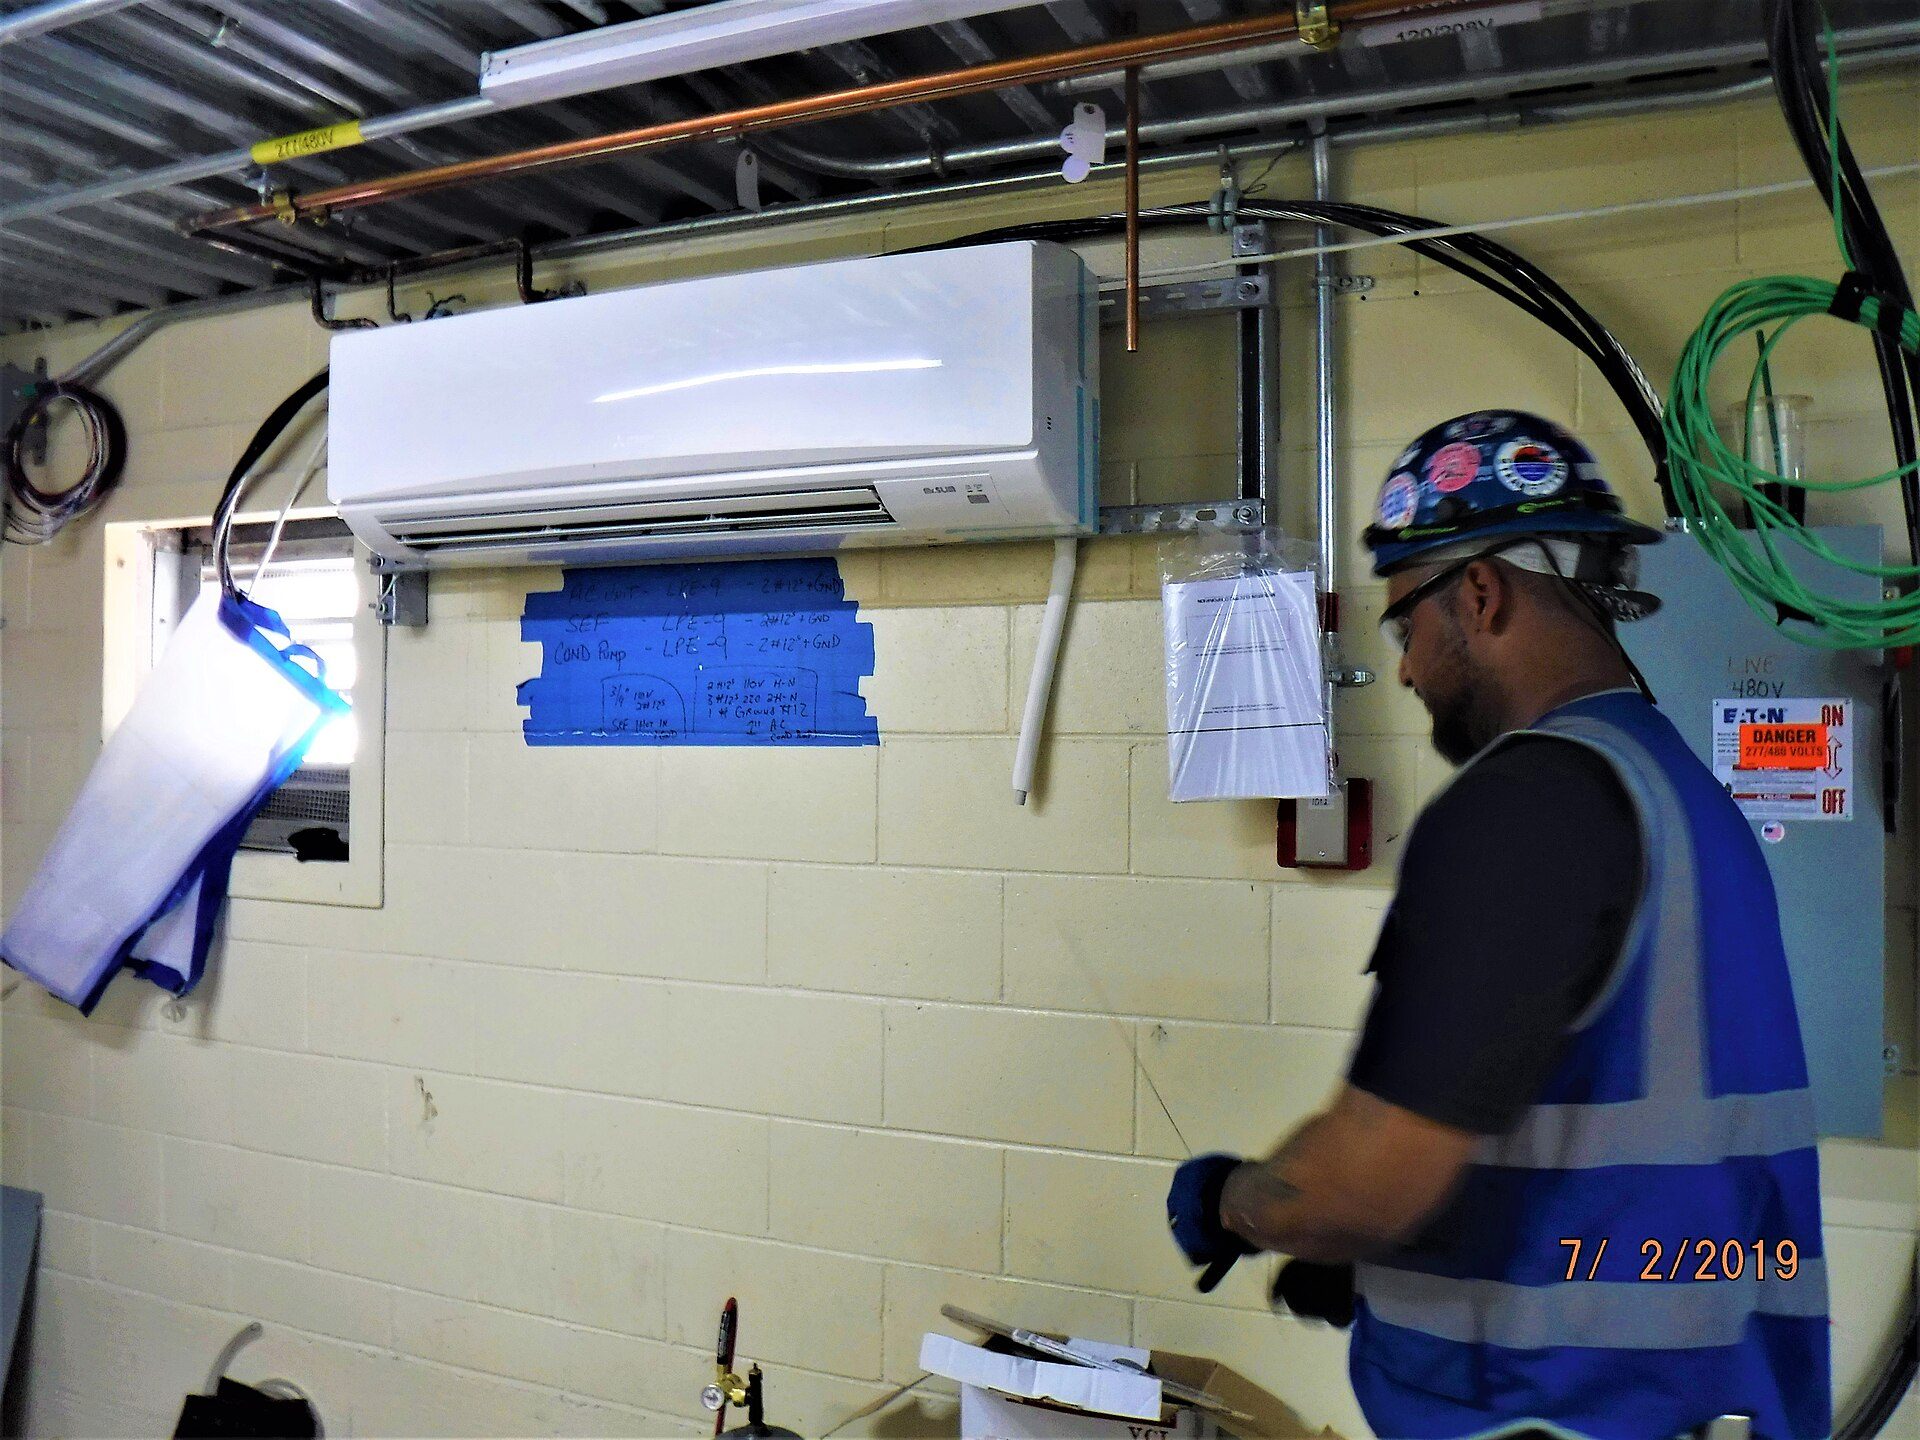
Photo: MTA Capital Construction Mega Projects / Wikimedia Commons, CC BY 2.0
Measuring the indoor unit tilt
Switch off the breaker. Place the spirit level on top of the indoor unit (or on a flat lower edge). The bubble moves towards the higher end. Correct: the bubble is centred or slightly towards the end away from the drain outlet, meaning the unit tilts slightly down towards the drain. Wrong: the bubble moves towards the drain end, meaning the drain end is higher and water runs to the other side. To measure the error, slip folded paper under the low end of the level until the bubble centres, then measure the thickness against the length of the level.
Measuring the drain slope
The condensate line must fall evenly towards the outlet, at least 1 cm per metre (1%), and 2 cm per metre where the route allows. For example, a 4 m line must end at least 4 cm lower than where it leaves the unit. Lay the level on each straight section, or stretch a horizontal string as a datum and measure down to the pipe at the start, middle and end. A wrong drain usually shows one of three faults: a sag that holds water, a section that runs uphill, or a submerged outlet.
The outlet: open and free to drain
The outlet should be at least 5 cm above any water surface or gutter edge, not pushed into a bucket or plant pot. An insect screen on the end helps. Where a gravity drain is impossible (for example, the indoor unit sits lower than the discharge point), a technician fits a mini condensate pump instead of forcing the hose.
Worked example: apartment, 12,000 BTU unit dripping on the left
Ms Lan lives on the 9th floor of an apartment block in Hanoi. Her bedroom has a 12,000 BTU wall-mounted unit installed 3 years ago. Lately, about an hour after it starts each night, the left edge of the indoor unit drips onto the bedside table. The drain outlet is on the left; the drain line runs 3 m out to the balcony. The numbers below are an illustration.
Checks in order
- Switch off the unit and the breaker, move the bedside table and cover the area with plastic. The socket under the unit is still dry.
- Filter: lightly dusty, not thick. Wash and dry it.
- Pour 0.5 litres into the pan: the water rises and the balcony end only drips. Conclusion: partly blocked.
- A 60 cm spirit level on top of the unit: the bubble moves left — the drain end is higher. About 3 mm of paper under the right end centres the bubble: the unit tilts the wrong way by about 3 mm over 60 cm.
- The balcony section has no clips and sags about 2 cm in the middle; the outlet sits in a mop bucket half full of water.
Repair and cost
Lifting the outlet out of the bucket helps, but the flow is still weak. The technician vacuums the line, adjusts the bracket so the unit tilts slightly to the left, replaces the 3 m balcony section and clips it. Costs (2026 reference prices):
| Item | Calculation | Amount |
|---|---|---|
| Clearing the drain line with a vacuum | 1 unit | 150,000 VND |
| Correcting the indoor unit tilt | 1 unit | 200,000 VND |
| New drain hose | 3 m × 20,000 VND | 60,000 VND |
| Clips and straps | 10 × 5,000 VND | 50,000 VND |
| Labour to re-route the drain | 1 job | 150,000 VND |
| Total | 150,000 + 200,000 + 60,000 + 50,000 + 150,000 | 610,000 VND (about US$23) |
Checking the result
A 3 m line must drop at least 3 cm (1%); after re-routing, the outlet is 6 cm lower, i.e. 2 cm per metre. The 0.5-litre test now drains completely in under a minute. After 2 hours of cooling, the edge of the indoor unit is dry and the outlet drips steadily. The technician advises washing the filter every 2–4 weeks in the hot season and a full service once a year.
What it costs to fix a leaking air conditioner (2026 reference)
These are 2026 reference ranges for wall-mounted household units in major Vietnamese cities; actual prices vary by area, floor height, unit location and contractor. Many firms include drain clearing in the cleaning package.
| Job | 2026 reference price | Notes |
|---|---|---|
| Clearing a blocked drain line or pan | 100,000–250,000 VND per unit | Often free when done with a service |
| Cleaning a wall-mounted unit | 150,000–350,000 VND per unit | Indoor and outdoor coils, drain pan |
| Correcting the indoor unit tilt | 150,000–300,000 VND | May need the bracket re-drilled |
| Replacing or re-routing the drain line | Materials 15,000–30,000 VND/m + labour 100,000–250,000 VND | Concealed in-wall runs priced separately |
| Re-wrapping copper pipe insulation | 30,000–60,000 VND/m | Insulation and wrapping tape included |
| Sealing the wall hole against rain | 100,000–300,000 VND | Re-coring an inward-sloping hole costs extra |
| Finding and fixing a refrigerant leak | 200,000–800,000 VND | Top-up charge priced separately |
| Fitting a mini condensate pump | 700,000–1,800,000 VND | Pump included; used when gravity drainage is impossible |
Ask for the price first and ask the technician to show you the blockage or the exposed pipe. Being told it "needs gas" before anyone has measured the pressure is a reason to ask again.
Common mistakes when dealing with a leaking AC
Poking a steel wire into the drain
Sign: a few days after "clearing" it, the wall behind the unit goes damp. Cause: the rigid wire punctured the soft hose or knocked a joint loose inside the wall. Fix: use only a vacuum or an air pump; a punctured section must be replaced by a technician.
Putting a basin underneath and leaving it
Sign: emptying the basin every day, and the unit starts to smell. Cause: the root problem is not fixed; overflow can reach the fan motor and the board. Fix: find the cause using the diagnosis table.
Switching back on after water reached the socket
Sign: the breaker trips, the plug has scorch marks. Cause: water causes leakage current and short circuits. Fix: switch off the breaker, let it dry, replace the damaged socket, and move the socket out of the drip zone or hard-wire the unit properly.
Frequently asked questions
Is an air conditioner leaking water dangerous?
Yes. Water dripping onto the socket, cables or board can cause leakage current and short circuits; water soaking in causes mould on walls and ruins wooden floors. If water reaches the socket or the board, switch off the breaker and deal with it straight away.
The indoor unit drips but still cools well. What is wrong?
Most often the AC drain line is blocked, the indoor unit is tilted the wrong way, or the hose sags or ends under water. Cooling is unaffected because the refrigerant and compressor are not involved. Follow the drain-clearing and tilt checks above.
Can I clear a blocked AC drain myself?
Yes, if the outlet is safely within reach. Use a wet-dry vacuum or an air pump sealed onto the end of the hose, then do a water test. Do not poke it with a stiff wire and do not use strong chemicals. If the outlet is on a high balcony, call a technician.
Why does my air conditioner leak after I switch it off?
Usually the coil froze while running (dirty filter or low refrigerant) and the ice melts all at once when the unit stops. Wash the filter first; if the filter is clean and the unit also cools poorly, have a technician measure the refrigerant.
A newly installed unit already leaks. What now?
This is almost certainly an installation fault: wrong tilt, too little drain slope or a kinked hose inside the wall. Ask the installer to fix it under warranty, with photos of the drip and your spirit-level reading as evidence.
Practical exercise
- On a wall-mounted unit at home: switch off the breaker, open the front panel and photograph the drain pan and the outlet position (left or right).
- Pour 0.5 litres of water into the pan and time how long until the outlet stops running.
- Measure the indoor unit tilt with a spirit level; measure the drain length and the height difference from start to end, and work out the slope in cm per metre.
- Compare your results with the diagnosis table and write a conclusion: which cause puts the unit at risk of leaking, and what needs to be done.
Self-assessment criteria
- Pass: you switched off the breaker before opening the panel; the test water drained in about a minute, or you clearly recorded "blocked".
- Pass: you calculated the slope as a number (for example 6 cm over 3 m = 2 cm/m) and stated whether it meets 1 cm/m.
- Not yet: you poked a steel wire into the hose, stood on a chair with nobody holding it, or climbed over a railing to look at the outlet.
Clearing drains and setting the slope are core skills of the step Cleaning & servicing ACs and fridges. If you are thinking about the trade, read how long it takes to learn air conditioner repair. The next step on the path is Error codes & inverter AC board diagnosis: testing thermistors and DC fans, and telling a board fault from a compressor fault.
Learning the trade properly? See the NAMBIN 8-step path to becoming an air-conditioning & refrigeration technician — from safety, installation, vacuuming and charging to cleaning, servicing and inverter board repair.