By the end of this lesson, you will be able to: tell a smart switch that needs a neutral from one that does not, and explain why the no-neutral type has to "borrow" current through the lamp; identify the L, L1 and L2 wires in a wall box with a voltage tester and a multimeter after switching off the breaker; wire 1-, 2- and 3-gang no-neutral Wi-Fi touch switches correctly and check that the wall box is deep enough; add up the lamp wattage on each gang, compare it with the minimum load on the label and decide whether a bypass is needed; and diagnose the five most common faults: lamps glowing when off, flickering, the switch rebooting, Wi-Fi dropouts and buttons that do not respond.
A no-neutral smart switch (also sold as a "single-wire" or "no N" switch) fits straight into an old switch box that only has the live wire L coming down and the switched wire L1 going up to the lamp. It powers its own electronics by letting a very small current flow through the lamp to the neutral N at the lamp box. The trade-off is that it is fussy about the load: low-wattage LED lamps easily glow dimly when switched off, flicker, or make the switch lose its Wi-Fi connection. Each gang must therefore carry at least the minimum wattage printed on the label, or you need to add a bypass (anti-flicker capacitor) in parallel with the lamp.
Many homeowners swap in a Wi-Fi touch switch themselves and then call an electrician because the lights blink all night. This lesson shows you how to choose the right type, wire it correctly and fix those faults.
Want to master the whole smart home, not just one switch? Choosing devices, running cables with a spare neutral, setting up scenes and troubleshooting are all practised and graded in the NAMBIN course Residential Electrician Level 3 – Master Electrician.
How does a no-neutral smart switch work?
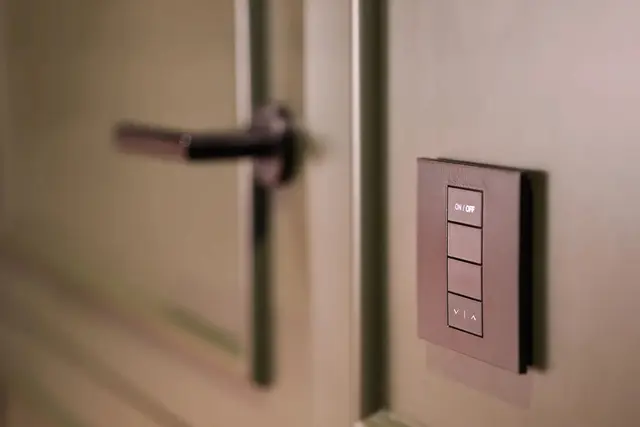
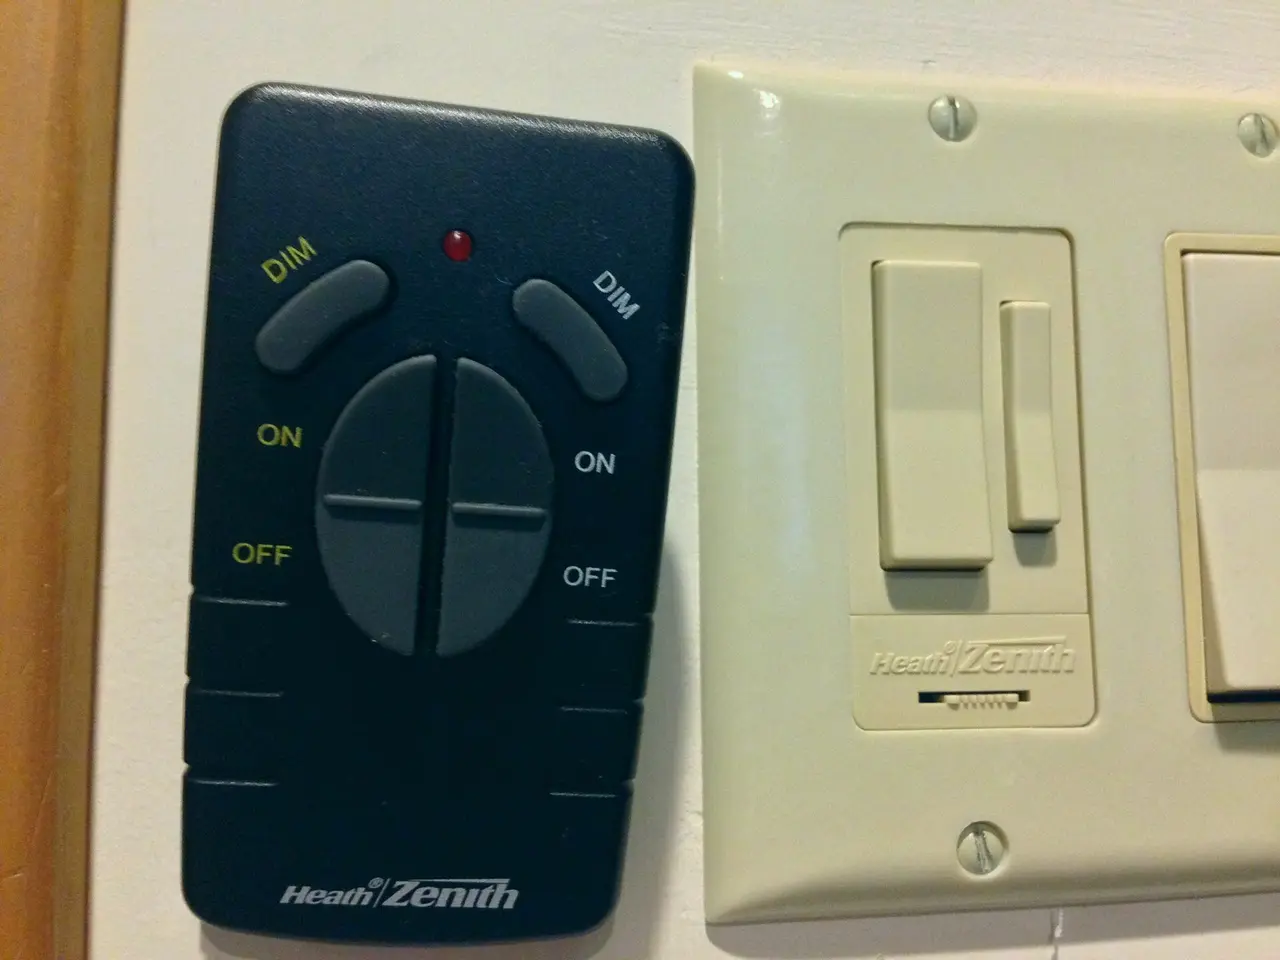
A mechanical switch is just a contact and needs no power itself. A smart switch contains a circuit board, a Wi-Fi or Zigbee chip, a touch panel and a relay or semiconductor that does the switching. These electronics must be powered all the time, even with the light off, so they can listen for commands from your phone. Figure 1 shows a wall-mounted switch that controls lights by radio — the same family as the Wi-Fi switches you usually install.
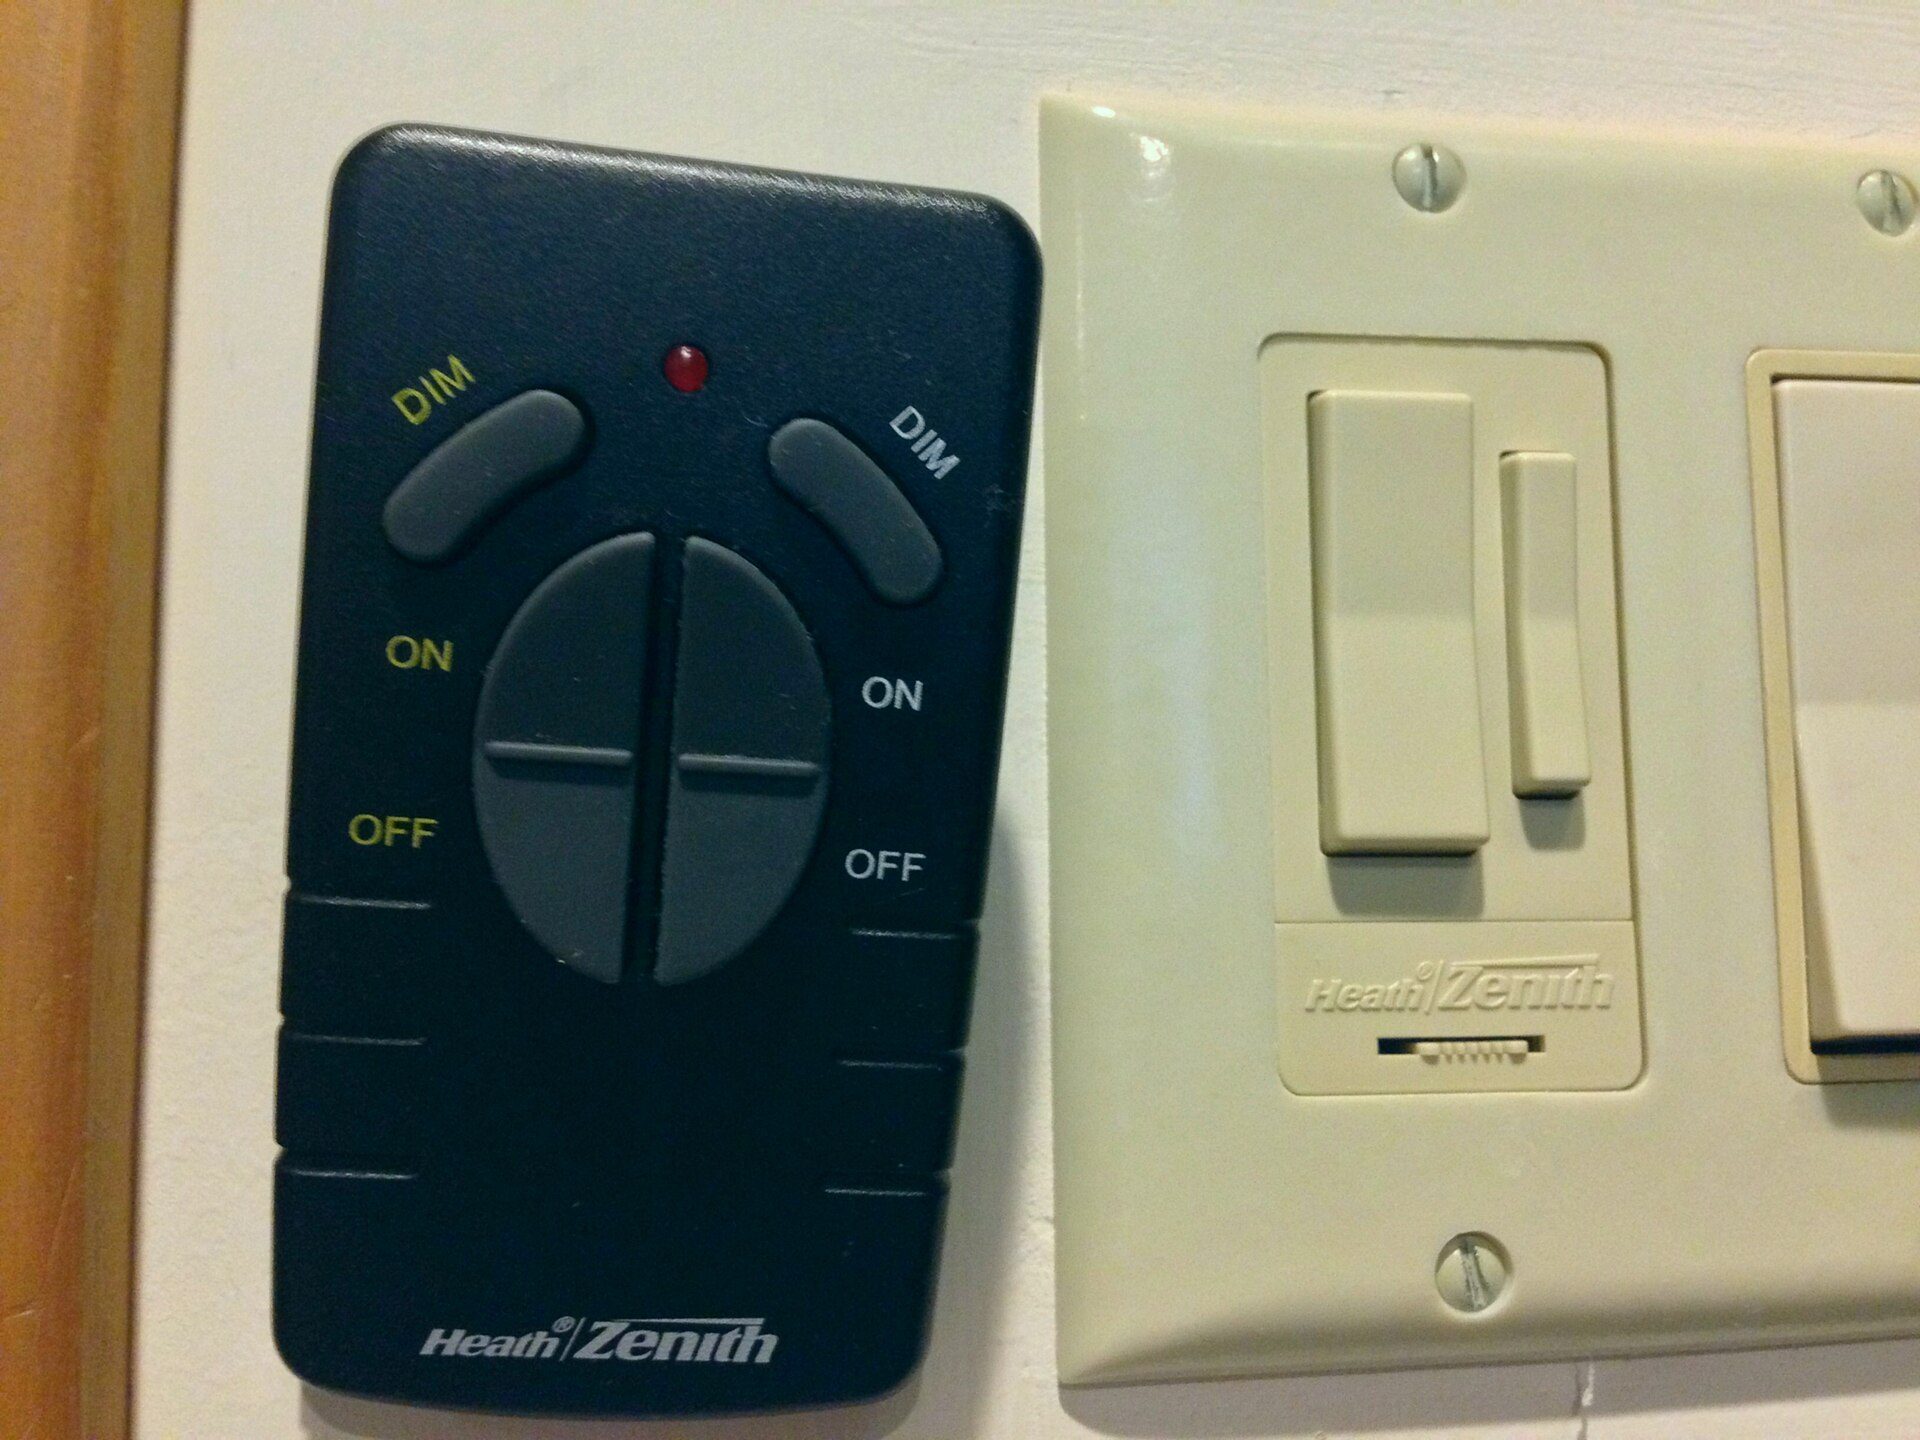
Photo: z22 / Wikimedia Commons, CC BY-SA 3.0
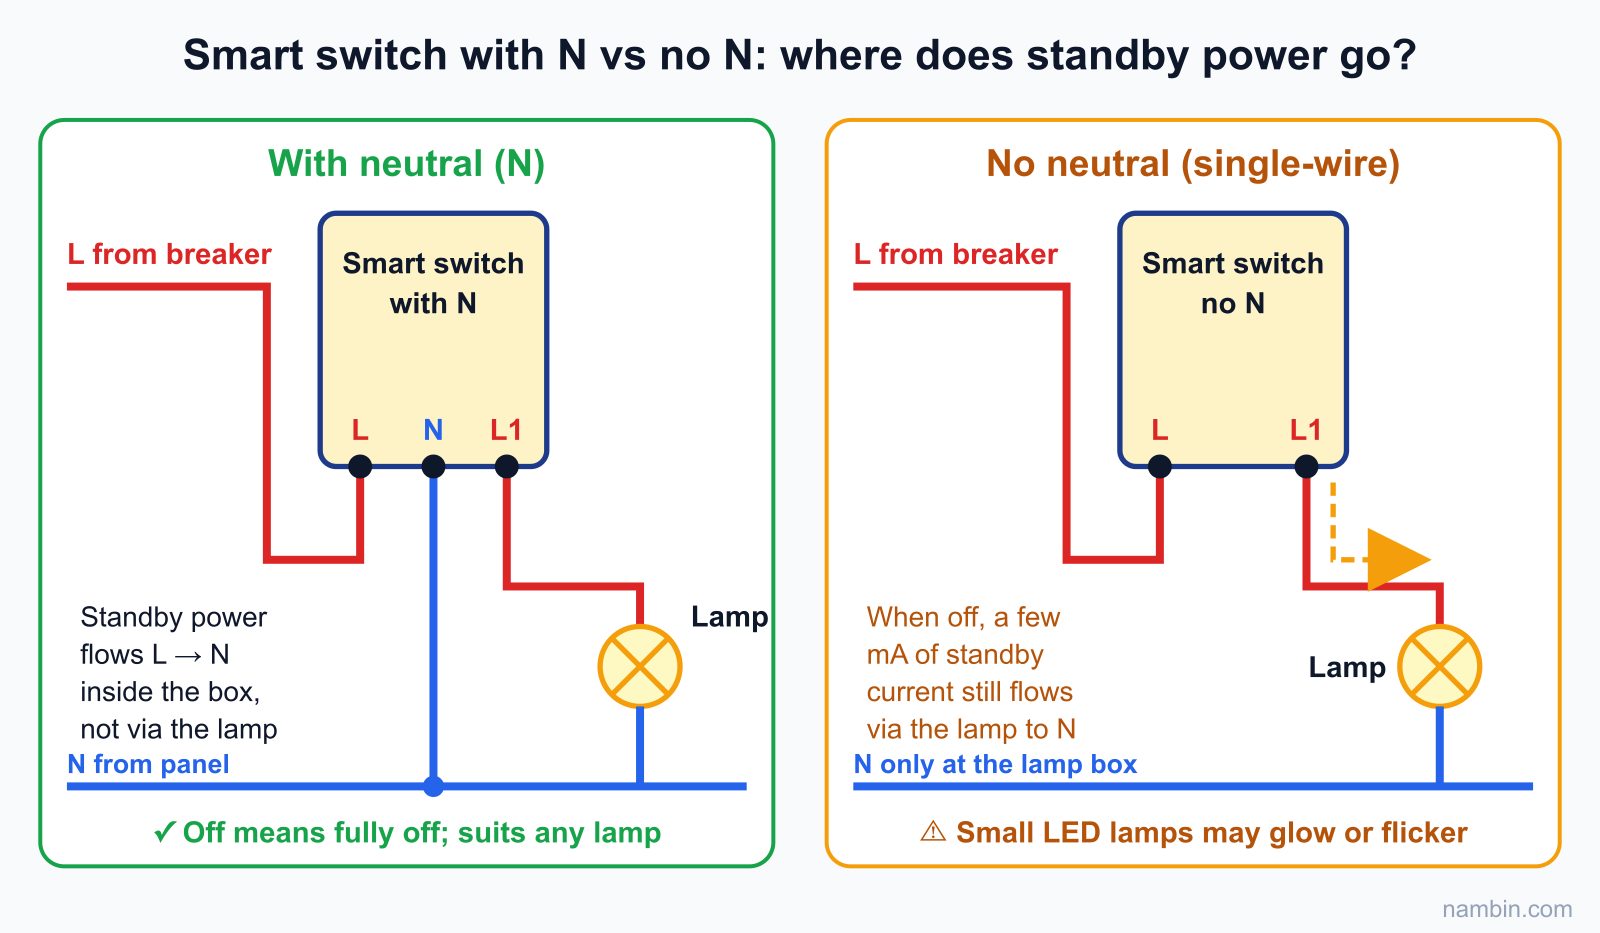
Switches with N: standby power taken straight from L–N
A switch that needs a neutral has three terminals: L (live in), N (neutral) and L1 (out to the lamp). Its small internal power supply draws from L and N right inside the box, without passing through the lamp. So when the lamp is off it is truly off, and the switch works with a 1 W bulb or a small extractor fan (if the manufacturer allows it). The condition: the switch box must already contain a neutral wire, and older Vietnamese houses usually did not run N down to the switch.
Switches without N: borrowing current through the lamp
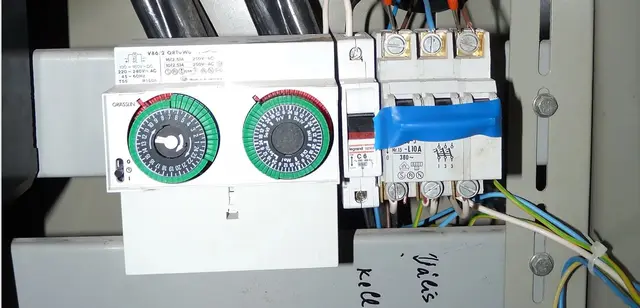
A no-neutral switch has only L and L1 (or L1, L2, L3 on multi-gang models). Its power circuit sits in series with the lamp: when the lamp is off, the switch lets a tiny current (usually a few mA) flow from L through its own circuit, through the bulb, back to N at the lamp box. When the lamp is on, it keeps a small slice of the voltage for itself. Look at Figure 2: on the left the standby current stays inside the box; on the right it is forced to pass through the lamp.
Why low-wattage LED lamps are the enemy
A few mA through a 60 W incandescent bulb will not make the filament glow. An LED lamp, however, has a driver with a filter capacitor at its input. The standby current slowly charges it; at the threshold the driver fires the LED in a short blink, discharges, and starts again. That is the flicker you see when the switch is off. The smaller the lamp, the more "sensitive" the driver, and when the light is on, the switch also struggles to harvest enough power through such a light load.
With N or without N: which one should you choose?
The master electrician's rule: if the box has a neutral, always choose the switch with N; use the no-neutral type only when you cannot run an extra wire. The table below summarises the differences so you can advise the homeowner.
| Criterion | Switch with N | No-neutral switch (single-wire) |
|---|---|---|
| Wires needed in the box | L, N, L1 (L2, L3…) | L, L1 (L2, L3…) |
| Standby power source | Taken from L–N in the box | Small current borrowed through the lamp |
| Minimum lamp wattage | Practically none | Yes, printed on the label (often a few W per gang) |
| Glow / flicker when off | Very rare | Common with small LEDs |
| Wi-Fi stability | Good | Drops easily if the load is too light |
| Fans, pumps, sockets | Only if the maker explicitly allows it | Not recommended |
| When to choose | New builds, rewiring | Old houses where you cannot chase the wall for N |
Read the label before you buy
The label states the voltage (usually 100–240 V AC), whether a neutral is required, the maximum and the minimum load per gang, and the allowed load types. The minimum varies by brand and product generation, from a few watts to a few dozen, so always use the figure on the label of the exact model you are installing.
Wi-Fi or Zigbee?
A Wi-Fi switch connects directly to the router but draws more power, so no-neutral Wi-Fi models are fussier about the load. Zigbee needs a hub but draws less and is usually more stable without a neutral. Most Wi-Fi switches only work on the 2.4 GHz band.
Preparation: switch off the breaker, identify the wires and check the wall box
All the wiring work below is done with the circuit breaker switched off and the absence of voltage verified.
⚠ Safety: Switch off the breaker for the lighting circuit (or the main breaker if you are not sure which circuit it is) and hang a sign: "Electrical work in progress – do not switch on". The old switch may have been wired on the neutral by mistake, so turning the switch off does not mean the box is dead. Test your voltage tester on a live socket first, then test every wire in the box, then test the tester again on the live socket. Never work with wet hands, on a wet floor, or while you are still unsure whether the circuit is dead.
Tools and materials
- Voltage tester, multimeter, insulated flat and Phillips screwdrivers, wire strippers, insulating tape.
- A smart switch with the right number of gangs; a bypass or anti-flicker module from the same brand (if needed); a deep back box if the old one is shallow.
- Ferrules or wire connectors, a marker pen, and a phone with the manufacturer's app installed plus the 2.4 GHz Wi-Fi password.
Identifying L, L1 and L2 in the box
An old-style 2-gang switch box usually holds three wires: one live L from the supply and two going up to two groups of lamps. Wire colours in older houses rarely follow the convention, so do not trust the colours — review how to read wire colours and why you must always measure in the Vietnamese lesson live, neutral and earth wire colours. The safe method:
- Switch off the breaker, verify that the circuit is dead, take a photo of the old wiring and remove the switch. Separate every wire end and cover the bare copper temporarily with a connector or tape so the wires cannot touch each other or the wall.
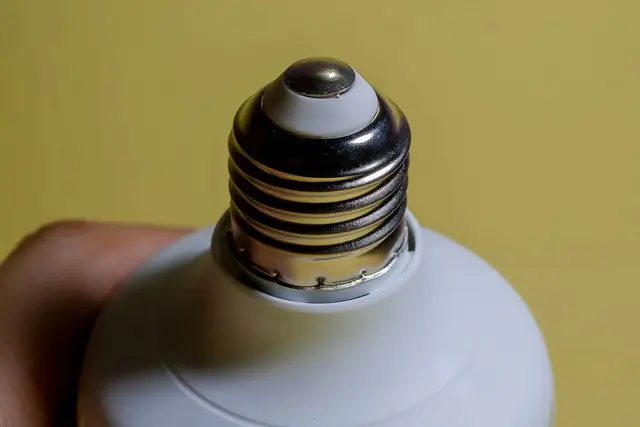
- Switch the breaker back on, stand on a dry floor and touch each wire end with the tip of the tester only (your fingers never touch copper). The wire that lights the tester is L. Figure 3 shows a handheld tester lighting up on a live conductor.
- Switch the breaker off again and confirm every wire is dead. Label the supply wire "L" and the lamp wires "L1" and "L2" according to the old gangs.
- If the box also contains a bundle of blue wires joined together, it is very likely a neutral passing through: measure with a multimeter while live (L–N ≈ 220 V) to be sure, and then you can choose the switch with N.
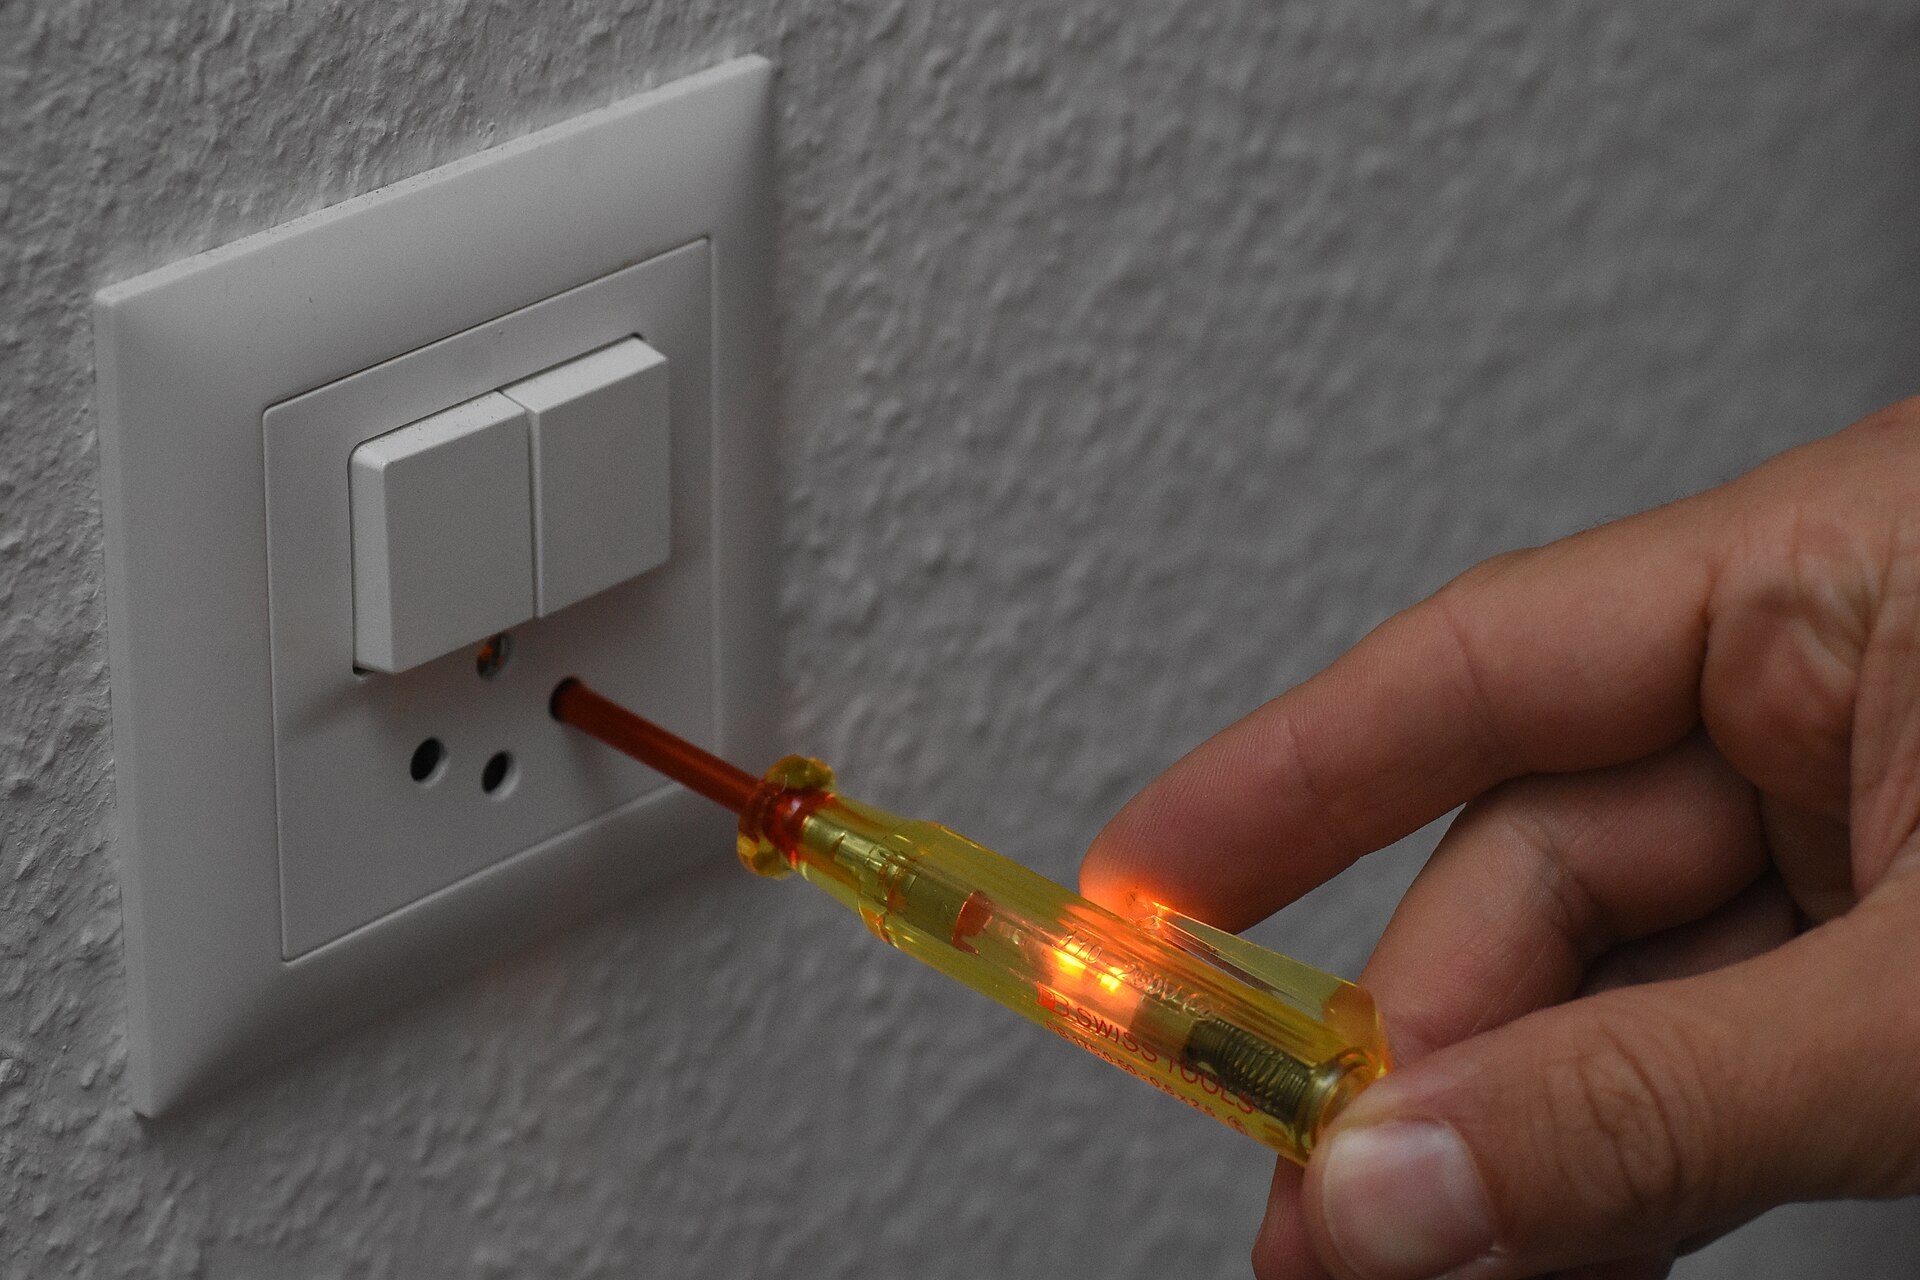
Photo: Simon A. Eugster / Wikimedia Commons, CC BY-SA 4.0
Is the wall box deep enough?
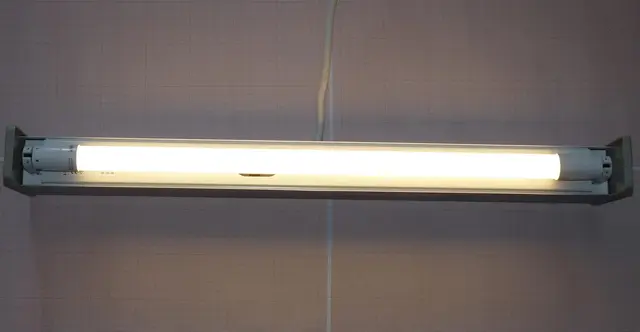
A smart switch body is much thicker than a mechanical switch, and behind it sit the wire ends and sometimes a bypass. Vietnamese homes often have rectangular back boxes, while most glass touch switches use the square 86 × 86 mm format. A shallow box forces you to cram the wires in, which loosens terminals, presses on the board and causes heat. Rule of thumb: leave at least 15–20 mm of free space behind the switch body; if not, fit a deeper back box. Figure 4 shows a back box with cables entering — this is where both the switch body and the wiring must fit.
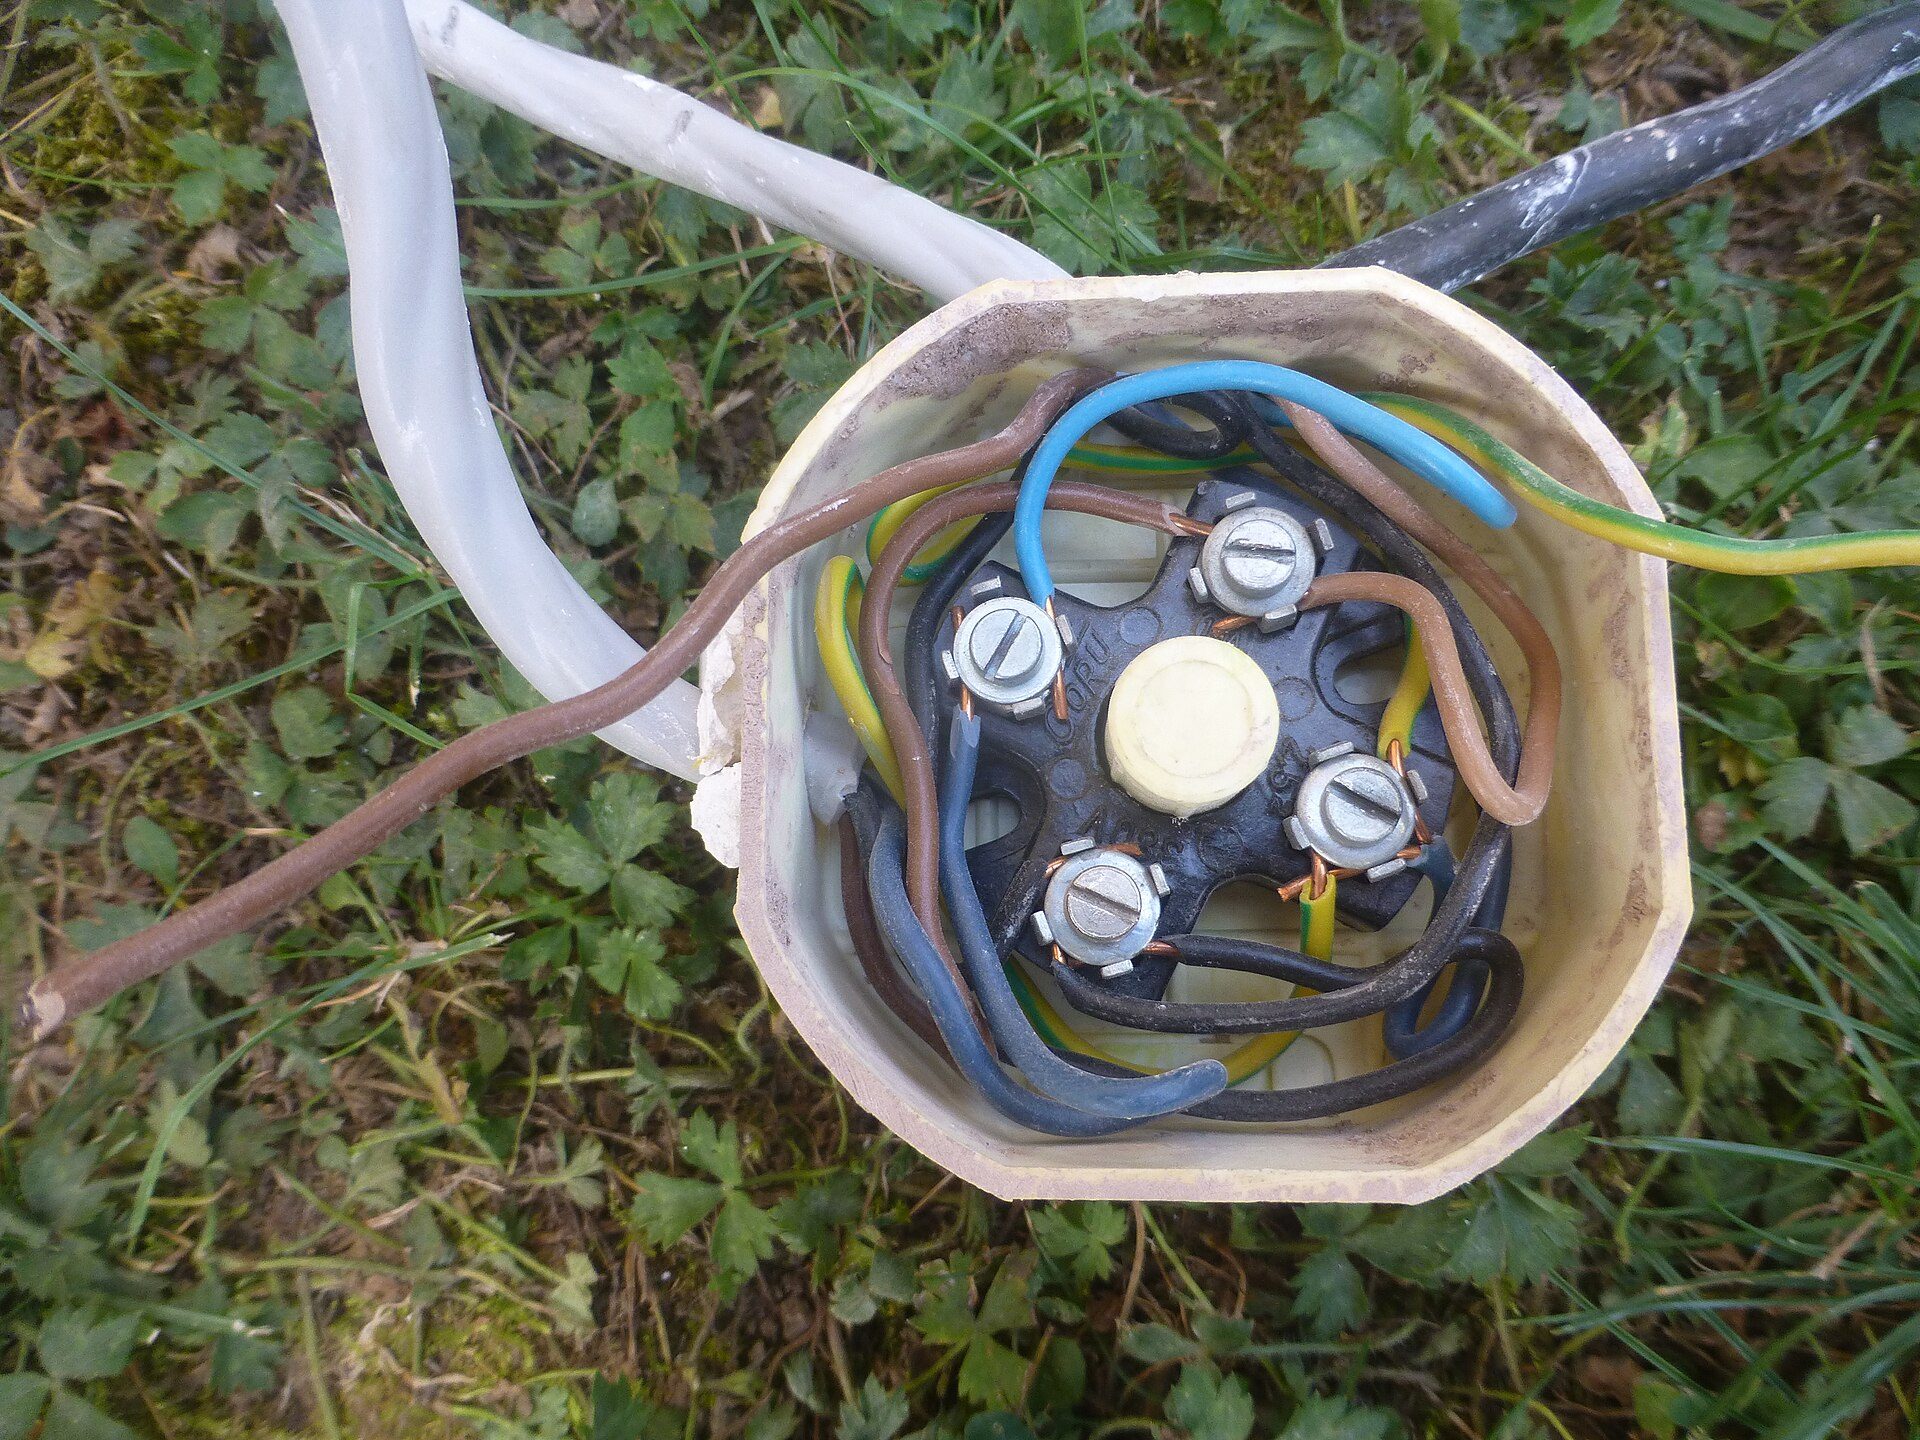
Photo: Robesware / Wikimedia Commons, CC BY-SA 4.0
How to wire a no-neutral Wi-Fi touch switch: the L, L1, L2 diagram
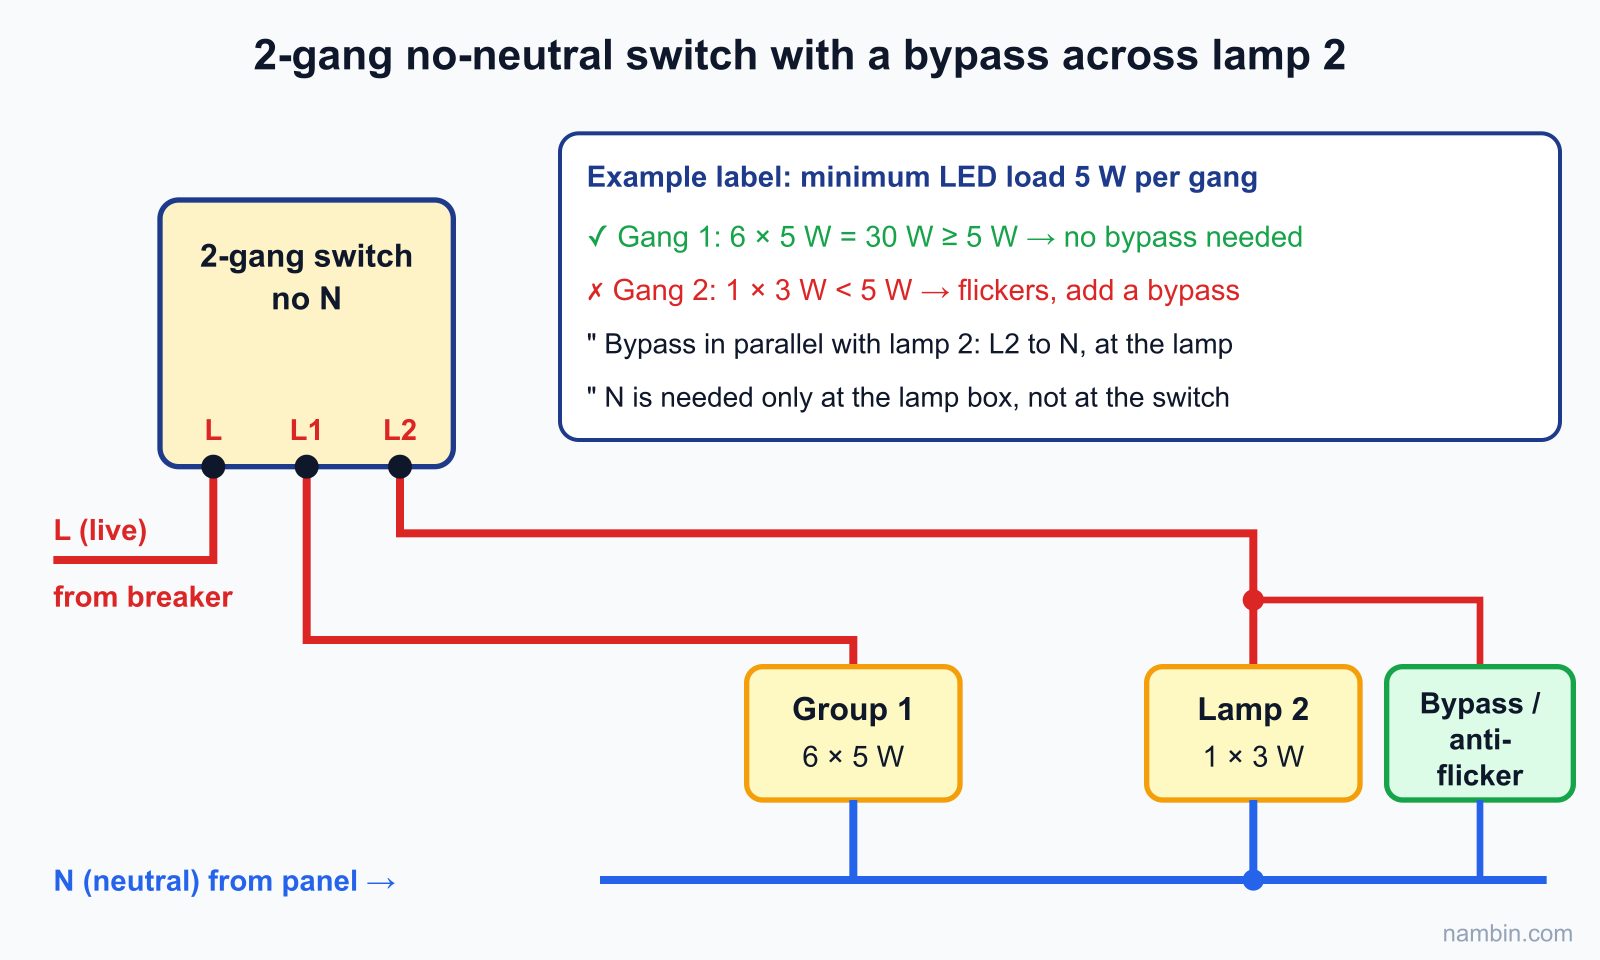
The no-neutral wiring diagram is very simple: L goes to terminal L, and each lamp group goes to its own terminal L1, L2, L3; the neutral stays at the lamp box as before. Figure 5 shows a 2-gang switch with a bypass added for a lamp group that is too small.
Step-by-step wiring
- Switch off the breaker, verify the circuit is dead, remove the old switch and keep the L, L1, L2 labels on each wire.
- Check the wire ends: cut off any blackened, oxidised copper and strip about 8–10 mm again (or follow the strip gauge on the switch body).
- Connect L to terminal L (sometimes marked "L in") and tighten firmly. For stranded wire, crimp a ferrule or twist it tight before clamping.
- Connect L1, L2 (and L3) to the correct lamp groups. Give each wire a gentle tug to make sure it will not pull out.
- Fold the wires neatly into the back of the box, seat the switch body, tighten the screws evenly on both sides and fit the glass plate.
- Switch the breaker on. Touch each button: the correct group must turn on and off. With the lamps off, watch them for 2–3 minutes to see whether they glow or blink.
- Pair the switch with the app following the maker's instructions (usually hold one button for a few seconds until the indicator blinks) and name each gang after its room.
Connecting the bypass in the right place
The bypass (anti-flicker module) is a two-wire component that is connected in parallel with the lamp: one end on the wire coming from the switch to the lamp (L1 or L2), the other end on N — at the lamp box or lamp canopy, where both wires are present. It gives the standby current an easier path so that it no longer charges the lamp's driver. Never install the bypass in series on a wire, and never connect it at the switch when the switch box has no neutral.
Use the module supplied or recommended by the switch manufacturer, rated for the 220 V mains. Do not improvise with a random capacitor or a power resistor: the wrong part will overheat, bulge or make the flicker even worse.
1-, 2- and 3-gang switches and two-way circuits
A 1-gang switch uses only L and L1; a 3-gang adds L3; an unused gang does not need to be connected. Two-way switching on a staircase is wired completely differently — review it in the Vietnamese lesson on installing two-way switches and earthed sockets. Most smart switches cannot directly replace a mechanical two-way pair: usually one master switch carries the load, and the other is a load-free remote switch (battery-powered or radio-controlled) paired in the app. Follow the manufacturer's two-way diagram exactly; do not improvise.
Minimum lamp wattage: worked example in a tube-house living room
Scenario: a four-storey tube house in Hanoi, living room on the second floor. The owner has bought a 2-gang no-neutral Wi-Fi touch switch to replace a mechanical switch. The switch box contains only three wires, L, L1 and L2 — no neutral. The switch label says: minimum LED load 5 W per gang, maximum 300 W per gang.
Step 1: add up the wattage on each gang
- Gang 1 – ceiling lights: six 5 W recessed downlights → 6 × 5 = 30 W.
- Gang 2 – display cabinet accent light: one 3 W LED bulb → 3 W.
Step 2: compare with the label
Gang 1: 30 W is above the 5 W minimum and below the 300 W maximum → OK, no bypass needed. Gang 2: 3 W is below 5 W → the accent light will almost certainly blink when switched off, and the switch may drop off the network. There are two options: replace the 3 W bulb with one above the minimum (for example 7 W), or connect a bypass in parallel at the accent light (see Figure 5). The owner wants to keep the soft light, so they choose the bypass.
Step 3: check the box and estimate the cost
The old back box is a shallow rectangular one and the new switch has a square plate, so it is replaced with a deeper square back box. Reference costs in 2026, depending on the area and brand (VND, Vietnamese dong):
| Item | Reference price range | Chosen in this example |
|---|---|---|
| 2-gang no-neutral Wi-Fi touch switch | 300,000–700,000 VND | 450,000 VND |
| Bypass / anti-flicker module | 30,000–80,000 VND | 50,000 VND |
| Deep square back box | 10,000–25,000 VND | 20,000 VND |
| Labour (replace box, wire, set up app) | 100,000–200,000 VND | 150,000 VND |
| Total | 670,000 VND |
Check: 450,000 + 50,000 + 20,000 + 150,000 = 670,000 VND (roughly USD 26). After installation you switch both gangs off and watch for 3 minutes: no lamp glows or blinks, and the switch still shows "online" in the app → the job is signed off.
Common faults with single-wire smart switches and how to fix them
Each fault below follows the order symptom → cause → fix. If the lamps glow or blink even with a mechanical switch, the cause lies elsewhere (a switch breaking the neutral, wires running in parallel and picking up induced voltage) — see the Vietnamese lesson on LED lamps that glow or flicker after being switched off.
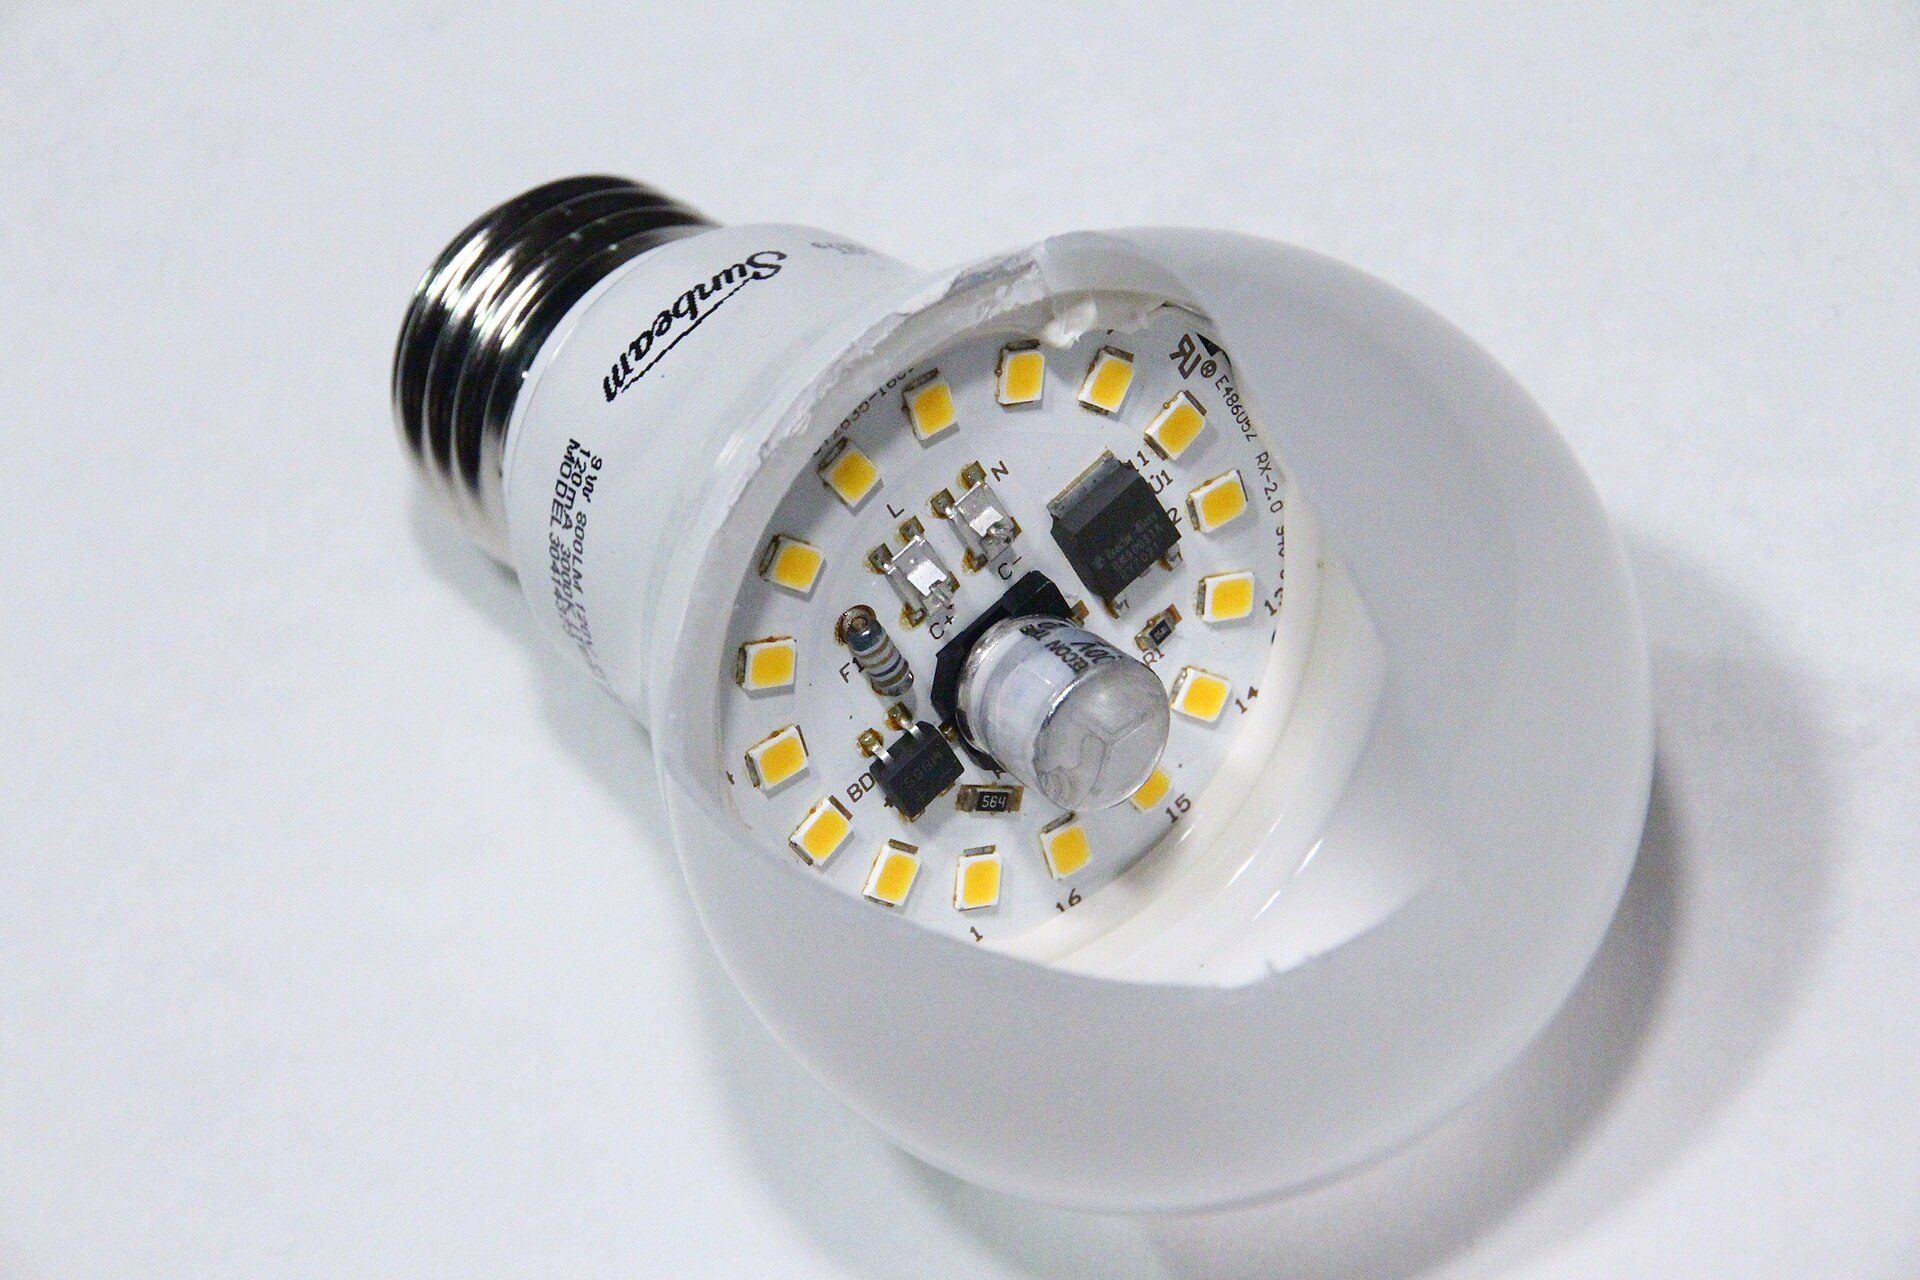
Photo: Loadmaster (David R. Tribble) This image was made by Loadmaster (David R. Tribble) . Email the author: David R. Tribble Also see my personal gallery at Google Photos / Wikimedia Commons, CC BY-SA 4.0
1. Lamp glows dimly when switched off
Symptom: the gang is off but the bulb still glows faintly, especially at night. Cause: the switch's standby current is enough to light the LED weakly; common with cheap LED bulbs that have simple drivers. Fix: add a bypass in parallel at the lamp, or use a higher-wattage bulb; best of all, run a neutral and change to a switch with N.
2. Lamp flickers when off or when on
Symptom: when off, the lamp blinks every few seconds; when on, it shimmers or flickers slightly. Cause: when off — the standby current charges and discharges the capacitor in the driver (Figure 6); when on — the load is too small for the switch to harvest enough power, or the lamp is not compatible with the switch's switching method. Fix: add up the wattage on that gang again and compare it with the label; below the minimum, add a bypass or increase the load; if it still flickers, try a different type of LED bulb (with a better driver) to narrow down the cause.
3. Wi-Fi dropouts and the switch rebooting itself
Symptom: the app shows "offline" on and off, the indicator on the switch blinks as if reconnecting, and sometimes the lights switch themselves off and on. Cause: most often the LED load is too small, so the power circuit is "starved", the Wi-Fi chip browns out and restarts; next comes a weak 2.4 GHz signal because the router is far away behind several walls. Fix: deal with the load first (bypass or more wattage); then check the signal strength at the switch position and add a range extender or move to Zigbee with a hub.
4. Buttons do not respond or switch the wrong group
Symptom: touching gang 1 lights group 2, or a button does nothing. Cause: L1 and L2 swapped, or a loose connection. Fix: switch off the breaker, check the wire labels, retighten the terminals and rename the gangs in the app.
5. Switch runs hot, glass discolours, breaker trips
Symptom: the switch plate feels clearly warm, there is a burning smell, or the breaker trips when you switch on. Cause: the maximum load per gang is exceeded, the switch is used for a fan or pump without the maker's approval, connections are loose in a box that is too shallow, or bare copper is touching. Fix: cut the power immediately and take the switch out to inspect it; move large loads to a suitable switch or relay; fit a deeper box and rewire. Never hand over a job looking like Figure 7.
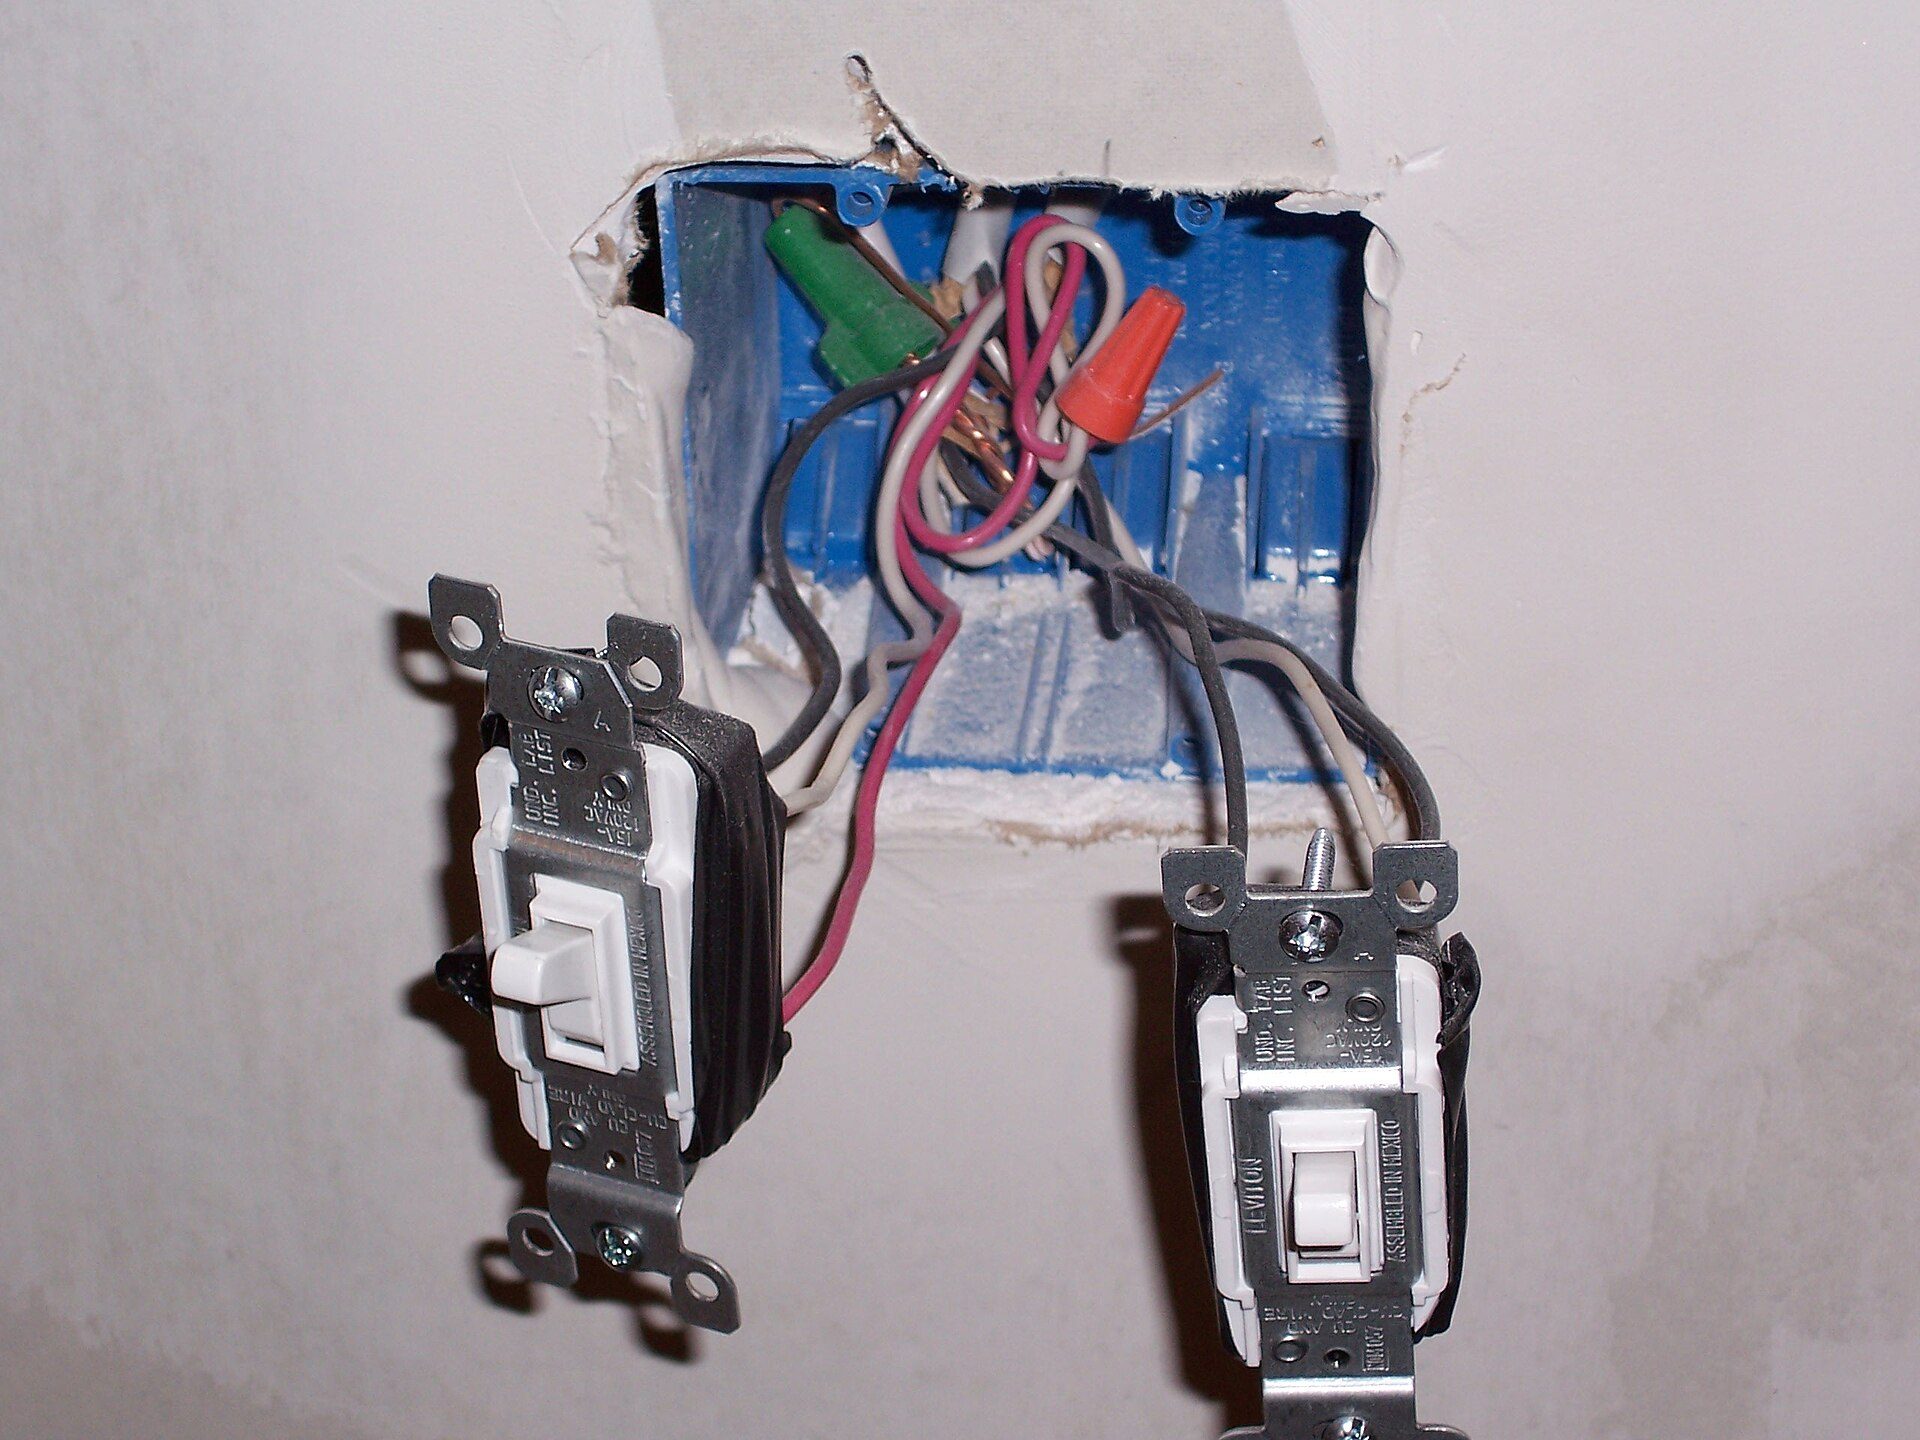
Photo: Paul Cutler from Chaska, USA / Wikimedia Commons, CC BY 2.0
When should you not use a no-neutral switch?
A no-neutral switch is a solution for old houses, not the default choice.
Unsuitable loads
Do not use a no-neutral switch for fans, pumps, water heaters, sockets or any motor load unless the manufacturer explicitly allows it.
Lamps that are too small or too mixed
A gang with only a 1–2 W night light, or a mix of bulbs from many brands, is hard to run reliably on a no-neutral circuit. Run a neutral and use the switch with N, or use smart bulbs with their own Wi-Fi. If the circuit already has faults (an old switch breaking the neutral, leakage, an RCD that keeps tripping), repair the circuit first and install the smart switch afterwards.
Practical exercise and self-assessment
Work on a training board with a single-phase breaker, one switch box and two lamp groups: group 1 has three 9 W LED bulbs, group 2 has one 3 W LED bulb. The 2-gang no-neutral switch has a label minimum of 5 W per gang.
- Switch off the breaker and verify the absence of voltage in three steps (test the tester on a live source – test the wires – test the tester again). Pass when all steps are done in the right order; not yet if any step is skipped.
- Label L, L1 and L2 and explain how you identified L. Pass when all three wires are correct.
- Calculate the wattage: group 1 = 3 × 9 = 27 W, group 2 = 3 W, compared with 5 W. Pass when you correctly identify that group 2 needs a bypass.
- Wire the switch and the bypass as in Figure 5 (bypass in parallel with lamp 2, between L2 and N). Pass when, after 3 minutes off, no lamp glows or blinks and the switch is still online in the app.
- The back box has free space behind the switch body, no wires are crammed, and a gentle tug on each wire does not pull it out. Not yet if you have to force the switch plate into place.
Frequently asked questions
Does a no-neutral smart switch use much electricity?
It does use some, but very little: the circuit and chip are powered even when the light is off, typically under 1 W per switch according to many manufacturers' specifications — negligible compared with the whole household's electricity bill.
How do I wire a Wi-Fi touch switch when the box has no neutral?
Choose a genuine no-neutral model: the live supply L goes to terminal L, and the lamp wires go to L1, L2, L3. Switch off the breaker before you start, verify the circuit is dead, and identify L with a voltage tester while the circuit is live. After installation, turn the lights off and watch them for a few minutes; if they glow or blink, add a bypass in parallel at the lamp.
What LED wattage works well with a single-wire smart switch?
Follow the minimum on the label of that exact model — every brand is different. Add up the wattage of all bulbs on the same gang; if the total is below or close to the minimum, fit a bypass from the start.
Why do my lights flicker after installing a smart switch?
With a no-neutral switch, the small standby current through the lamp charges the capacitor in the LED driver; when it is full the lamp blinks, discharges and charges again. A load below the minimum also leaves the switch short of power, causing flicker even when the light is on. Fixes: a bypass in parallel with the lamp, higher-wattage bulbs, or changing to a switch with N.
Summary and next steps
Remember three things: a no-neutral switch "borrows" current through the lamp; each gang must reach the minimum wattage, and if it does not, add a bypass in parallel at the lamp; and always switch off the breaker and use a back box that is deep enough. This is a core skill of the Smart home & low-voltage systems step and prepares you for the Completing Level 3 – Master Electrician step.
Keep learning so you can take on complete smart-home jobs yourself? Switches, sensors, automation scenes, network cabling and cameras are taught step by step in the NAMBIN course Residential Electrician Level 3 – Master Electrician — with graded practical exercises and a certificate on completion.