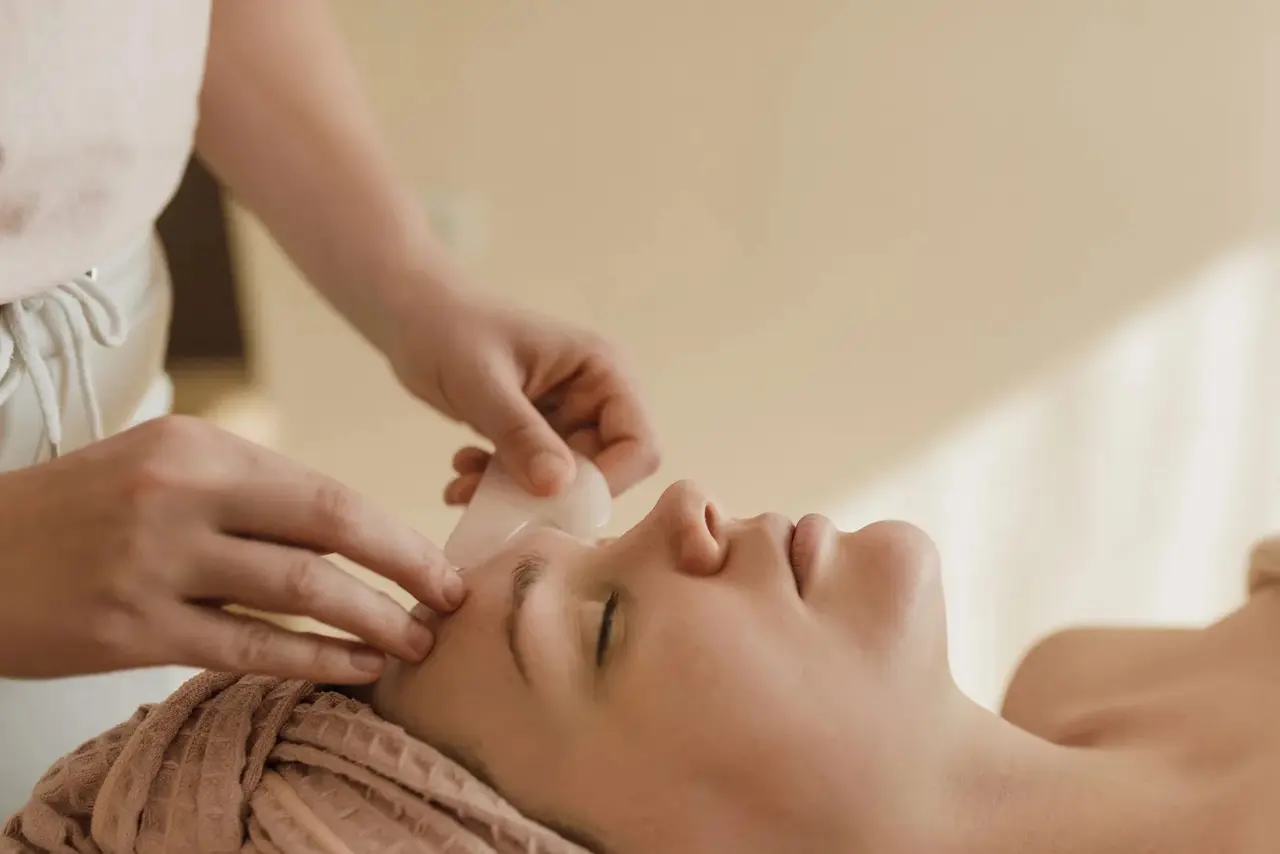
A regular client lies down for her usual facial and asks, "Can you do that gua sha thing I keep seeing online?" She has watched videos where people press a pink stone hard along the jaw and promise a "lifted" face. She also mentions a filler appointment last week. What you say and do next shows whether you are a trained therapist or just someone holding a pretty stone.
This guide covers choosing and cleaning the tool, screening the client, preparing the skin, angle and pressure, a calm 20–30 minute sequence from neck to forehead, normal pinkness versus bruising, aftercare and common mistakes.
Scope of this guide. A gua sha facial in the spa is a relaxing cosmetic massage with a smooth tool. It is not a medical treatment. Do not promise that it detoxes, drains, lifts, slims the face or removes wrinkles. Honest phrases are "many clients find it very relaxing" and "some people notice their face looks a little less puffy for a while afterwards". If you are unsure whether a client can be treated, do not treat and suggest they ask their doctor. All times, angles and repetitions in this article are for reference only. Your spa's protocol, your training and the manufacturer's instructions come first.
What a gua sha facial is (and how it differs from body gua sha)
Gua sha comes from traditional Chinese practice. On the body, the traditional technique (similar to Vietnamese cạo gió) uses a coin or tool with firm, repeated strokes on the back, neck or chest, and often leaves red or purple streaks. That is a different practice from a spa facial.
A facial gua sha is much gentler. You glide a smooth, flat tool over well-oiled skin with light pressure and slow, even strokes. The goal is comfort and relaxation. A facial gua sha should not leave marks. Explain this to clients who expect the "red stripes" they have seen on body gua sha.
Many spas offer it as an add-on inside a facial, after cleansing and before the mask, or as a short standalone ritual.
Choosing the right tool
Shapes and edges
Facial gua sha tools come in several shapes: heart, wing, comb-edged, oval and "S" shapes. Most give you a long curve for the cheeks and neck, a notched or "V" edge for the jawline and a short rounded edge for the brow. One well-made tool with smooth, rounded edges is enough for most treatments. Avoid sharp corners, rough comb edges or decorative ridges that could drag on the skin.
Materials: non-porous versus porous
For professional use, the key question is whether you can clean and disinfect the tool properly between clients. A non-porous surface (smooth and sealed) can be disinfected reliably. A porous surface can hold oil, product and germs in tiny holes or cracks.
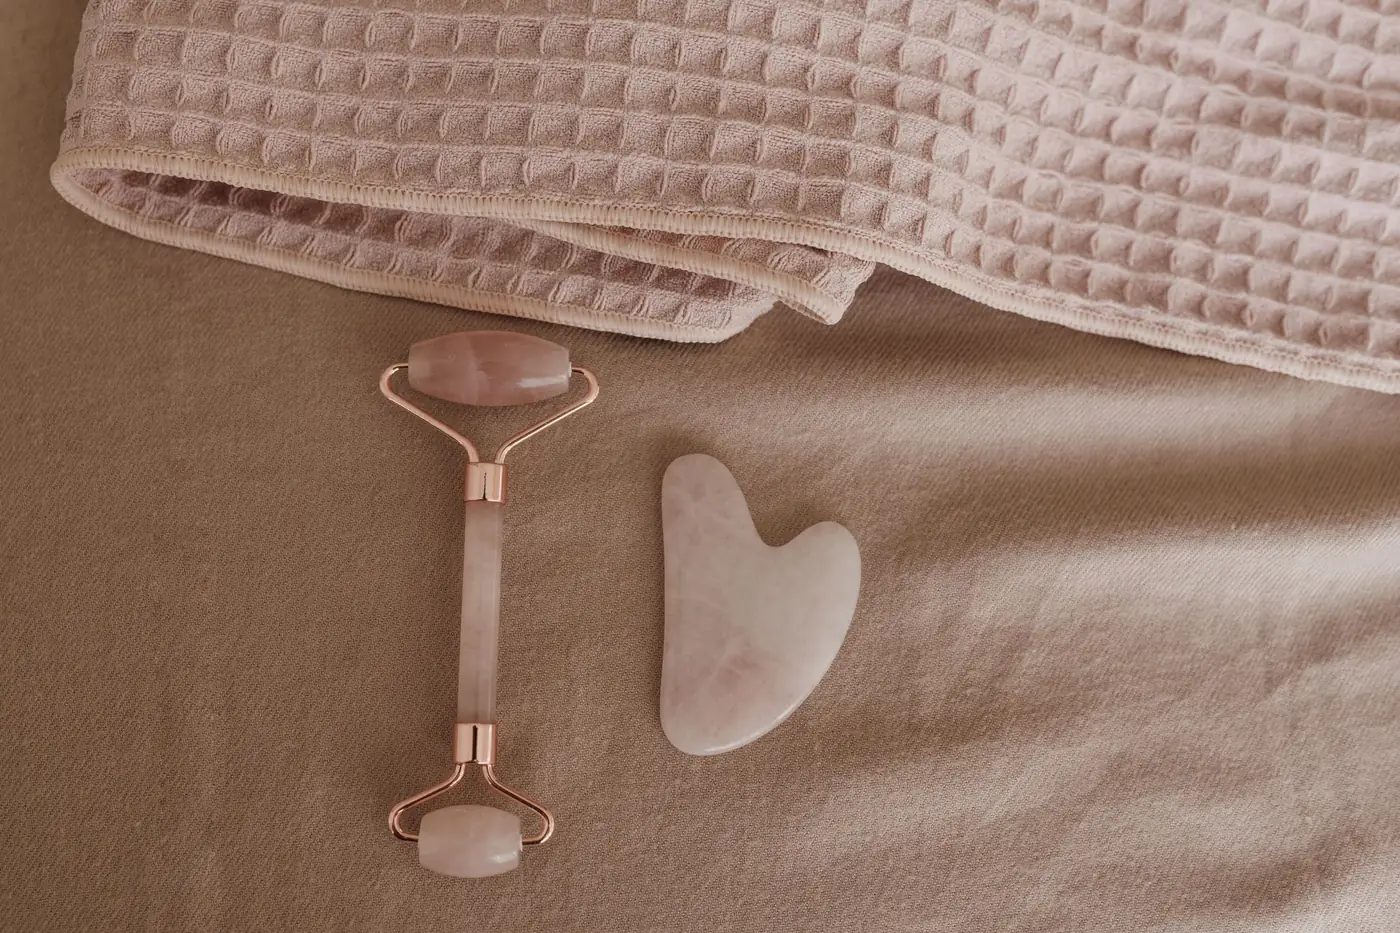
Figure 1. A rose-quartz gua sha stone in a heart-like shape lies beside a rose-quartz facial roller on a beige cloth, with a pink waffle towel folded above. Check every edge for chips before each client. (Photo: Arina Krasnikova / Pexels License / Pexels)
The table compares common materials, for reference only. Always check the supplier's and your spa's cleaning instructions.
Material | Surface (when polished and undamaged) | Feel on the skin | Cleaning notes (for reference) | Watch out for |
|---|---|---|---|---|
Stainless steel | Non-porous | Cool, smooth, slightly heavier | Easiest to clean and disinfect; follow the manufacturer for which disinfectants and methods are allowed | Rough welds or edges on cheap tools |
Rose quartz | Generally low porosity, smooth | Cool, smooth | Wash, then disinfect with a product suitable for stone; avoid sudden heat or very hot water | Internal cracks, chips on the edges; it can break if dropped |
Jade (and stones sold as "jade") | Genuine polished jade is low porosity; some cheap "jade" is dyed or coated stone | Cool, smooth | As for rose quartz; check that the disinfectant does not damage dyed or coated surfaces | Colour coming off on a white towel, cracks, rough patches |
Wood, horn, bone | Porous | Warm, light | Difficult to disinfect between clients; generally not suitable for shared spa use | Splinters, cracks, absorbing oil |
Bian stone and other matte stones can be more porous, depending on the finish; many spas keep them for single-client use. For a new therapist, stainless steel or a good polished rose quartz or jade from a supplier who explains the material and cleaning is a sensible choice.
Cleaning and disinfecting between clients
Every client must get a tool that has been cleaned and disinfected since the last person. A simple routine, adapted to your spa's protocol:
Remove oil straight after use. Wipe off excess oil with a clean tissue or paper towel.
Wash. Use warm (not hot) water and mild soap, rubbing every edge and notch. Leftover oil can stop a disinfectant working properly.
Disinfect. Rinse, dry, then apply a disinfectant approved in your spa and suitable for the material. Leave it for the full contact time on the label.
Rinse if the label says so, then dry.
Store clean. Keep it in a clean, closed container, never loose next to used items.
Do not boil stone tools or move them from very cold to very hot; sudden temperature changes can crack natural stone. Keep at least two tools per room so you never rush the contact time because the next client is waiting.
When to throw a tool away
Before every treatment, hold the tool up to the light and run a clean fingertip along every edge. If it has a chip, crack or rough spot, take it out of use and discard it. Do not sand or glue it. A chipped edge can scratch the skin, and a crack can trap oil and germs where disinfectant cannot reach. Check any dropped tool carefully before using it again.
Client consultation and contraindications
Consult every time, even with regular clients: ask about changes in skin, health or medicines since the last visit and check the record card. Explain what to expect: slow, light strokes, no pain and no marks.
Do not use gua sha on the face, or avoid the affected area, if the client has any of the following. Your spa's contraindication list may contain more items:
Active acne with red, swollen, painful or pus-filled spots, or any inflamed lesions.
Broken skin, cuts, scratches, cold sores, rashes or anything that looks infected.
Sunburn or skin that feels hot and tender.
Recent cosmetic injections such as botulinum toxin or fillers, recent chemical peels, laser, microneedling or other skin procedures. The client should follow the advice of the practitioner who did it, and you follow your spa's waiting rules.
A rosacea flare, very reactive or very red skin, or visible broken capillaries in the area. Avoid those areas or skip the gua sha.
Bruising easily, a bleeding disorder, or taking blood-thinning medicine. Ask the client to check with their doctor before having gua sha.
Recent facial surgery or injury, unexplained swelling, a skin condition being treated by a doctor, or prescribed skin medicines such as retinoids that can make skin more fragile.
Allergies to the oil or serum you plan to use.
When something applies, offer an alternative or rebook: "Because you had filler last week, I'd rather not use the stone on your face today. Let's do a gentle hand massage on your neck and shoulders, and we can try gua sha once your practitioner says massage is fine."
Preparing the client and the skin
Room, position and hygiene
Use fresh linen and a head towel or headband. The client lies face up, with a bolster under the knees if wanted; you sit or stand at the head of the couch. Tie your hair back, remove rings and watches, keep nails short and wash or sanitise your hands (wear gloves if your protocol requires). Lay the clean tool on a fresh tissue or tray.
Cleanse first
Gua sha always goes on clean skin. Remove make-up and sunscreen, cleanse for the client's skin type and remove the cleanser fully. Avoid doing gua sha straight after a strong exfoliating step, when the skin may be more sensitive.
Give the tool "slip"
The tool must glide, never drag. Warm a facial oil or slippery serum suited to the client's skin between your palms and apply a thin, even layer over the neck and face. If the tool starts to stick, add a little more product rather than pushing harder.
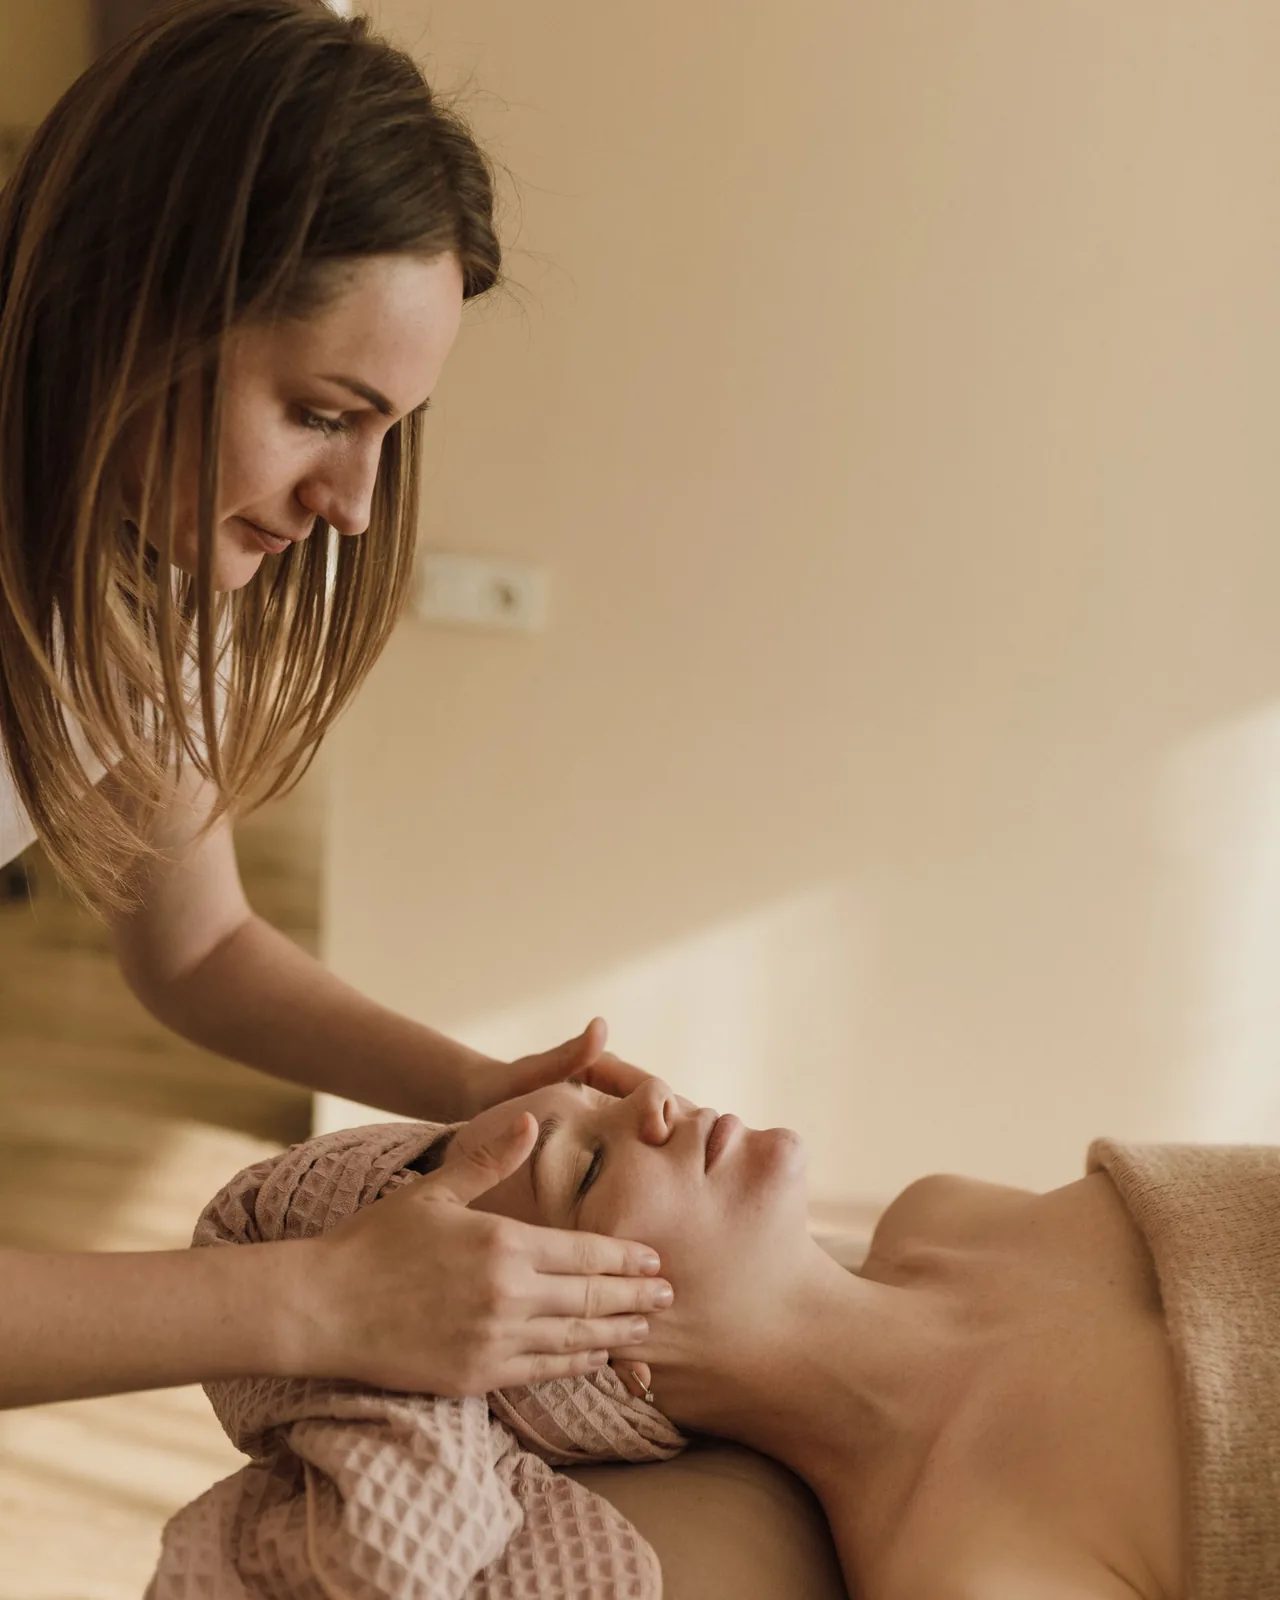
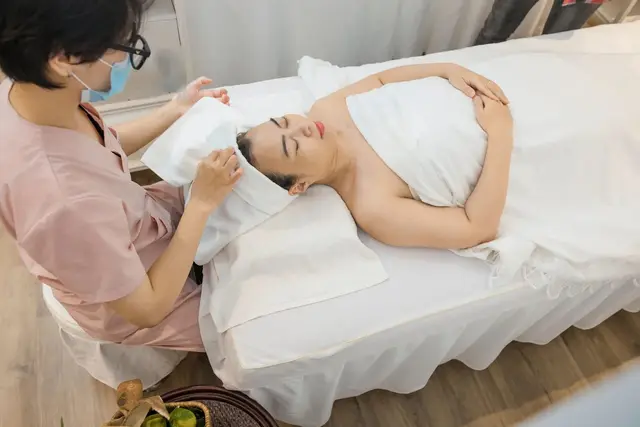
Figure 2. A therapist leans over a client lying on a treatment couch with her hair wrapped in a pink waffle towel, resting her fingertips lightly on the client's temples and brow while the client keeps her eyes closed. A still, gentle contact is a calm way to begin before the tool touches the skin. (Photo: Arina Krasnikova / Pexels License / Pexels)
How to hold the tool: angle, pressure and direction
Angle
Hold the tool so that it lies almost flat against the skin. Many trainers describe an angle of roughly 15 degrees between the tool and the skin, for reference. At a low angle the pressure spreads over a wide part of the edge. Held upright like a scraper, all the pressure goes into a thin line, which feels sharp and is much more likely to cause marks. Hold the tool lightly between thumb and fingers, not in a tight fist.
Pressure
Use light to light-medium pressure: steady contact, but never enough to drag the skin or cause discomfort. If the skin bunches up in front of the edge, press less or add oil. Under the eyes, use little more than the weight of the tool.
Ask the client once, early in the treatment: "How does the pressure feel? Let me know at any time if you want it lighter." Frowning or holding the breath means "lighter".
Direction and rhythm
Most facial gua sha routines use strokes that move from the centre of the face outwards and generally upwards or towards the ears, and downwards on the sides of the neck. Work slowly, lift the tool at the end of each stroke and return to the start rather than scrubbing back and forth. Finish one side, then mirror the strokes on the other.
Step-by-step: a 20–30 minute gua sha facial sequence
One simple, safe order. Times and repetitions are for reference; repeat each stroke about three to five times.
Step 1: Opening (1–2 minutes)
Rest your hands on the client's face or shoulders for a few slow breaths, then use broad hand strokes to spread the oil and check for areas to avoid.
Step 2: Neck (3–4 minutes)
Start here so the client gets used to the tool. With the long curve, glide down the side of the neck from below the ear towards the collarbone, in two or three lines, then lightly along the top of the shoulder. Never press on the front of the throat (the windpipe area) and keep pressure very light on the sides of the neck. Avoid pressing directly over the spot where you can feel a pulse.
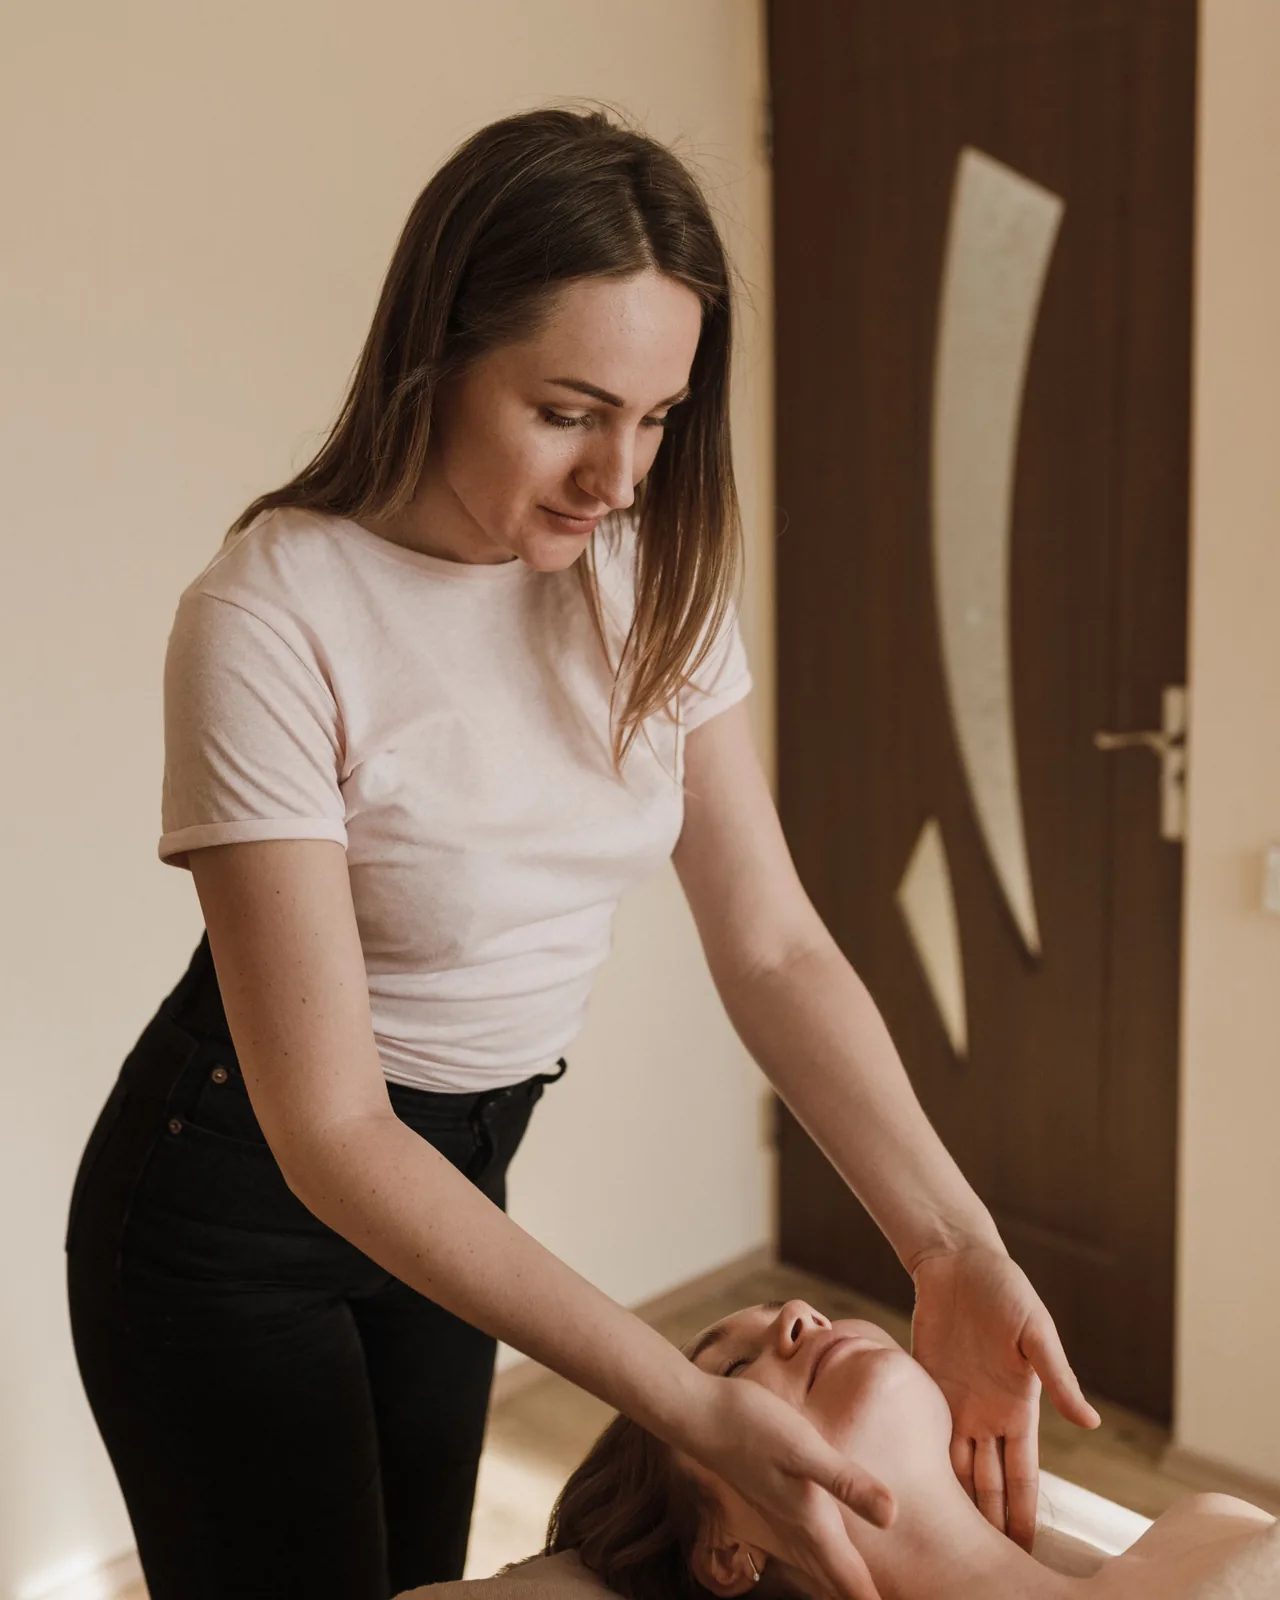
Figure 3. A therapist in a light pink T-shirt stands at the head of a treatment couch and cradles the sides of the client's neck and jaw with open hands while the client lies with her eyes closed. Starting at the neck with your hands lets you check comfort before the stone work begins. (Photo: Arina Krasnikova / Pexels License / Pexels)
Step 3: Jawline and chin (3–4 minutes)
Place the notched or "V" edge of the tool under the centre of the chin, with the jawbone sitting in the notch. Glide slowly along the jawline towards the ear. Lift away at the end and repeat. Keep pressure light where the jaw meets the ear, as many people are tender there.
Step 4: Cheeks (4–6 minutes)
With the long flat side, glide from beside the nose outwards to the ear in two or three lines: under the cheekbone, mid-cheek and along the top of the cheekbone. Then glide from the corner of the mouth towards the ear. Keep the tool flat.
Step 5: Under-eye area, very light (2–3 minutes)
This is the thinnest skin on the face. Use the smallest rounded edge with just the weight of the tool, gliding from the inner corner outwards to the temple on the bone below the eye, well away from the lash line. Never press on the eyelid or eyeball, keep oil out of the eyes, and skip this area if the client has contact lenses, eye irritation or dislikes it.
Step 6: Brow (2–3 minutes)
Place the short rounded edge just above the inner end of the eyebrow and glide outwards along the brow towards the temple. A gentle hold at the temple is a nice finish; many clients find this the most relaxing part.
Step 7: Forehead (3–4 minutes)
Using the long, flat edge, glide upwards from the brows towards the hairline in short, even strokes, working from the centre of the forehead out to each side. Rest your other hand on the head towel for support.
Step 8: Finishing (2–3 minutes)
Put the tool on its tray, finish with slow hand strokes and a still hold, and check the skin: softly pink at most, no marks. Remove excess oil with a warm, damp towel or continue the facial.
Quick reference table: strokes by area
All values are for reference only; adapt them to the client and your protocol.
Area | Tool edge | Direction | Pressure | Repetitions per line | Notes |
|---|---|---|---|---|---|
Side of neck | Long curve | Downwards, ear to collarbone | Very light | 3–5 | Never on the front of the throat or over the pulse |
Top of shoulder | Long curve | Neck outwards to shoulder | Light to light-medium | 3–5 | Good place to check comfort |
Jawline and chin | Notched / "V" edge | Chin to ear | Light | 3–5 | Lighter where the jaw meets the ear |
Cheeks | Long flat side | Nose outwards to ear, in 2–3 lines | Light | 3–5 | Keep the tool flat; avoid inflamed spots |
Under-eye | Smallest rounded edge | Inner corner outwards to temple, on the bone | Weight of the tool only | 3 | Skip if uncomfortable; no oil in the eyes |
Brow | Short rounded edge | Inner brow outwards to temple | Light | 3–5 | Optional gentle hold at the temple |
Forehead | Long flat edge | Brow up to hairline; centre out to temples | Light | 3–5 | Support the head with your other hand |
Normal pinkness versus bruising and petechiae
A slight, even pinkness that fades soon, with no pain, is normal after any facial massage.
What is not expected on the face:
Petechiae: tiny red or purple pinpoint dots that do not fade when the skin is gently pressed.
Streaks or lines following the path of the tool.
Bruising: bluish, purple or dark patches, or areas that feel sore.
Scratches, a burning feeling, swelling or a rash.
Body gua sha or cạo gió often leaves streaks; in a spa facial, marks mean something went wrong. Usual causes are pressing too hard, holding the tool too upright, too little oil, working the same spot too many times, or a client who bruises easily or should not have been treated.
If you see any of these, stop using the tool there, switch to light hand strokes, tell the client calmly, record it and inform your supervisor. If the client has a bruise, unexplained swelling, pain or a reaction that does not settle, advise them to see a doctor. Never tell a client that dots or bruises are "toxins coming out" or a sign that the treatment "worked".
Aftercare advice to give the client
The skin may look a little pink for a short while; this should fade. Any dots, streaks, bruises, pain or swelling are not normal, and the client should contact the spa and, if needed, a doctor.
Avoid strong exfoliants, scrubs and active products on the same day, unless your spa's protocol says otherwise.
Use sunscreen as usual and avoid long sun exposure right after the treatment.
If the client wants to try gua sha at home, show them a light touch with a clean tool on clean, oiled skin, which areas to avoid, and that it should never hurt or leave marks.
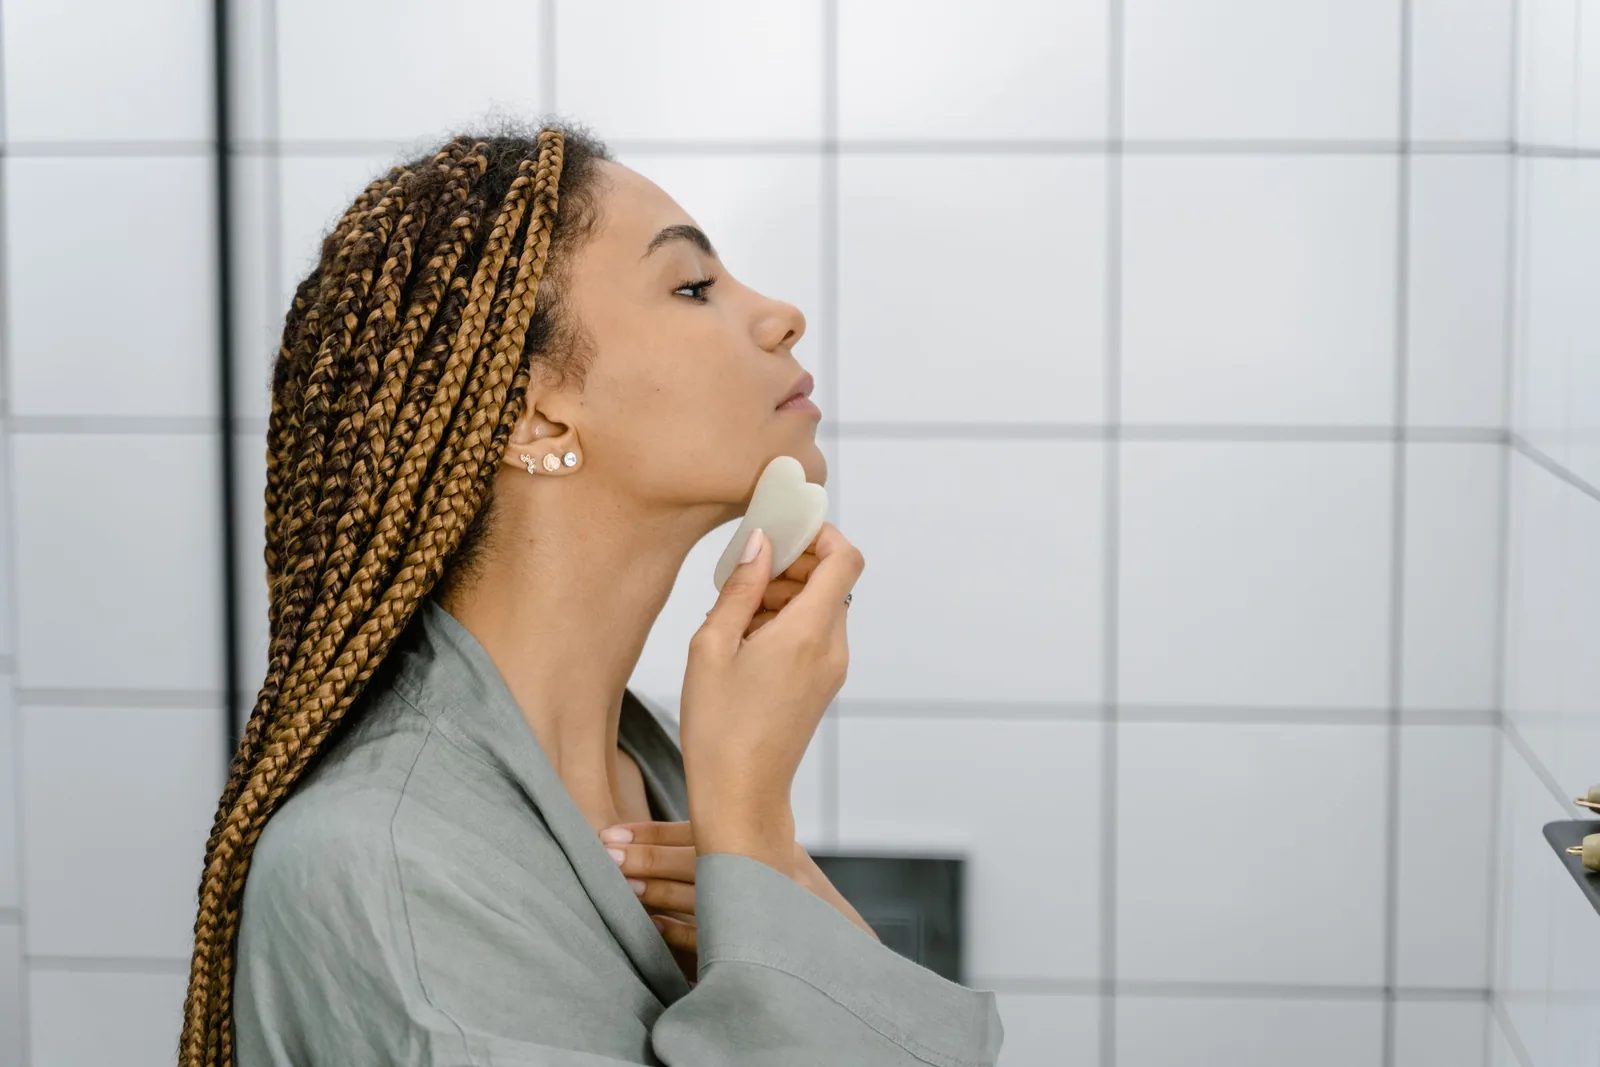
Figure 4. A woman in a grey-green robe holds a pale, heart-shaped gua sha tool against her jawline in a white-tiled bathroom. For home use, show clients how to keep the tool almost flat, press lightly and clean it after each use. (Photo: Tima Miroshnichenko / Pexels License / Pexels)
Common mistakes and how to avoid them
Pressing too hard. It is uncomfortable, can cause marks and does not "work better".
Holding the tool upright. An upright edge acts like a scraper. Keep the tool almost flat.
Too little oil. If the tool drags or squeaks, stop and add product.
Scrubbing back and forth. Work in one direction, lift the tool and return to the start.
Skipping the consultation. A regular client may have a new medicine, filler, peel or sunburn.
Poor tool care. Wiping with a tissue is not cleaning, and a chipped tool must be discarded.
Making medical promises. Do not say gua sha detoxes, drains the lymph, lifts the face or removes wrinkles.
Uneven work. Repeat the same strokes the same number of times on both sides.
Practical examples
Example 1: The client who wants "harder". A client asks you to "go deeper so it actually works". You explain kindly: "In the spa we keep facial gua sha light. Pressing hard on the face can cause bruising and doesn't make it more effective. Most people find the slow, light strokes very relaxing."
Example 2: A recent peel. A client mentions a chemical peel at a clinic four days ago; her skin is still a little flaky. You skip the tool on her face, offer a neck and shoulder massage and suggest she asks the clinic before rebooking gua sha.
Example 3: Dots appear on the cheek. Halfway through the cheeks, you notice a few tiny red dots on one side. You stop using the tool there, switch to hand strokes and tell the client what you saw and to contact the spa or a doctor if it does not settle. You record it, inform your supervisor and later realise your angle had become too upright on that side.
Safety and hygiene checklist
Consultation done and recorded; contraindications checked, including recent injections, peels, laser, sunburn and blood-thinning medicine.
Hands washed or sanitised; hair tied back; no rings or watch; nails short.
Tool cleaned and disinfected since the last client, stored clean and checked for chips and cracks.
Skin cleansed; oil or serum applied evenly; allergies checked.
Tool held almost flat; pressure light; strokes slow and in one direction.
No pressure on the front of the throat, over the pulse, on the eyelid or eyeball, or over inflamed spots and broken skin.
Skin checked during and after; tool work stopped, recorded and reported if dots, streaks or bruises appear.
Aftercare given, record card updated, tool cleaned and disinfected straight after use.
Frequently Asked Questions
Should facial gua sha leave red marks?
No. A light, even pinkness that fades soon is normal, but facial gua sha in the spa should not leave streaks, dots or bruises. Marks usually mean too much pressure, too steep an angle, too little oil or an unsuitable client.
Which gua sha material is best for a spa?
The best material is one you can clean and disinfect properly between clients. Stainless steel and polished, undamaged rose quartz or jade are common choices; wood and horn are hard to disinfect.
Does gua sha lift the face or remove wrinkles?
Do not promise that. Many clients find gua sha relaxing, and some people notice that their face looks a little less puffy for a while afterwards, but you should not claim it lifts the face, removes wrinkles or detoxes the body.
Can I do gua sha on a client with acne?
Not over active, inflamed spots or broken skin. With a few spots, you may work only on clear skin if your protocol allows; if acne is widespread or painful, skip gua sha and suggest a doctor or dermatologist.
How long should a gua sha facial take?
The sequence in this guide takes about 20–30 minutes, for reference. Your spa's menu and protocol decide the exact timing.
Practice Exercises
Angle practice: On your own forearm with a little oil, glide the tool with very light pressure at a low angle, then briefly at an upright angle. Notice how much sharper the upright edge feels.
Tool inspection and cleaning: Take three tools from the training kit. Inspect each edge, decide which are safe, then run the full cleaning routine, timing the label's contact time.
Consultation role-play: With a classmate, practise asking about recent injections, peels, laser, sunburn, easy bruising and blood-thinning medicine.
Full sequence on a partner: Work through the neck, jaw, cheeks, under-eye, brow and forehead in order, timing each part. Ask your partner to rate the pressure and tell you if any stroke felt uneven between the two sides.
Marks quiz: For each situation, decide what you would do: (a) even pinkness that fades within a short time; (b) a few tiny red dots on one cheek; (c) a client asks for harder pressure "to bring out the toxins"; (d) a client mentions she started a blood-thinning medicine last month.