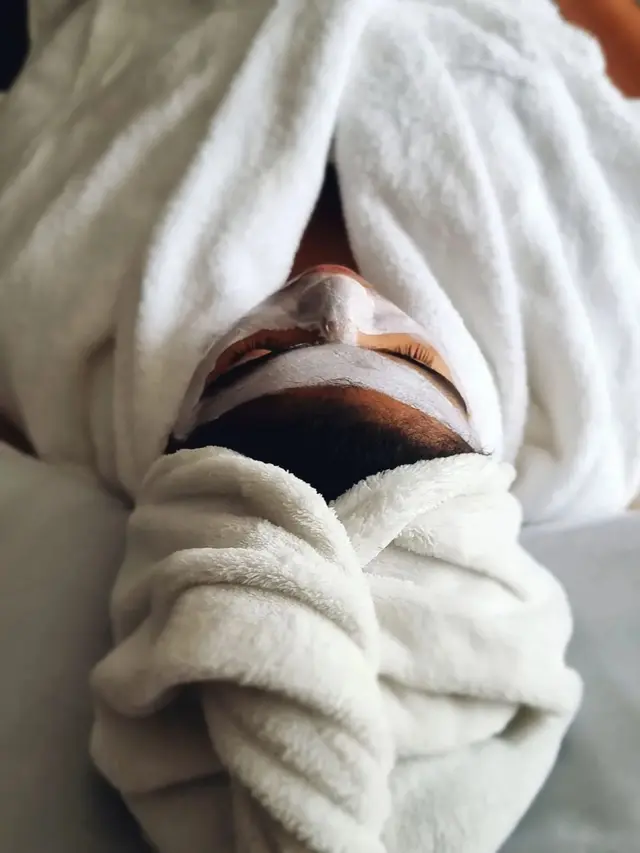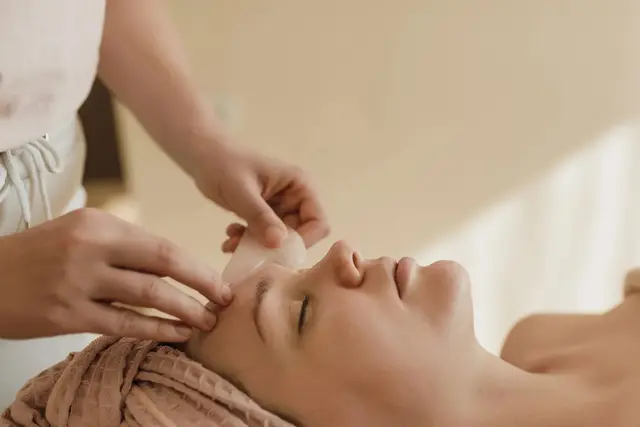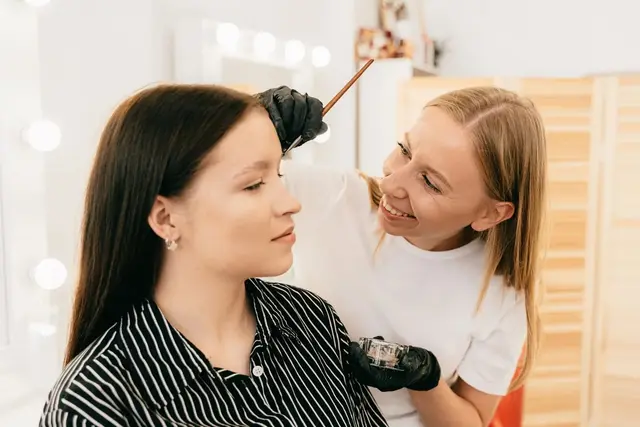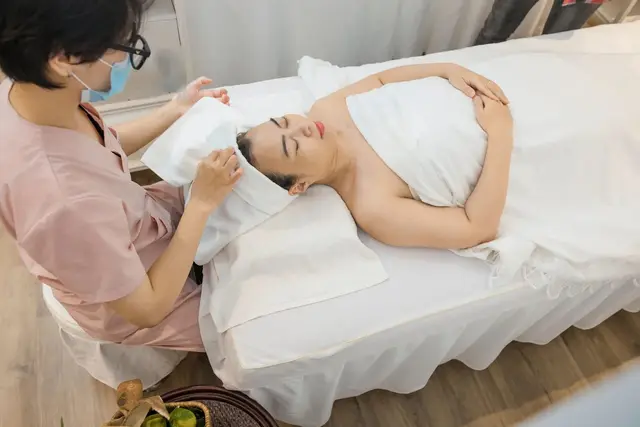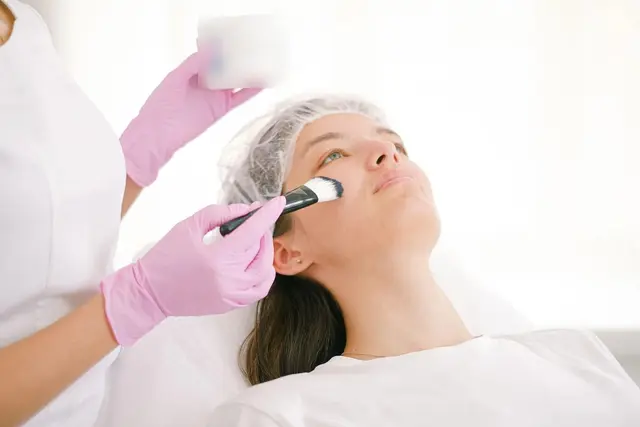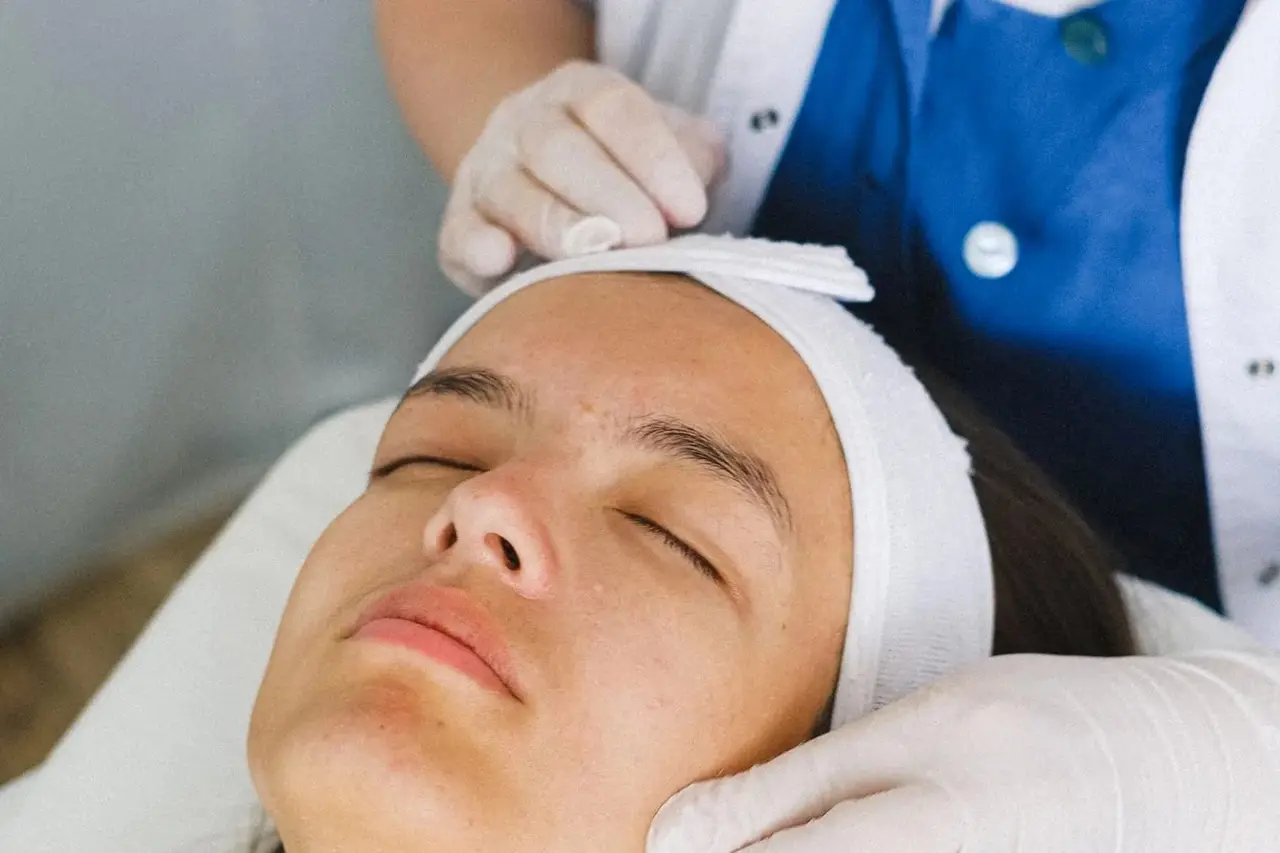
A client comes in straight from work wearing sunscreen, foundation, waterproof mascara and matte lipstick. A new therapist puts foaming cleanser straight onto her face and wipes it off. Mascara smears under her eyes, the towel comes away pink, her eyes sting, and after several more wipes her cheeks are red.
The problem was not the product but the order and technique: the therapist cleansed before removing the makeup, then tried to fix it by rubbing. Makeup removal and cleansing open almost every facial; do them well and everything that follows is more accurate and more comfortable for the client.
This guide shows you how to remove eye, lip and face makeup and then complete a second cleanse (the double cleanse) for a client lying on the treatment couch.
Scope of this guide. This is about cleansing in a cosmetic spa service, not treating skin conditions. A spa therapist does not diagnose. All times and amounts in this article are for reference only. The product manufacturer's instructions, your spa's written protocol and local hygiene rules always come first. Practise on colleagues under the supervision of an experienced therapist before working on clients.
Why careful makeup removal matters before a facial
By evening a client's face carries oil, sweat, dust, sunscreen, foundation, powder, mascara and lipstick, much of it designed to resist water, so a face wash alone often cannot shift it. A thorough, gentle cleanse lets you see the real skin before skin analysis, helps later products reach the skin instead of sitting on leftover makeup, and means less rubbing: with the right remover, makeup dissolves and you only wipe lightly. A calm, sting-free cleanse is also the client's first impression of your hands.
Makeup removal versus cleansing: what "double cleansing" means
In a facial, treat these as two separate jobs:
First cleanse – makeup removal. You use a product that dissolves makeup, sunscreen and oil: micellar water, cleansing oil, cleansing balm, cleansing milk or a dedicated eye and lip remover. This step lifts the outer layer.
Second cleanse – skin cleansing. You use a cleanser suited to the client's skin type to remove what is left: traces of makeup and remover, excess oil, sweat and dust. This step cleans the skin surface itself.
Doing both, one after the other, is double cleansing. If a client wears nothing at all on her face, many spa protocols allow a single cleanse. Sunscreen, especially water-resistant sunscreen, still counts as a layer to remove first.
Choosing removers and cleansers
Choose from your spa's professional range by asking two questions: what is on the client's face today, and how is her skin today?
Reference table: cleansing product types
Product type | Step | Often chosen for | Notes for the therapist |
|---|---|---|---|
Micellar water | First cleanse | Light makeup, everyday sunscreen, sensitive skin that should be wiped as little as possible | Soak the pad, hold it on the skin, then wipe. Some brands recommend rinsing afterwards; read the label |
Cleansing oil | First cleanse | Heavy or long-wear makeup, water-resistant sunscreen, stubborn mascara | Apply to a dry face with dry hands; add a little water at the end so it turns milky (emulsifies) before removing. Keep it away from the eye itself |
Cleansing balm | First cleanse | Similar uses to cleansing oil; easier to control because it is thicker | Scoop it out with a clean spatula; never put fingers into the jar |
Cleansing milk or cream | First cleanse | Dry or dehydrated skin, light to medium makeup | Remove with damp pads or a sponge; may need two passes |
Biphasic (two-phase) eye and lip remover | First cleanse, eyes and lips only | Waterproof mascara, heavy eyeliner, long-wear lipstick | Shake to mix the two layers before use. It contains oil, so ask about lash extensions first |
Gel cleanser | Second cleanse | Oily and combination skin | Work into a light lather in your palms first rather than spreading it neat on the face |
Cream or milk cleanser | Second cleanse | Dry, sensitive or tight-feeling skin | Low or no foam; should not leave the skin feeling tight |
Foaming cleanser | Second cleanse | Oily and normal skin | Can leave dry skin feeling tight; keep foam well away from the eyes |
General guidance, for reference only; formulas vary. Check each label for eye-area suitability and whether rinsing is needed.
Quick choices by skin and makeup
Client today | First cleanse (example) | Second cleanse (example) | Watch out for |
|---|---|---|---|
Oily or combination skin, full makeup | Cleansing oil or balm, emulsified well | Gel or foaming cleanser | Oil residue around the nose and hairline |
Dry skin, light makeup | Cleansing milk or micellar water | Cream or milk cleanser | Too many passes leaving the skin tight |
Sensitive or easily flushed skin | The mildest remover in the range, pressed on rather than wiped | Cream or milk cleanser, short contact | Redness, stinging; reduce wiping |
Spot-prone skin | Remover from the spa's range for this skin type | Gel cleanser | Never wipe over inflamed spots; do not squeeze during cleansing |
Lash extensions | Oil-free remover on the eye area; any suitable remover on the rest of the face, away from the lashes | Cleanser for the skin type, kept off the lashes | Oil and rubbing near the lash line |
Whatever the skin type, never use a product that is out of date, unlabelled, or has changed colour or smell. If a client reports an allergy, record the product name and check ingredients with your supervisor rather than guessing.
Setting up before you start
What to prepare for one client
Clean cotton pads (roughly 6–10, for reference) and cotton swabs.
Clean facial sponges (single-use, or processed according to your spa's procedure) or small face towels.
A bowl of lukewarm water for moistening pads and sponges, and a lidded bin beside the couch.
The remover and cleanser you have chosen, dispensed with a pump or a clean spatula in the amount you need.
A headband or hair wrap, and a towel to protect the client's neckline and clothing.
Disposable gloves according to your spa's protocol.
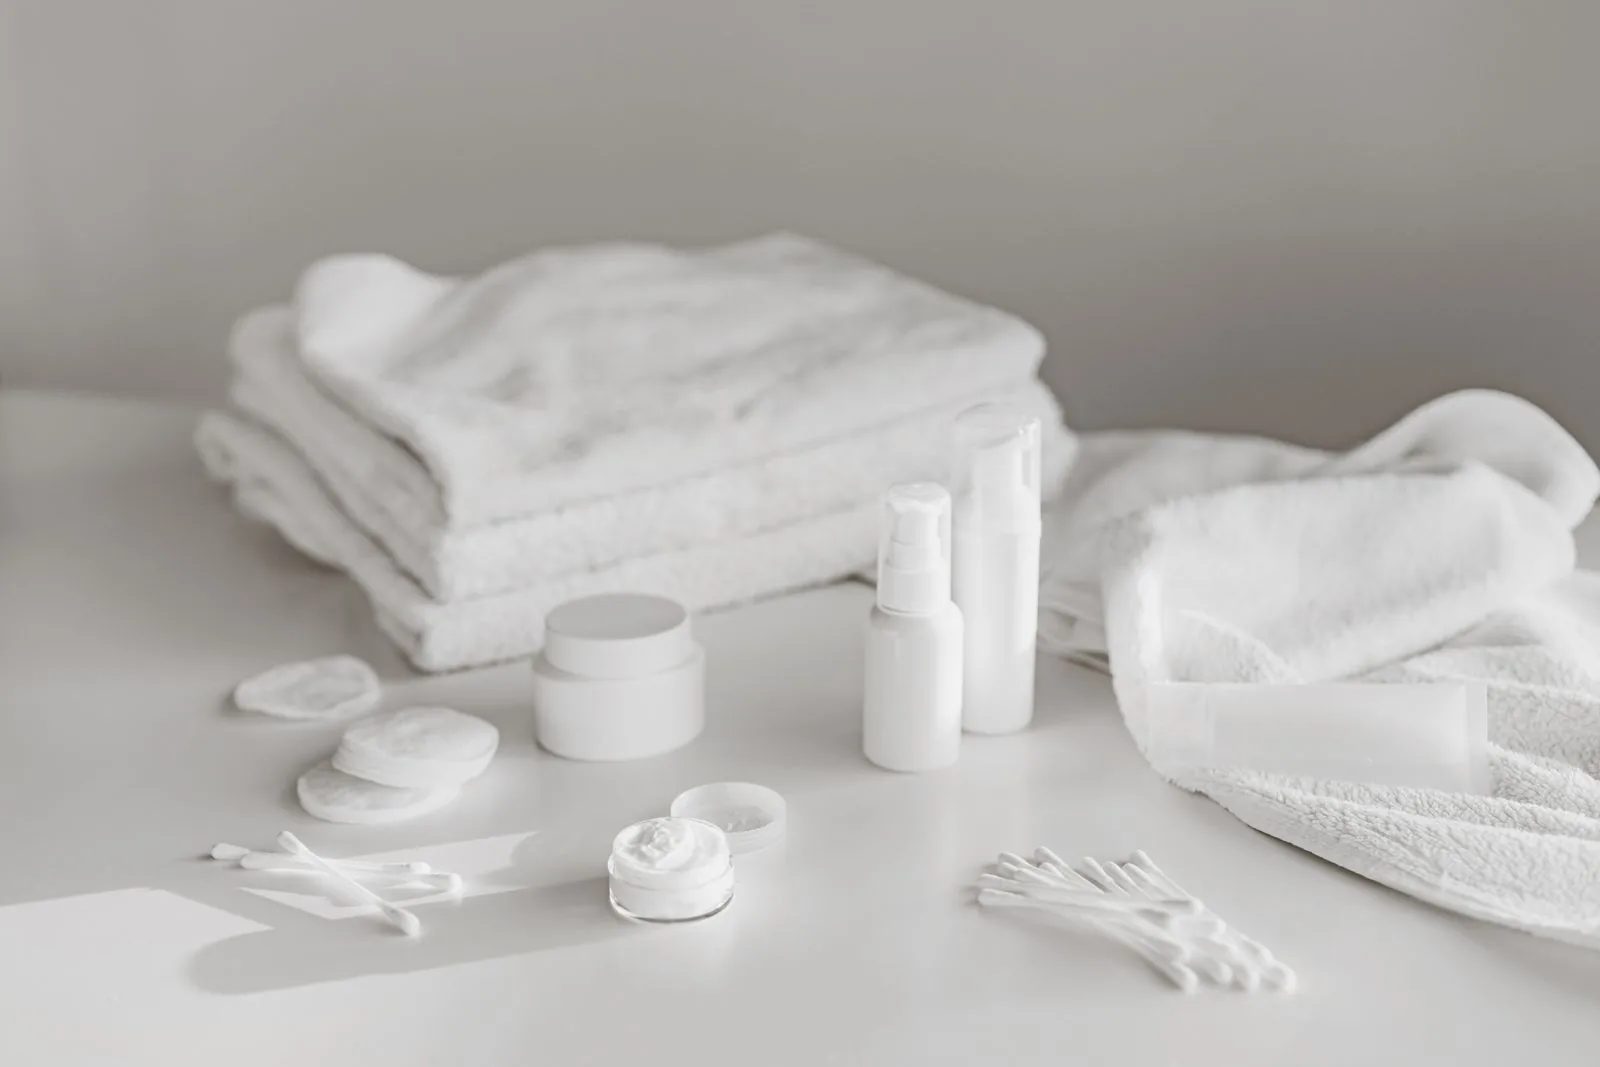
Figure 1. Folded white towels, cotton pads, cotton swabs, a jar and small pump bottles laid out on a white table. Set out everything for one client before you start so you never have to leave the client mid-cleanse with product on her face. (Photo: ROMAN ODINTSOV, Pexels)
Questions to ask before you touch the face
A few short questions prevent most problems:
"Are you wearing eye makeup or water-resistant sunscreen today?"
"Are you wearing contact lenses? If so, would you mind taking them out before we start?"
"Do you have lash extensions or a lash lift, or have you had your brows or lips tattooed recently?"
"Are you allergic to any products, or using any skin cream prescribed by a doctor?"
"Have you had a peel, laser or any other procedure on your face recently?"
Record the answers. If she has had a recent clinic procedure or uses prescription skin treatment, tell your supervisor; a very gentle cleanse or postponing the facial may be the right choice.
Wash your hands, keep nails short and take off rings and bracelets. Secure the client's hair in a headband and tell her what will happen: "I'll start with your eye makeup. Close your eyes gently, and tell me straight away if anything stings."
Step-by-step: makeup removal and double cleanse in 8 steps
The whole routine usually takes around 10–15 minutes (for reference), depending on how much makeup the client is wearing and your spa's protocol.
Step 1: Look before you touch
Note the makeup (mascara, liner, matte lipstick, heavy or light foundation) and any red patches, scratches or inflamed spots you must not wipe firmly. Do not comment negatively on the client's skin.
Step 2: Remove eye makeup
The eye area is delicate and stings easily, so start here with your lightest touch.
Soak two cotton pads with a remover that is suitable for the eye area. They should be wet but not dripping.
With the client's eyes closed, place a pad over the eyelid so it covers the lash line. Hold it there gently for about 10–20 seconds (for reference) so the remover can soften the mascara.
Wipe once, slowly, downwards in the direction the lashes grow, then out towards the outer corner. Do not rub back and forth and do not stretch the eyelid.
Fold the pad to a clean side or take a new one, and repeat until the pad comes away almost clean.
At the lower lash line, stroke a moistened cotton swab gently from the inner to the outer corner, tip pointing away from the eye; ask the client to look up if needed.
Use separate pads for each eye.
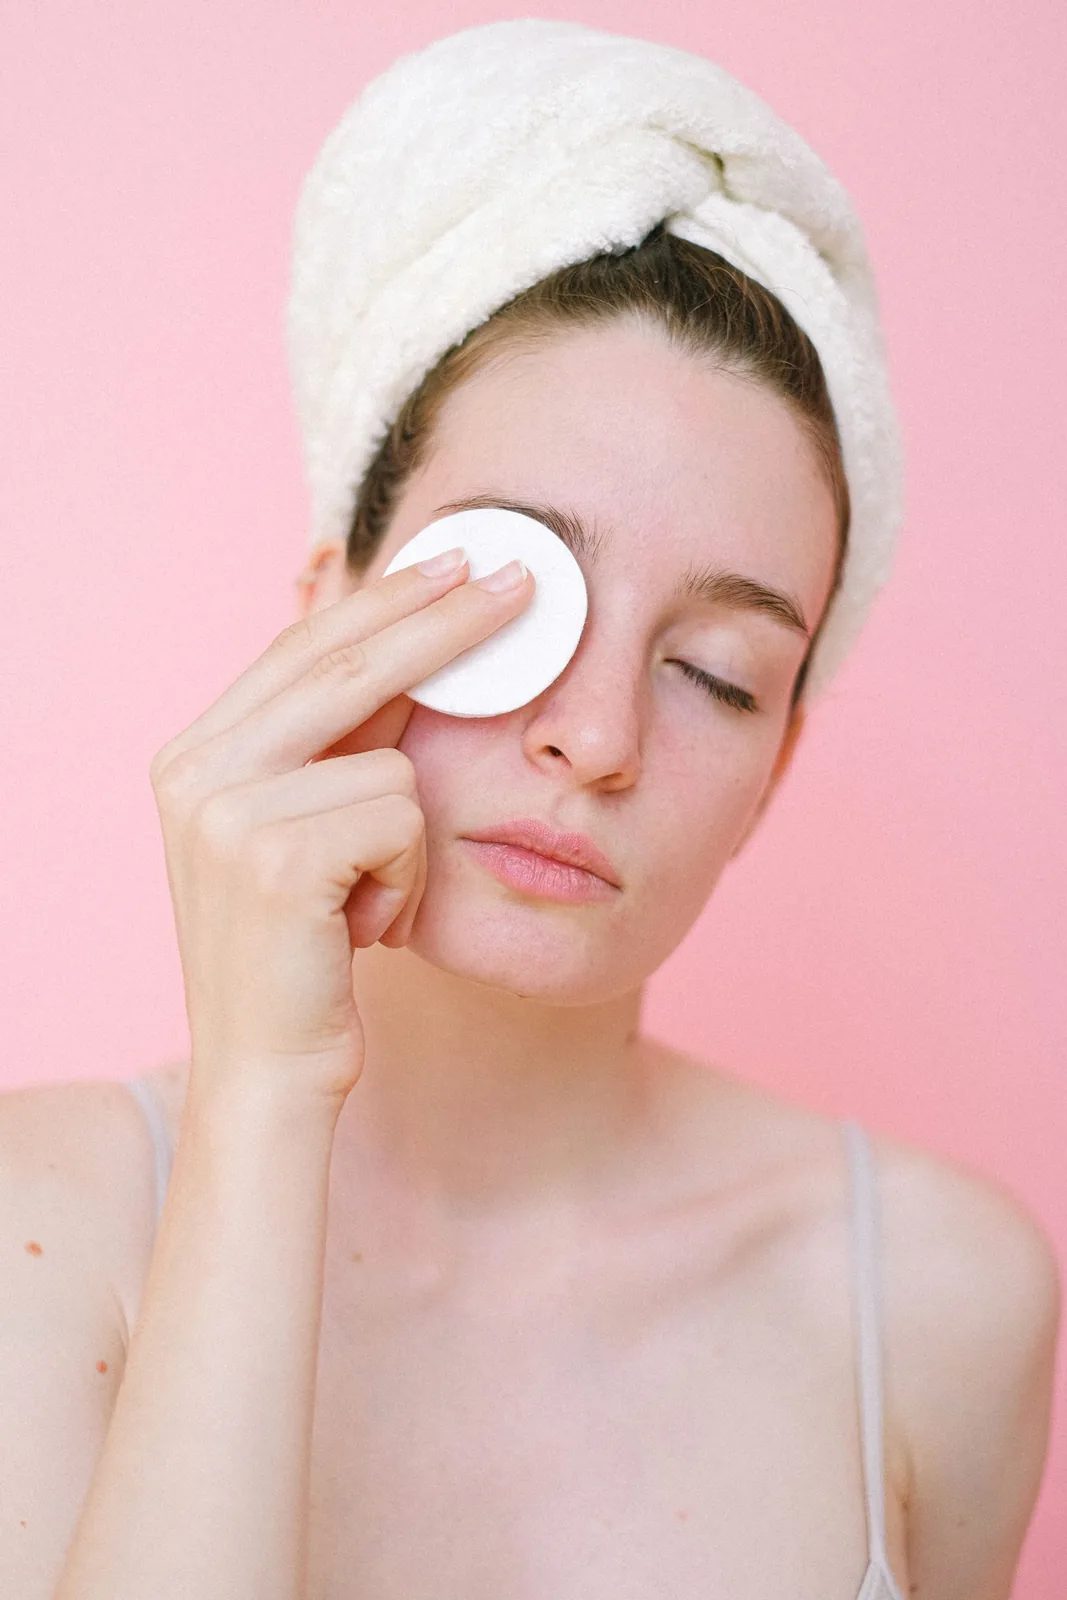
Figure 2. A woman with her hair wrapped in a white towel holds a round cotton pad flat over one closed eye, against a pink background. When you work on a client, the idea is the same: rest a soaked pad on the closed eye and let the remover work for a few seconds before wiping, instead of rubbing. (Photo: Anna Shvets, Pexels)
Step 3: Remove lip makeup
Place a soaked pad on the lips and hold it for a few seconds.
Wipe from the corners of the mouth towards the centre: downwards on the upper lip, upwards on the lower lip. Use a clean side of the pad for the second pass.
For long-wear or matte lipstick that stays in the lip line, use a moistened cotton swab along the edge.
If the client has had her lips tattooed recently, ask what aftercare advice she was given. If you are not sure, avoid the lips and note it on the record card.
Step 4: First cleanse of the whole face
How you do this depends on the product:
Micellar water or cleansing milk: soak a pad and work area by area: forehead, nose, cheeks, chin, then neck, moving from the centre outwards and from below upwards. Change pads after one or two areas.
Cleansing oil or balm: warm a small amount in dry palms and spread it over the dry face with small, light circles, away from the eyes, for about 30–60 seconds (for reference); this is not a massage. Then dampen your fingertips and go over the face again so the product turns milky (emulsifies) before removing it.
Foundation collects beside the nose, at the hairline, jaw and under the chin; go over these areas carefully but lightly.
Step 5: Remove the first cleanse
Wipe from the centre outwards with a damp sponge or a lukewarm towel tested on the inside of your wrist first. If the sponge still picks up a lot of colour, repeat Step 4 in that area rather than scrubbing.
Step 6: Second cleanse with a cleanser for the skin type
Take about a pea-sized amount of cleanser (for reference; follow the manufacturer), add a little water and work it between your palms until even or lightly foamed.
Apply it in the order chin, cheeks, nose, forehead, using small, light circles with your fingertips for about 30–60 seconds (for reference). Keep it shorter on dry or sensitive skin.
Keep the cleanser away from the eye area; foaming cleansers in particular sting.
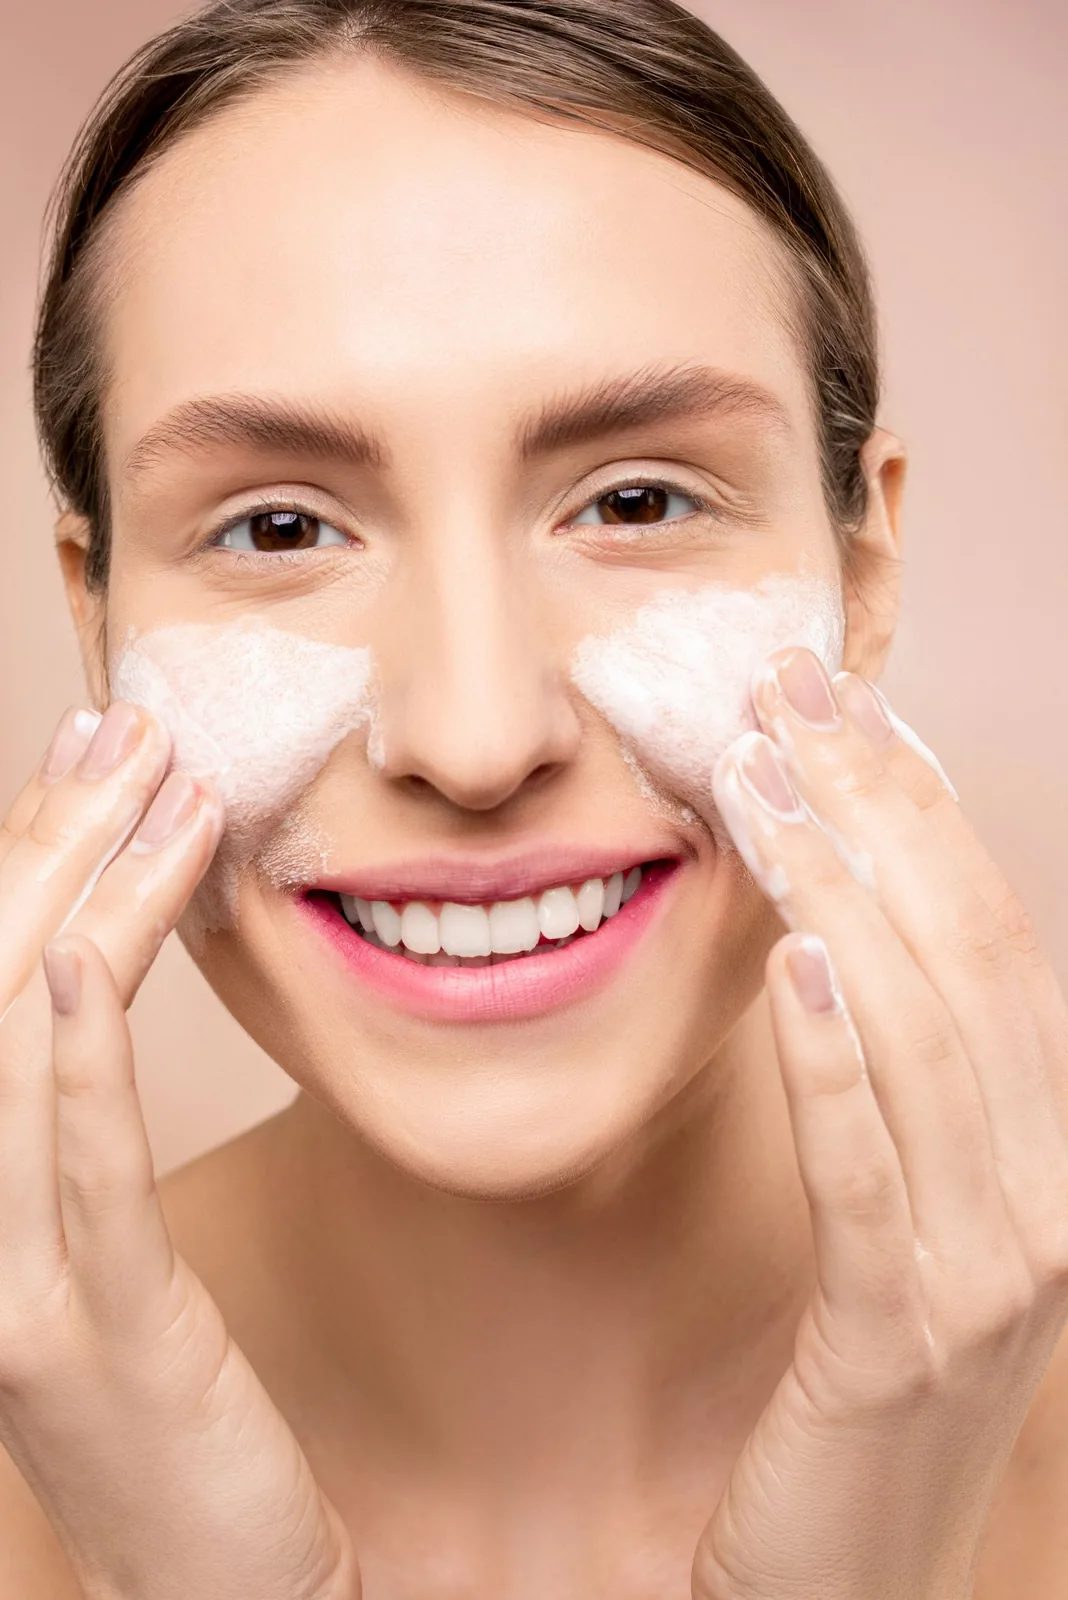
Figure 3. A smiling woman with her hair tied back works a white foaming cleanser over both cheeks with her fingertips. In the second cleanse, use the same light fingertip circles on the client's face and keep the foam well away from her eyes. (Photo: Shiny Diamond, Pexels)
Step 7: Rinse with sponges or towels and lukewarm water
On the couch you "rinse" by wiping, with sponges or a small towel moistened in lukewarm water: comfortably warm on your wrist, never hot. Wipe from the centre outwards, rinsing or changing the sponge as you go. Two or three passes are usually needed (for reference), until the skin no longer feels slippery. Check the hairline, under the chin and beside the nose.
Step 8: Pat dry, check for residue and record
Pat the skin dry with a clean towel; do not rub. Check under good light for mascara at the lash roots, foundation at the hairline or jaw and lipstick in the lip line, and ask whether her eyes feel comfortable. Record the products used, any reaction and special notes (lenses, lash extensions, areas to avoid). The skin is now ready for the next stage, such as skin analysis or exfoliation.
Pressure and wiping direction by area
Pressure is always light: the pad glides without dragging the skin. If the skin wrinkles ahead of your fingers or reddens straight after wiping, you are pressing too hard or wiping too often.
Area | Usual direction | Avoid |
|---|---|---|
Upper eyelid | Press and hold, then wipe down in the direction of the lashes and out to the outer corner | Rubbing back and forth; stretching the eyelid |
Lower lash line | Cotton swab from inner to outer corner, tip pointing away from the eye | Pointing the swab towards the eyeball |
Lips | From the corners towards the centre | Hard wiping that cracks dry lips; recently tattooed lips |
Forehead | From the centre out to the temples | Letting product run down into the eyes |
Nose | Down the bridge, then carefully around the sides | Squeezing or extracting during cleansing |
Cheeks | From the sides of the nose out towards the ears, moving upwards | Firm wiping on red areas or inflamed spots |
Chin, jaw and neck | From the centre of the chin outwards; the neck from below upwards | Pressing on the front of the throat |
These directions are common practice, for reference; follow your spa's protocol if it differs.
Special cases that need extra care
Contact lenses
Ask the client to remove her lenses into her own case first. If she prefers not to, use very little product, stay away from the lash line and note it on the card.
Lash extensions or a lash lift
Many lash technicians advise avoiding oil-based products around the eyes because oil may weaken the adhesive, and keeping newly lifted lashes dry for a while. The timing varies, so ask the client what she was told and follow it. If unsure, use no oil or biphasic remover on the eyes; clean the lid lightly with an oil-free product, away from the lash roots.
Recent brow or lip tattooing, or a recent facial procedure
Recently tattooed, peeled or lasered areas follow the aftercare advice of whoever did the procedure. Avoid those areas, or postpone if your supervisor decides so.
Sensitive, red or reactive skin
Choose the mildest products in your range, keep the water lukewarm, press and lift pads instead of wiping, and keep the second cleanse short. If the skin starts to sting or flush strongly, stop and follow the steps in the next section.
Inflamed spots, scratches or broken skin
Wear gloves, press gently around inflamed spots or broken skin instead of wiping across them, and never squeeze or extract during the cleanse. If the skin is hot and swollen, weeping, or has clusters of blisters or open sores, stop the facial, suggest the client sees a doctor or dermatologist, and record it.
If product gets in the eye or the skin stings
If the client says her eye stings:
Stop at once, ask her to keep her eyes closed and wipe the product from around the eye with a pad moistened with clean water, without rubbing.
If product has got into the eye itself, help her sit up and rinse the eye gently with plenty of clean water following your spa's first-aid procedure. If she wears contact lenses, she should take them out first if this is easy to do.
Give her a clean towel to pat with and remind her not to rub her eye.
If the eye is still painful, very red, keeps watering or her vision is blurred after rinsing, advise her to get her eye checked by a doctor promptly, and inform your supervisor.
If the skin burns or turns red: stop that product, remove it with cool water or a clean damp towel and tell your supervisor. Do not add "soothing" products unless your protocol says so. If redness, burning or swelling does not settle, follow your spa's skin reaction procedure and advise the client to see a doctor. Record every incident: time, product, area, what you did and the advice given.
Hygiene: pads, gloves, pump bottles and decanting
Fresh pads, swabs and sponges for every client. Single-use items go straight into the lidded bin; reusable sponges, if allowed, are washed, disinfected, dried and stored separately. Towels that have touched a client go to the laundry, even if they look clean.
Gloves follow your spa's protocol. Many spas use them for every facial; always wear them over broken skin or inflamed acne, and wash your hands before and after each client either way.
Pump bottles and decanting. Never dip fingers into a shared jar. Use pumps, or decant what you need into a clean dish with a clean spatula, and never pour unused product back. Bottles your spa fills itself should be clean and clearly labelled.
After the client: clean and disinfect the water bowl, wipe pump heads and caps, remove gloves and wash your hands.
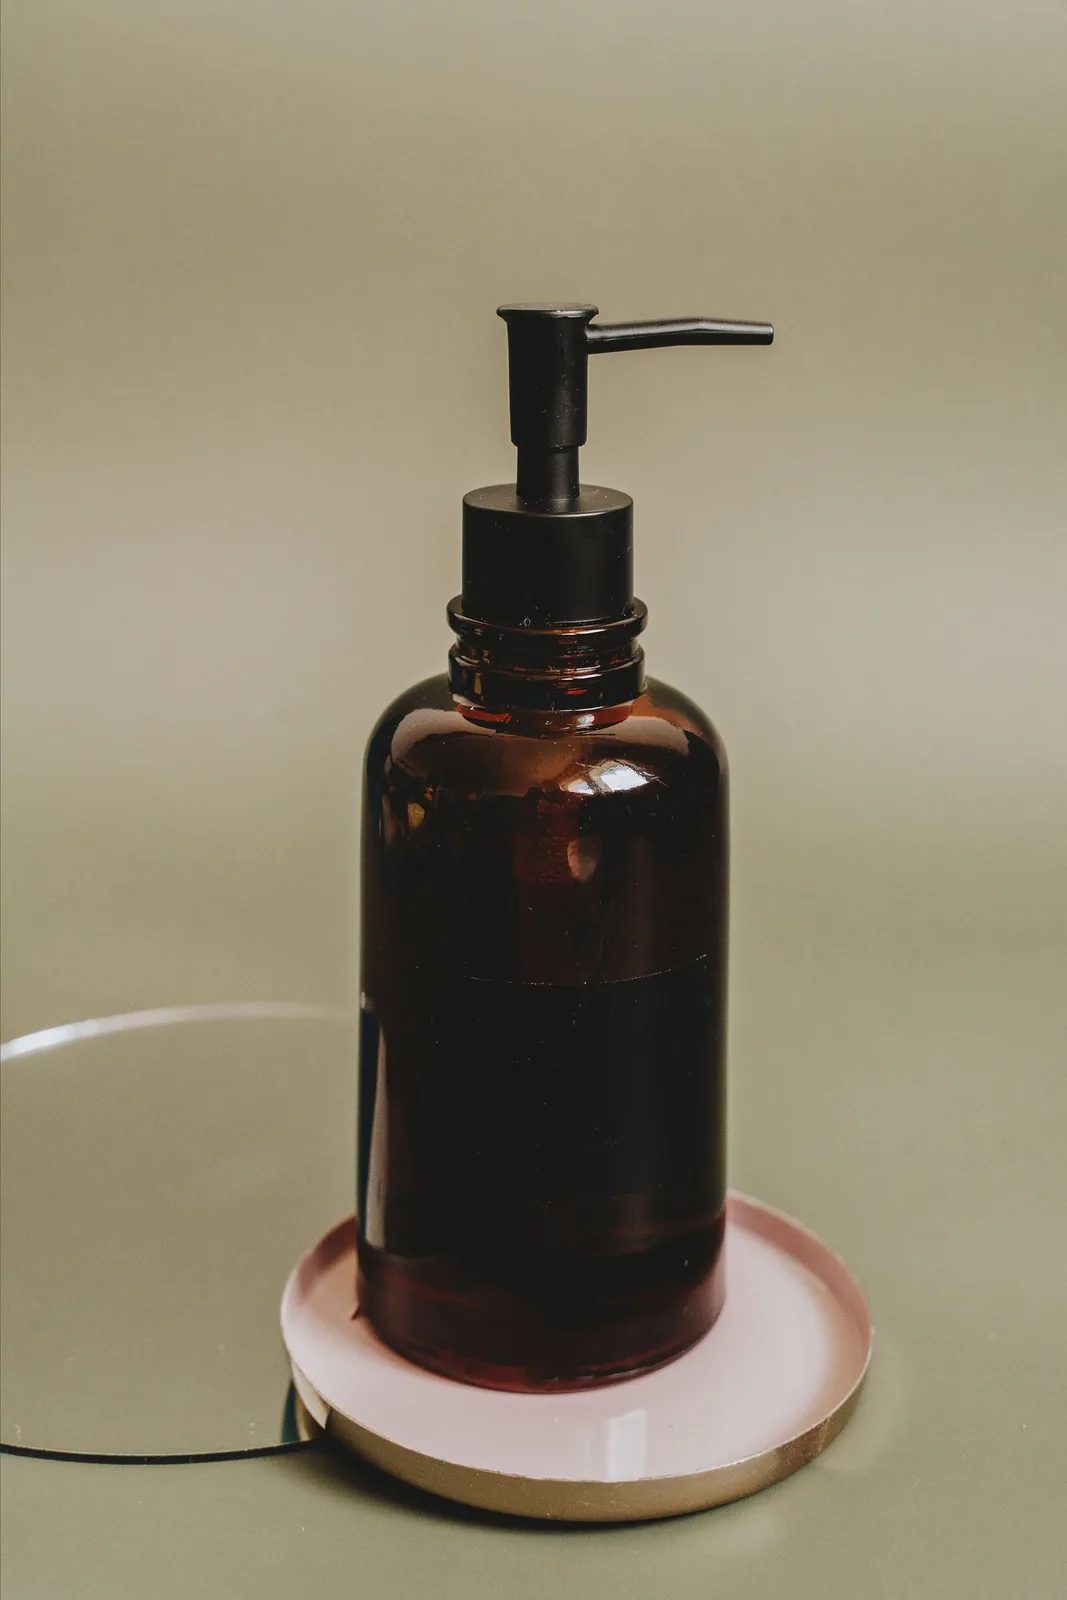
Figure 4. A plain amber glass bottle with a black pump stands on a small pink tray. Pump bottles let you dispense remover or cleanser without touching the rest of the product; if your spa decants products into bottles like this, keep them clean and clearly labelled. (Photo: Alesia Kozik, Pexels)
Common mistakes and how to avoid them
Cleansing before removing makeup. The makeup smears and you end up wiping again and again. Always remove makeup first, then cleanse.
Rubbing the eyes back and forth. This causes stinging, redness and lost lashes. Press, hold, then wipe in one direction.
One pad for the whole face. Mascara and lipstick spread across the cheeks. Change pads often and use separate pads for each eye.
Applying cleansing oil to wet skin or with wet hands. It cannot dissolve makeup properly. Apply to dry skin and emulsify only at the end.
Not removing all the cleanser. Residue at the hairline and under the chin can leave the skin itchy or tight. Check every area before you pat dry.
Water or towels that are too hot. Heat can make sensitive skin flush. Test on your wrist every time.
Practical examples
Example 1: Lash extensions from last week. A client mentions she had extensions put on a week ago and her technician told her to avoid oil. You choose an oil-free micellar water for the eyelids, work only on the lid away from the lash roots, use cleansing balm on the rest of the face, keeping it well away from the eyes, and write "lash extensions – oil-free around eyes" on her card.
Example 2: Stinging during the second cleanse. Halfway through the second cleanse, a client says her left eye is stinging. You stop, wipe around the eye with a water-moistened pad, and ask how it feels. It settles within a minute, so you finish the cleanse working well away from the eyes, and record what happened. Had it not settled, you would have helped her sit up to rinse the eye and told your supervisor.
Safety and hygiene checklist
Asked about contact lenses, lash extensions or lift, tattooing, recent procedures, allergies and prescription skin products; answers recorded.
Products in date, labelled and eye-safe where used; fresh pads, sponges and towels for this client; products dispensed by pump or spatula.
Hands washed; nails short; rings and bracelets removed; gloves worn according to protocol and always over broken skin.
Towel and water temperature tested on the inside of the wrist before touching the face.
Eye makeup removed by pressing, holding and wiping in one direction, with separate pads for each eye.
No rubbing, no stretching the skin; recently tattooed areas, inflamed spots and scratches avoided.
All product removed and checked at the lash line, hairline, jaw, chin and sides of the nose.
Disposables binned, towels sent to the laundry, bowl and bottles cleaned, hands washed.
Frequently Asked Questions
Do I need to remove makeup if the client is not wearing any?
It depends on your spa's protocol. If she is wearing sunscreen, especially a water-resistant one, a gentle first cleanse is a good idea. If she has nothing on her skin at all, many spas use a single cleanse with a cleanser suited to her skin type.
Is micellar water enough on its own before a facial?
It can remove light makeup, but in a facial it is normally followed by a second cleanse so no residue is left on the skin. Some micellar waters are meant to be rinsed off; check the label.
Can I use cleansing oil on oily or spot-prone skin?
Often yes, if it is a product from your spa's range intended for that skin type, it is emulsified properly and you follow it with a thorough second cleanse. If a client has broken out after a particular product before, record it and choose another. Do not tell clients that a product "treats acne".
Practice Exercises
Eye makeup removal: Under supervision, on a colleague wearing eyeliner and mascara, practise press, hold and one-direction wiping. Count the pads per eye and ask whether anything stung; next time aim for fewer wipes with the same result.
Emulsifying cleansing oil: Apply foundation and lipstick to the back of your hand, massage in cleansing oil, add a few drops of water, watch it turn milky and remove it. Repeat starting with a wet hand and compare.
Consultation questions: Rewrite the five pre-cleanse questions in your own words, then practise asking them to a colleague in under one minute.
Case study: For each client, choose your products and your approach to the eyes and lips, and explain why: (a) lash extensions applied one week ago; (b) lips tattooed recently; (c) contact lenses in and no case with her; (d) party makeup with waterproof mascara and matte lipstick; (e) a man who has just shaved and is wearing only sunscreen.