A landlord has six rooms for rent behind one EVN meter, and every month there is the same argument about who used how much electricity. They ask you to fit a meter for each room. It sounds simple, but a badly planned sub-meter installation can bill the wrong tenant, count energy when everything is off, or leave a room unprotected.
This guide covers choosing and sizing the meter, mounting, wiring to its own terminal diagram, one breaker per room, sealing and labelling, testing with a known load, fair reading records and common faults.
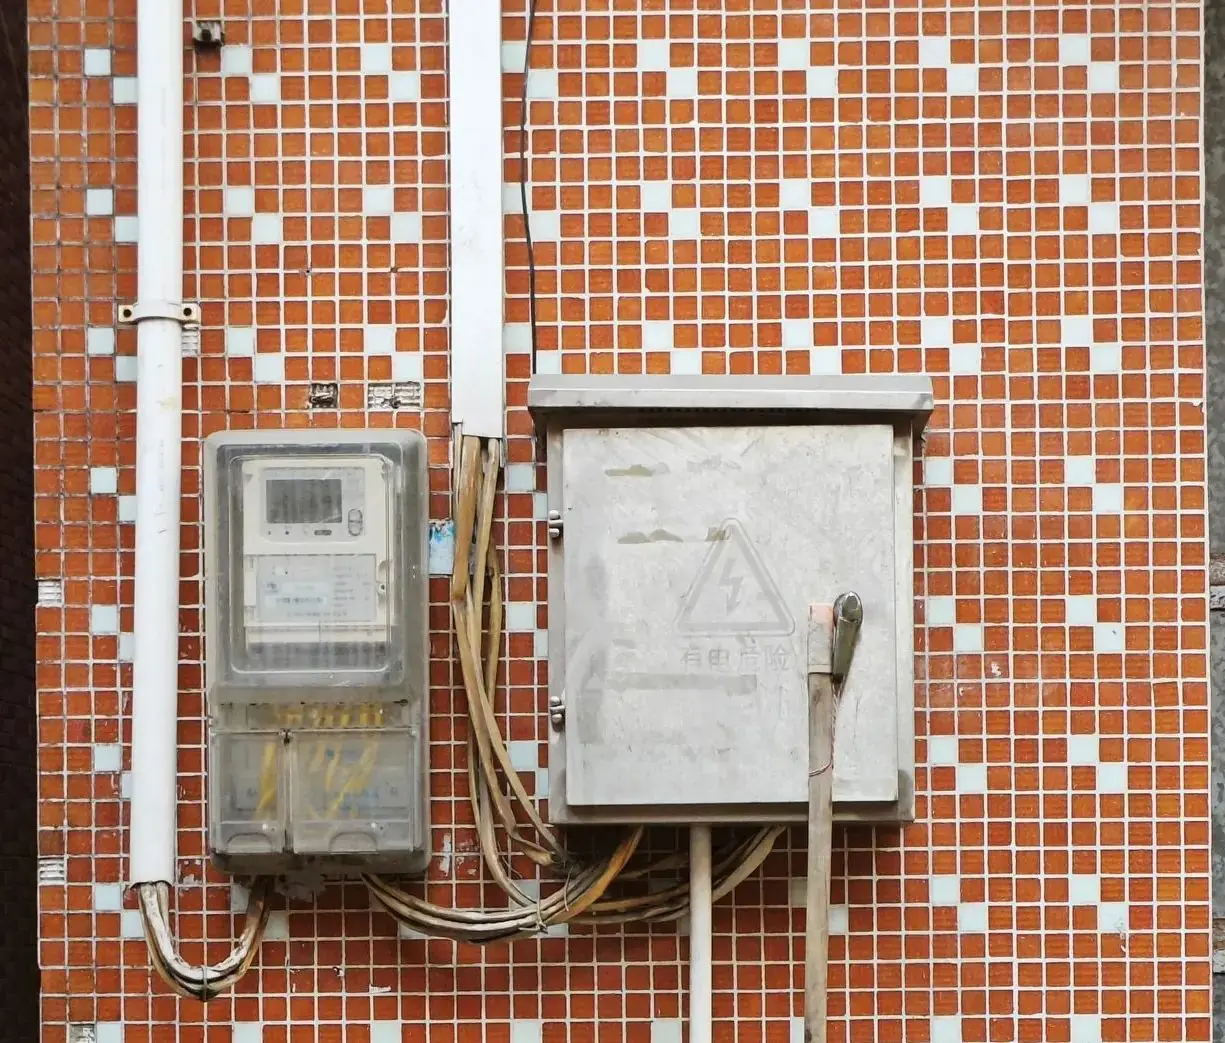
Scope of this guide. This article is for trainee and working residential electricians on single-phase 230 V / 50 Hz supplies, as used in Vietnam. Work on fixed wiring should only be done by a competent person, following current Vietnamese regulations and the manufacturer's instructions. Everything upstream of the EVN meter, including the EVN meter itself, its cover and its seals, belongs to the power utility. Never open, move, bridge or touch it. Your work starts at the outgoing side of the landlord's own main switch. Any figures below are for reference only; the label and manual of the actual product always come first.
What a sub-meter is (and is not)
A sub-meter (in Vietnamese often công tơ phụ or công tơ con) is a private kWh meter installed by the owner after the utility meter. It measures the energy used by one room. EVN still bills the landlord from its own meter; sub-meters only help share that bill fairly.
How a landlord may charge tenants, and at what price, is set by current Vietnamese regulations and EVN guidance, which can change. Do not quote prices or tariff rules. Advise the landlord to check with the local EVN office or official sources and to write the billing method into the rental contract.
Because money depends on it, the installation must be clear, testable and hard to tamper with.
Step 1: Plan the installation
Walk the building with the landlord first:
What is in each room? List the big loads: air conditioner, water heater, induction cooker, kettle, washing machine. They decide the current each room may draw.
Where are the existing circuits? In older rental houses, one room's lights are often fed from another room's circuit. Sub-meters only work if every point in Room A is fed only from Room A's meter. Expect some rewiring.
What stays on the landlord's side? Corridor lights, a shared pump and the router usually go on a separate "common" circuit. Agree in writing how it is shared.
Can the main supply carry the total? Adding air conditioners everywhere may exceed what the supply and main switch were designed for. Increasing the supply is a matter for EVN.
A simple single-line plan for each room is: landlord's main switch → busbar → sub-meter → room MCB or RCBO → room cables (live and neutral).
Step 2: Choose the meter
Electronic or mechanical?
For new work a single-phase electronic meter is usually the better choice. Mechanical (induction, "disc") meters still work but have more limitations.
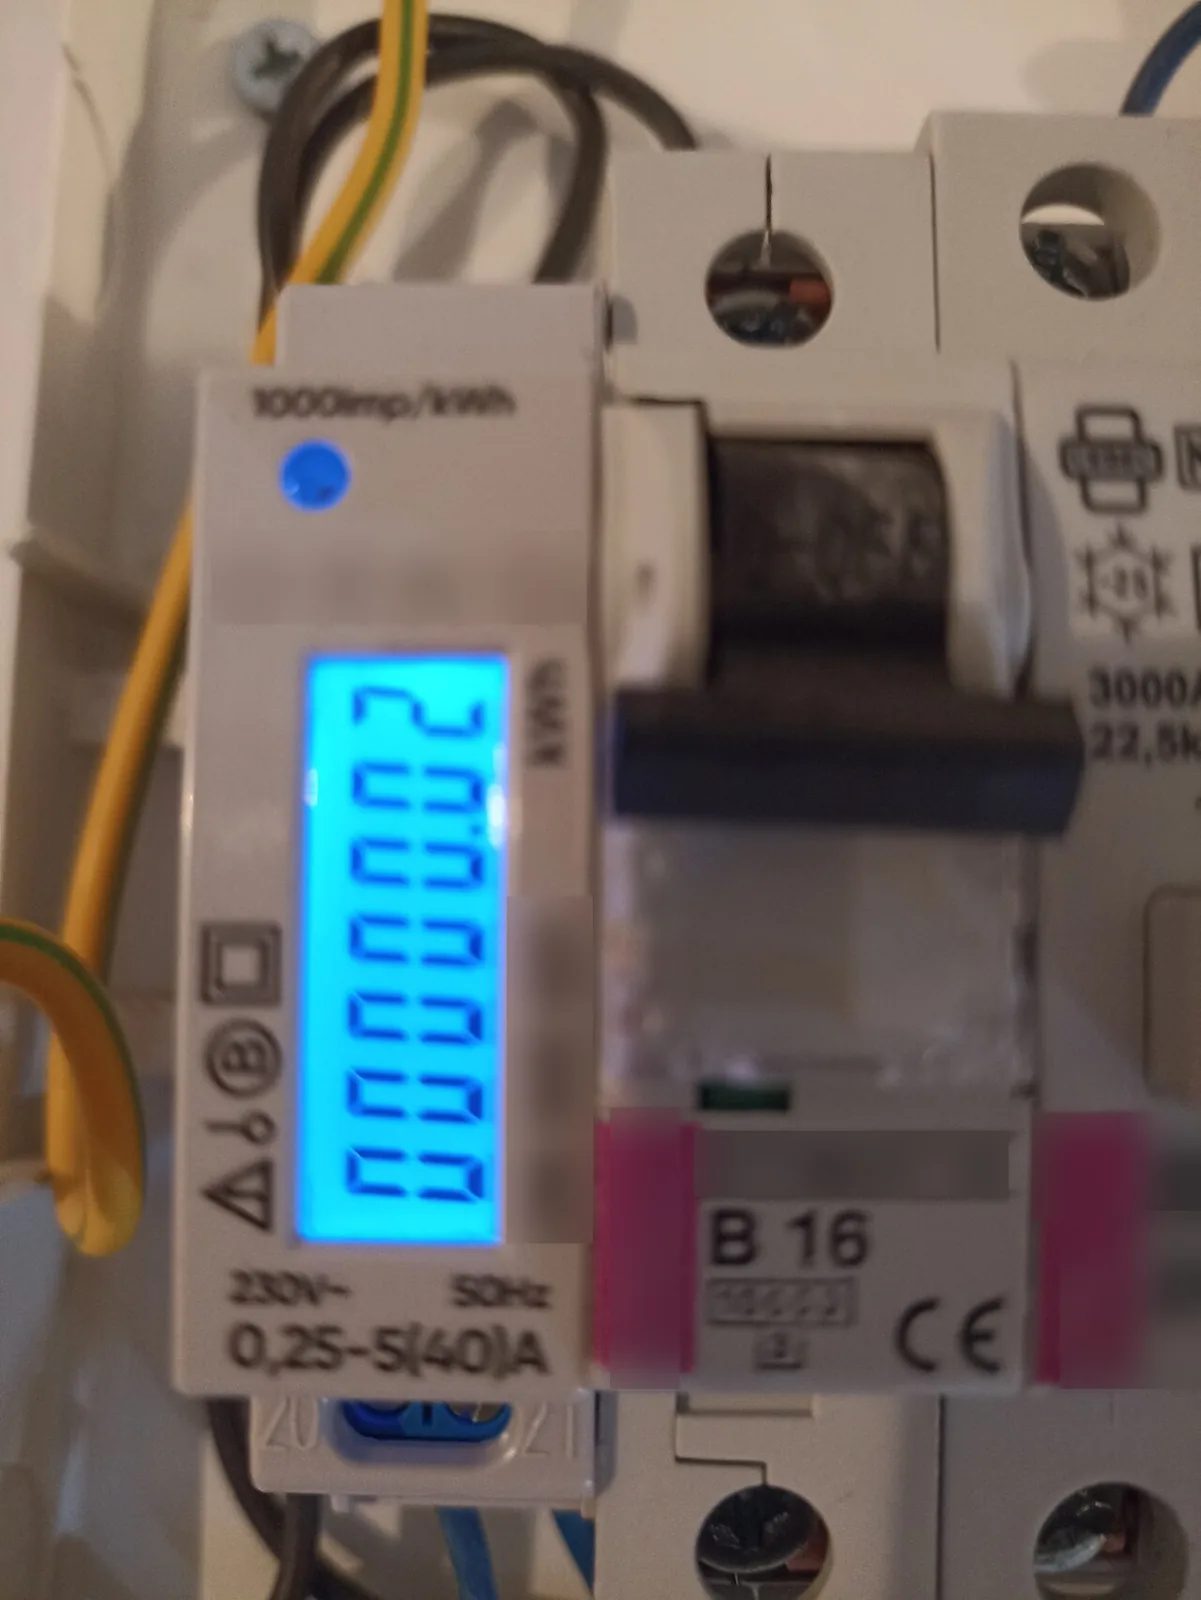
Figure 1. A DIN-rail single-phase electronic meter beside a B16 breaker. Its label shows 230 V, 50 Hz, 0.25–5(40) A, and the pulse LED is marked 1000 imp/kWh, the constant used for testing. (Photo: Koefbac, Wikimedia Commons, CC0; brand names blurred)
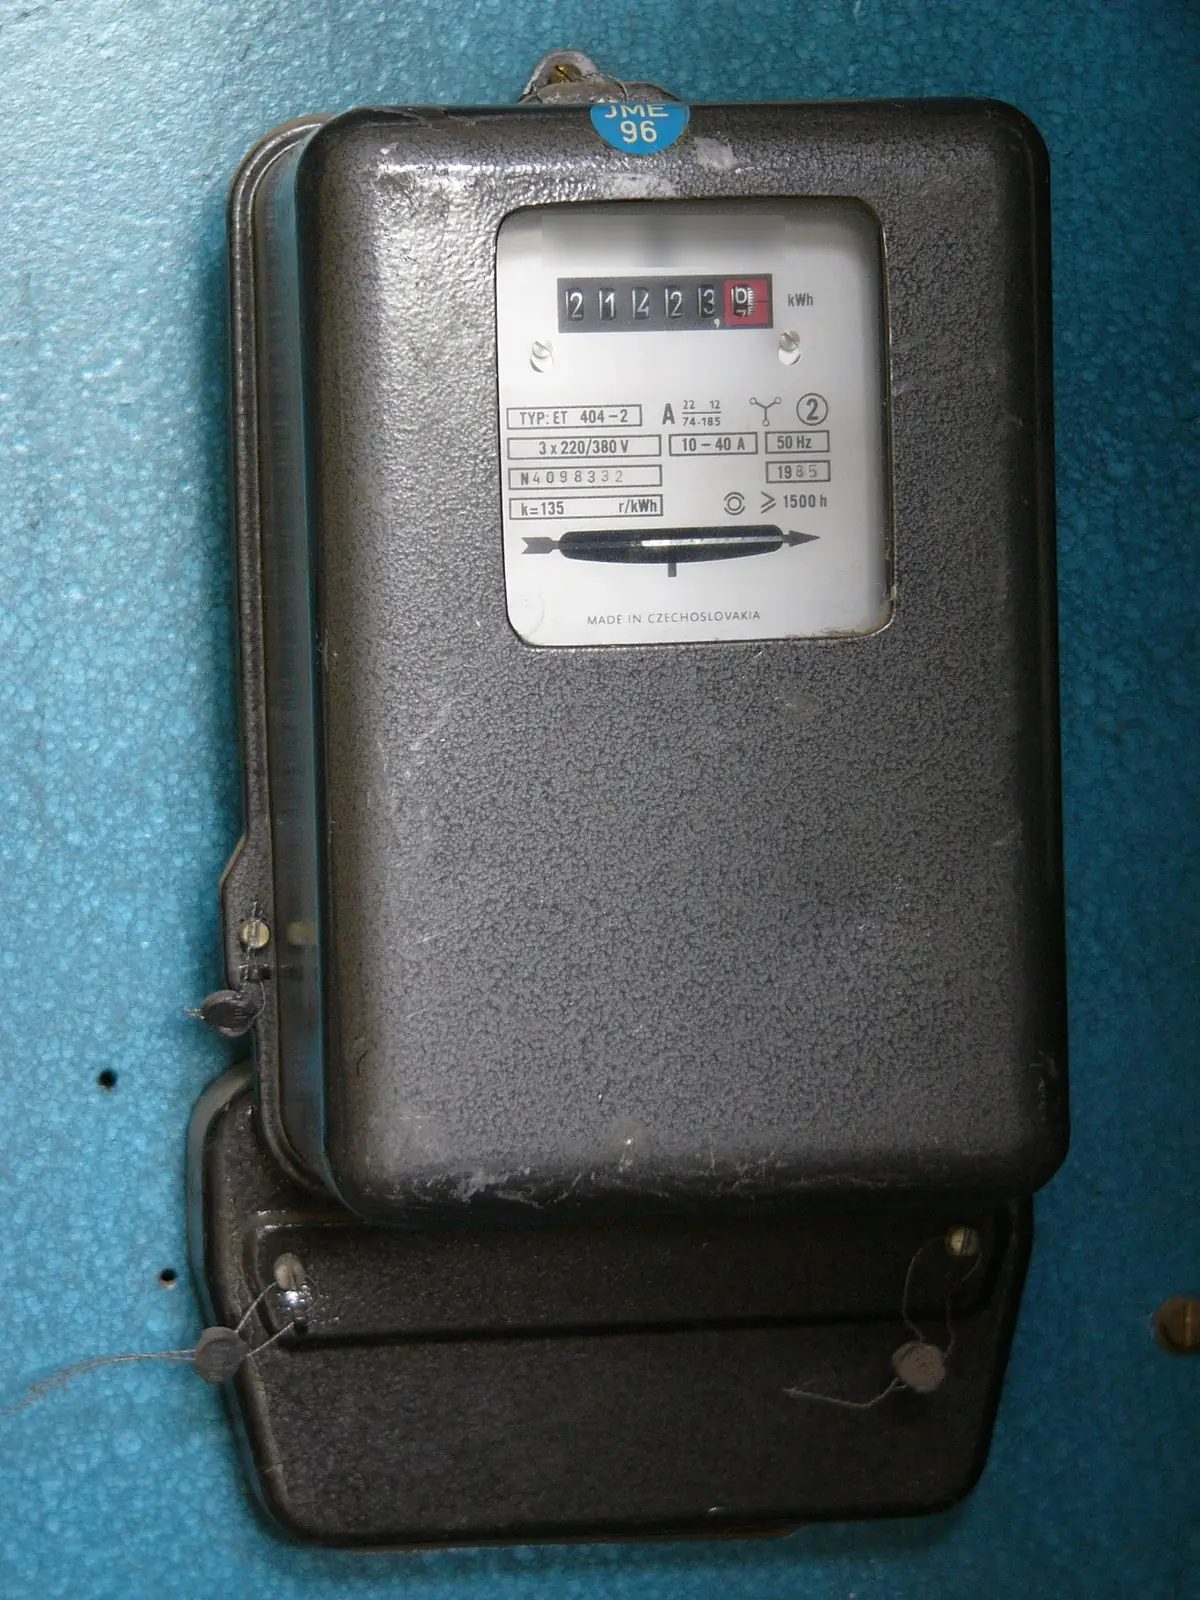
Figure 2. An old mechanical (disc) meter with a number counter and its constant k = 135 r/kWh. Note the utility's wire seals on the cover screws: never touch seals like these on an EVN meter. This example is three-phase; room sub-meters are single-phase. (Photo: Petr.adamek, Wikimedia Commons, public domain; maker's name blurred)
Feature | Electronic single-phase meter | Mechanical (disc) meter |
|---|---|---|
How it counts | Electronic measurement; LCD register; flashing pulse LED | Rotating aluminium disc drives a number counter |
Test constant on label | Pulses per kWh (e.g. "1000 imp/kWh") | Revolutions per kWh (e.g. "k = 600 r/kWh", for reference) |
Small loads (phone charger, router) | Usually counts them if above its starting current | May start slowly or not at all on very small loads |
Mounting | Often DIN-rail, in a small enclosure; position less critical | Must hang vertically and firmly; tilt and vibration affect accuracy |
Running with no load ("creep") | Should not pulse with no load by design | Disc can creep if faulty or badly mounted |
Reading | Easy to read; some can be read remotely | Easy to read; no remote reading |
Typical use in rental rooms | Recommended for new work | Acceptable if in good condition and tested |
Read the label
Whichever type you choose, check these markings before you buy:
Voltage and frequency: must match 230 V, 50 Hz single phase.
Current rating: usually written as a basic and a maximum current, for example "5(40) A" or "10(40) A". The number in brackets is the maximum current the meter can carry continuously. It must be at least as high as the rating of the room breaker after it. Never install a meter whose maximum current is lower than the breaker protecting the room.
Connection type: for a room, use a direct-connected meter (the load current passes through the meter). Meters marked "/5 A" or "with CT" are designed for current transformers and are not for this job.
Accuracy class: printed on the label, for example class 1 or class 2. A lower number means a smaller permitted error.
Test constant: the imp/kWh or r/kWh number. You will need it in Step 7.
Terminal diagram: printed on the meter or inside the terminal cover. If you cannot find a clear diagram, choose another product.
Record each meter's serial number against its room.
Sizing the meter and the room breaker
Work from the load, not from habit:
Estimate the room's design current from the loads likely to run at the same time (an evening with air conditioner, water heater and cooker on together is realistic).
Choose the room breaker rating at or above that design current. Common MCB ratings used in houses include 16 A, 20 A, 25 A and 32 A (for reference).
Choose cable that can safely carry at least the breaker rating in the way it is installed (Step 5).
Choose the meter with a maximum current at least equal to the breaker rating, with some margin if possible.
Example. A room has one air conditioner, a storage water heater, a kettle and ordinary sockets. You estimate that the busiest evening load could reach about 15 A. You choose a 20 A breaker, cable rated for at least 20 A as installed, and a meter rated 5(40) A or 10(40) A. All figures are for reference; use the actual appliance labels.
Step 3: Decide where to mount the meters
Downstream of the landlord's main switch, so all sub-meters can be isolated from one point.
Grouped in one enclosure in a corridor or stairwell, which makes reading and fault-finding much easier.
Readable by both parties without entering anyone's room.
Dry and shaded, away from rain, direct sun, bathrooms and pumps; use an enclosure with a suitable IP rating where damp.
Display at about eye level. Mechanical meters must hang vertically on a rigid surface.
If possible, also give each room a local switch or small board inside the room, so the tenant can cut power in an emergency.
Step 4: Isolate and prove dead
Never work on live conductors. Before you open any board:
Tell the landlord and tenants when power will be off.
Switch off the landlord's main switch (not the EVN meter; you never operate or open that).
Lock it off if it can be locked, or tape it and hang a sign: "Do not switch on – work in progress".
Check your two-pole voltage tester on a known live source.
Test between live and neutral, live and earth, and neutral and earth at the busbar and every point you will touch.
Check the tester again on the known live source to make sure it still works.
Find and isolate every other source too (solar inverter, generator).
Step 5: Wire each meter to its own terminal diagram
Follow the diagram on the meter
There is no universal terminal numbering for single-phase meters. Layouts differ between makes and models: some group live terminals together, others put inputs at the top and outputs at the bottom, or the reverse. Never wire from memory or from a photo of another meter.
For each meter:
Find the diagram on the label or terminal cover.
Identify line (supply) side live, line side neutral, load side live and load side neutral.
Connect the supply from the busbar to the line side, and the room circuit to the load side.
Keep live to live and neutral to neutral. If live and neutral are swapped, the single-pole breaker after the meter may switch only the neutral, leaving the room's wiring live when the tenant thinks it is off.
Do not reverse supply and load. Depending on the design, a reversed meter may count backwards, show an error symbol, or count normally, so a reversal can easily go unnoticed. Get it right from the start.
Terminations
Strip only enough insulation for the terminal. No bare copper should show outside the clamp, and no insulation should be under it.
Use ferrules on fine-stranded cable if the terminal requires them.
Tighten to the torque given by the manufacturer. Loose meter terminals overheat and can burn the meter and the enclosure.
Use the same colours throughout: one colour for live, another for neutral, green-yellow only for earth.
One breaker per room, after the meter
Fit one MCB or RCBO per room, on the load side of that room's meter. This means:
A fault in Room 3 trips only Room 3.
An RCBO (30 mA) adds protection against earth leakage and shock, strongly recommended where there are water heaters or washing machines.
If there is also an RCD upstream, check the manufacturers' guidance on coordination so that one room's fault does not trip the whole house.
The short connections from the busbar to each meter are protected only by the upstream main breaker, so keep them short, inside the enclosure, and sized for that device (or add a breaker before each meter).
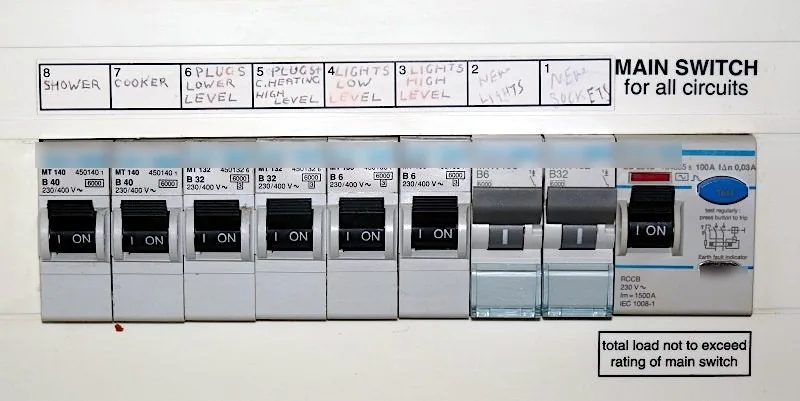
Figure 3. A row of breakers with a handwritten label above each one naming the circuit it protects. On a sub-meter board, give each room one breaker after its meter and label it with the room number. (Photo: Pfnicholls, Wikimedia Commons, CC BY-SA 4.0; brand names blurred)
Neutrals must stay separate
Each room must have its own neutral, coming back through its own meter and its own RCBO. Never:
join the neutrals of two rooms at a junction box,
feed a light in Room A with live from Room A and neutral from Room B,
use the earth conductor as a neutral.
Shared neutrals cause RCBO trips, unsafe isolation and, on some meters, wrong readings.
Cable sizing approach
Choose each room cable so that:
Its current-carrying capacity, as installed, is at least the room breaker rating. Capacity drops in conduit, when grouped, and in hot roof spaces.
Voltage drop stays acceptable; long runs may need a larger size.
It can withstand a short circuit until the breaker opens.
Use the manufacturer's tables and applicable standards for the installation method. As a rough reference only, 2.5 mm² copper is often used for 16–20 A circuits and 4 mm² copper for higher currents in short, uncrowded runs; always confirm with the tables.
Step 6: Seal, label and record
Labelling
Put the same room number on the meter, the room breaker and the board inside the room, and write the meter serial number in your handover record.
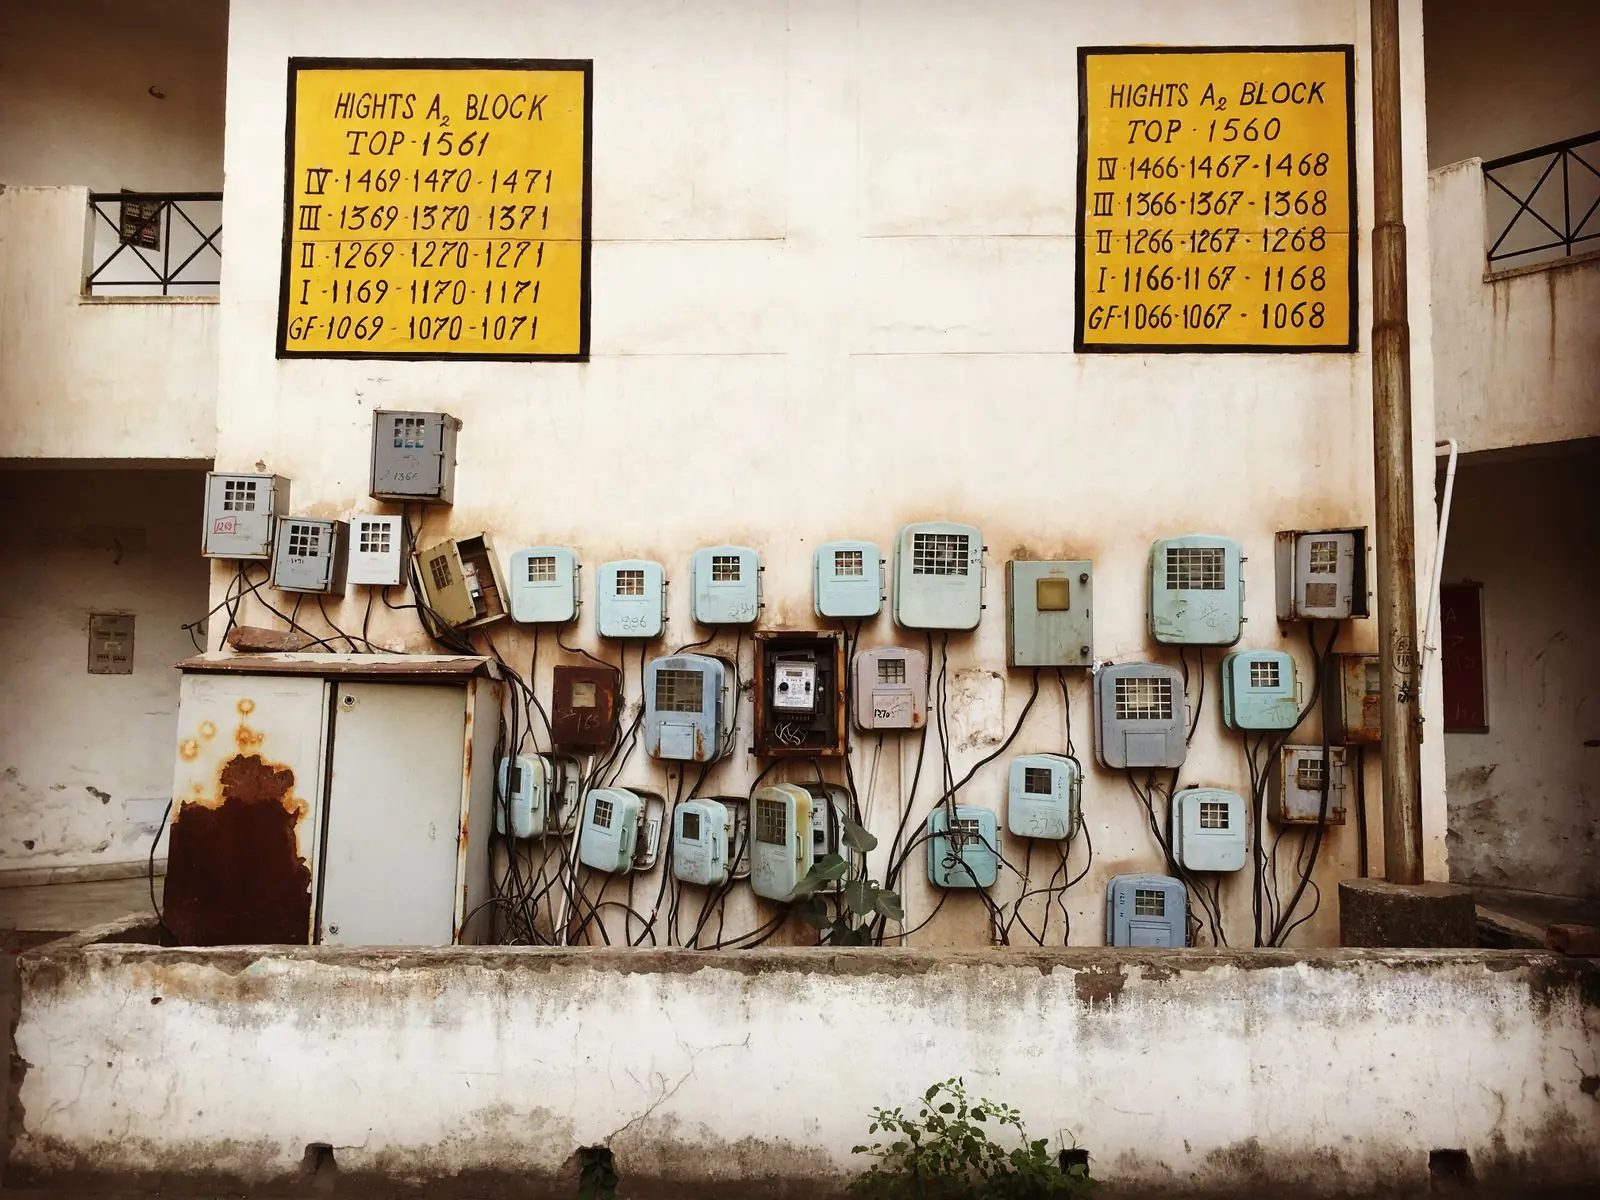
Figure 4. Dozens of meters for one apartment block, with flat numbers painted above and cables running in all directions. Without a clear label on each meter and breaker, it is easy to bill the wrong tenant. (Photo: Gezel Remy, Pexels)
Sealing the landlord's sub-meters
The landlord may seal the terminal covers of their own sub-meters with numbered seals, in front of the tenant, and record the numbers. This private arrangement is completely different from the utility's seals on the EVN meter, which you must never touch, cut or replace.
Step 7: Verify each meter with a known load
Never hand over a meter you have not tested. You need a clock, a clamp meter or multimeter, and a simple resistive load such as an electric kettle, a heater or an iron.
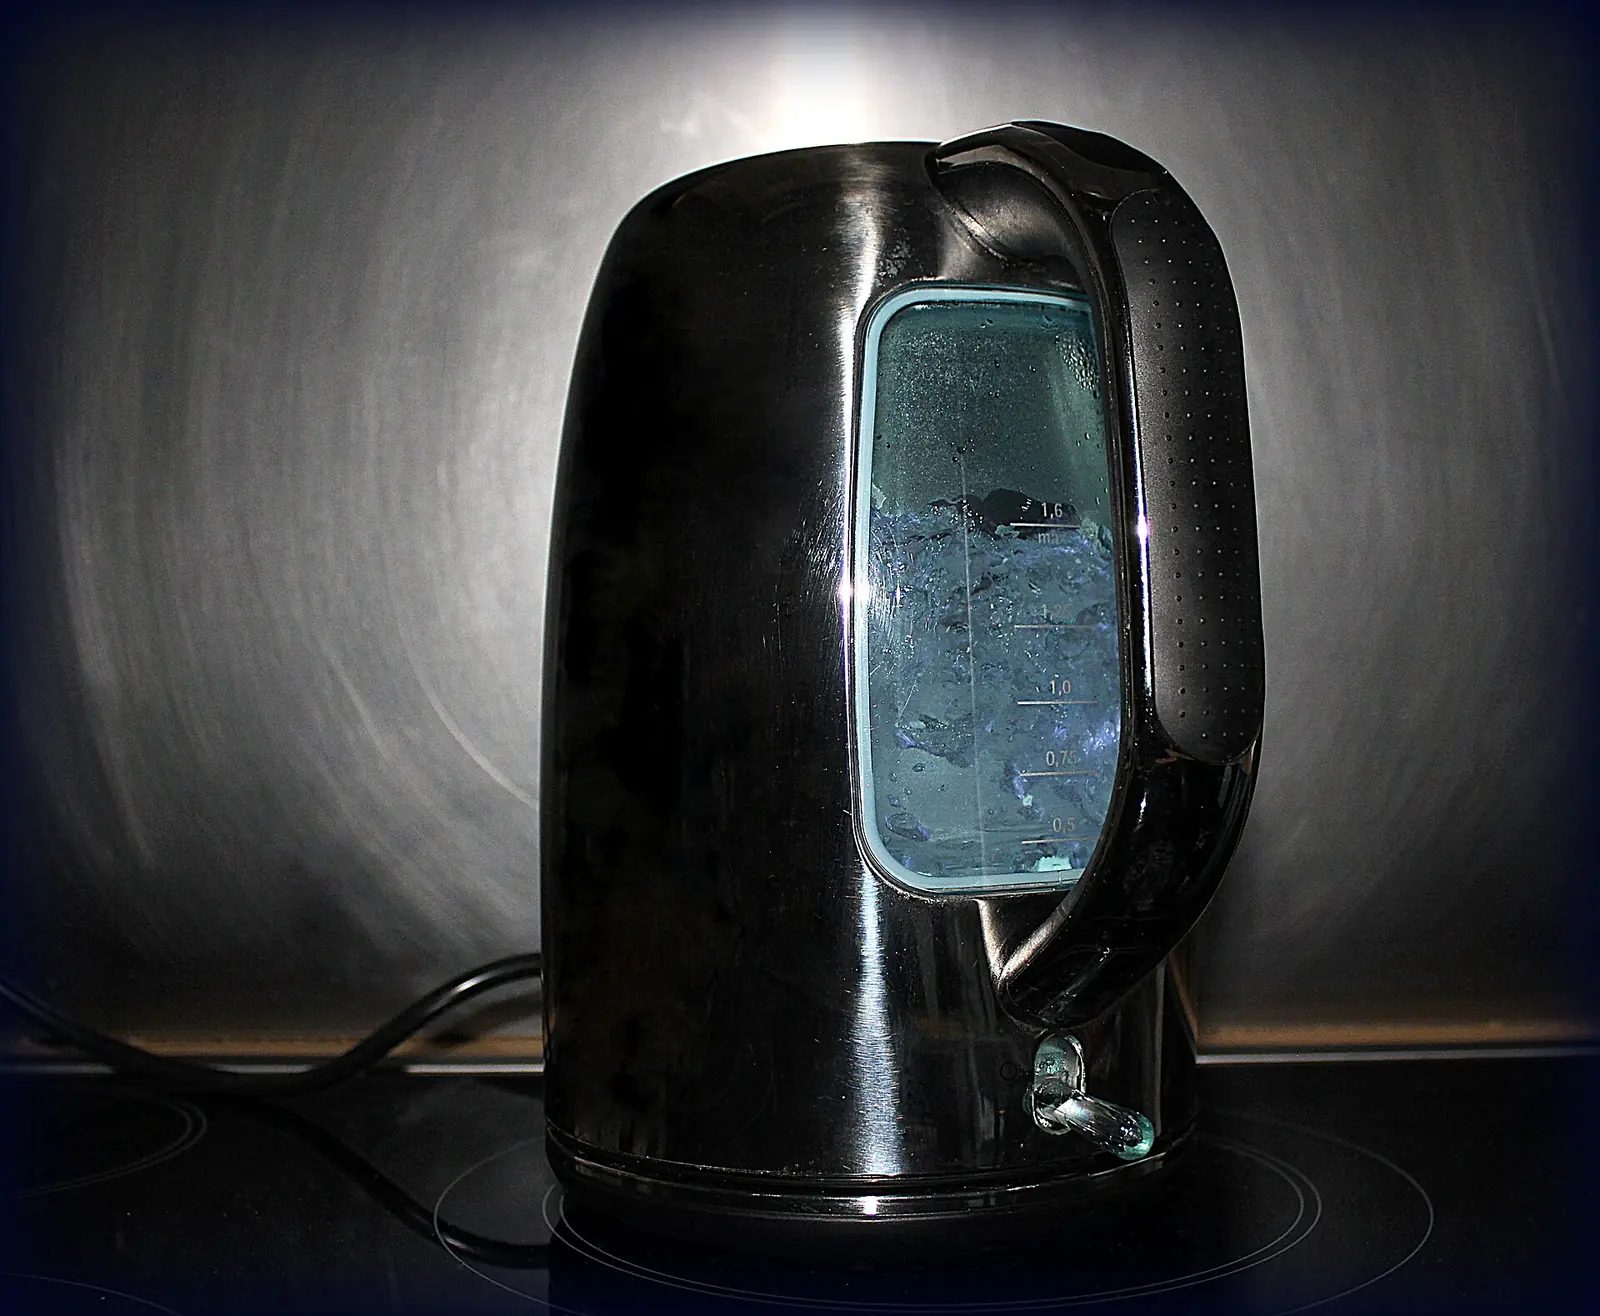
Figure 5. An electric kettle is a convenient resistive load for a known-load test. Measure its actual current and voltage rather than relying only on the rating plate. (Photo: Lesekreis, Wikimedia Commons, CC0)
Test 1: Correct room
Switch on all room breakers. Turn on the test load in Room 1 only. Only meter 1 should count. Repeat for each room. This finds swapped labels and circuits fed from the wrong meter.
Test 2: No-load test
Switch off or unplug everything in the room, leaving the room breaker on. Watch the meter for several minutes. An electronic meter's pulse LED should not flash; a mechanical meter's disc should not complete a full turn. If it does, see Troubleshooting.
Test 3: Known-load test
Plug a resistive load into a socket in the room. Measure the actual current with a clamp meter and a plug-in line splitter (never remove covers from live parts to clamp a wire) and the actual voltage at the socket. For a resistive load, power is close to voltage × current. Do not rely only on the rating plate: the actual power depends on the supply voltage.
Calculate the expected pulse rate:
Electronic: pulses per minute = power (kW) × imp/kWh ÷ 60
Mechanical: revolutions per minute = power (kW) × r/kWh ÷ 60
Count pulses or disc revolutions for a few minutes and compare.
Example. You measure 228 V and 8.6 A on a kettle, so the power is about 1.96 kW. The meter says 1000 imp/kWh. Expected: 1.96 × 1000 ÷ 60 ≈ 33 pulses per minute. You count 32 to 33 per minute. That is consistent, allowing for counting and measurement errors.
Load (kW) | Pulses per minute at 1000 imp/kWh | Pulses per minute at 3200 imp/kWh |
|---|---|---|
0.5 | 8.3 | 26.7 |
1.0 | 16.7 | 53.3 |
1.5 | 25.0 | 80.0 |
2.0 | 33.3 | 106.7 |
If the result is far from the expected value, check your measurement first, then the meter. Your field test is only a sanity check; it is not a legal calibration. A meter in dispute should be checked by an accredited testing service.
Test 4: Reconcile with the main meter
After a month, compare the sum of all sub-meters plus the common circuit with the EVN meter reading (read it only). Small differences are normal; a large gap suggests a load on no sub-meter.
Step 8: Reading and keeping fair records
Move-in and move-out readings with the tenant present, plus a dated photo showing display, serial number and room label; both sign.
Monthly readings on the same day each month, with photos.
Record sheet: room, tenant, meter serial, seal number, previous and current reading, units used, date, photo file name, confirmations.
Billing method as agreed in the contract and in line with current Vietnamese regulations and EVN guidance.
Keep the records for the whole tenancy and afterwards.
If a tenant disputes a bill, repeat the no-load and known-load tests in front of them.
Troubleshooting
Symptom | Likely causes | What to check (circuit isolated where needed) |
|---|---|---|
Meter does not count, room has power | Room fed from another meter or directly from the busbar; meter bypassed | Test 1; trace the room feed back to its meter |
Meter does not count, room has no power | Room breaker off; supply not reaching meter; loose terminal | Voltage at meter supply terminals; terminal tightness |
Count is negative or shows an error symbol | Supply and load reversed | Compare with the meter's terminal diagram |
Counts with everything off | Hidden load; earth leakage; circuit shared with another room | No-load test; switch off room breaker; insulation test |
Mechanical disc creeps slowly | Faulty meter; not vertical; vibration | Mounting; no-load test; replace if creep continues |
RCBO trips when a neighbour uses power | Crossed or shared neutrals | Trace and separate neutrals |
Reading much higher than expected | Large load (water heater, old fridge); leakage; wrong room | Known-load test; Test 1; insulation test |
The meter does not count
If the room has power but the meter shows nothing, the room is probably fed from elsewhere. Switch off the room breaker: anything still working is fed from another meter, the common circuit or the busbar. On a new installation also check for reversed supply and load, and that the load is above the meter's starting current.
The meter counts when everything is off
Work in this order:
Hidden loads. Fridges, routers and standby devices draw power while "off". Unplug everything and watch again.
Switch off the room breaker. If the meter still counts, something is connected between the meter and the breaker. Isolate and inspect.
Earth leakage. Damp cables or a leaking water heater element send current from live to earth; it passes through the meter and is counted. An RCBO trips on larger leakage, but small leakage can continue. Isolate and do an insulation resistance test with sensitive equipment disconnected.
Look for shared or crossed neutrals. If Room B's load returns through Room A's neutral, the RCBOs will often trip. Some electronic meters measure current in both live and neutral and register the larger value as an anti-tamper feature; on these, Room A's meter may count Room B's energy. Check the meter datasheet, then trace and separate the neutrals.
Creeping
A mechanical meter whose disc slowly turns with no load connected is said to creep. First check that it hangs vertically and is not vibrating, and repeat the no-load test with the room breaker off. If it still creeps, replace it. A properly working electronic meter should not pulse with no load; if it does, check for real current with a clamp meter before blaming the meter.
Safety checklist
☐ Never open, move, bridge or touch the EVN meter, its cover or its seals.
☐ All work starts on the outgoing side of the landlord's main switch.
☐ Main switch off, locked or tagged; every other source (solar, generator) isolated.
☐ Two-pole tester proved on a known live source before and after testing.
☐ Meter maximum current at least equal to the room breaker rating.
☐ Each meter wired to its own terminal diagram; live to live, neutral to neutral, supply to supply side.
☐ One MCB or RCBO per room, after the meter; 30 mA RCBO where water or sockets are present.
☐ Every room has its own neutral; no shared neutrals; earth never used as neutral.
☐ Cables sized for the breaker, the installation method and the run length.
☐ Terminals tightened to the manufacturer's torque; no bare copper showing.
☐ Labels on meter, breaker and room board match; serial and seal numbers recorded.
☐ Correct-room, no-load and known-load tests passed before handover.
Frequently Asked Questions
Can I install a sub-meter before the EVN meter?
No. Everything upstream of the EVN meter is the utility's responsibility. Sub-meters always go after the landlord's main switch, on the landlord's side of the installation.
Is an electronic meter always more accurate than a mechanical one?
Not automatically; accuracy depends on class and condition. Electronic meters are, however, easier to test and mount and usually handle small loads better.
How should the landlord price electricity for tenants?
That is set by current Vietnamese regulations and EVN guidance, not by the electrician. Advise the landlord to check the current rules with the local EVN office or official sources and write the method into the rental contract.
What if the tenant thinks the meter is wrong?
Repeat the tests with the tenant. If doubts remain, have the meter checked by an accredited testing service or replace it, recording both meters' readings at the change-over.
Can I fit a prepaid or smart sub-meter?
Yes, if it is direct-connected, rated for 230 V, 50 Hz and the room breaker, and both parties agree. Wire and test it the same way.
Practice Exercises
Read a label. Find the label of any single-phase meter (a photo is fine). Write down its voltage, frequency, basic and maximum current, accuracy class and test constant. State the largest room breaker you would put after it.
Draw the single-line diagram. For a house with four rental rooms and a common circuit, draw the arrangement from the landlord's main switch to each room's board. Mark where each meter, breaker and neutral goes.
Calculate pulse rates. A meter is marked 3200 imp/kWh. How many pulses per minute should it show with a measured 1.2 kW load? (Answer: 64.)
Fault-finding. Room 2's meter counts slowly at night when the tenant is away and the room breaker is on. List, in order, the checks you would make.
Billing record. Design a one-page record sheet for monthly readings that includes everything listed in Step 8.