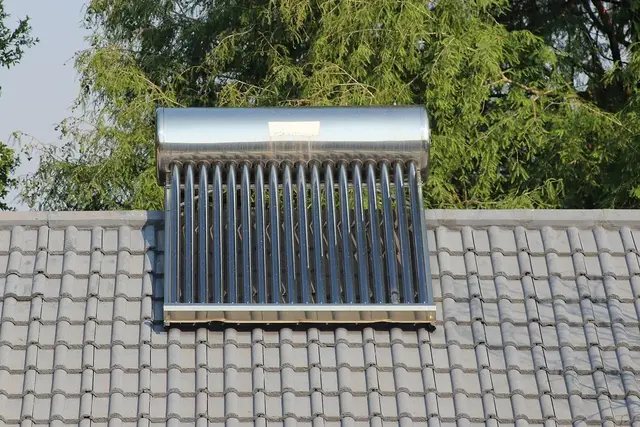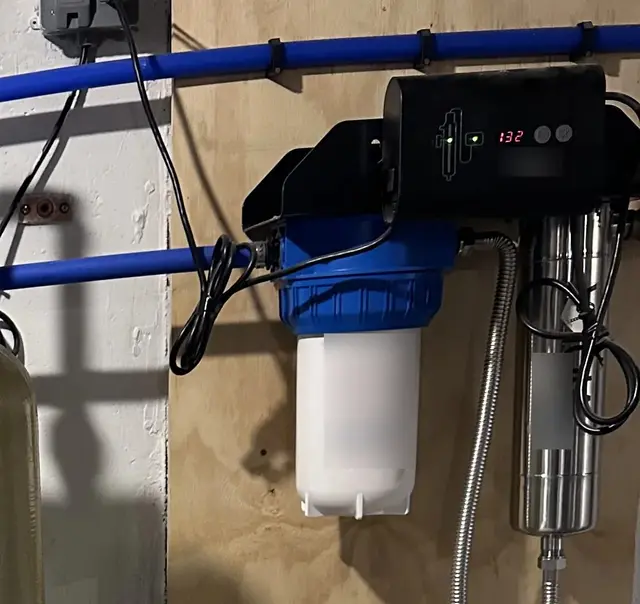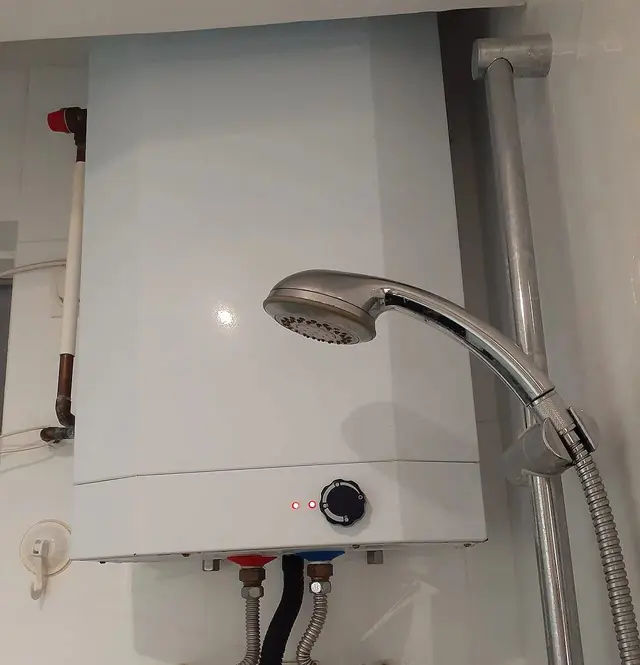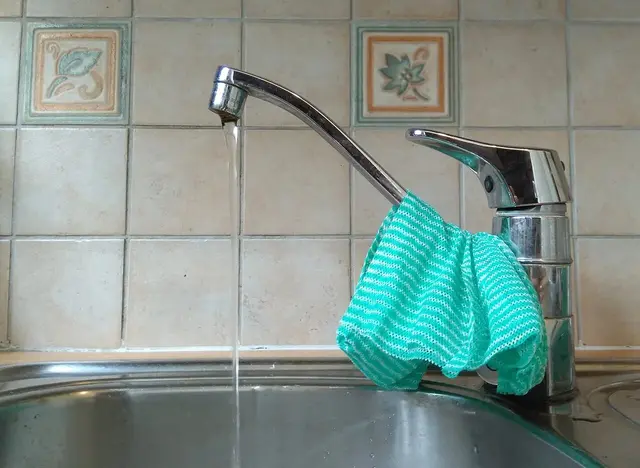
A client on a lower floor of an apartment block says the taps "explode" when opened, the washing machine hose burst last month, and the water heater's safety valve drips every evening. Another has a townhouse where a booster pump feeds the house and every toilet fill valve hisses. Nothing is broken: the pressure is simply higher than the fixtures were designed for, and the usual fix is a pressure reducing valve (PRV).
This guide covers what a PRV does, how to tell whether a home needs one, choosing and positioning it, installing it on PPR or threaded pipe, setting the pressure with a gauge, the water heater question, and fault-finding.
Scope of this guide. This article is for trainee and working residential plumbers, and for homeowners who want to understand the job before hiring someone. Pressures and settings below are for reference only: always follow the PRV manufacturer's instructions, the maximum and minimum pressures stated by the manufacturers of the appliances in the house, and any rules set by your water supplier or building management. Do not work on the supplier's side of the water meter, and in apartment buildings ask building management before changing anything on a shared riser.
What a pressure reducing valve does
A PRV takes water at a high, changing inlet pressure and delivers it at a lower, steadier outlet pressure that you set. Inside, a spring pushes on a diaphragm or piston, which holds a valve seat open. Water pressure on the outlet side pushes back against the spring. When outlet pressure rises to the set point, the seat closes; when someone opens a tap and outlet pressure falls, the spring opens the seat again. Turning the adjusting screw changes the spring force, and therefore the outlet pressure.
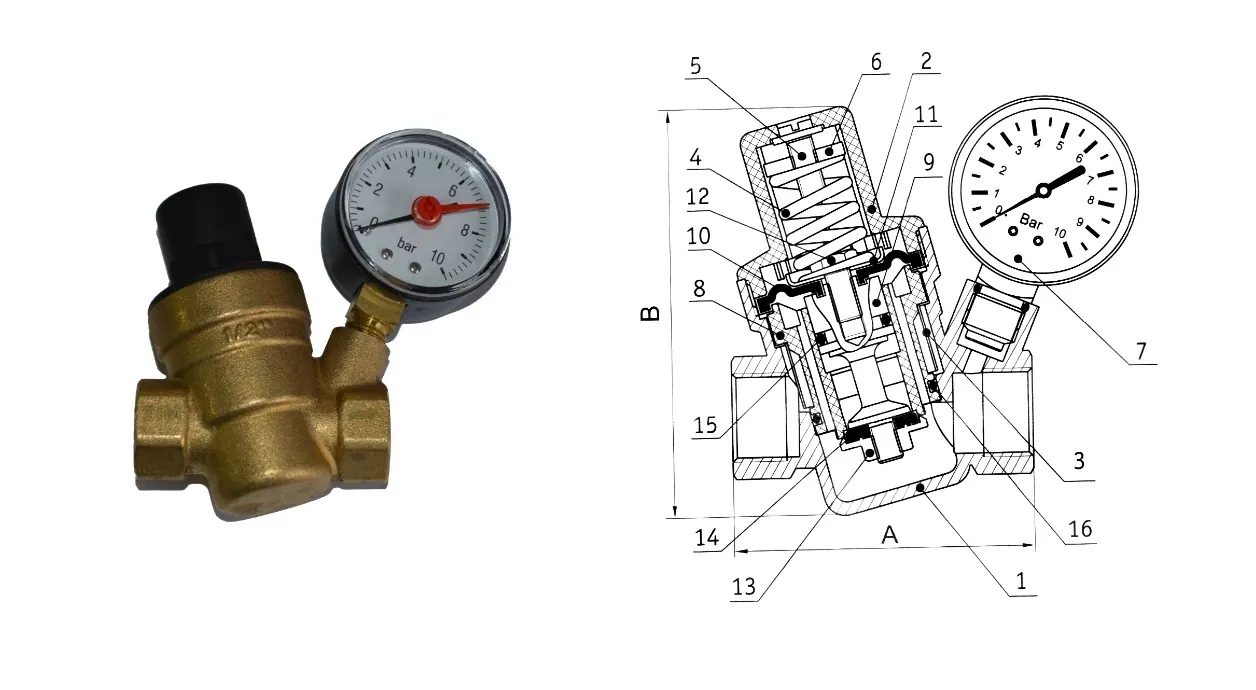
Figure 1. A household brass pressure reducing valve with a 0–10 bar gauge (left) and a cross-section drawing of the same type (right). The spring in the top housing presses on a diaphragm that holds the valve seat open; outlet pressure pushes back and closes it when the set pressure is reached. The gauge shows the pressure the valve is delivering. (Image: Луносвет, Wikimedia Commons, CC BY-SA 3.0)
Two consequences matter later:
Static and dynamic pressure differ. With no water flowing (static), the outlet settles at the set pressure. With water flowing (dynamic), the outlet pressure drops below the set point, more so at high flow or if the valve is undersized. This drop is normal within limits.
Many PRVs do not let water flow backwards. Once the seat is closed, water downstream cannot easily push back into the main. If the water expands on the house side, for example when a storage heater warms up, the pressure on the house side rises. See the water heater section below.
What a PRV is not
It is not a safety valve. A safety valve dumps water when pressure is too high; a PRV only throttles the incoming flow. The water heater still needs its own safety valve.
It is not a flow restrictor. A half-closed valve reduces flow, but the full pressure still builds up behind closed taps. A PRV limits static pressure too.
It is not a pump control. A booster pump's pressure switch still decides when the pump starts and stops.
Common types
Direct-acting diaphragm or piston PRVs: the normal household type, compact brass bodies from 1/2" to 1" and larger, with an adjusting screw or knob on top.
Cartridge PRVs: diaphragm, spring and seat in one removable cartridge, often with a built-in strainer, serviceable without cutting the valve out.
PRVs with a gauge port or fitted gauge, which make setting easy. Without one, fit a tee with a gauge just downstream.
Preset (non-adjustable) PRVs, used on single appliances and in some apartments.
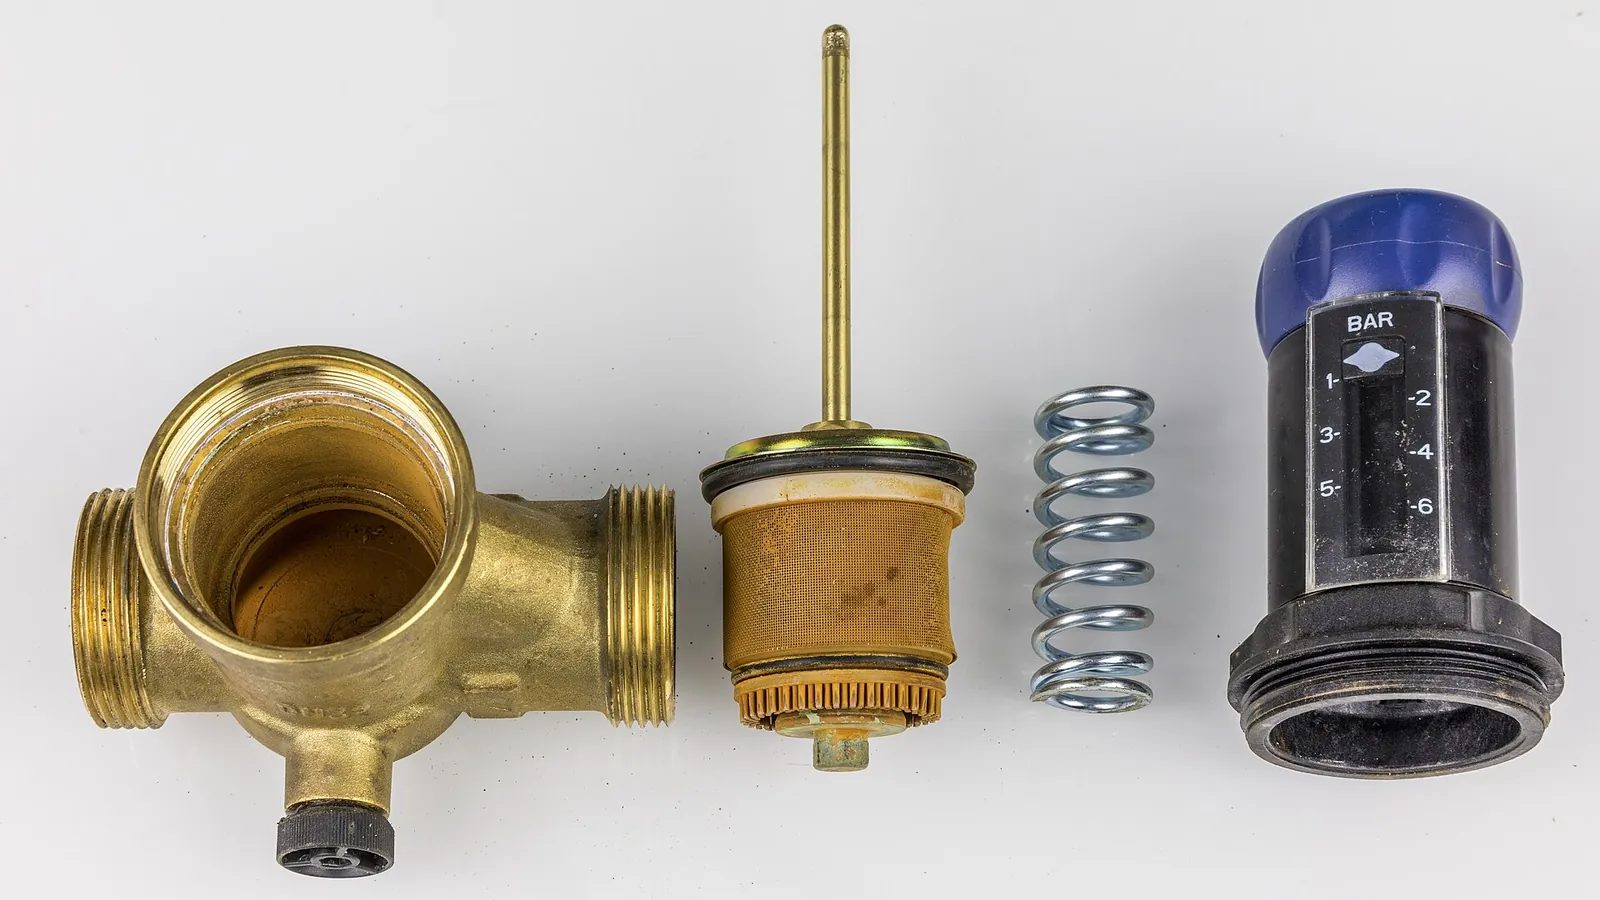
Figure 2. A cartridge-type PRV taken apart: the brass body (left, with a small capped port underneath), the cartridge with its mesh strainer and valve stem, the adjusting spring, and the bonnet with its knob and 1–6 bar setting scale. Dirt in the strainer or on the seat is the usual reason a PRV stops holding pressure. (Photo: Raimond Spekking, Wikimedia Commons, CC BY-SA 4.0)
Does the house actually need a PRV?
Do not fit a PRV just because the water "feels strong". Measure first.
Signs of high pressure
Water bursts out when a tap is opened, splashes out of basins, or is hard to control.
Banging pipes when taps or washing machine valves close (water hammer gets worse at high pressure).
Toilet fill valves and mixer cartridges hiss, drip or fail early.
Flexible hoses bulge or burst, especially washing machine and basin hoses.
The storage water heater's safety valve drips often, not only during heating.
These signs can have other causes: they are a reason to test, not a diagnosis.
How to measure the pressure
Use a pressure gauge that screws onto a tap thread (washing machine valve or garden tap); a 0–10 bar gauge suits most homes.
Fit it to a tap near where the supply enters the house, with all other taps closed and no toilet filling. With a booster pump, test with the pump off and after it has run and stopped.
Open the tap fully and read the static pressure. Note the time.
Repeat at night or early morning. Mains pressure is often higher when demand in the area is low, so a daytime reading alone can hide the real maximum.
Open another tap or a shower nearby and watch the gauge to get a feel for the dynamic pressure.
Useful conversions: 1 bar ≈ 100 kPa ≈ 14.5 psi, and 1 bar is roughly the pressure of a 10 m column of water. That last one is handy in Vietnam: a rooftop tank on a four-storey townhouse gives only around 1 bar at the top floor shower and more on the ground floor, because each 10 m of height adds about 1 bar.
Typical Vietnamese situations
Townhouse fed by gravity from a rooftop tank. Pressure is usually low, not high. A PRV is rarely needed and can make a weak shower worse. Read our low water pressure and weak shower guides instead.
Townhouse where a booster pump feeds the house. The pump's cut-out pressure sets the maximum. If the fixtures hiss and bang, check the pump settings first; a PRV after the pump can then give the house a steady pressure.
Apartment or high-rise. Tall buildings are normally divided into pressure zones, often with reducing valves on the risers. Flats on the lower floors of a zone can see noticeably higher pressure than those at the top. A PRV on the apartment's own supply, after its meter and stop valve, is a common fix, but agree it with building management.
As a reference only: many plumbers aim for roughly 3 bar static at the fixtures in a house, and many household PRVs leave the factory set at around that figure. The right number for a particular house depends on the height of the building, the fixtures, and the appliance manuals. Check the minimum inlet pressure of any instantaneous water heater, thermostatic mixer or washing machine as well as the maximum.
Choosing the right PRV
Size. In houses, the PRV is normally the same nominal size as the pipe it is fitted into: DN15 (1/2") for a single apartment branch or appliance, DN20 (3/4") or DN25 (1") for a whole house main. PPR pipe of 20, 25 and 32 mm outside diameter is commonly paired with 1/2", 3/4" and 1" threaded fittings. Do not fit a smaller valve to "save money": an undersized PRV causes big pressure drops when several taps run at once, and it may whistle. For large houses, check the manufacturer's flow chart.
Inlet pressure rating. The maximum inlet pressure is printed on the body or in the datasheet. It must be well above the highest pressure you measured.
Outlet range. Make sure the adjustable range covers the pressure you want.
Temperature. Most household PRVs are made for cold water. If you must reduce hot water pressure, use a valve rated for hot water. In most homes, it is better to fit the PRV on the cold main before the water heater and the hot and cold branches split, so hot and cold stay balanced at mixers.
Drinking water and service. Choose a valve sold for potable water. A cartridge type, built-in strainer and gauge port make life easier; fit unions so the valve can come out without cutting pipe.
Where to install it
For a whole-house or whole-apartment PRV, the usual order on the incoming cold main is:
water meter (supplier's side) → main stop valve → strainer → PRV → pressure gauge → second stop valve or union → branches to the house
Put it after the meter and main stop valve, on the customer's side, and before the first branch and the water heater, so everything downstream is protected. To protect one appliance only, fit a small PRV just before it. If a whole-house sediment pre-filter is fitted, the PRV can go after it, so the filter protects the seat.
Fit a strainer before the PRV unless the valve has one built in. Sand, rust and PPR shavings are the most common cause of a PRV that will not hold pressure.
Choose a place that is accessible, dry and shaded: not buried in a wall and not in direct sun on the roof, where plastic bonnets and gauge windows degrade. Leave room to remove the cartridge and read the gauge.
Follow the flow arrow on the body and the installation position allowed by the manufacturer (some allow any orientation, some prefer horizontal with the bonnet up).
Avoid a permanent bypass. If a bypass is fitted for maintenance, its valve must stay closed and labelled; an open bypass sends full pressure into the house.
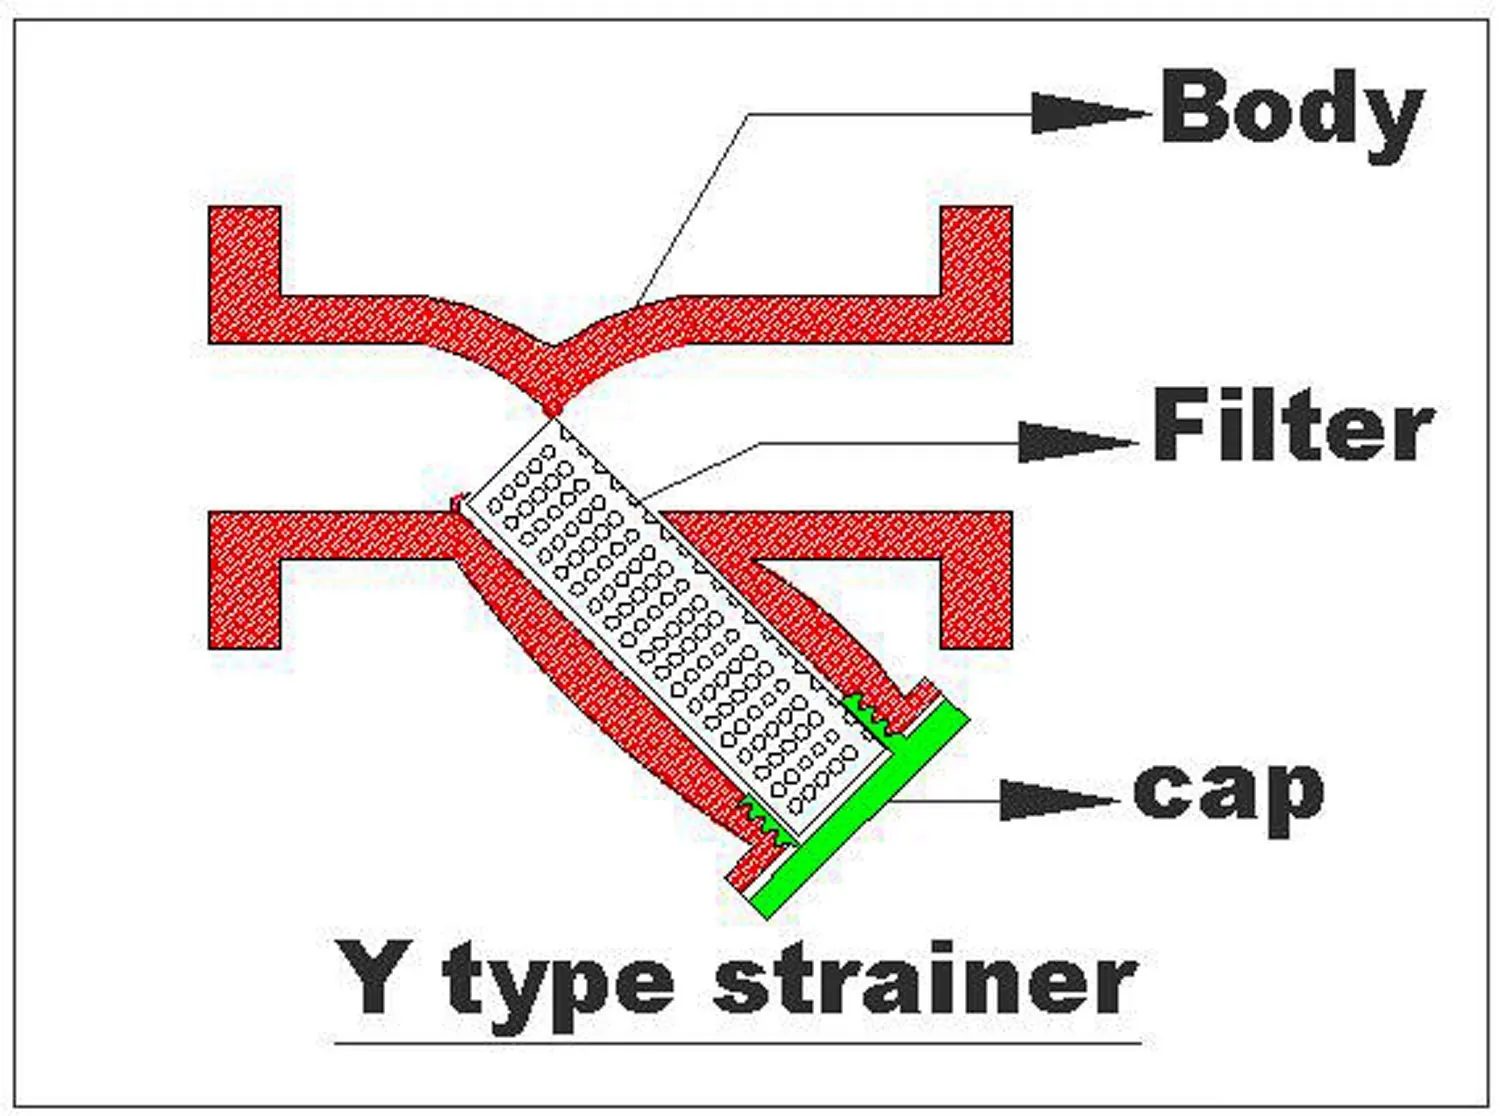
Figure 3. Cross-section of a Y-type strainer: water passes through the mesh filter in the angled leg, and debris collects there until the cap is removed for cleaning. Fit one before the PRV unless the valve has a built-in strainer. (Diagram: Palagiri, Wikimedia Commons, CC BY-SA 4.0; author's signature removed from the image, credit given here)
Reference table: parts of a PRV installation
Part | What it does | Typical choice in a house | Notes |
|---|---|---|---|
Main stop valve | Isolates the house supply | Full-bore ball valve, same size as the main | Already present after the meter in most homes; check it shuts fully |
Strainer | Catches sand, rust and debris before the PRV | Y-strainer or PRV with built-in mesh | Install with the cleaning cap pointing down or as marked |
PRV | Reduces and steadies pressure | DN15–DN25 brass, adjustable, with gauge port | Follow arrow; set pressure with a gauge |
Pressure gauge | Shows outlet pressure | 0–10 bar gauge on the PRV port or a tee | Fit downstream of the PRV |
Unions or second valve | Lets you remove the PRV for service | Brass unions or a ball valve | On PPR, use PPR threaded adapters or PPR unions |
Pipe clips | Support the weight of valve and fittings | Clips on both sides of the assembly | Stops the brass weight straining PPR joints |
Expansion vessel (if needed) | Absorbs water expansion from a storage heater | Potable-water vessel sized to the manufacturer's chart | Only where the heater safety valve discharges too often |
Tools and materials
Tap-thread pressure gauge; two pipe wrenches or spanners; PPR cutter, welder and dies (if cutting into PPR); PPR female threaded adapters with brass inserts or PPR unions; PTFE tape or potable-water thread sealant; the PRV, strainer, unions and pipe clips; bucket, rags, torch, gloves and eye protection.
Step-by-step installation
Step 1: Measure and plan
Record static pressure (day and night) and dynamic pressure. Decide the target pressure and the exact position. Check the appliance manuals for minimum and maximum inlet pressure. Mark where the cuts will go, leaving space for the strainer, valve, gauge, unions and clips.
Step 2: Switch off, shut off and drain down
Switch off and isolate power to the electric storage water heater, any instantaneous heater and the booster pump, so nothing heats or runs dry while the water is off.
Close the main stop valve. Open the lowest tap in the house and one upstairs tap to drain the pipes and release pressure.
Keep a bucket and rags under the cut point; some water always remains in the pipe.
Step 3: Cut in and make the joints
On PPR pipe, cut square with a PPR cutter and heat-fuse PPR threaded adapters or PPR unions to the pipe ends. Follow the normal PPR welding procedure and the fitting maker's heating times (see our PPR welding guide). Let each fused joint cool fully before you put any torque on its thread.
Never cut a thread on PPR pipe, and never screw a metal male thread hard into a plastic female thread. Use fittings with brass inserts.
On threaded galvanised or brass pipe, use unions so you do not have to rotate the whole pipe run.
Wrap PTFE tape clockwise as you look at the end of the male thread, enough turns for a firm seal but not so many that the fitting cracks or cannot engage. Our PTFE tape guide covers this in detail.
Step 4: Flush before fitting the valve
Before you fit the PRV, briefly open the main stop valve into a bucket to flush out shavings, sand and rust from the cut. Debris trapped in a new PRV seat is the most common reason a new valve "doesn't work".
Step 5: Fit the strainer, PRV, gauge and unions
Check the flow arrow points into the house.
Fit the strainer first, then the PRV, then the gauge (in the PRV gauge port or a tee) and the union or second valve.
Hold the valve body with one spanner on its hex while you tighten the fitting with the other. Never grip the bonnet, the adjusting knob or the gauge.
Clip the pipe firmly on both sides of the assembly so the weight of the brass does not hang on the PPR joints.
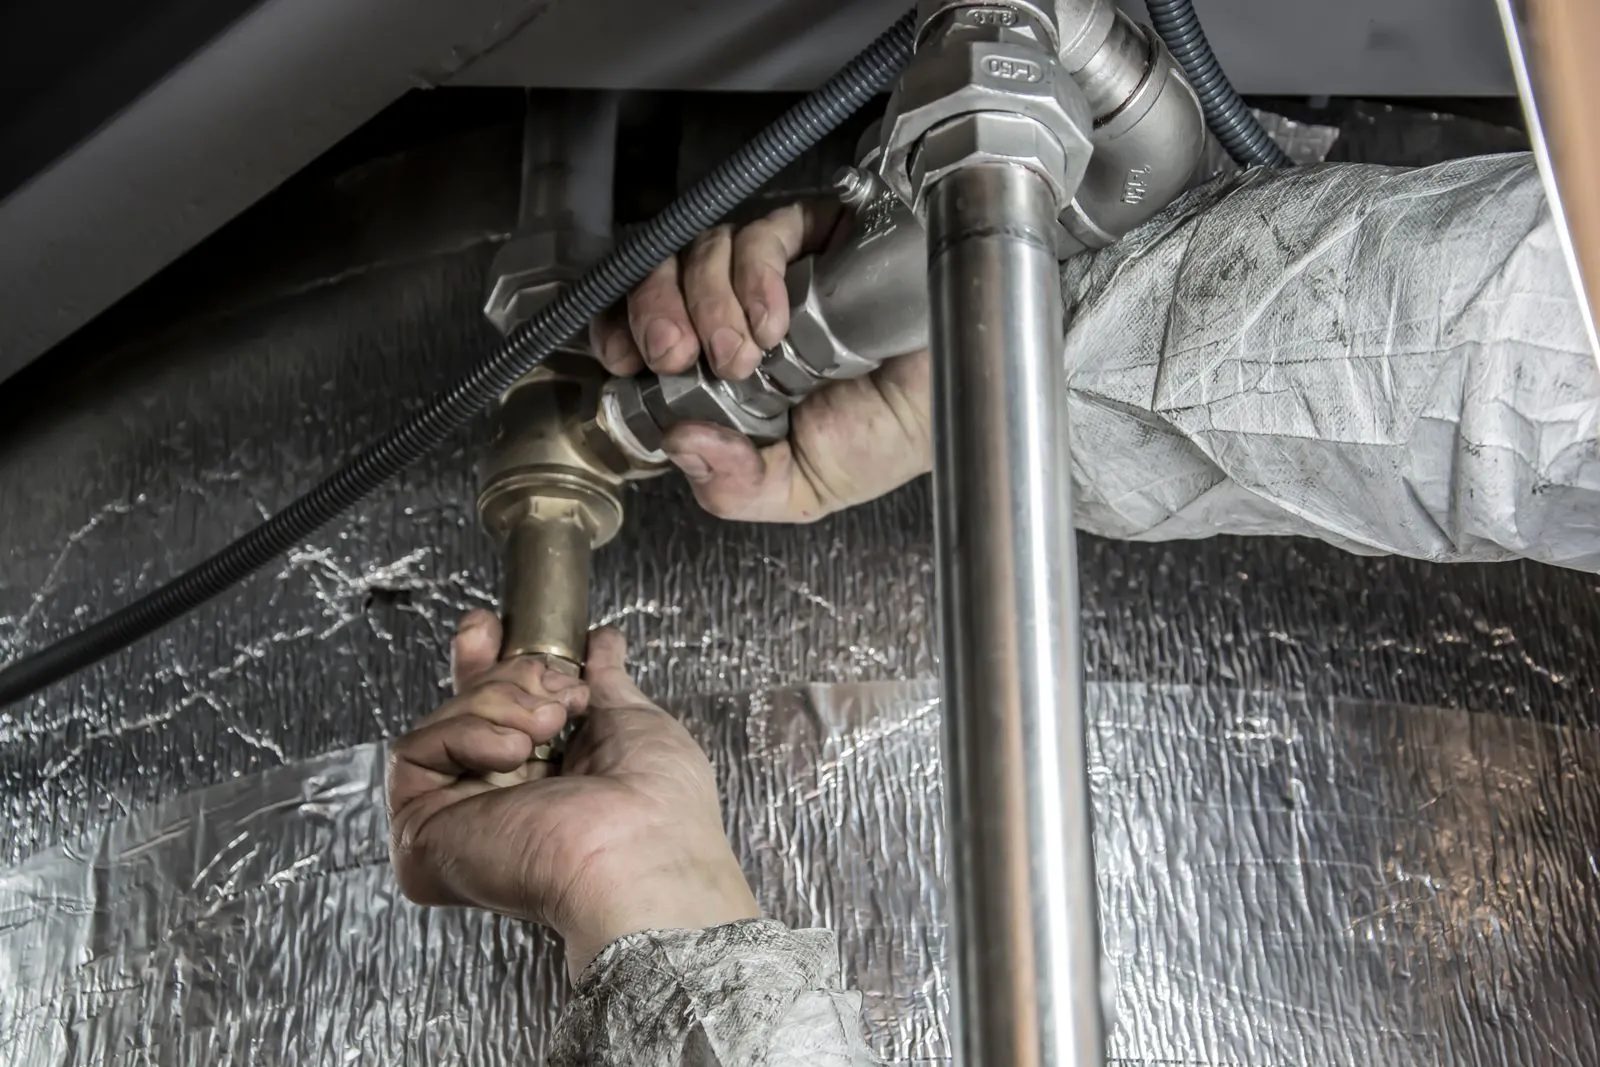
Figure 4. A plumber steadies a brass fitting with one hand while tightening the connection above it. When fitting a PRV, hold the valve body on its hex with a second spanner (never by the bonnet or gauge) and clip the pipe firmly on both sides. (Photo: Anıl Karakaya, Pexels)
Step 6: Refill slowly and check for leaks
Close the drain taps. Open the main stop valve slowly, a little at a time, so the new valve and the house pipes are not hit by a pressure surge.
Open taps one by one, starting upstairs, until the air is out and water runs smoothly.
Check every new joint with a dry tissue, again after 15–30 minutes, and after the heater has run a cycle.
Step 7: Set the outlet pressure
The method varies by model, so read the manual first. A typical procedure:
Make sure the downstream stop valve is open and the house is full of water.
Open one tap downstream a little, then close it, so the valve "sees" a demand and settles.
Read the static pressure on the gauge with all taps closed.
Loosen the lock nut on the adjusting screw if there is one. On many models, turning clockwise raises the pressure and anticlockwise lowers it, but some are the other way, so check the manual or watch the gauge.
Turn in small steps. After each step, open and close a tap and wait for the gauge to settle before reading again. To lower the setting, you must release some water downstream after turning the screw, because the trapped pressure will not drop on its own.
When you reach the target, tighten the lock nut and record the setting and date on a tag tied to the valve.
Step 8: Test under real use
Run the furthest shower and the kitchen tap together and flush a toilet. If the highest fixture is now too weak, raise the setting a little; if that is not enough, suspect an undersized PRV or a partly blocked strainer.
Switch the water heater and booster pump back on, and watch the gauge through a full heating cycle (see below).
Show the client the PRV, strainer and stop valves.
PRVs and storage water heaters: thermal expansion
Water expands when it is heated. The safety valve on most electric storage heaters sold in Vietnam combines a non-return valve and a pressure relief valve. The non-return valve stops hot water flowing back into the cold pipe, so while the heater heats with all taps closed, the expanding water has nowhere to go: pressure inside the tank climbs until the relief valve opens and lets a little water out. A small discharge during heating is therefore the valve's normal job, with or without a PRV.
A PRV helps here. If the cold supply arrives at very high pressure, the tank starts each heating cycle close to the relief setting, so the valve drips a lot or even when the heater is cold. With a lower, steady supply pressure, there is more margin and the discharge usually drops to occasional drips. In houses without a non-return valve at the heater (some solar and other hot water systems), remember that many PRVs also block backflow, so expansion pressure builds up across the whole house side instead.
Never block, cap or plug the safety valve or its drain pipe, and never replace it with a plain fitting or a valve rated higher than the heater specifies.
Run the safety valve's drain hose to a floor drain with a visible open end, so the client can see when it discharges.
If it still discharges heavily every cycle, check that the PRV is not leaking through (see troubleshooting), consider a slightly lower PRV setting, or fit a potable-water expansion vessel on the cold feed to the heater, sized and pre-charged to the vessel manufacturer's chart.
If it drips even when the heater is cold and supply pressure is normal, the valve itself may be faulty; see our water heater safety valve guide.
Booster pumps and PRVs
When a booster pump feeds the house, its pressure switch cuts the pump in at one pressure and out at a higher one. If a PRV is fitted after the pump, set the PRV below the pump's cut-in pressure. Then the fixtures see a steady pressure while the pump cycles. If the PRV is set above the cut-in pressure, the house still sees every swing of the pump. Adjust a badly set pump according to its manual first.
Practical examples
Example 1: Lower-floor apartment with a dripping heater valve
Readings (example figures only): 5.5 bar during the day and higher late at night. The heater's safety valve drips during every heating cycle and sometimes when the heater is off. With building management's agreement, the plumber fits a DN20 cartridge PRV with built-in strainer after the apartment's stop valve and sets it to about 3 bar static. The cold-heater drips stop; a little discharge during heating remains, which is normal, and the client is shown the drain hose.
Example 2: Townhouse with a booster pump
Showers surge every time the pump starts. The plumber checks the pump settings against its manual, then fits a PRV on the pump outlet set below the cut-in pressure. Showers stay steady through the pump cycle.
Troubleshooting a PRV
Symptom | Likely cause | Check | Fix |
|---|---|---|---|
Downstream pressure slowly creeps up to inlet pressure with no water used | Dirt on the seat or a worn seat or seal | Close the house side, watch the gauge with the heater off | Clean or replace the cartridge; clean the strainer |
Pressure rises only while the heater heats | Thermal expansion in a closed system | Watch the gauge with the heater on and off | Normal safety valve discharge, or add an expansion vessel |
Good static pressure but weak flow when several taps run | Blocked strainer, undersized PRV, setting too low | Clean strainer, compare dynamic pressure with the datasheet | Clean, raise setting slightly, or fit the correct size |
Whistling or humming | Very high pressure drop, undersized valve, partly blocked seat | Note when it happens; check inlet pressure | Clean, resize, or use two-stage reduction on very high inlet pressure (per manufacturer) |
Water from the small hole in the bonnet | Failed diaphragm or seal | Look for a steady drip from the vent hole | Replace cartridge or valve |
Gauge needle stuck or not returning to zero | Faulty gauge | Compare with a separate tap gauge | Replace the gauge |
No water at all after installation | Valve fitted backwards, downstream valve closed, or set to zero | Check arrow and valves | Refit or adjust |
Maintenance: check the strainer every few months at first, especially where mains water is dirty, then as experience shows. If the static pressure creeps up, service the valve before it damages fixtures.
Safety checklist
Isolate power to electric water heaters and pumps before draining the system, and keep electrical connections dry. Use an RCD-protected supply for power tools.
Never block or remove the water heater safety valve, and never fit one with a higher rating than the heater specifies.
Respect the meter and shared pipes. Do not work on the supplier's side of the meter; in apartments, get building management's permission before working on or near a shared riser.
Open the main valve slowly after the job to avoid pressure surges and water hammer.
PPR welding: keep the welder on its stand, hands away from the hot plate and dies, and unplug it when done.
Support the assembly with pipe clips so a heavy brass valve does not break a PPR joint months later.
Leave it documented: tag the PRV with its setting and date, and show the client the stop valves.
Frequently Asked Questions
What water pressure should a house have?
There is no single right number. As a reference, many plumbers aim for roughly 3 bar static at the fixtures, but the correct pressure depends on the building height and the appliances. Check each appliance manual for its minimum and maximum inlet pressure, and follow any limits set by your water supplier or building.
Will a PRV reduce my water flow?
At normal settings and the right size, flow is usually still good, and fixtures often feel better because the water no longer spits. Weak flow after fitting a PRV usually means it is set too low, the strainer is blocked or the valve is too small.
Where should a pressure reducing valve go?
On the incoming cold main, after the meter and main stop valve and before the first branch, with a strainer before it and a gauge after it. To protect only one appliance, fit a small PRV just before that appliance.
Why does my water heater safety valve still drip after a PRV was installed?
Heated water expands, and the heater's own non-return valve stops it flowing back, so the safety valve releases a little while heating. That is normal. Heavy or constant discharge needs checking: the PRV may be set too high or leaking through, the safety valve may be faulty, or an expansion vessel may be needed.
Can I install a PRV myself?
A homeowner who can shut off and drain the water and make sound threaded or PPR joints can do it. If the job means working near the meter, on a shared riser, or welding PPR in a tight space, call a trained plumber.
Practice Exercises
Measure. Describe how you would measure static and dynamic pressure in a three-storey house with a single main, and why you would repeat the reading at night.
Plan the layout. Sketch the order of the parts on a whole-house PRV installation on a 25 mm PPR main, naming each fitting.
Set the pressure. Write the step-by-step method for lowering a PRV from 4 bar to 3 bar, and explain why you must open a tap during the adjustment.
Diagnose. "The gauge reads 3 bar in the morning but 6 bar by the afternoon, and no one has used water." List two possible causes and how you would tell them apart.
Heater safety. Explain to a client why their water heater safety valve now drips a little during heating, and what must never be done to stop it.
Booster pump. A pump cuts in at 2.5 bar and out at 3.5 bar (example values). Where would you set a downstream PRV, and why?