A 3-storey house usually takes a 32–40 mm main riser from the rooftop tank (32 mm for 2–3 bathrooms, 40 mm from 4 bathrooms or when many fixtures run at once), 25 mm branches for each floor or bathroom and 20 mm pipe into each fixture. That is the common practice of Vietnamese plumbers working with PPR pipe, and there is a reason behind it: the section next to the tank has to carry water for every open tap, while the top floor only has a few metres of water head and cannot afford the friction loss of a small pipe. This lesson explains how to size pipe by flow rate, by the number of fixtures used at the same time and by the head available, with a 3-storey, 4-bathroom townhouse worked out from start to finish.
By the end of this lesson, you will be able to:
- Pick a pipe size for each run: mains inlet from the meter, pump discharge, riser from the roof tank, floor branches, fixture pipes.
- Add up fixture flow rates, estimate the peak flow and check the water velocity in the pipe.
- Work out the static head from the roof tank to a 3rd-floor shower and explain why the top floor is always the weakest.
- Decide when a larger pipe is enough and when a booster pump is required.
- Avoid 5 mistakes that leave the upper floors with weak water, the most common complaint after owners move in.
Learning the plumbing trade? This lesson belongs to the step "Installing water supply pipes & pressure testing" in NAMBIN's 8-step roadmap for residential plumbers. To size the pipes and the pump for a specific house quickly, open the pump and pipe calculator.
Pipe size table for a 3-storey house, run by run
The table below is the usual choice for a 3-storey Vietnamese townhouse with an underground tank, a pump lifting water to a rooftop tank and gravity flow down to the floors. Sizes are the outside diameter of PPR pipe in millimetres (Vietnamese plumbers call it "phi"). The rest of the lesson explains every number.
| Pipe run | Usual size | When to go bigger | Notes |
|---|---|---|---|
| Inlet: water meter → underground tank or roof tank | 25 mm | 32 mm when the run is over 30 m or mains pressure is weak | Townhouse meters are usually DN15 |
| Pump suction (underground tank → pump) | Same as the pump inlet, often 32 mm | Never smaller than the pump inlet | Foot strainer and check valve |
| Pump discharge to the roof tank | 25 mm | 32 mm for 5 storeys or more, or a big pump | Use PN16 |
| Main riser from the roof tank | 32 mm (2–3 bathrooms) | 40 mm from 4 bathrooms, or with a washing machine and a busy kitchen | This section carries the whole flow |
| Branch for each floor or bathroom | 25 mm | 32 mm when one floor has more than 2 bathrooms | With an isolation valve |
| Pipe into each fixture | 20 mm | Keep 20 mm, under 3 m long | 1/2" female threaded outlet |
| Hot water from an electric water heater | 20 mm (shared run 25 mm) | 25 mm when one heater feeds 2 rooms | Must be PN20 |
PPR sizes and matching thread sizes
The usual equivalents: 20 mm PPR joins a 1/2" thread, 25 mm joins 3/4", 32 mm joins 1" and 40 mm joins 1 1/4". Stop valves, basin taps and shower mixers all use 1/2" threads, so it makes sense for fixture pipes to stop at 20 mm.
This table does not cover the PN rating
Pipe size decides how much water the pipe can carry; the PN pressure rating decides how much pressure and heat it can take. They are two separate questions. For choosing PN10, PN16 or PN20 on each run, see PPR pipe PN10 vs PN16 vs PN20. This lesson uses cold-water PN10 pipe, which has the widest bore of the three.
Flow rate and simultaneous use decide the pipe size
Every fixture needs a certain amount of water per second when it is open. The pipe has to carry that flow without the water moving too fast.
Flow rate of each fixture (for reference)
By common Vietnamese practice for domestic water design: a basin tap takes about 0.10 litres per second (6 litres per minute), a toilet with a cistern about 0.10 L/s, a shower about 0.20 L/s, a kitchen tap about 0.15 L/s and a washing machine about 0.20 L/s. Precise design for large buildings uses the fixture-unit method in TCVN 4513:1988 "Internal water supply" (TCVN is the Vietnamese national standard); for a townhouse, the estimate below is what plumbers use and it is enough.
Not every tap runs at once
A house with 13 fixtures never has all 13 open together. At the evening peak there are usually 1–2 people showering, someone cooking, someone washing hands and the washing machine running — about 4–5 fixtures. So plumbers work with the peak flow: the sum of the fixtures that can realistically run together in the busiest situation, usually 40–50% of the total flow in a small house.
How much water each pipe size carries
Water supply pipes inside a house should keep a velocity of about 0.5–1.5 m/s; with gravity feed from a roof tank, where head is scarce, aim for about 1 m/s. Flow = bore area × velocity. The table is for PN10 PPR pipe.
| Pipe size | PN10 bore | At 1 m/s | At 1.5 m/s | Usually enough for |
|---|---|---|---|---|
| 20 mm | 16.2 mm | 0.21 L/s | 0.31 L/s | 1 fixture, at most 1 shower + 1 basin |
| 25 mm | 20.4 mm | 0.33 L/s | 0.49 L/s | 1 bathroom with 3 fixtures |
| 32 mm | 26.2 mm | 0.54 L/s | 0.81 L/s | Riser for 2–3 bathrooms |
| 40 mm | 32.6 mm | 0.83 L/s | 1.25 L/s | Riser for 4–5 bathrooms |
Water head: why the 3rd floor is always the weakest
In a house fed from a roof tank, the pressure at a tap comes only from the height of the water. The rule to remember: 10 m of water column ≈ 1 bar. The lower the tap, the stronger it runs; the closer to the tank, the weaker.
Static head on each floor
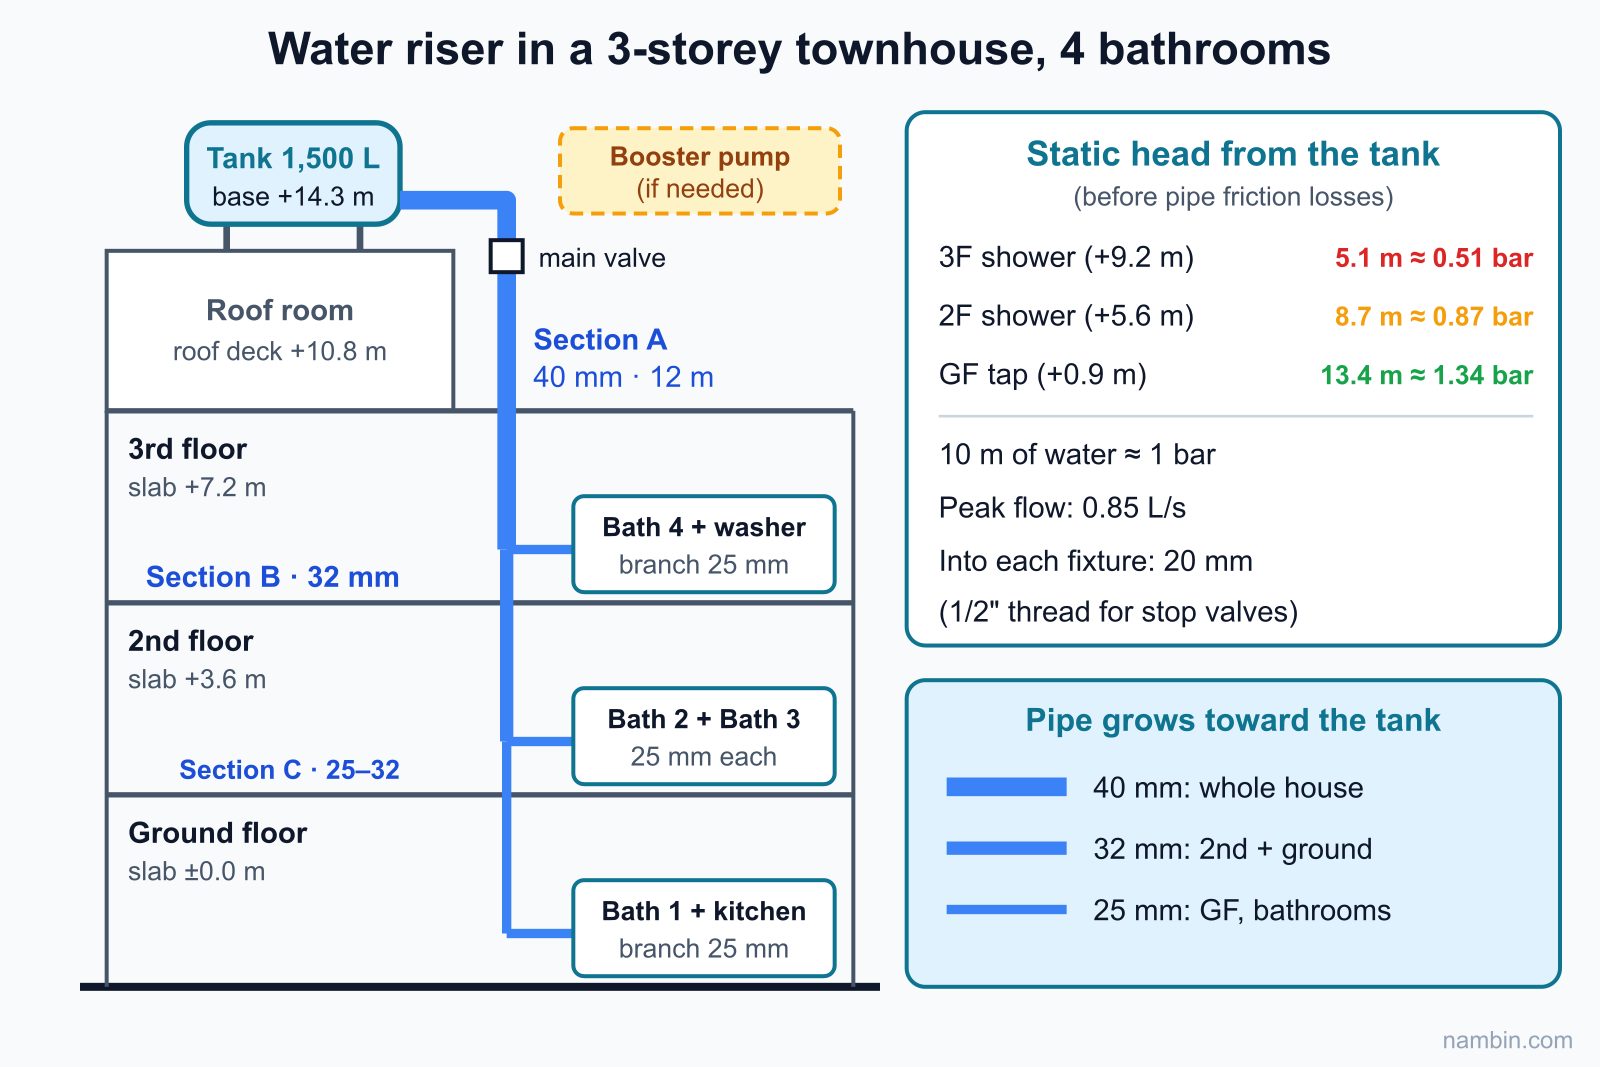
Take a 3-storey house with a roof room, 3.6 m floor height and the tank on top of the roof room, its base 14.3 m above the ground-floor slab. The 3rd-floor shower head sits at 9.2 m (7.2 m slab + 2 m), so the static head is only 14.3 − 9.2 = 5.1 m, about 0.51 bar. The 2nd-floor shower has 8.7 m; the ground-floor basin tap has 13.4 m (see the panel on the right of Figure 1). Measuring from the base of the tank is the safe assumption: when the tank is full, the water surface is about 1 m higher.
Friction loss eats into that small head
Water flowing in a pipe loses pressure to friction; the smaller the pipe and the faster the water, the bigger the loss. On the ground floor with 13 m of head, losing 1–2 m goes unnoticed. At a 3rd-floor shower with only 5.1 m, losing 4 m means almost no water. That is why the riser section next to the tank must be the largest: it carries the most water and lies on the path to the top floor.
A bigger pipe does not create pressure
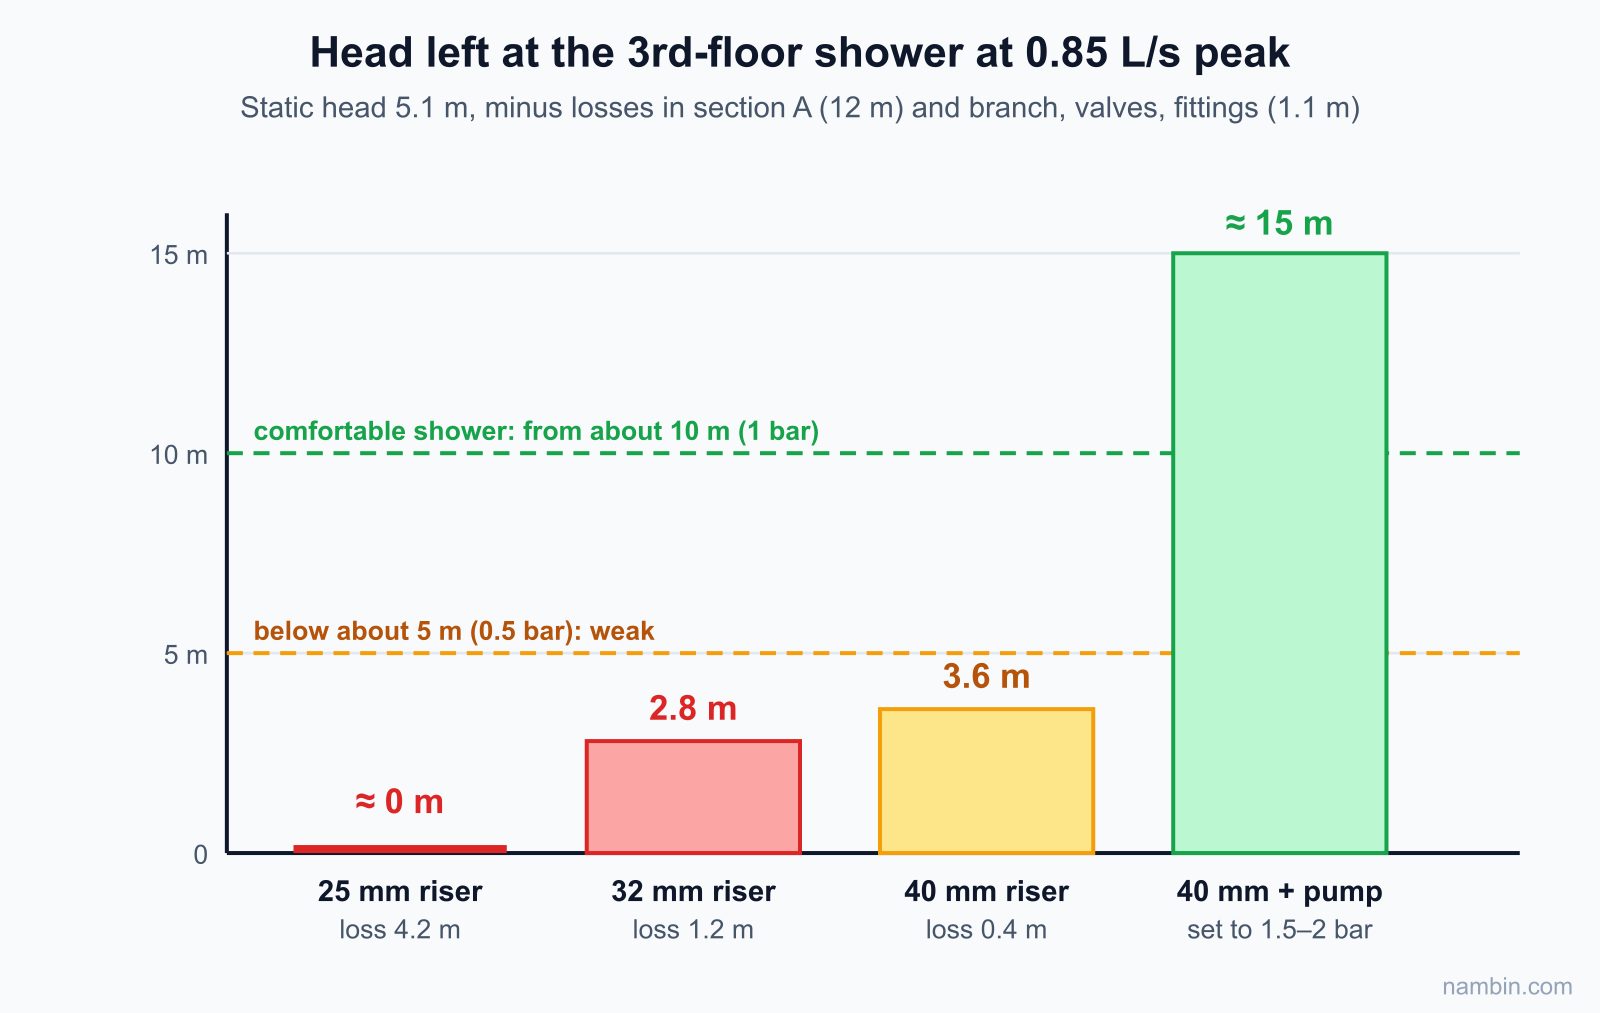
A larger pipe only cuts friction loss; it does not add static head. Whether the riser is 40 mm or 50 mm, the 3rd-floor shower in this example can never exceed 5.1 m of head. Figure 2 in the worked example makes this clear: going from a 25 mm to a 40 mm riser lifts the top floor from "no water" to about 0.36 bar, but a shower stronger than 1 bar needs a booster pump.
Worked example: a 3-storey townhouse with 4 bathrooms
A 4.5 × 15 m townhouse, 3 storeys plus a roof room, 3.6 m floor height. A 3 m³ underground tank and a pump lifting water to a 1,500-litre stainless steel tank on top of the roof room. Ground floor: a guest bathroom (basin, toilet) and the kitchen. 2nd floor: two full bathrooms with basin, toilet and shower. 3rd floor: one full bathroom and a washing machine on the drying terrace. Hot water comes from a separate electric water heater in each bathroom. The riser and tank heights are as in Figure 1.
Step 1: list the fixtures and add up the flow
| Fixture | Quantity | Flow each | Subtotal |
|---|---|---|---|
| Basin tap | 4 | 0.10 L/s | 0.40 L/s |
| Toilet with cistern | 4 | 0.10 L/s | 0.40 L/s |
| Shower | 3 | 0.20 L/s | 0.60 L/s |
| Kitchen tap | 1 | 0.15 L/s | 0.15 L/s |
| Washing machine | 1 | 0.20 L/s | 0.20 L/s |
| Total | 13 | 1.75 L/s |
Check: 4 + 4 + 3 + 1 + 1 = 13 fixtures; 0.40 + 0.40 + 0.60 + 0.15 + 0.20 = 1.75 litres per second.
Step 2: estimate the peak flow
The busiest moment, around 7–8 pm: someone showering on the 3rd floor (0.20), someone showering on the 2nd floor (0.20), cooking in the kitchen (0.15), someone washing hands on the 2nd floor (0.10) and the washing machine running (0.20). Total: 0.20 + 0.20 + 0.15 + 0.10 + 0.20 = 0.85 litres per second, that is 5 of the 13 fixtures and about 49% of the total flow — right in the 40–50% range mentioned above.
Step 3: size each riser section
Each section is sized for the peak flow of the part of the house it feeds, keeping velocity near 1 m/s:
- Section A (tank → 3rd-floor tee, 12 m long): carries 0.85 L/s. In 32 mm the velocity is 0.85 ÷ 0.54 ≈ 1.6 m/s — too fast for gravity feed. In 40 mm: 0.85 ÷ 0.83 ≈ 1.0 m/s. Choose 40 mm.
- Section B (3rd floor → 2nd floor): at its busiest, the floors below have two 2nd-floor showers, the kitchen tap and one basin: 0.20 + 0.20 + 0.15 + 0.10 = 0.65 L/s. In 32 mm: 0.65 ÷ 0.54 ≈ 1.2 m/s. Choose 32 mm.
- Section C (2nd floor → ground floor): kitchen, basin, toilet: 0.15 + 0.10 + 0.10 = 0.35 L/s. In 25 mm: 0.35 ÷ 0.33 ≈ 1.1 m/s. 25 mm is enough; many plumbers keep 32 mm all the way for matching fittings, and the price difference is small.
- Bathroom branches: 25 mm with an isolation valve. Fixture pipes: 20 mm, each under 3 m.
Step 4: check the head at the 3rd-floor shower
Friction loss in the 12 m section A, from the Hazen–Williams formula for plastic pipe (rounded): about 4.2 m in 25 mm, about 1.2 m in 32 mm, about 0.4 m in 40 mm. The bathroom branch, shower pipe, valves, fittings and the mixer lose roughly another 1.1 m. Head left at the 3rd-floor shower:
- 25 mm riser: 5.1 − 4.2 − 1.1 = −0.2 m → practically no water while the rest of the house is using it.
- 32 mm riser: 5.1 − 1.2 − 1.1 = 2.8 m ≈ 0.28 bar → a weak shower.
- 40 mm riser: 5.1 − 0.4 − 1.1 = 3.6 m ≈ 0.36 bar → better, but still under 0.5 bar.
Step 5: the conclusion for the quote
Section A 40 mm, section B 32 mm, section C 25–32 mm, bathroom branches 25 mm, fixture pipes 20 mm. The ground and 2nd floors run fine by gravity. Even with correct pipe, the 3rd floor only gets about 0.36 bar, so recommend a booster pump right after the roof tank, set to 1.5–2 bar, so the 3rd-floor shower gets around 15 m of head like the green bar in Figure 2. Enter the client's house data in the pump and pipe calculator to cross-check.
Main supply pipe and the pipe down from the tank: installing it right
From the water meter to the underground tank
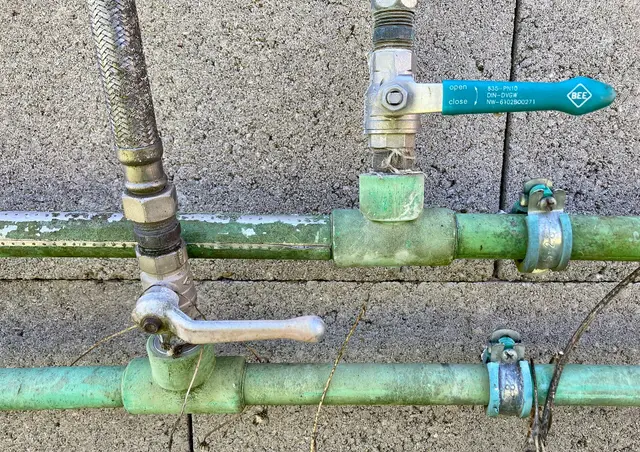
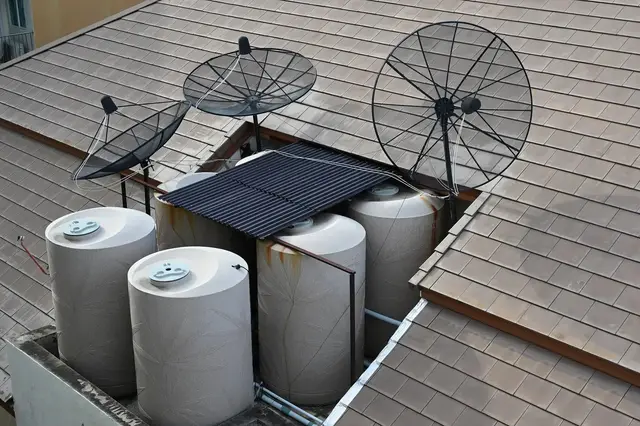
Townhouses usually have a DN15 meter with a stop valve, as in Figure 3. After the meter, run 25 mm pipe into the underground tank, with a float valve at the pipe end so it shuts off when full. Never connect a pump to suck directly from the mains pipe: many water companies forbid it, because the suction drops pressure for the whole street and can pull dirty water back into the public network.
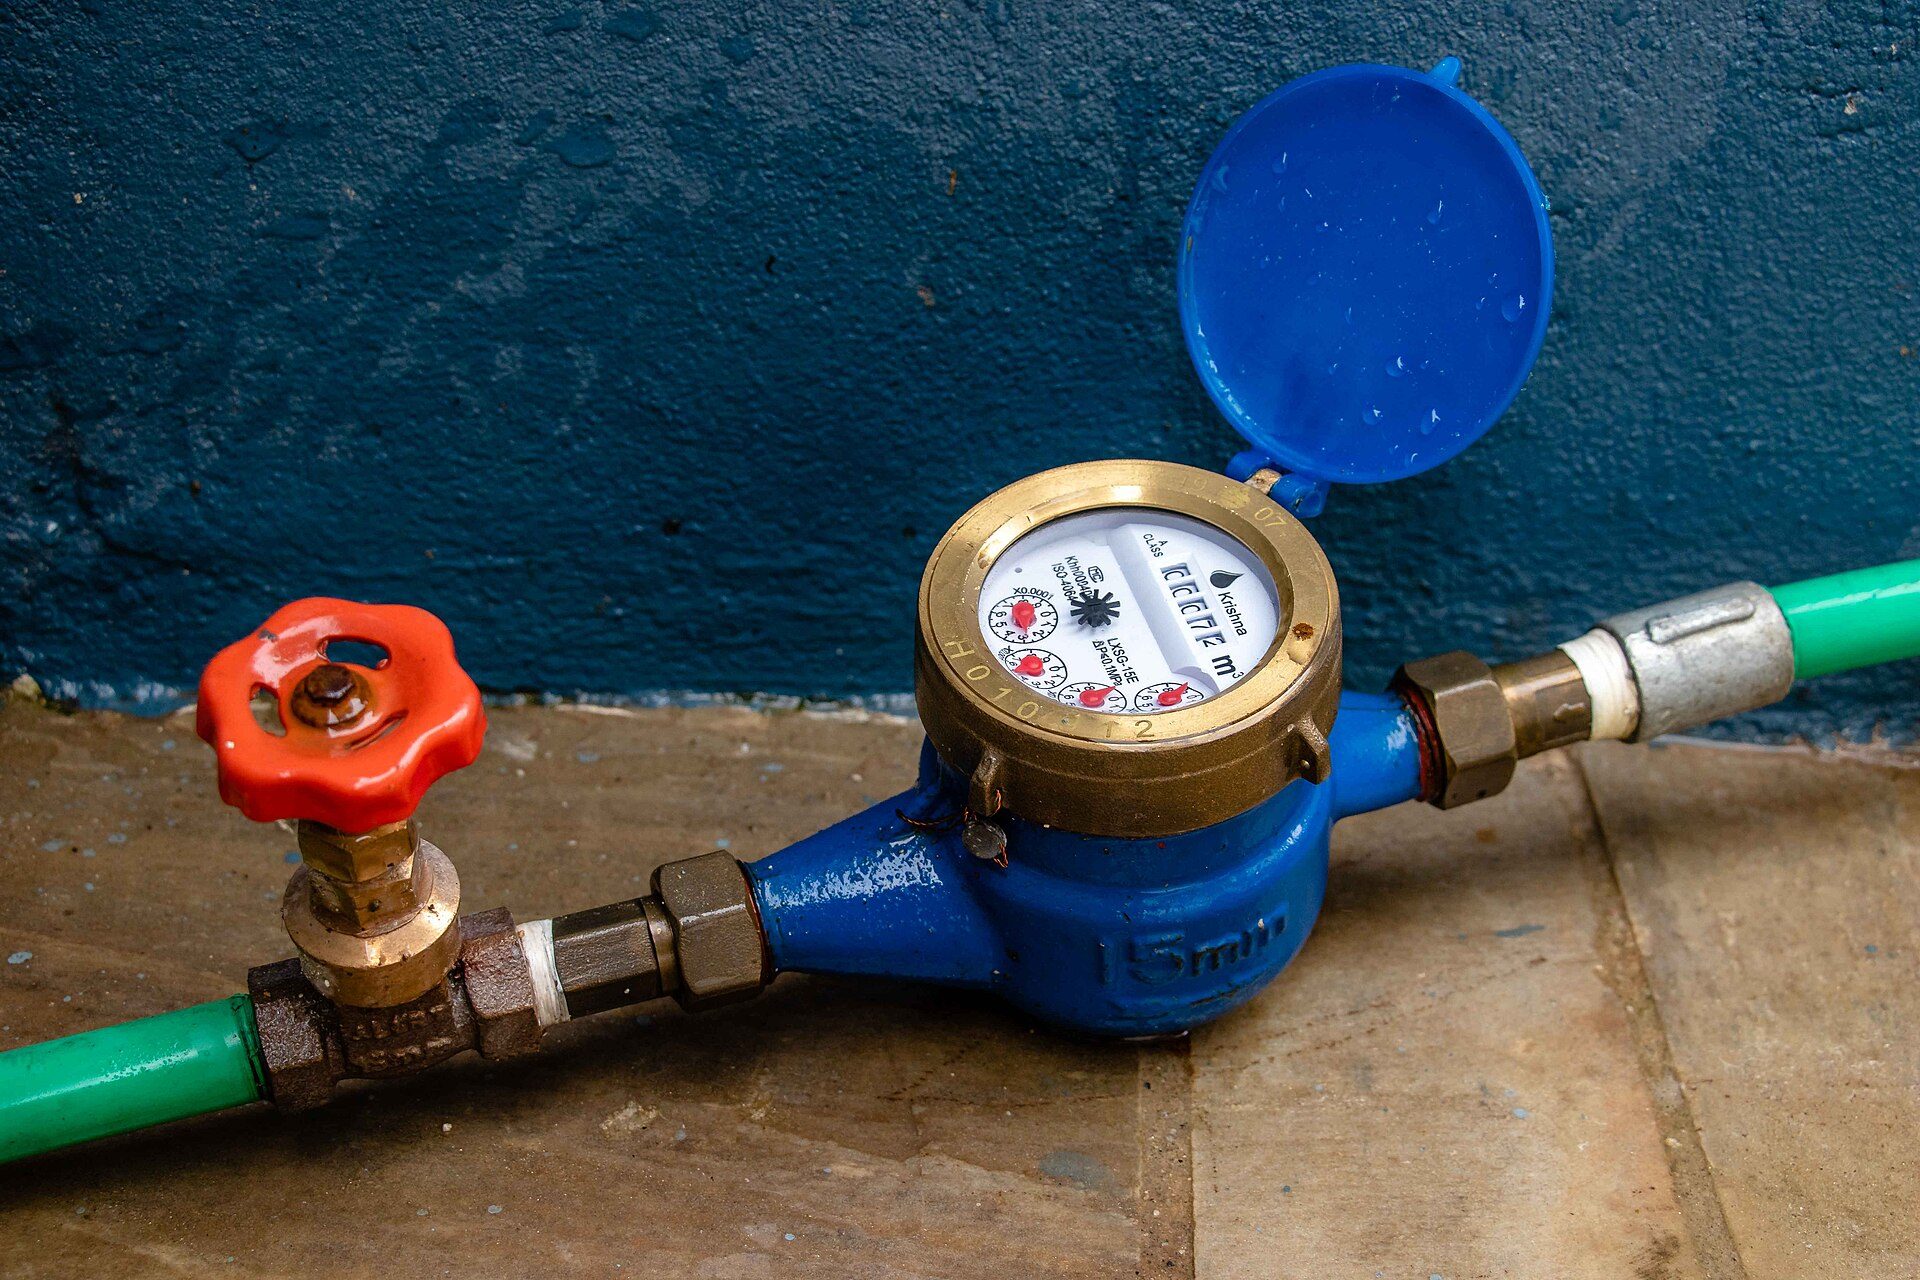
Photo: Bijay Chaurasia / Wikimedia Commons, CC BY-SA 4.0
Pump discharge to the roof tank
The discharge pipe only has to let the pump fill the tank in 20–40 minutes, so 25 mm is enough for a 3-storey house. This pipe takes pump pressure plus water hammer every time the float switch stops the pump, so choose PN16. Run the discharge pipe and the down riser as two separate lines; never use one pipe both to fill the tank and to feed the house.
Tank outlet and main valve
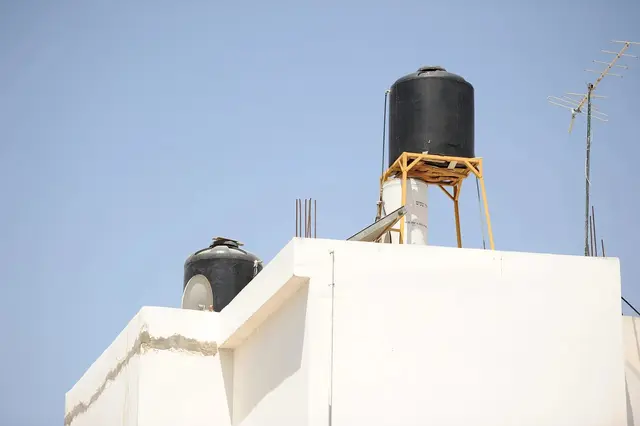
Set the tank outlet 5–10 cm above the tank floor so sediment does not enter the pipe, with a separate drain at the bottom. Right after the outlet, fit a main valve the same size as the riser (a 40 mm riser takes a 1 1/4" valve). When the tank stands on a frame as in Figure 4, the frame must carry a full tank: a 1,500-litre tank weighs more than 1.5 tonnes.
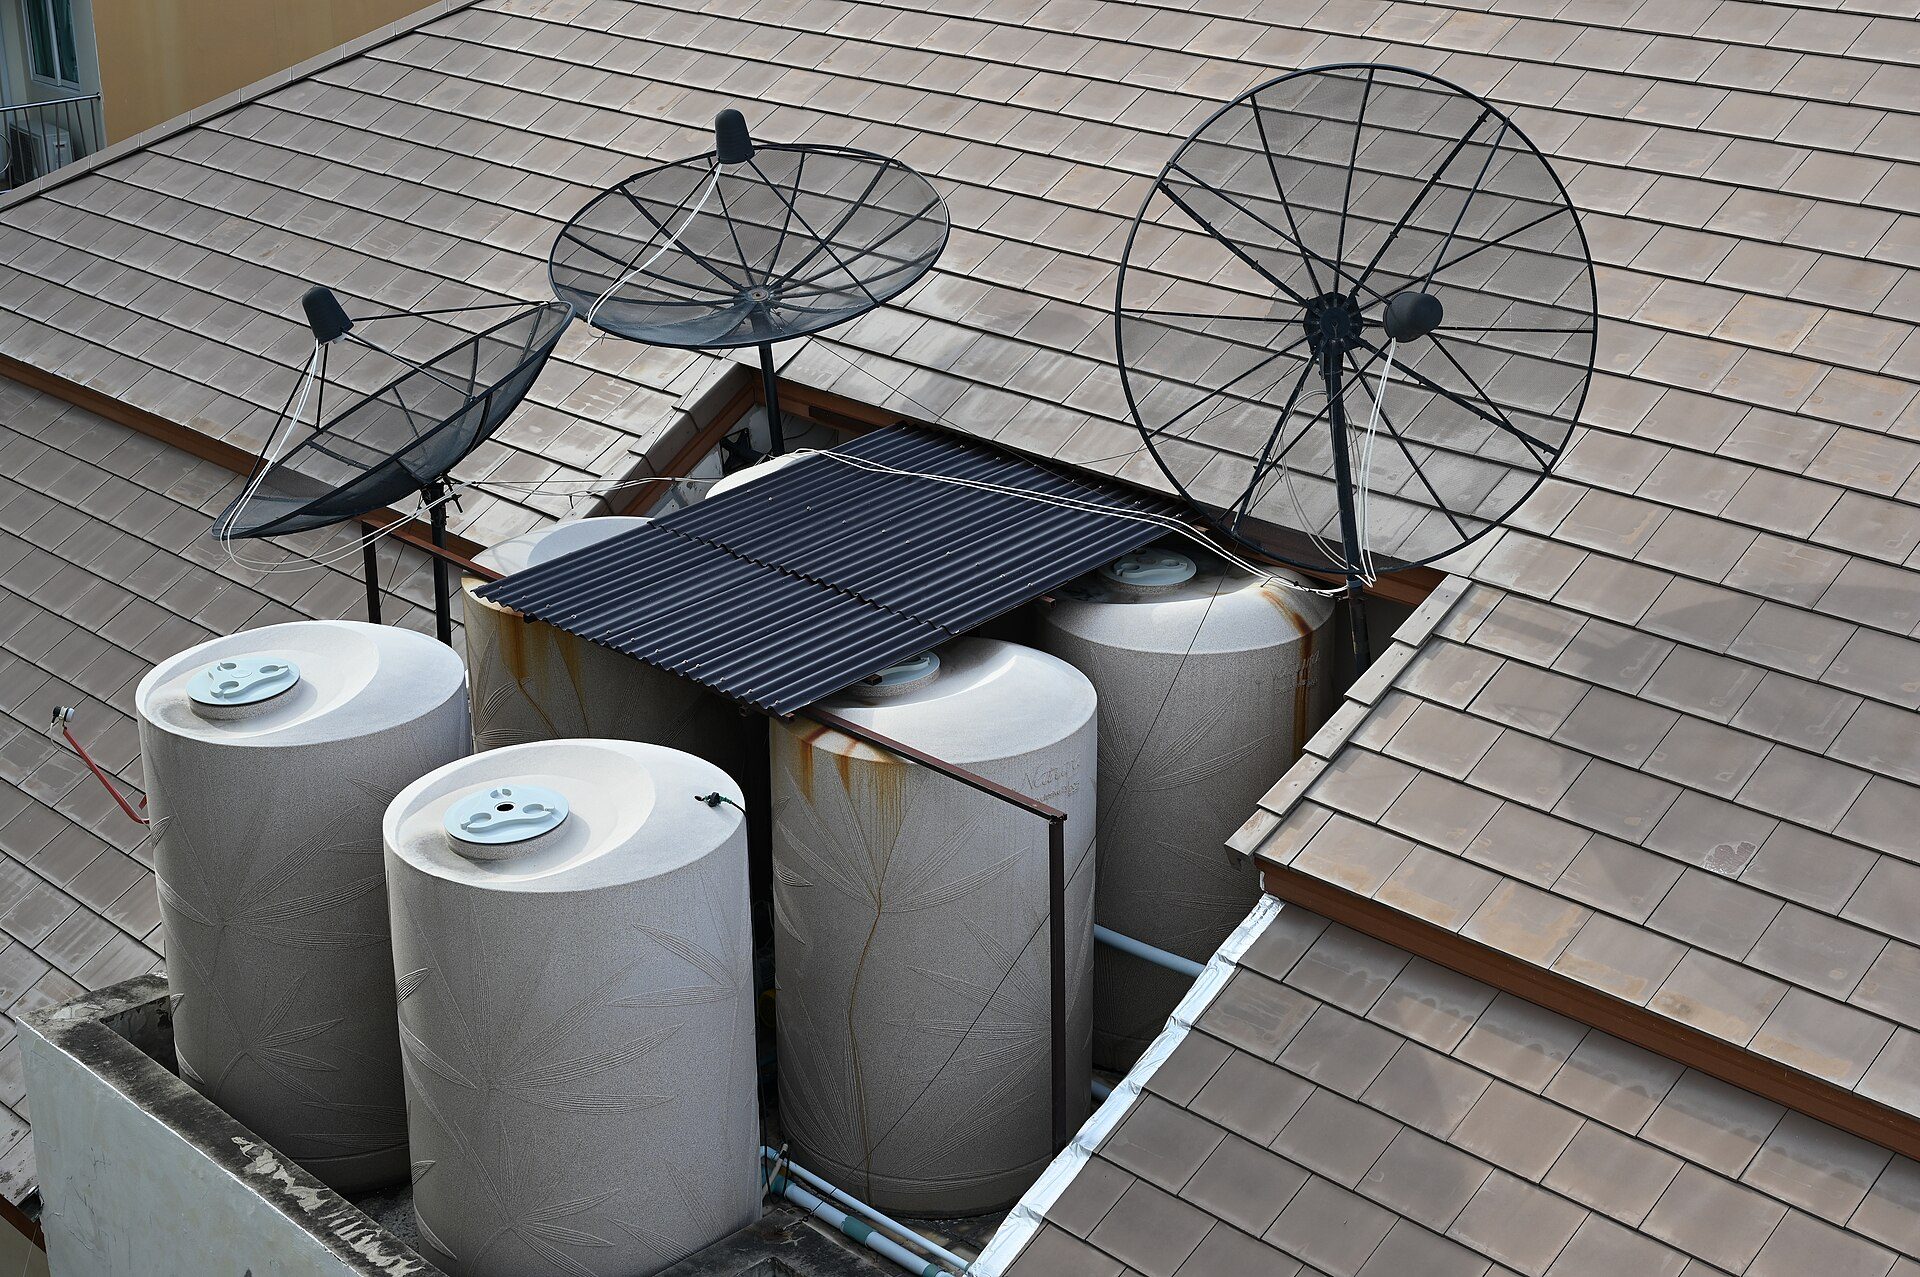
Photo: PattayaPatrol / Wikimedia Commons, CC BY-SA 4.0
The riser and floor branches
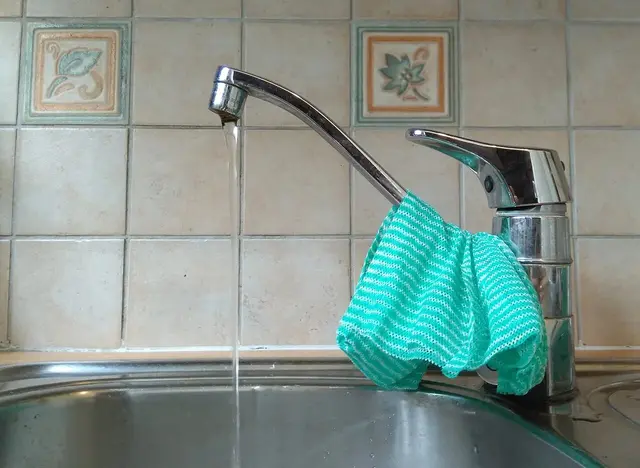
Run the riser in a service duct or a wall corner, with support clips every 1–1.2 m for 32–40 mm pipe. On each floor, branch off with a reducing tee (for example 40 × 25 mm), followed by an isolation valve so one bathroom can be repaired without shutting off the whole house. Inside the bathroom, the branch is 25 mm; at each fixture it steps down to 20 mm with a 25 × 20 mm reducing tee and ends in a 1/2" female threaded outlet (Figure 5).
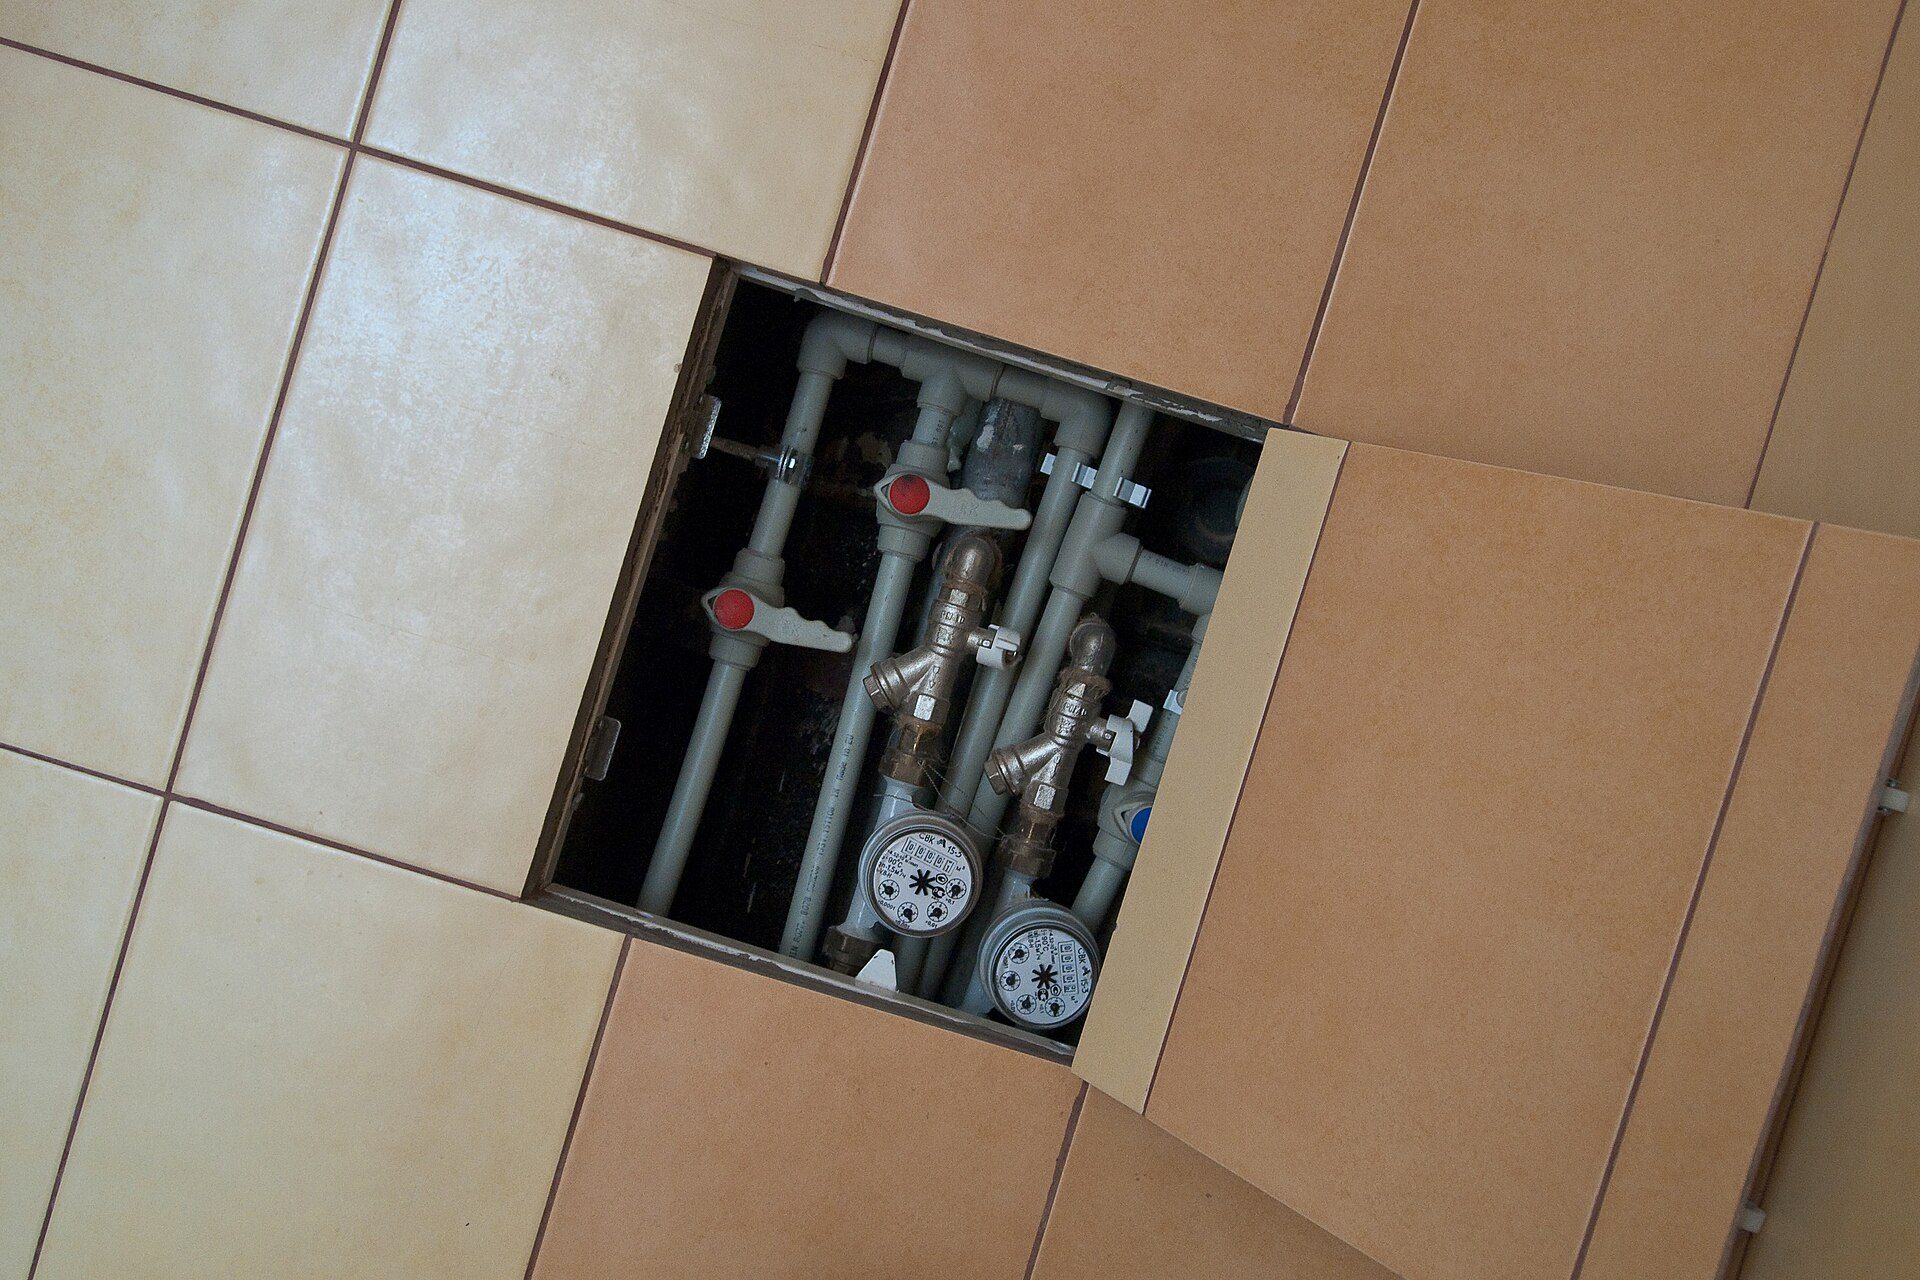
Photo: Vyacheslav Argenberg / Wikimedia Commons, CC BY 4.0
When all joints are welded, pressure-test before plastering, following the procedure in installing hot and cold water supply pipes and pressure testing before plastering. Joints in 32–40 mm pipe need the right heating time — see welding PPR pipe the right way.
When you need a booster pump and where to put it
As the example shows, the 3rd-floor shower of a 3-storey house fed from a roof tank usually gets only 0.3–0.5 bar even with correct pipe. A shower that feels strong needs about 1–1.5 bar; hot-and-cold mixers and some water heaters also work poorly below 0.5 bar.
Signs that a booster pump is needed
- The tank sits on the roof deck with no roof room, less than 5 m above the top-floor shower head.
- The owner wants a strong shower, a multi-mode shower column or an instant water heater.
- The riser is already 32–40 mm and the top floor still goes weak when taps are opened downstairs.
Position and installation
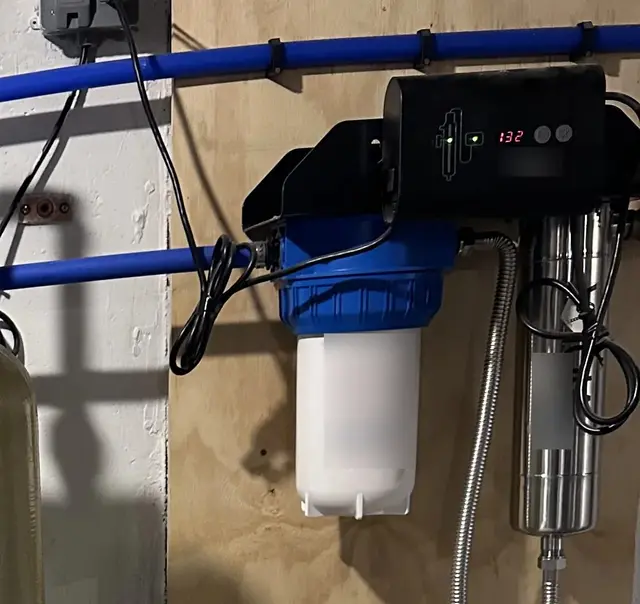
Install the booster pump on the roof terrace right after the tank's main valve (the dashed yellow box in Figure 1). The suction pipe into the pump must not be smaller than the pump inlet; choose PN16 pipe after the pump. Add a bypass line with a check valve in parallel with the pump, so water still flows down by gravity during a power cut. A booster that starts automatically when a tap opens (with a pressure switch or flow sensor) is the convenient choice for homes; an electric jet pump like the one in Figure 6 is another common household type.
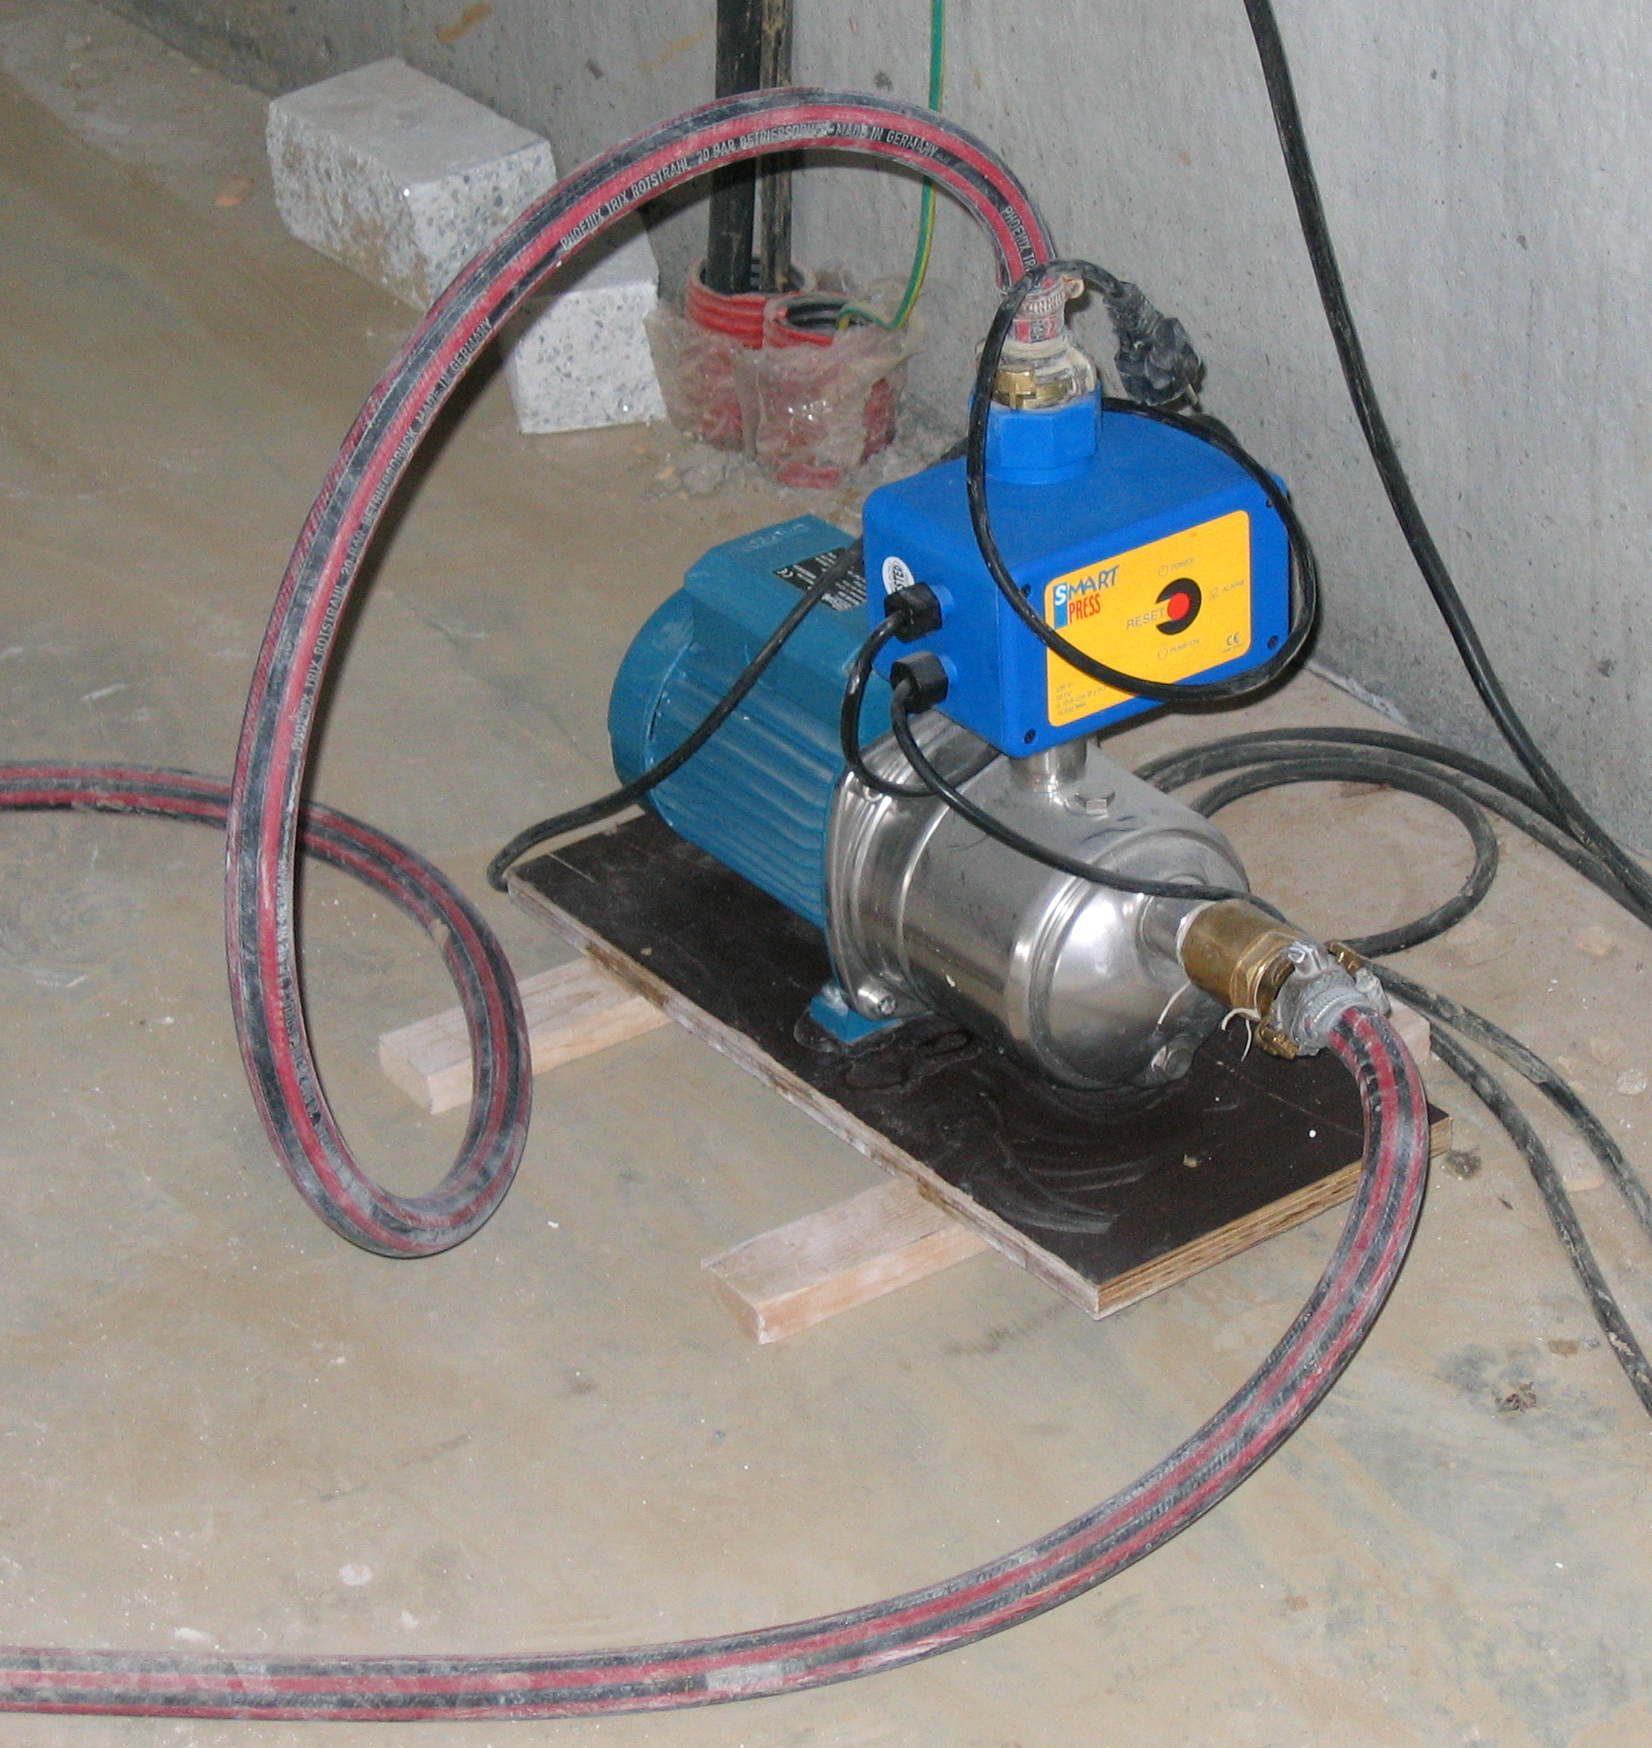
Photo: KVDP / Wikimedia Commons, Public domain
Choosing a pump by flow and head
If the pump feeds the whole riser, its flow must reach the peak flow: 0.85 L/s ≈ 51 litres per minute in the example, at a head of about 15–20 m. If it feeds only the 3rd floor (one bathroom and the washing machine), it needs about 0.40 L/s ≈ 24 litres per minute. How to choose the power and wire the float and pressure switch is covered in installing the water pump, rooftop tank and water heater in a townhouse.
Safety warning: a pump installed outdoors needs a rain cover, an earth wire and its own 30 mA RCD (residual current device); switch off the breaker before any electrical work on the pump, and preferably let an electrician do it. On a roof room or a terrace without a railing, wear a safety harness. Hot water lines from an electric water heater use PN20 pipe; switch off the heater and drain the water until cool before cutting or repairing them.
Common mistakes when sizing pipe for a 3-storey house
Using 25 mm for the whole main riser
Symptom: the 3rd floor is very weak and stops completely when taps open downstairs or the washing machine runs. Cause: the small pipe loses about 4 m of head over 12 m, almost all the static head of the top floor. Fix: replace section A with 32–40 mm; if the wall cannot be opened, run a new exposed riser in a service duct.
Large pipe but no booster pump
Symptom: the riser is 40 mm, yet the 3rd-floor shower is still weak. Cause: only about 5 m of static head, and a larger pipe adds no pressure. Fix: raise the tank on a taller frame or fit a booster pump after the tank as described above.
Narrowing at the tank outlet or through a small valve
Symptom: a 40 mm riser but weak water anyway. Cause: the tank outlet is only a 3/4" thread (equal to 25 mm pipe) or the main valve is smaller than the pipe. Fix: enlarge the outlet or use a tank with the right outlet size; the main valve always matches the riser size.
Several bathrooms in series on one 20 mm pipe
Symptom: turning on the shower in one room kills the water in the other. Cause: 20 mm pipe carries only about 0.2–0.3 L/s, just enough for one shower. Fix: a shared 25 mm branch, with each bathroom teed off separately.
No branch isolation valves
Symptom: fixing a tap in one bathroom means shutting off water to the whole house. Cause: saving on a few valves. Fix: one valve per floor or bathroom branch, right after the tee.
Frequently asked questions
What pipe size does a 3-storey house need?
Common practice: a 32 mm riser from the roof tank (2–3 bathrooms) or 40 mm (from 4 bathrooms), 25 mm floor branches and 20 mm into each fixture. For an exact answer, size by peak flow and a velocity around 1 m/s as in the worked example.
What size should the main supply pipe be, 25 or 32 mm?
The inlet from the water meter is fine at 25 mm, because mains water arrives at 1–3 bar. The main riser down from the roof tank should be 32 mm or more, because the top floor only has a few metres of head.
What size pipe comes down from the roof tank?
32 mm for a house with 2–3 bathrooms, 40 mm from 4 bathrooms or with a washing machine and several showers running at once. The tank outlet and main valve must be the same size as the pipe.
What size are the branch pipes into fixtures?
20 mm, ending in a 1/2" female threaded outlet for stop valves, basin taps and shower mixers. The shared branch of a bathroom is 25 mm.
Does a larger pipe make the water stronger?
Only up to a point: a larger pipe reduces friction, so the water drops less when several taps are open, but it does not raise the static head. A floor right under the tank needs a higher tank or a booster pump to run strong.
Practice exercise and self-assessment
- Pick a 3-storey house (your own or a relative's): count the fixtures on each floor, build a flow table like Step 1 and add it up.
- Write down the evening peak situation, add up the peak flow and compare it with the total.
- Measure or estimate the height of the tank base and of the top-floor shower head, and work out the static head in metres and bar.
- Draw a riser diagram like Figure 1, mark the sizes of sections A, B, C, the bathroom branches and the fixture pipes, and conclude whether a booster pump is needed.
Self-assessment criteria
- Pass: the flow table adds up correctly; the velocity in each riser section is within 0.5–1.5 m/s; the section nearest the tank is the largest.
- Pass: the static head on the top floor is calculated correctly, and you state when a booster pump is needed, where it goes and that it has a bypass for power cuts.
- Not yet: one size for the whole house, a 20 mm pipe running through several bathrooms in series, or the belief that a larger pipe can replace a booster pump.
Choosing the right size is the calculation part of the step Installing water supply pipes & pressure testing; next come running the pipe, fitting the valves and pressure-testing before plastering. The next step in the roadmap is Drainage, slope & odour control — read drain pipe slope and how to stop bathroom odours to complete the other half of the water system in a house.
Want to learn the plumbing trade properly? Follow NAMBIN's 8-step roadmap for residential plumbers — from choosing pipe and welding PPR to running supply lines, pumps and finding work. When a client asks "what pipe size does my house need, and do I need a booster pump?", open the pump and pipe calculator and answer on the spot.