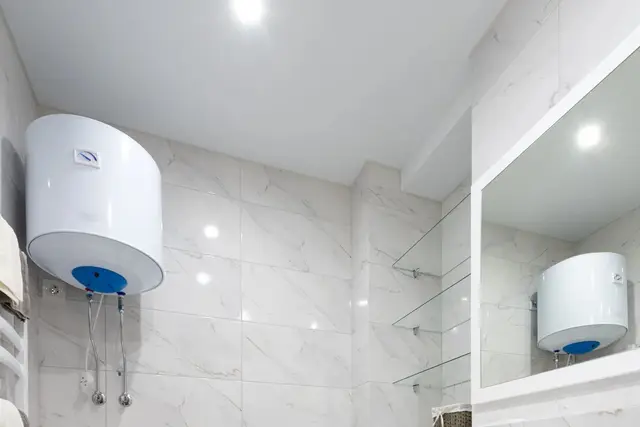
An electric water heater "leaks electricity" when the insulation inside it — usually in the heating element, sometimes in the supply cable, the socket or the thermostat — has failed, so current escapes onto the tank casing and into the water. The clearest signs are a tingling feeling from the shower head while bathing, or the residual current breaker tripping every time the heater is switched on. The first thing to do is stop showering, switch off the heater's breaker and unplug it; only then do you test the element, check the earth wire, and decide whether to replace the element or the whole heater.
In Vietnam, most homes use a wall-mounted electric storage water heater of 15–30 litres in each bathroom, often called a "hot-and-cold tank". The supply is 220 V single-phase, 50 Hz. Prices in this lesson are in Vietnamese dong (VND); as a rough guide, 25,000 VND is about 1 US dollar.
By the end of this lesson, you will be able to:
- Recognise 6 signs that a water heater is leaking electricity, and isolate the power in the right order before touching the heater.
- Measure the resistance between the two terminals of the heating element and compare it with the power rating on the label (2500 W ≈ 19.4 Ω at 220 V).
- Measure the insulation between the element and the casing with a 500 V insulation tester and read the result on 4 levels: above 20 MΩ, 2–20 MΩ, 1–2 MΩ, below 1 MΩ.
- Check that the earth wire from the heater casing back to the consumer unit reads below 1 Ω, and explain to the homeowner why a dedicated 30 mA RCBO is needed.
- Decide whether to replace the element or the whole heater, based on the heater's age, the condition of the inner tank and reference costs for 2026.
Want someone beside you when you test and fix earth leakage? The procedure for isolation, insulation testing, earth checks and installing RCBOs for bathroom appliances is practised and graded in the NAMBIN Residential Electrician Level 2 – Qualified Electrician course.
What does "a water heater leaking electricity" mean, and why is it dangerous?
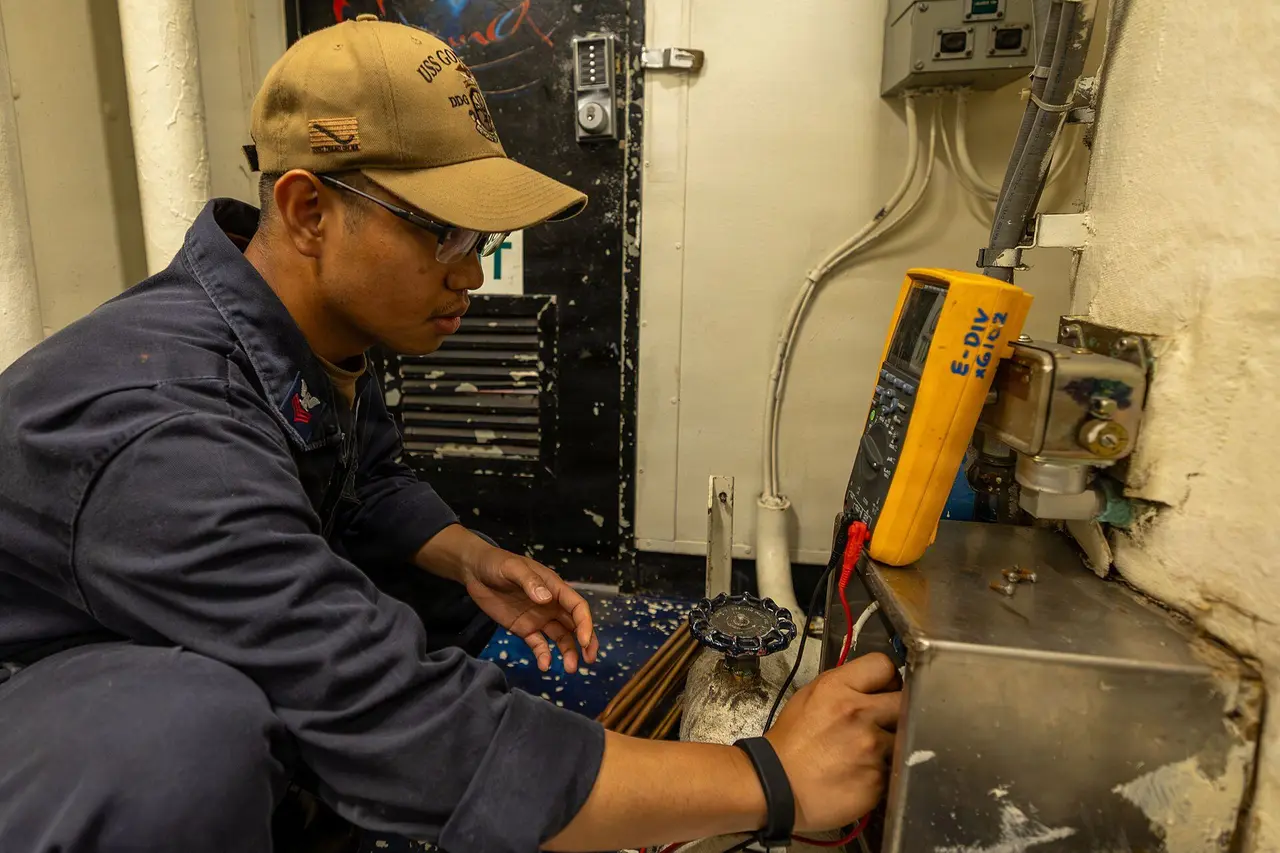
Inside the heater, current is only allowed to follow one path: from the live wire, through the resistance wire of the heating element, and back on the neutral wire. When the insulation fails, part of the current "goes astray" onto the metal sheath of the element, into the water and onto the inner tank. That part is called the leakage current (or earth leakage). Figure 1 shows an element being tested — exactly the job you will learn in this lesson.
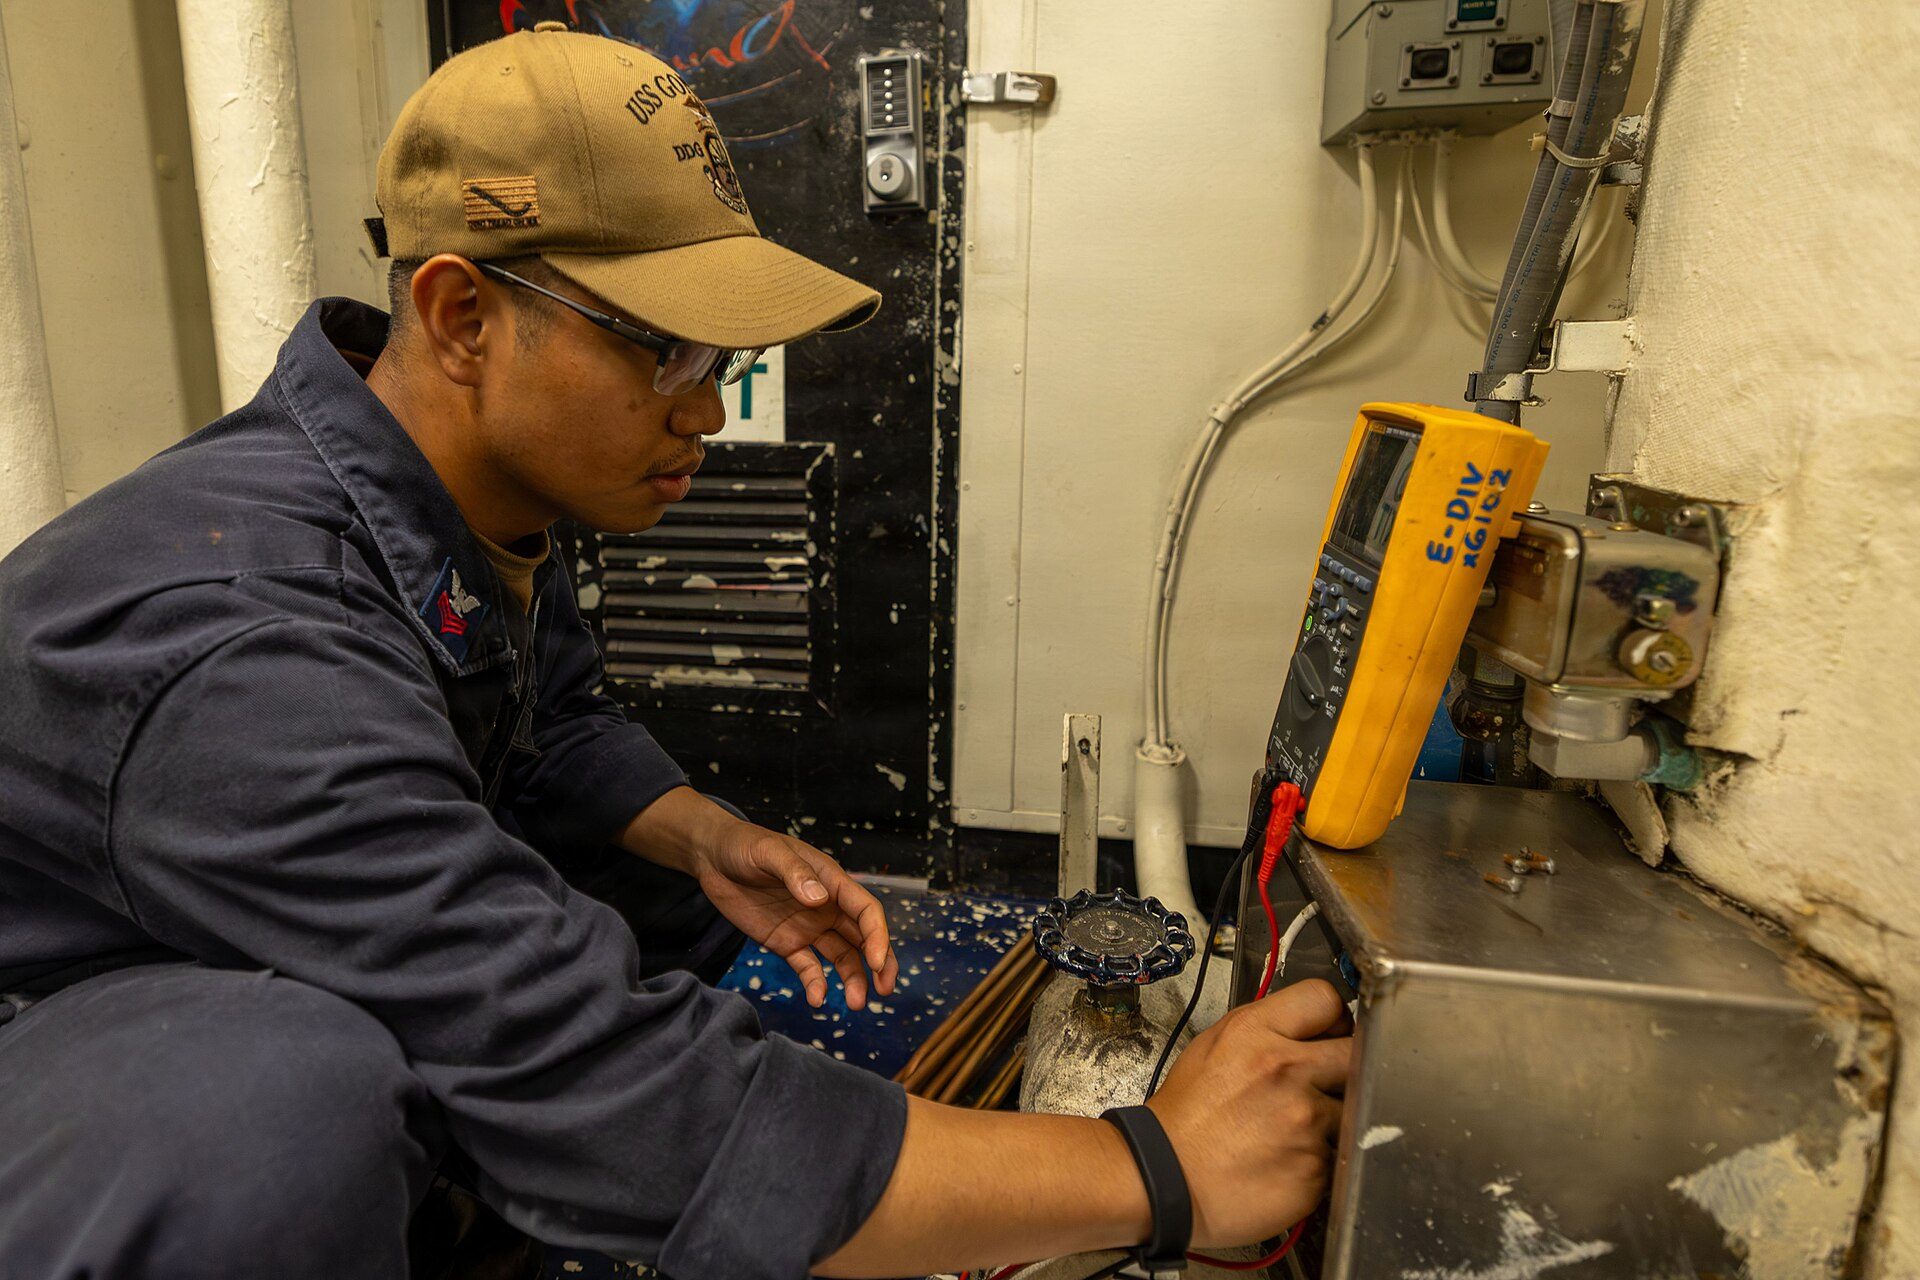
Photo: U.S. Navy USNF-5F by NAVCENT Public Affairs / Wikimedia Commons, Public domain
Where does the leakage current go?
If the heater casing is connected by an earth wire (the PE conductor, green-and-yellow) to an earth rod, the leakage current flows down this wire into the ground. The residual current breaker sees that the current going out and the current coming back are not equal, so it trips immediately. Without an earth, the casing and the water "float" at some voltage. A person in the shower — wet skin, bare feet on a wet floor — who touches the shower head becomes the path to earth. That is why "a slight tingle in the shower" is never a small matter.
The four most common leakage points
- Heating element: the most common — a corroded or cracked sheath, or insulating powder that has absorbed moisture.
- Thermostat, safety cut-out and terminal block: water dripping from the flange gasket makes the terminal box damp.
- Supply cable and socket: a socket right next to the shower gets splashed, or a junction box takes in water.
- Electronic circuit: heaters with a display, indicator lights or a control board that has become damp.
Signs of a water heater leaking electricity and what to do immediately
The customer usually only says "I feel a tingle in the shower"; the electrician needs to ask more questions to narrow it down before opening the heater.
| Sign | First suspect | What to check first |
|---|---|---|
| Tingling from the shower head or tap handle while bathing | Leaking element + missing earth | Tests ② and ③ in Figure 2 |
| Residual current breaker trips a few minutes after the heater is switched on | Element leaks once it heats up | Insulation test when cold and right after heating |
| Trips as soon as the plug goes in or the switch is turned on | Heavy leak in the element, terminal block or supply cable | Disconnect and insulate the element wires, switch on again to isolate the fault |
| The "anti-shock" unit on the heater cable trips often | Element or damp thermostat | Insulation test on the element |
| A voltage tester pen lights up on the casing or the tap | Voltage on the casing, earth possibly missing | Test ③: heater casing to earth bar |
| Water heats slowly, sizzling noise, burning smell at the terminal box | Scaled-up element, loose burnt terminal | Open the cover to inspect terminals, measure element resistance |
Isolate the power in the right order
- Tell everyone to leave the bathroom and not touch the taps, the heater casing or running water.
- Switch off the heater's own breaker at the consumer unit (or the floor breaker, or the main breaker if there is no dedicated circuit). Do not rely on the button on the heater itself.
- Standing on a dry spot with dry hands, pull the heater plug out of the socket.
- Lock or tape the breaker and hang a sign: "Work in progress — do not switch on".
- Re-check with a voltage tester at the heater's terminal block: only open the cover when there is no voltage.
The full procedure is in the lesson 5 safety rules before touching any electrical wire (in Vietnamese).
A tester pen is for searching, not for conclusions
A non-contact tester pen can glow faintly on an unearthed heater casing even when the element is good, because of capacitance between the wires and the casing. On the other hand, an element with a slight leak on a well-earthed heater will not make the pen light up. Your conclusion must be based on a multimeter and an insulation tester.
⚠ Safety warning: Do not shower, and do not touch the tap or the casing "to see if it still tingles". Opening covers, disconnecting wires and testing are only done after the power is off, the plug is out, the breaker is locked and you have re-checked. An insulation tester produces 500 V DC — do not touch the probes while the button is pressed, and discharge the element after testing. Water in the tank can reach 70–75 °C: wait for it to cool before removing the flange. Anyone who has not been trained to take electrical measurements should only switch off, unplug, stop using the heater and call a qualified electrician.
How to test a water heater element
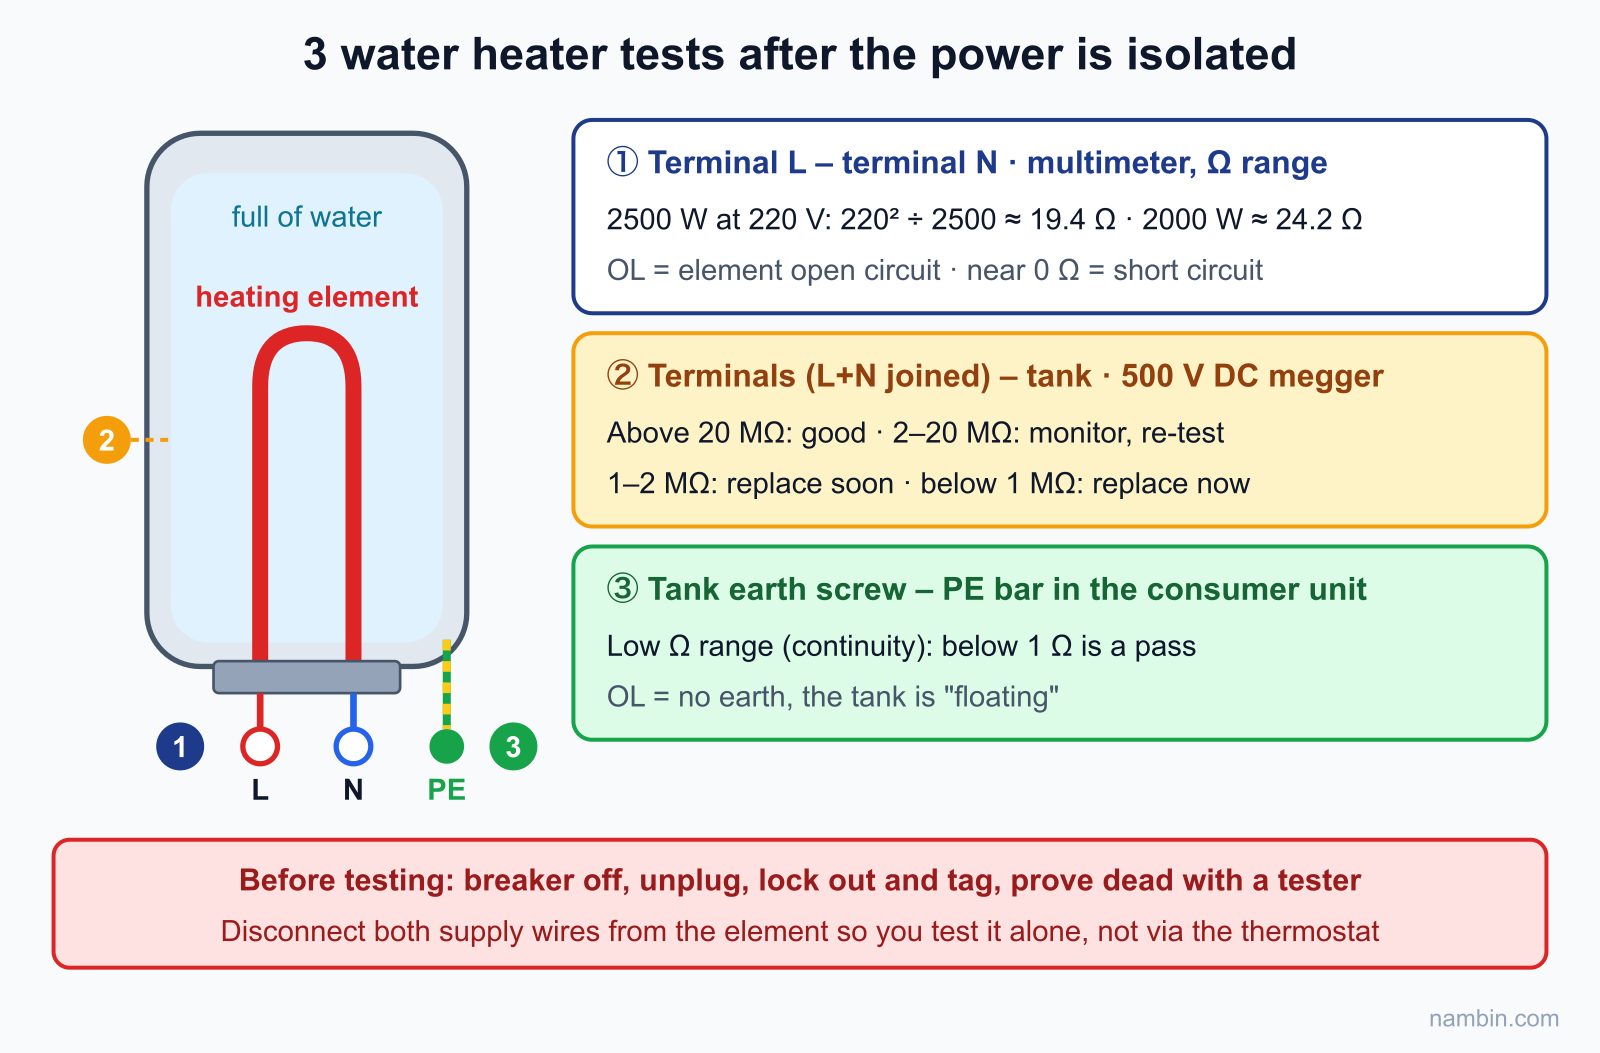
A heating element is a resistance wire running through the middle of a metal tube, packed with insulating powder. You need to know two things: is the resistance wire intact, and is the insulation still good? Figure 2 summarises the three tests in order. Tools: a voltage tester, a CAT III multimeter and a 500 V insulation resistance tester (often called a "megger").
Test ①: resistance between the two element terminals
Photograph the terminal block, then disconnect the two wires going to the element so that you measure the element on its own, not through the thermostat. Set the multimeter to the Ω range and touch the two probes on the two terminals. The expected value is R = U² ÷ P with U = 220 V. Figure 3 shows a multimeter measuring resistance on the Ω range.
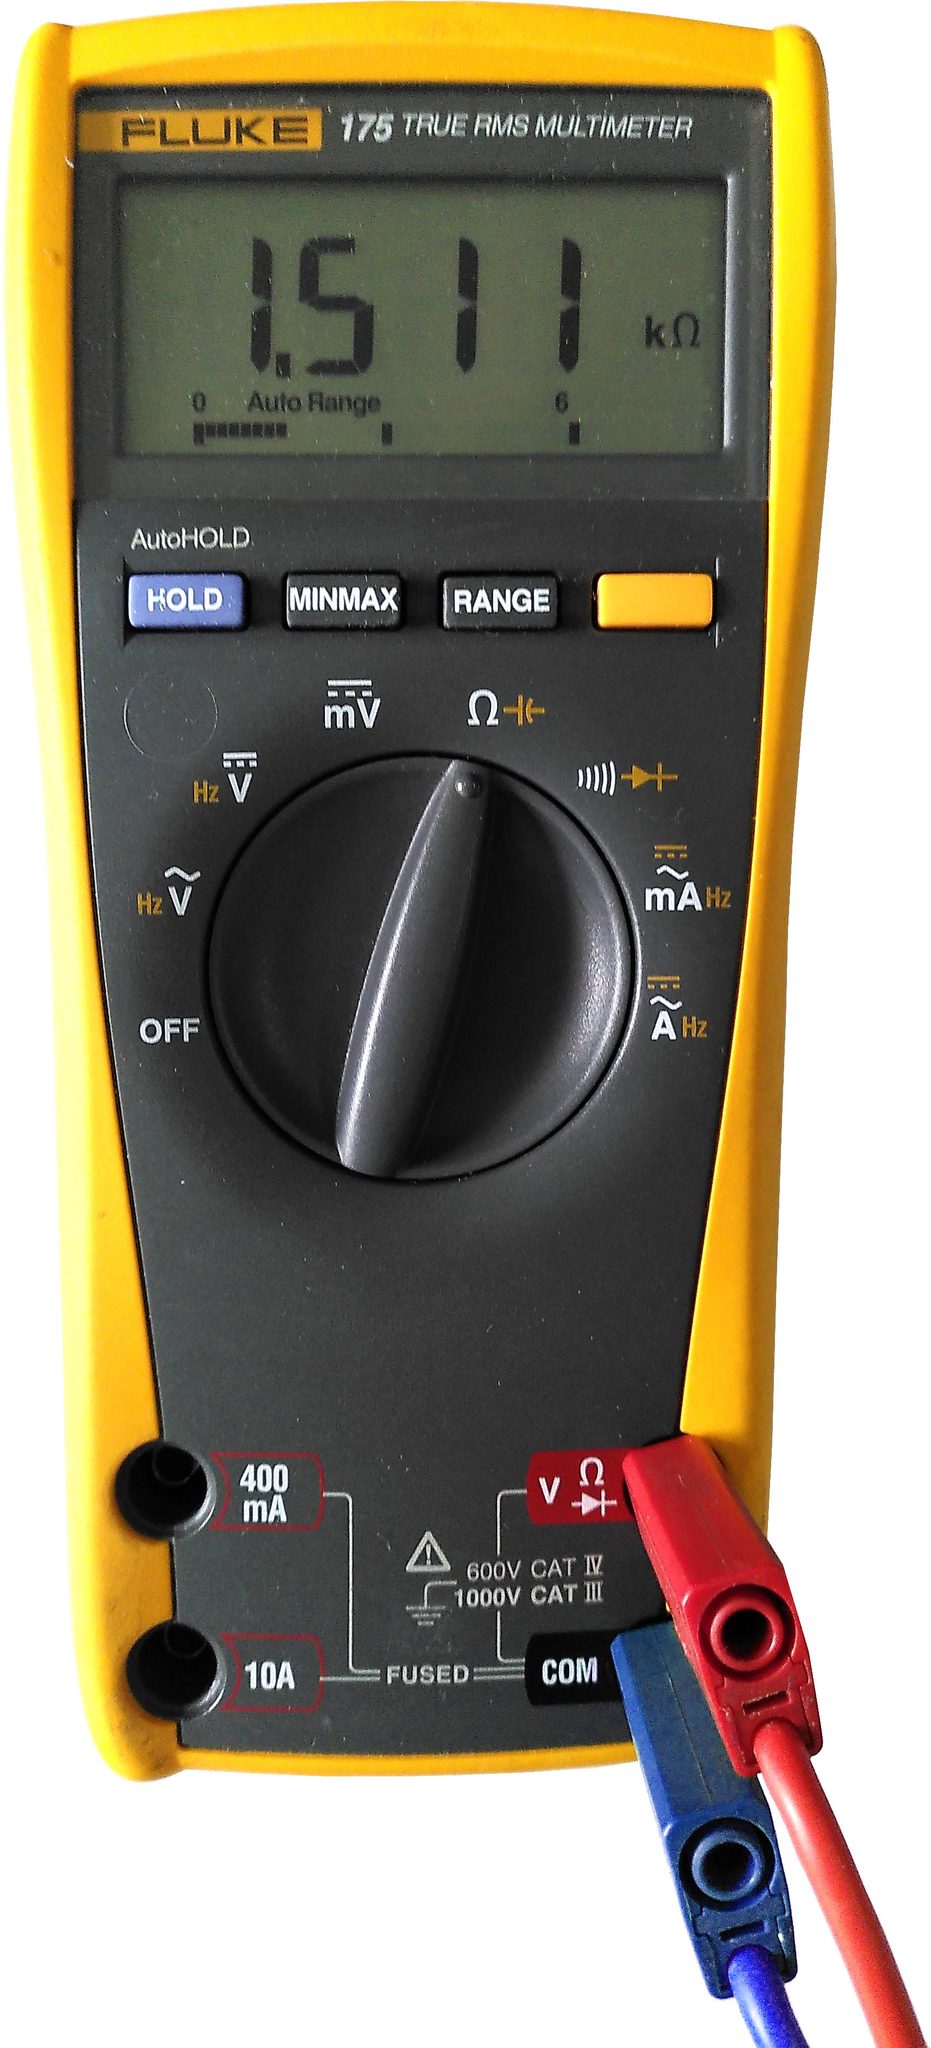
Photo: Christiankral / Wikimedia Commons, CC BY 4.0
| Power on the label | Calculation | Approximate resistance |
|---|---|---|
| 1500 W | 48,400 ÷ 1500 | 32.3 Ω |
| 2000 W | 48,400 ÷ 2000 | 24.2 Ω |
| 2500 W | 48,400 ÷ 2500 | 19.4 Ω |
Reading the result: close to the value in the table means the resistance wire is fine. OL (open, infinite) means the element is broken — the heater will not heat, but it is not necessarily leaking. Close to 0 Ω means an internal short. This test says nothing about earth leakage.
Test ②: insulation between the element and the casing
Link the two element terminals together, put one probe on the terminals and the other on the earth screw or the metal flange. On its 20 MΩ range a multimeter only applies a few volts, so it can only catch serious leaks: if it shows any number at all (for example 500 kΩ or 3 MΩ), the element has clearly failed. But if the multimeter shows OL, you still cannot conclude the element is good — that is why you need an insulation tester like the ones in Figure 4.
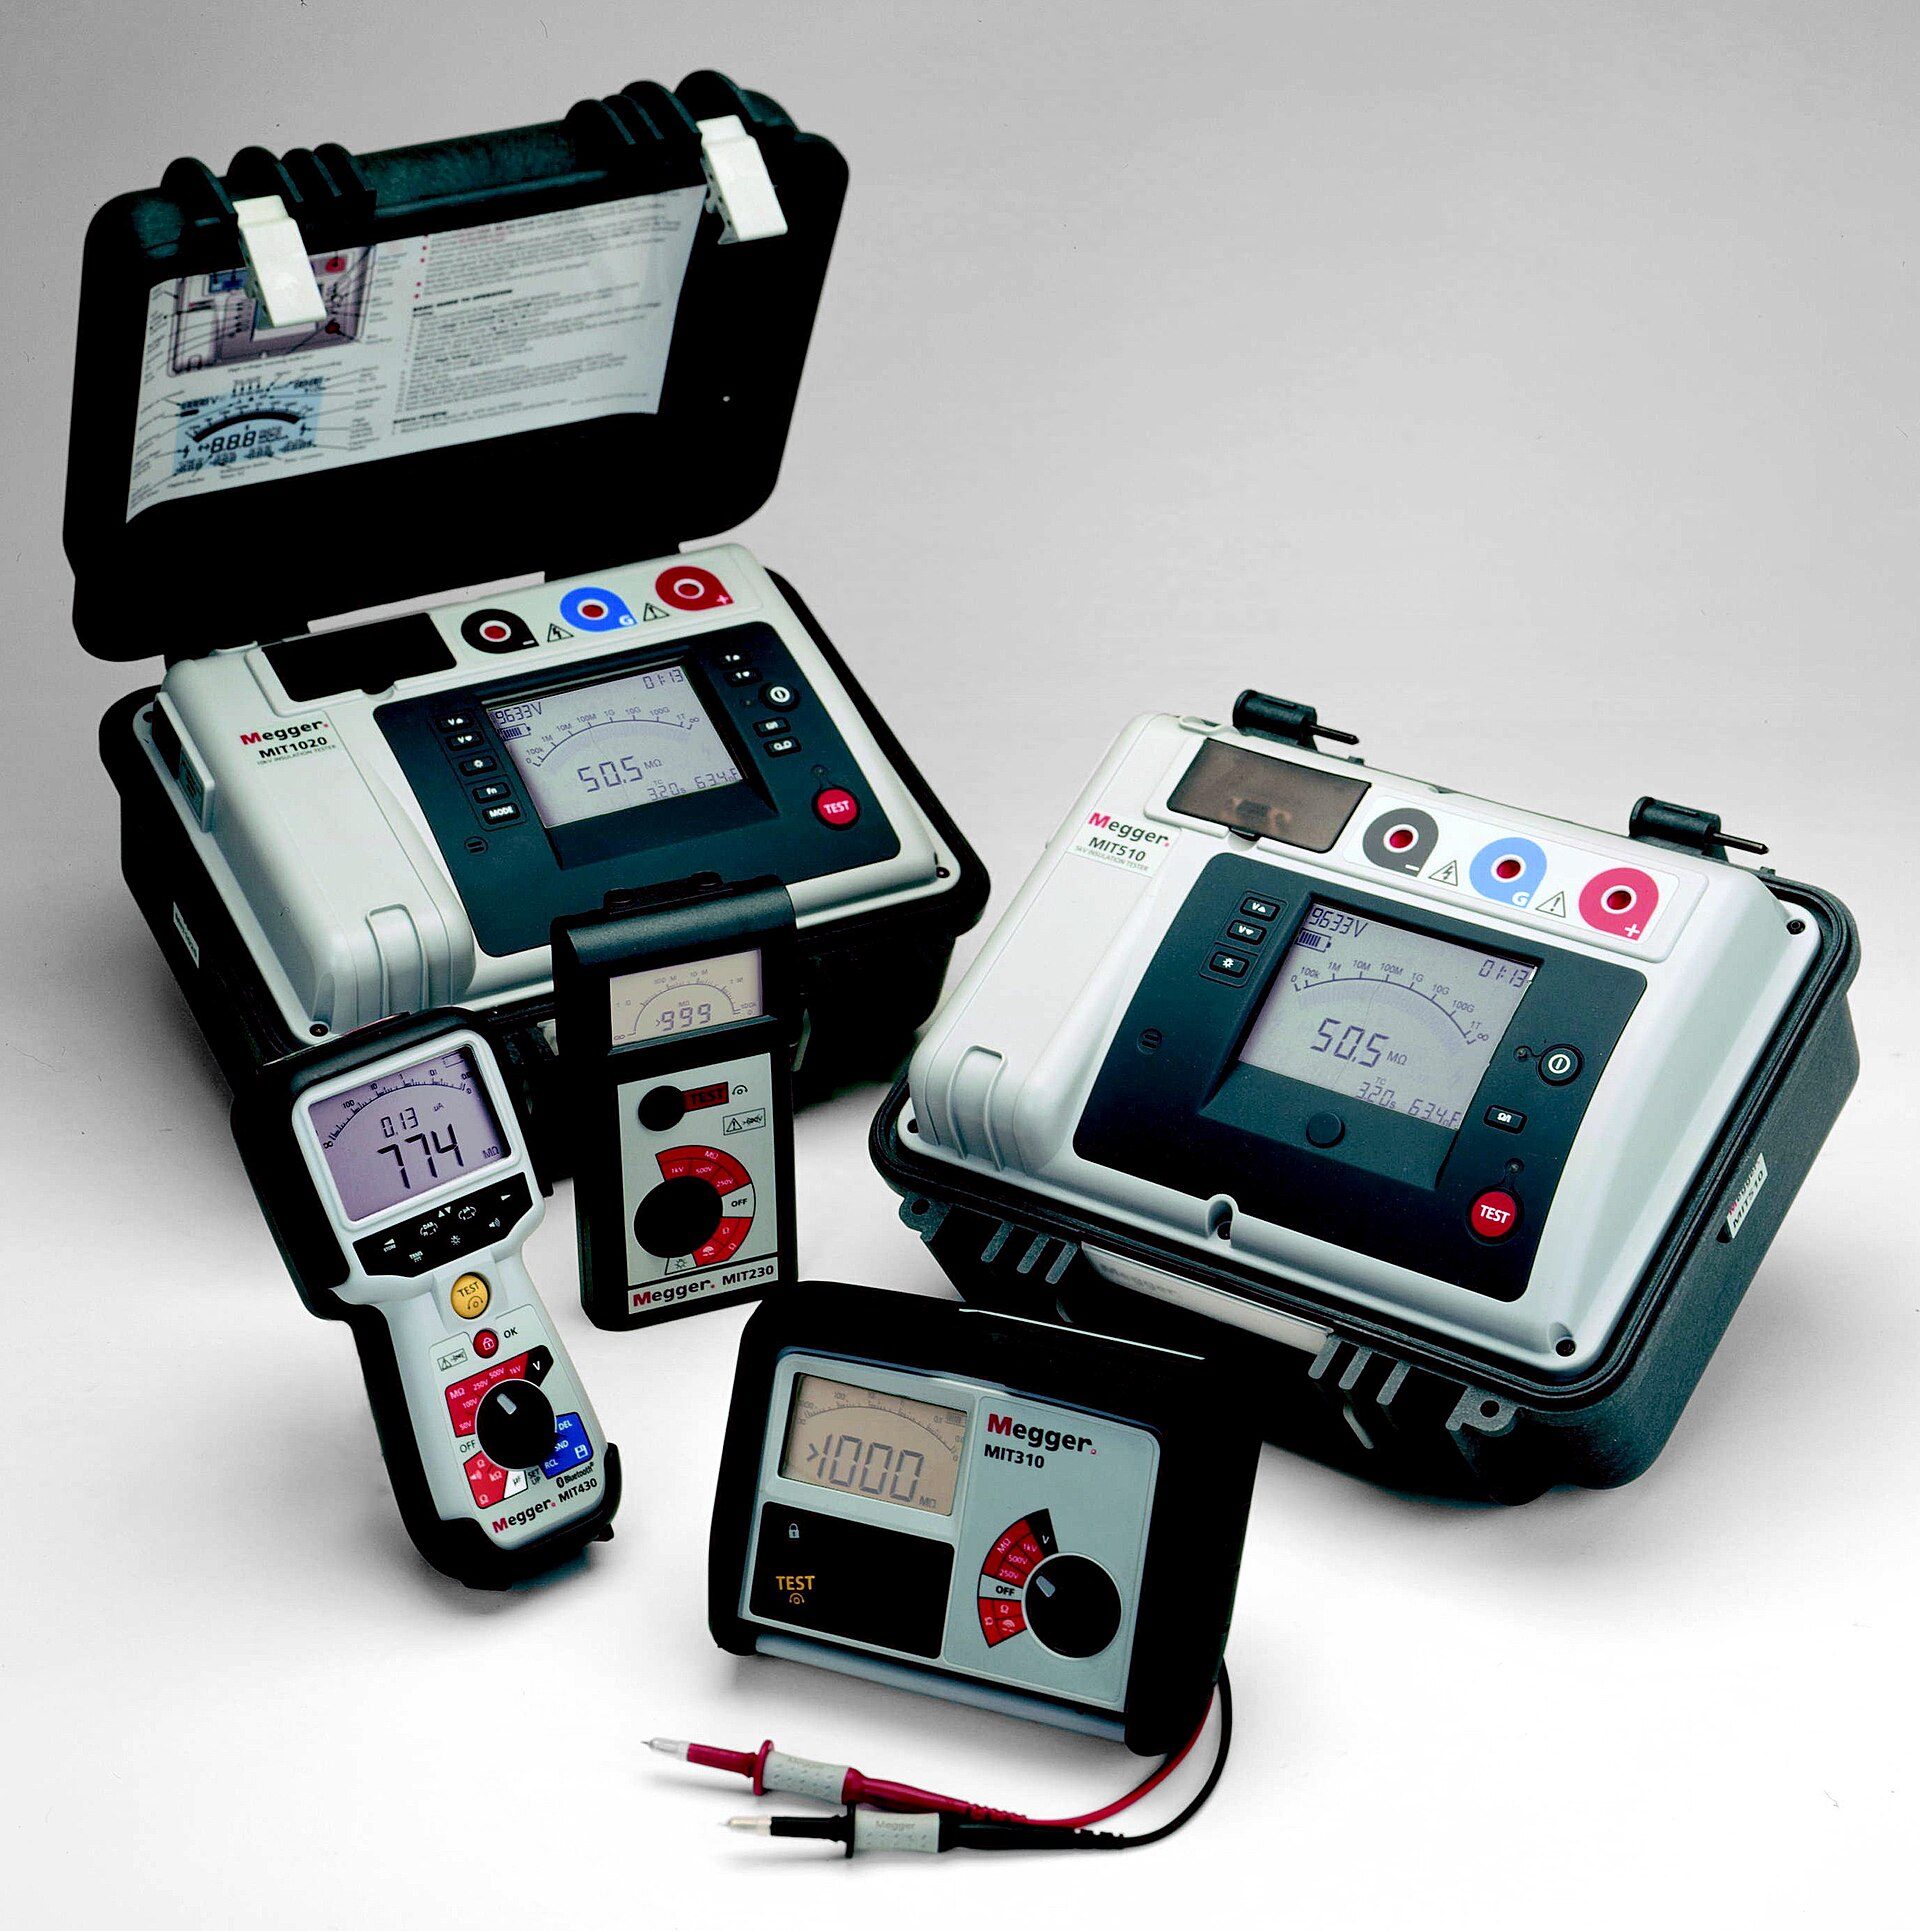
Photo: Megger Ltd. / Wikimedia Commons, CC BY 3.0
Set the insulation tester to 500 V DC and test between the linked terminals and the heater casing; hold for 30–60 seconds until the reading is stable, then write it down. Test both when the heater is cold and right after it has been heating (switch off first, then test): damp insulating powder tends to give low readings when cold, while a cracked sheath often shows up when hot.
Reference thresholds for the insulation test
For low-voltage installations in a home, tested at 500 V, the minimum is 1 MΩ (IEC 60364-6, the international standard for verifying installations). For the heating element alone, electricians usually read the result on the four levels below. These are trade reference thresholds; if the manufacturer gives a different figure, follow the manufacturer. Estimate the leakage current with Ohm's law: I = 220 V ÷ R.
| Reading | Estimated leakage at 220 V | Conclusion |
|---|---|---|
| Above 20 MΩ | Below 0.011 mA | Good, keep using |
| 2–20 MΩ | 0.011–0.11 mA | Usable; record it and re-test in 3–6 months |
| 1–2 MΩ | 0.11–0.22 mA | Close to the limit; replace soon |
| Below 1 MΩ | Above 0.22 mA (100 kΩ ≈ 2.2 mA) | Fail; replace immediately, do not re-energise |
One milliamp sounds small, but people begin to feel alternating current at around 0.5–1 mA, and leaking insulation usually gets worse very quickly once it has started to fail. How to test the insulation of a whole circuit is covered in the lesson RCD keeps tripping: 6 causes and how to find the leaking appliance (in Vietnamese).
Checking the water heater earth
A leaking element is the cause; a missing earth is the reason a person gets a shock instead of the breaker tripping. Many older Vietnamese homes are wired with only two conductors, and three-pin sockets often have an earth pin that is not connected to anything. So always check the earth, even after fitting a new element.
Test ③: continuity from the heater casing to the consumer unit
With the power still off, set the multimeter to a low Ω range or continuity. Put one probe on the earth screw on the heater casing and the other on the earth bar (PE bar) in the consumer unit (if it is far away, use a temporary lead and subtract its resistance). Below 1 Ω is a pass. OL means there is no earth: the PE wire is broken, not connected at the socket, or the house has no earth rod.
Earth rod and earth resistance
A PE wire is only useful if its other end is connected to a good earth rod. Earth resistance is measured with an earth resistance tester; many Vietnamese residential designs aim for about 4–10 Ω depending on the project documents. How to install the earth rod and the PE bar in the consumer unit is covered in the lesson installing a consumer unit with MCBs, RCBOs and earthing (in Vietnamese).
Is the water heater "anti-shock" device safe? In-line ELCB versus 30 mA RCBO
Many heaters sold in Vietnam have an "anti-shock" unit on the supply cable or built into the plug, usually called an ELCB. It is a real residual current device, with TEST and RESET buttons and a tripping threshold printed on it depending on the brand. It is useful, but it is only one extra layer of protection. Figure 5 shows a residual current device (RCD).
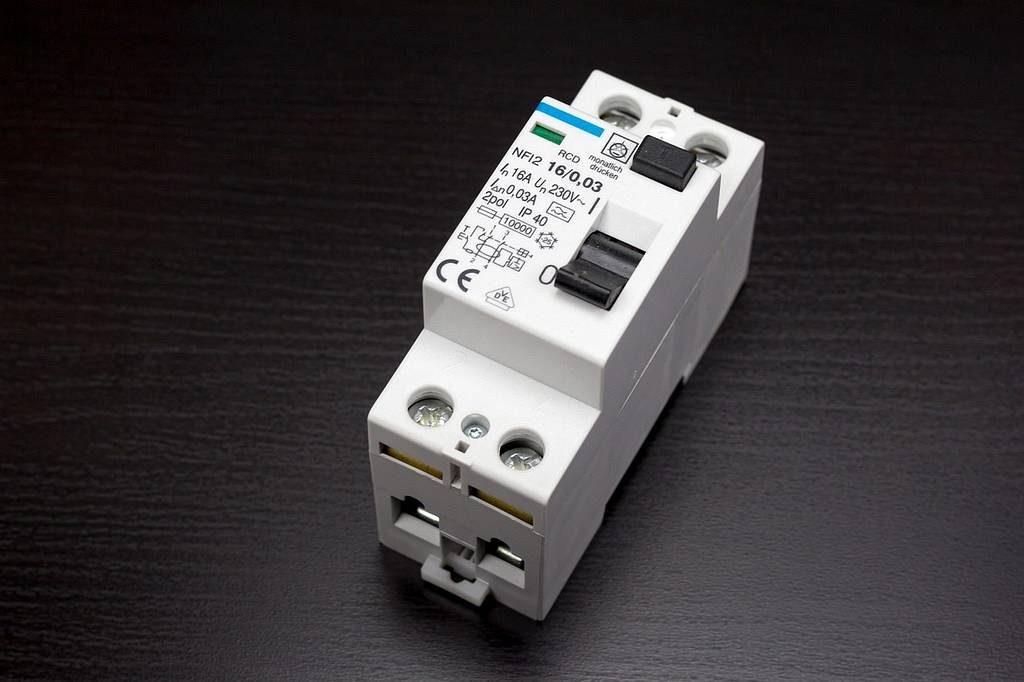
Photo: Diermaier / Wikimedia Commons, CC0
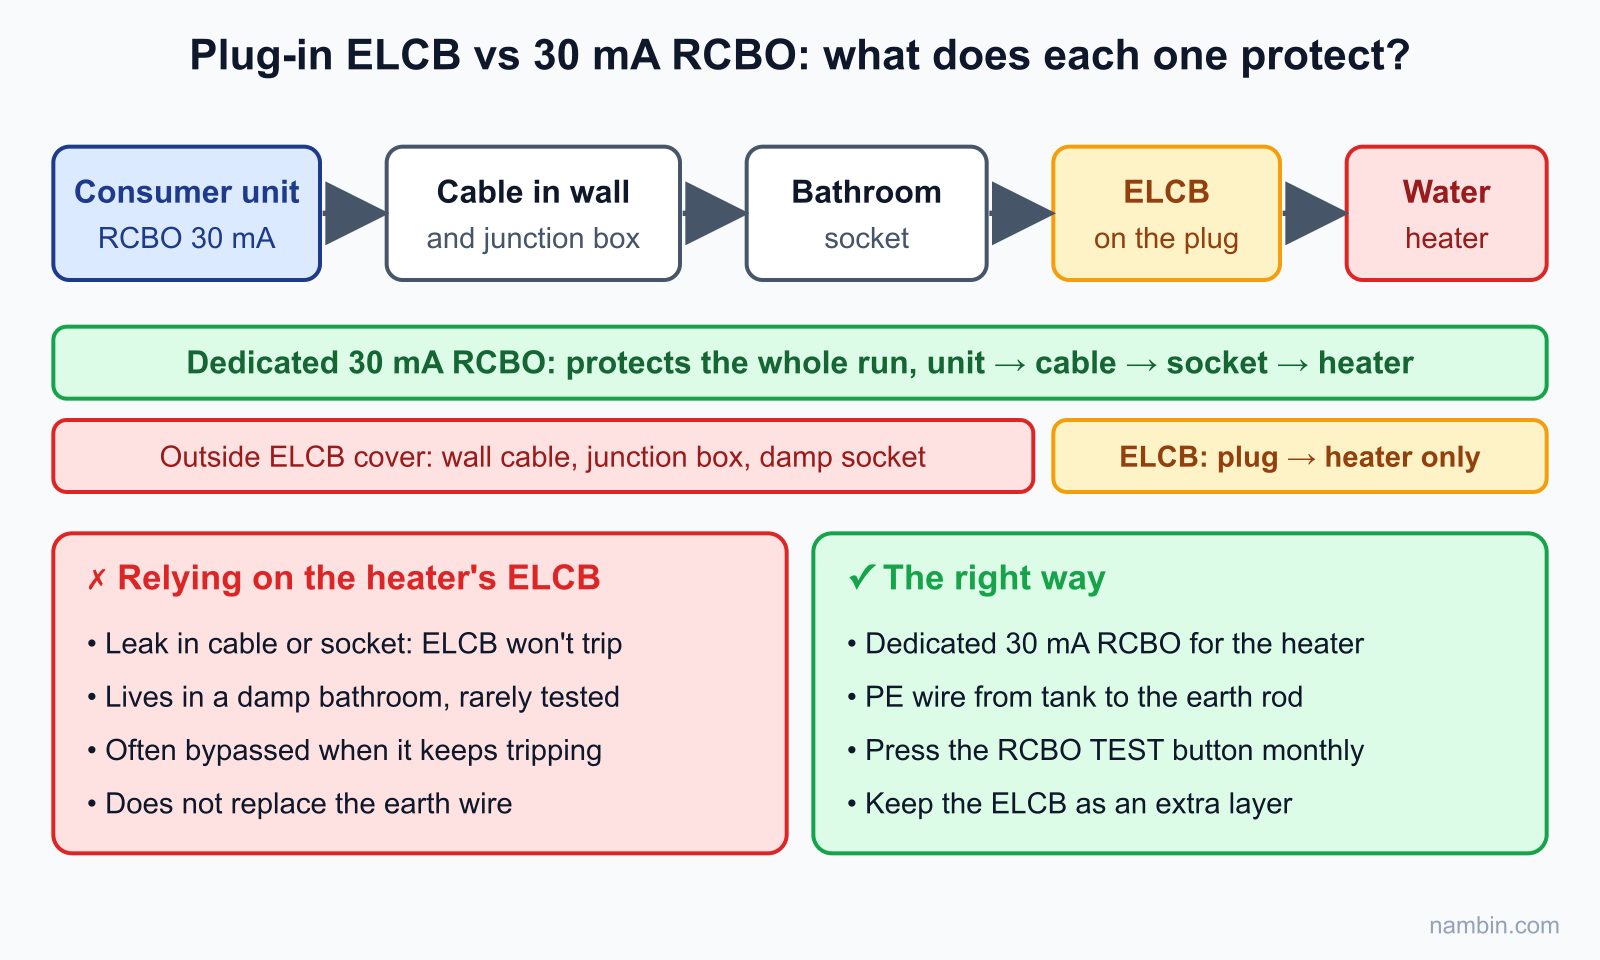
An in-line ELCB only protects what is after it
The ELCB sits between the plug and the heater, so it can only cut leaks on the heater side. The cable in the wall, the junction boxes and the bathroom socket are all upstream of it and are not protected at all (see Figure 6).
Why an ELCB cannot replace a dedicated 30 mA RCBO
- Coverage: an RCBO in the consumer unit protects the cable, the socket and the heater; an ELCB only protects the last section.
- Environment: it sits in a damp bathroom and can fail without anyone noticing, because few people ever press TEST.
- Bypassing: when the ELCB keeps tripping, many people cut it out, and the heater loses its only protection.
- It does not replace the earth: a residual current device only trips once leakage current is already flowing; the earth carries that current into the ground instead of through a person.
Correct installation for a water heater circuit
A 2500 W heater draws 2500 ÷ 220 ≈ 11.4 A, so use a dedicated circuit with 2.5 mm² cable, a 20 A RCBO with a 30 mA threshold in the consumer unit, a PE wire connecting the heater casing to the earth rod, and keep the heater's ELCB as an extra layer. Do not put a socket in the splash zone; ideally, wire the heater permanently through a double-pole switch outside the bathroom. For detailed wiring, see the lesson how to wire an RCD for a house (in Vietnamese); for heater position and plumbing, see the lesson installing pumps, water tanks and water heaters (in Vietnamese).
When to replace the element and when to replace the whole heater
The element is a replaceable part: remove the flange at the bottom or front of the heater, pull out the old element, and fit a new one of the same power and size. Figure 7 shows a screw-in electric immersion heater; the element in a household water heater is smaller but works on the same principle.
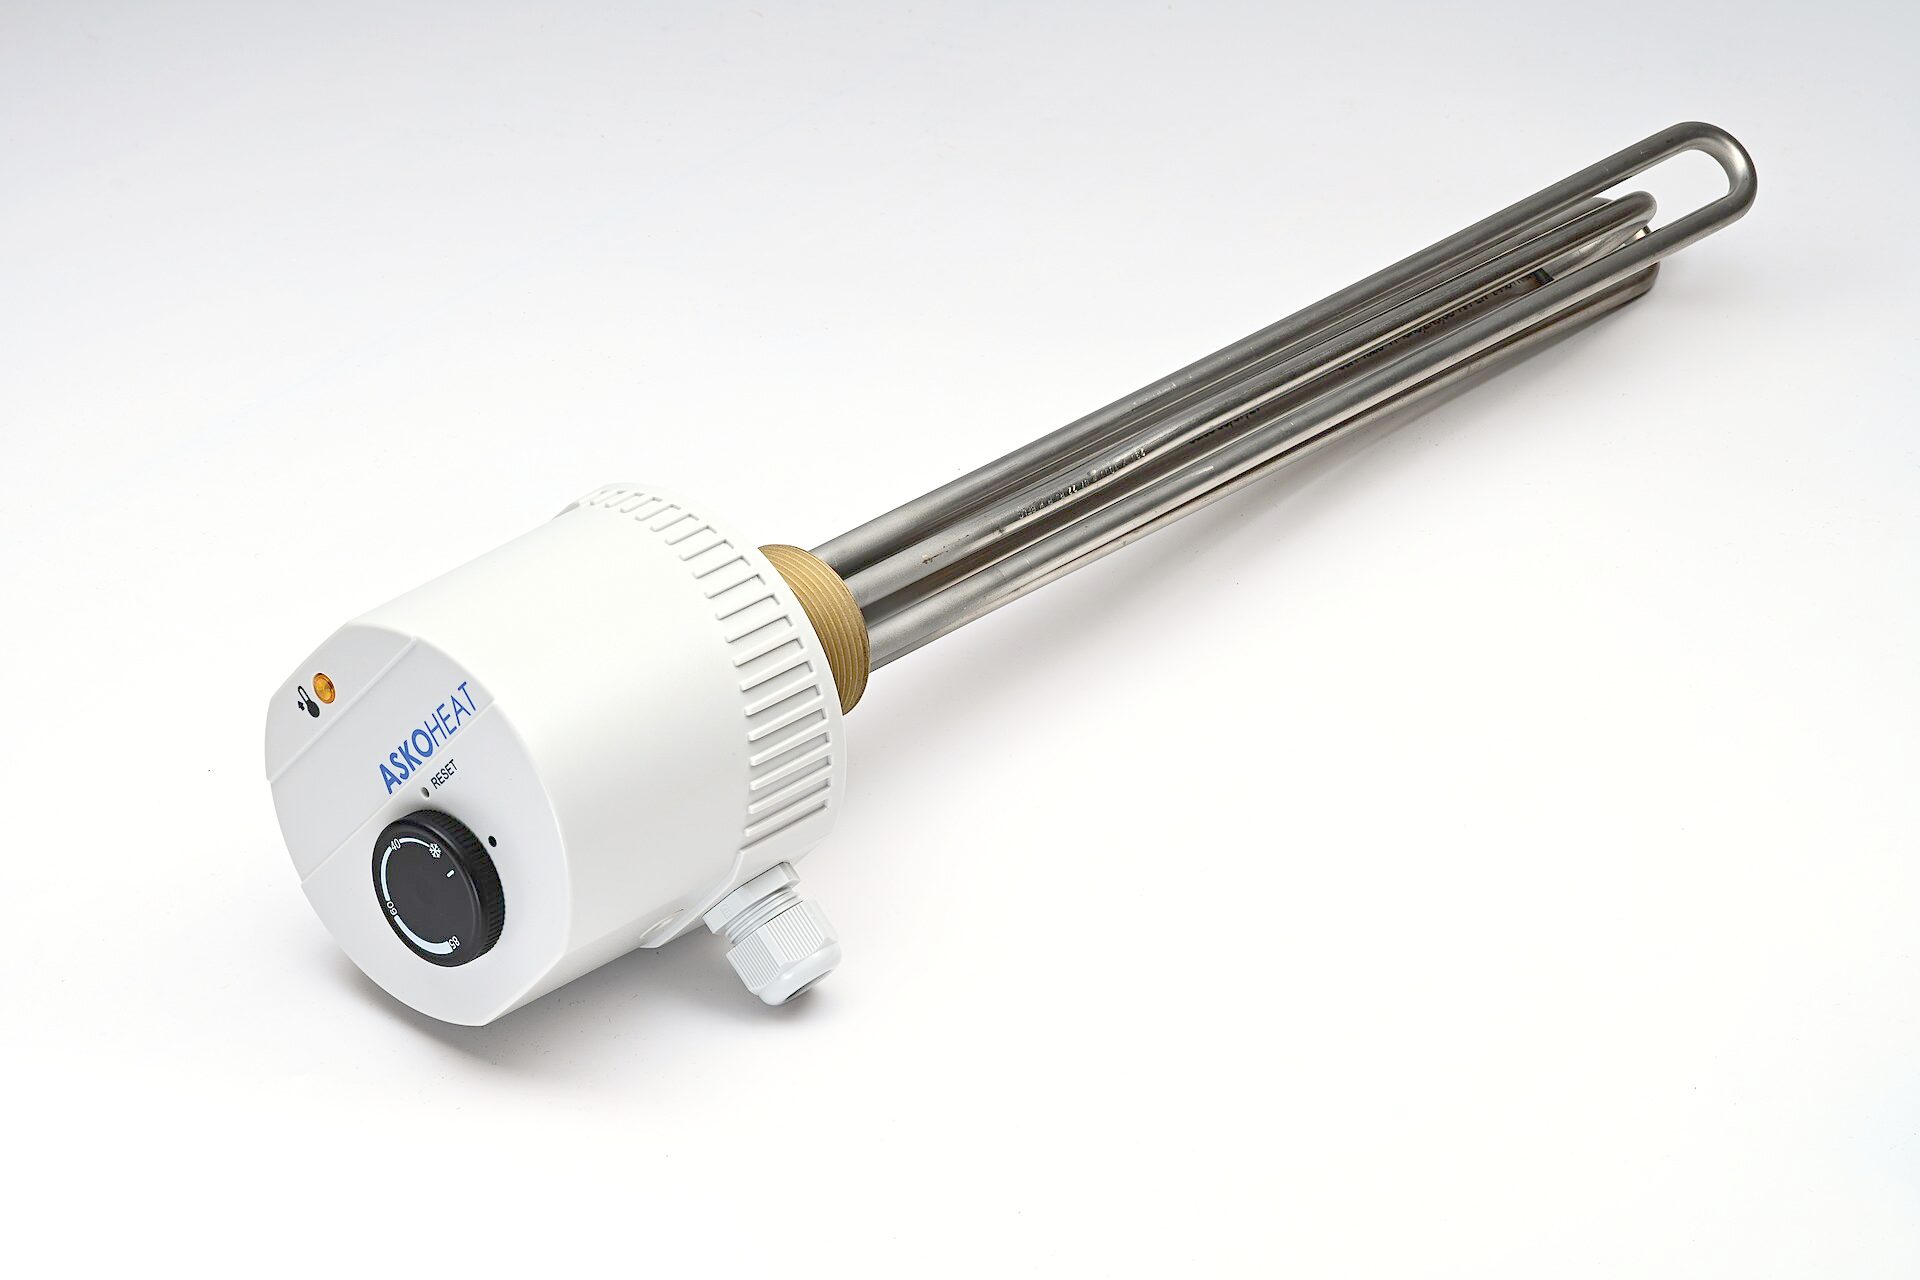
Photo: Phiarc / Wikimedia Commons, CC BY-SA 4.0
| Condition | Recommended action | Reference cost |
|---|---|---|
| Heater under 7–8 years old, inner tank not leaking water, casing not rusty, only the element leaking or broken | Replace the element + gasket, check the magnesium anode | Element 150,000–450,000 VND; labour 200,000–400,000 VND |
| Element heavily scaled, magnesium anode fully used up | Replace the element and the anode, flush out the scale | Add 60,000–150,000 VND for the anode |
| Inner tank leaking water, casing rusty and bulging, rusty water | Replace the heater | 20–30 L heater about 2.5–5 million VND; installation 300,000–500,000 VND |
| Heater over 10 years old, element failed for the second time, safety cut-out also failed | Replace the heater | As above |
Steps to replace the element
- Switch off, unplug, lock off and tag, re-check.
- Close the cold water valve feeding the heater, open a hot tap to release pressure, and drain the tank through the cold inlet or the drain valve.
- Photograph the terminal block, disconnect the wires, remove the thermostat and the flange; catch the remaining water.
- Clean the scale out of the tank and check the magnesium anode; fit the new element of the same power with a new gasket, and tighten the flange bolts evenly.
- Open the cold valve and a hot tap until the water runs steadily with no air — the tank must be full of water before you switch on, or the new element will burn out immediately.
- Check the flange for water leaks, then repeat all three tests in Figure 2 before re-energising.
Is a scaled-up element the same as a leaking one?
Thick limescale, as in Figure 8, stops the element transferring heat, so its sheath overheats; over time the sheath cracks, and that is when leakage starts. If you see heavy scale, flush the tank, replace the magnesium anode and schedule maintenance every 1–2 years.
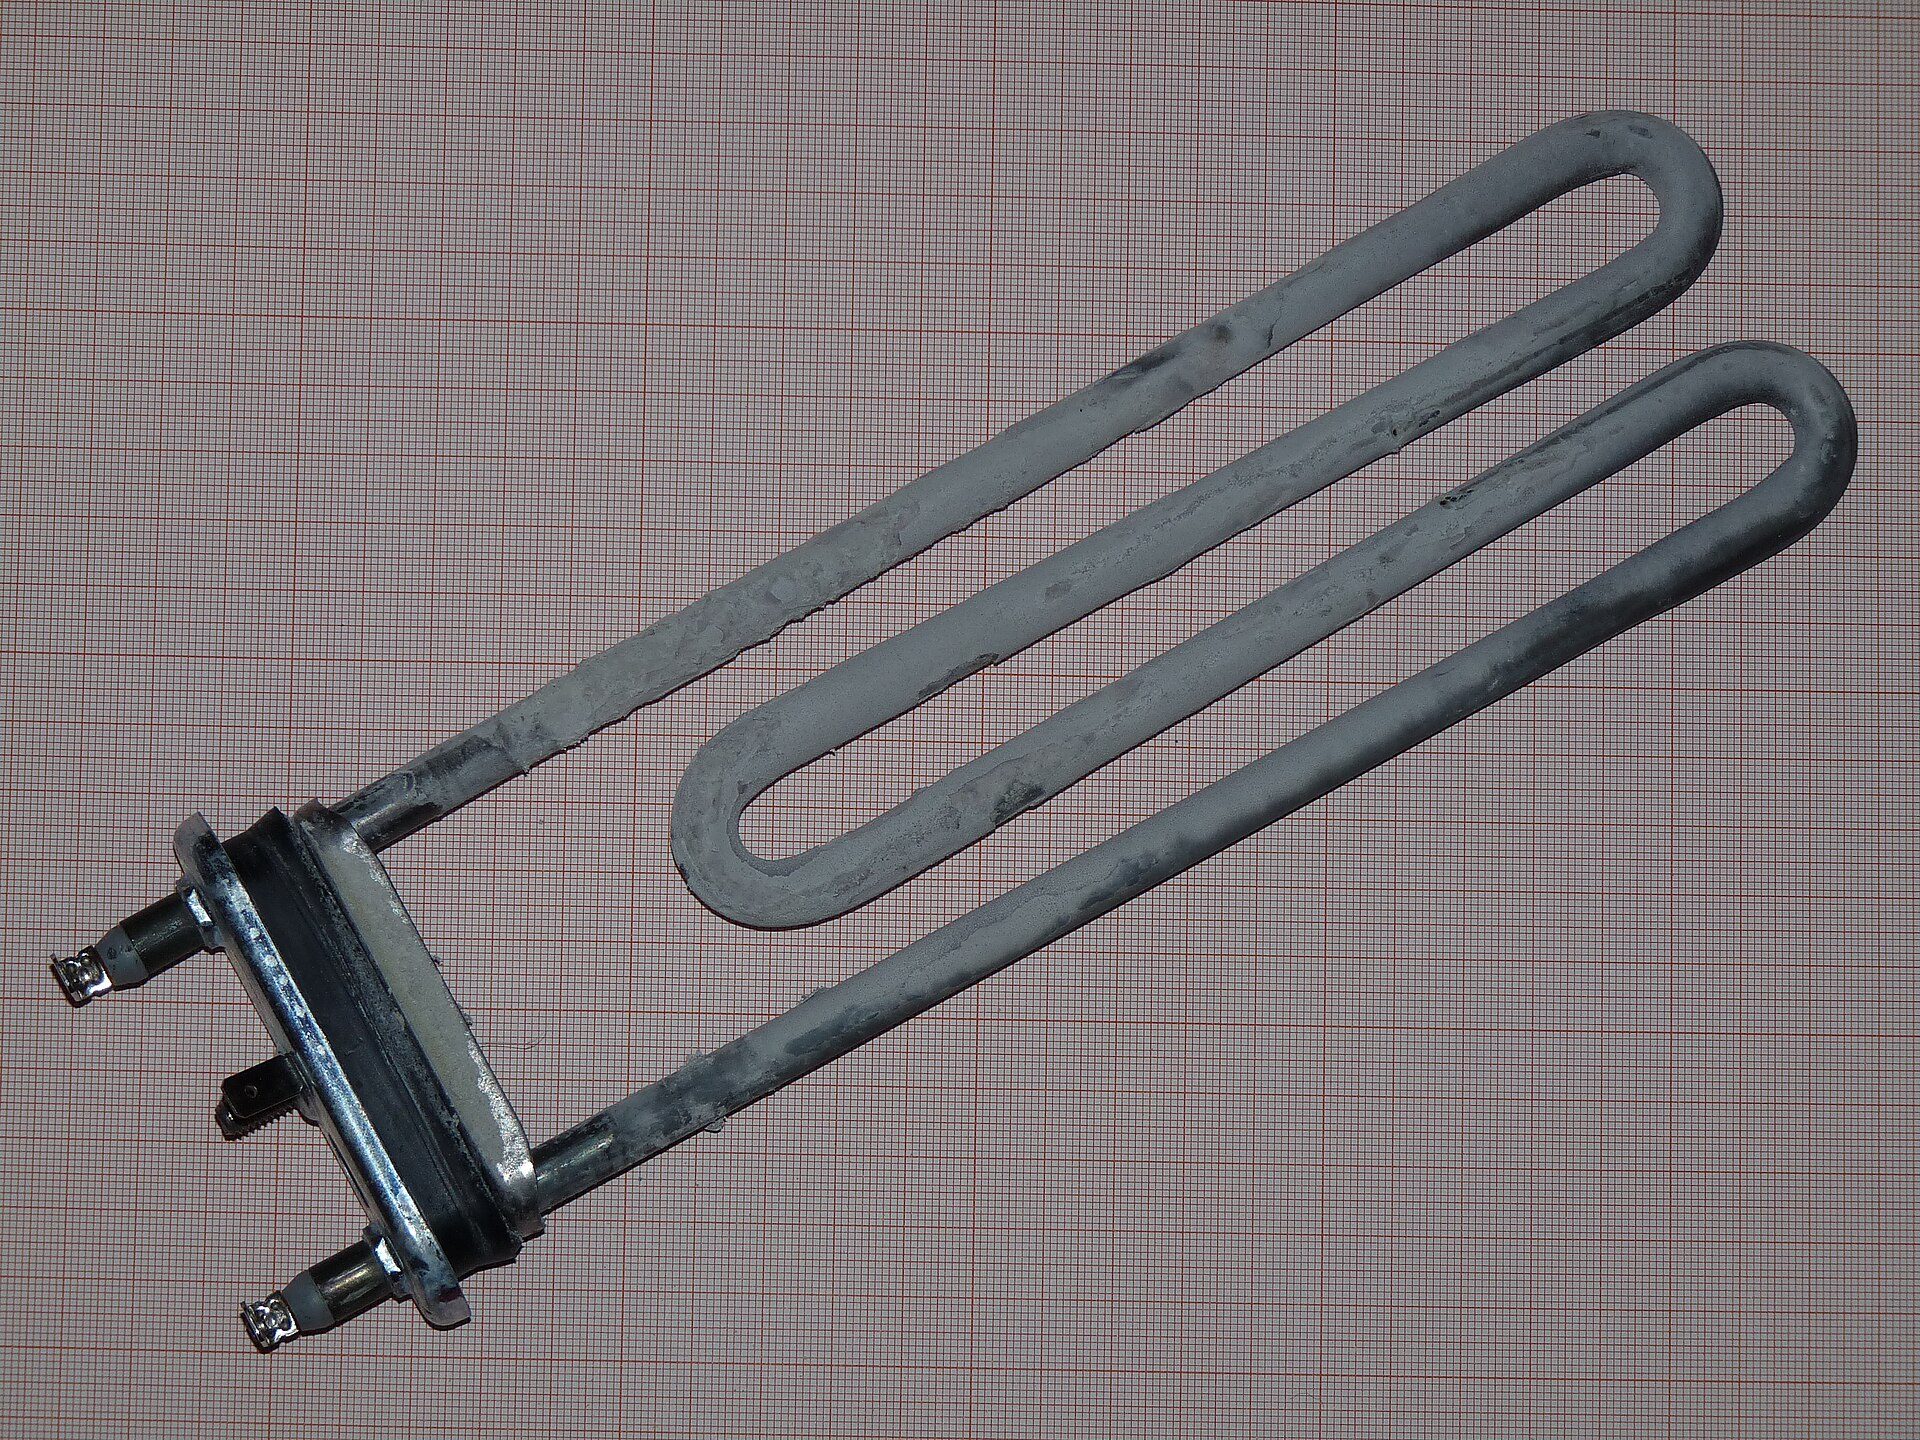
Photo: Dmitry G / Wikimedia Commons, CC BY-SA 3.0
Worked example: a three-storey tube house, tingling from the shower
The owner of a three-storey "tube house" (the narrow, deep townhouse typical of Vietnamese cities) calls because his daughter felt a tingle in her hand when holding the shower head on the second floor. The heater is 30 L, 2500 W, 6 years old, plugged into a three-pin socket next to it, with an ELCB on the cable. The second-floor bathroom circuit shares a 20 A MCB with the bedroom sockets; the whole house only has an ordinary main breaker with no residual current protection. Prices are 2026 references.
Isolation and testing
- Before switching off, the electrician stands on a dry spot in sandals and touches only the TEST button on the ELCB (not the casing or the tap): it does not trip — the ELCB has failed.
- Tell the family not to use the second-floor bathroom, switch off the second-floor MCB, unplug the heater, hang a sign, and re-check with a tester.
- Test ①: 19.6 Ω — close to the 19.4 Ω in the table; the resistance wire is fine, so the heater still heats normally.
- Test ② with a multimeter on the 20 MΩ range: OL. Stopping here would lead to the wrong conclusion that the element is good.
- Test ② with a 500 V insulation tester: 0.18 MΩ — below 1 MΩ, a fail. Estimated leakage 220 ÷ 180,000 ≈ 1.2 mA, enough for a wet person to feel a tingle.
- Test ③: heater casing to the PE bar in the board: OL. Opening the socket shows no wire on the earth pin; the house has an earth rod at the main board, but no PE wire was ever run to the second floor.
Decision and cost
The heater is 6 years old, the tank does not leak water and the casing is not rusty: replace the element, no need to replace the heater. At the same time, fix the missing protection: put the heater on its own RCBO and run an earth wire.
| Item | Quantity × unit price | Amount (VND) |
|---|---|---|
| 2500 W element of the same size | 1 × 250,000 | 250,000 |
| Flange gasket | 1 × 30,000 | 30,000 |
| Magnesium anode | 1 × 80,000 | 80,000 |
| RCBO 20 A, 30 mA | 1 × 450,000 | 450,000 |
| Earth wire 2.5 mm² | 15 m × 10,000 | 150,000 |
| Labour, 2 people, half a day | 1 × 600,000 | 600,000 |
| Total | 250 + 30 + 80 + 450 + 150 + 600 thousand | 1,560,000 (about 62 USD) |
A new 30 L heater would cost about 3–4.5 million VND plus installation, and the RCBO and earth would still have to be done.
Acceptance checks after the repair
- 500 V insulation test on the new element: above 200 MΩ. Test ③: 0.4 Ω.
- Switch on and press TEST on the RCBO: it trips immediately. A new ELCB (bought by the owner, not in the table) also trips when TEST is pressed.
- Let the heater run for 30 minutes; the tester pen does not light on the casing or the shower head, and the owner showers with no tingling.
- Write a report: readings before and after, and a reminder to re-test the element and flush the scale in 12 months.
Common mistakes when dealing with a leaking water heater
Testing only with a multimeter and concluding "the element is fine"
Sign: you put everything back, and a few days later the customer still feels a tingle. Cause: a multimeter only applies a few volts and cannot detect weak insulation like the 0.18 MΩ in the example above. Fix: always do test ② with a 500 V insulation tester; if you do not have one, borrow one from a senior electrician or tell the customer it needs re-testing.
Moving the heater to an ordinary breaker "so it stops tripping"
Sign: the residual current breaker no longer trips, but the heater still leaks. Cause: treating the symptom and removing a layer of protection. Fix: never bypass protection; find and replace the leaking part, and keep the 30 mA RCBO.
Frequently asked questions
What should I do if I get a shock from the water heater in the shower?
Stop showering immediately, get out of the wet area, switch off the heater's breaker at the consumer unit and only then unplug it. Do not use the heater until an electrician has tested the element with an insulation tester and checked the earth. If the person who got the shock feels faint, short of breath or has chest pain, take them to a medical facility at once.
How do I test a water heater element at home?
After isolating the power and disconnecting the wires: measure the resistance between the two terminals (about 19.4 Ω for 2500 W), then test the insulation between the terminals and the casing with a 500 V insulation tester — above 20 MΩ is good, below 1 MΩ must be replaced. A multimeter can only detect a broken element or a very heavy leak.
Is the anti-shock device on a water heater safe?
It helps, but it is only a secondary layer: an ELCB on the cable only protects the section from the plug to the heater and fails easily in a damp bathroom. For real safety you need all three: a dedicated 30 mA RCBO in the consumer unit, an earth wire from the heater casing to the earth rod, and a working ELCB on the heater.
Can I use a water heater without an earth wire?
You should not. When the element leaks, the current has no path to earth, so it goes through a person. Run a PE wire to the earth rod; while you wait, a 30 mA RCBO on the heater circuit is mandatory.
Practice exercises and self-assessment
- Calculate the correct resistance of a 2000 W and a 3000 W element at 220 V; show your working.
- An element reads 400 kΩ on a 500 V insulation test: calculate the estimated leakage current and write a conclusion using the table.
- On a water heater with the power isolated (under supervision), carry out all three tests in Figure 2 and record them in a report.
Self-assessment criteria
- Pass: 2000 W ≈ 24.2 Ω, 3000 W ≈ 16.1 Ω; 400 kΩ gives about 0.55 mA and the conclusion "replace immediately". Not yet: wrong calculation or the conclusion "keep using".
- Pass: every test is done after switching off, unplugging, locking off and tagging and re-checking; the element wires are disconnected before testing. Not yet: skipping the re-check or testing with the plug still in.
- Pass: you can explain in plain words to the homeowner why an in-line ELCB does not replace a 30 mA RCBO and an earth. Not yet: advising that "the anti-shock unit on the cable is enough".
This lesson belongs to the Troubleshooting common electrical faults step of the Residential Electrician pathway. The next step is Safety inspection & circuit installation exam — the insulation testing, earth checks and RCD TEST button from this lesson will be assessed in person.
Ready to become a qualified electrician who can handle earth leakage with confidence? Enrol in the Residential Electrician Level 2 – Qualified Electrician course to learn insulation testing, earthing, RCBO selection and acceptance reports systematically, then explore the full 4-level Residential Electrician pathway.